File processing
What you'll build
This sample demonstrates how to pick a file from a folder and process it within the Micro Integrator. In this sample scenario you pick a file from the local directory, insert the records in the file to a database, send an email with the file content, trace and write the log and finally move the file to another directory.
Let's get started!
Step 1: Set up the workspace
Download the relevant WSO2 Integration Studio based on your operating system.
Let's setup a MySQL database:
- Manually set up the database.
-
Create a table named
infoin your schema. You can run the following commands to do this.delimiter $$ CREATE TABLE `info` ( `name` varchar(45) DEFAULT '', `surname` varchar(45) DEFAULT NULL, `phone` varchar(45) DEFAULT NULL ) ENGINE=InnoDB DEFAULT CHARSET=utf8$$ -
Make sure the
infotable is created and that it contains the following columns:- name
- surname
- phone
Step 2: Develop the integration artifacts
Follow the instructions given in this section to create and configure the required artifacts.
Create an Integration Project
Create an integration project with the following modules: ESB Configs and Composite Exporter module:
- Open WSO2 Integration Studio.
-
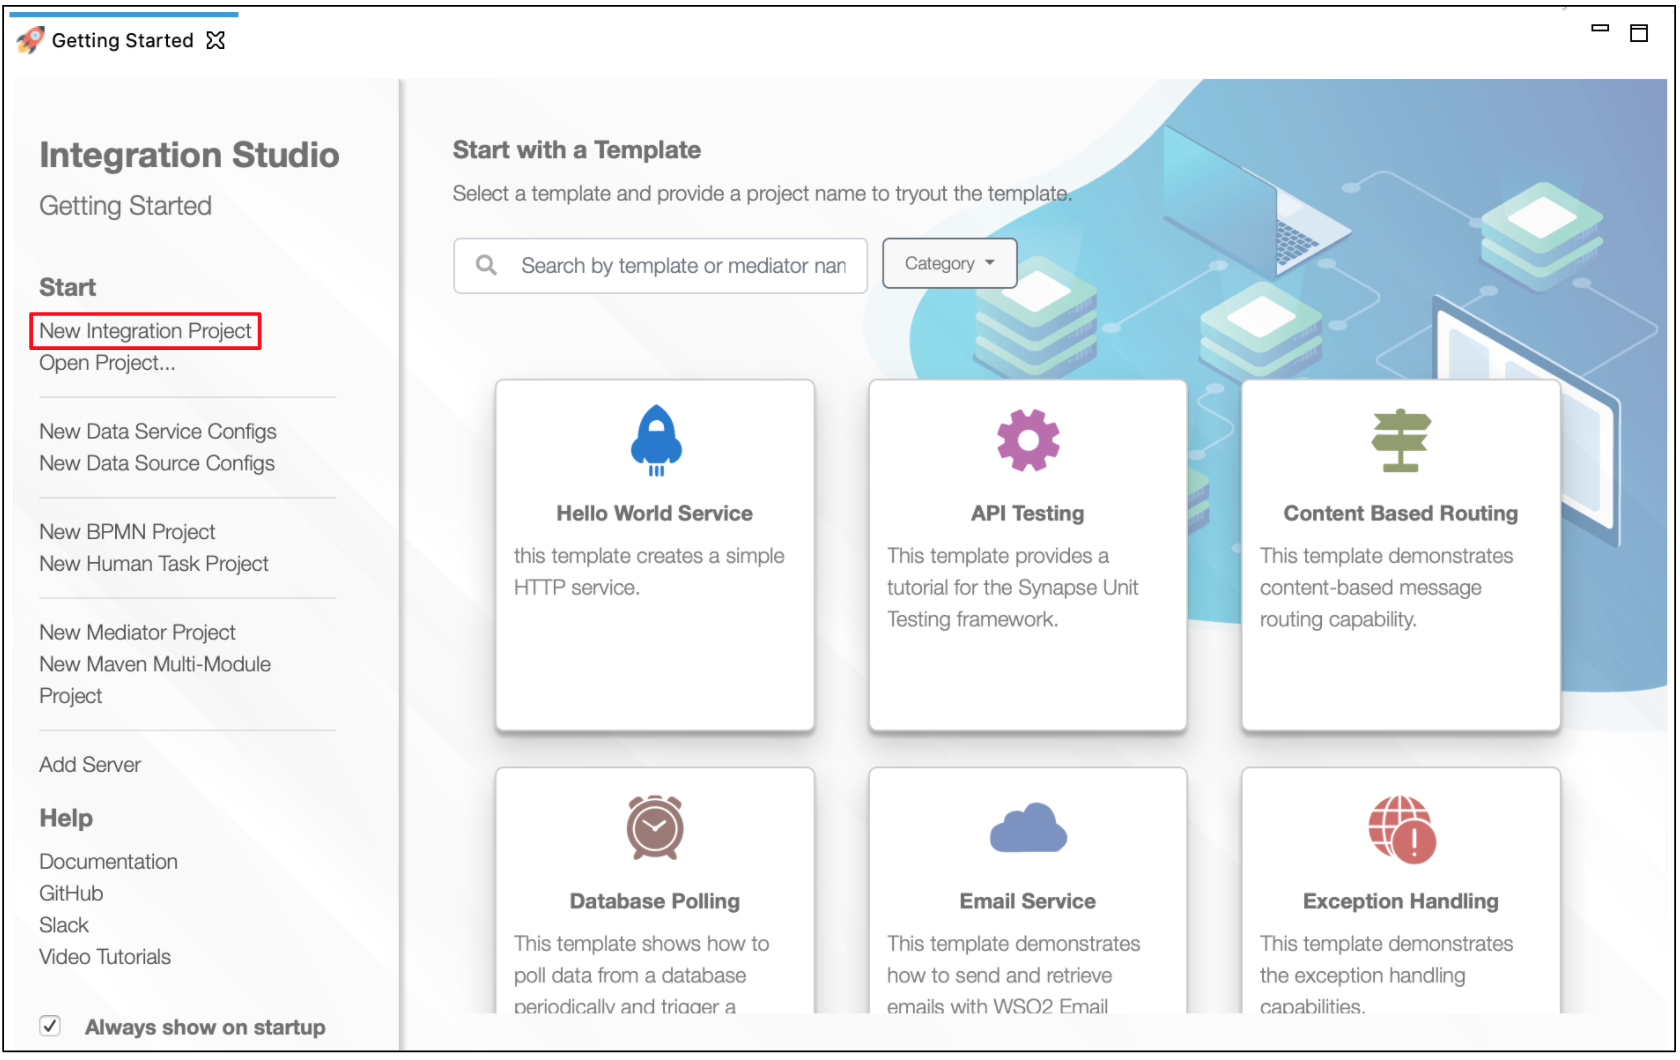
Click New Integration Project in the Getting Started tab as shown below.
-
Enter
FileProcessingServiceas the project name. - Click Finish. The created project is saved in the Project Explorer.
Create the Main and Fault sequences
- Create the Main sequence with the following configuration. See the instructions on creating a sequence.
<sequence name="main" xmlns="http://ws.apache.org/ns/synapse"> <in> <log level="full"/> <filter regex="http://localhost:9000.*" source="get-property('To')"> <then> <send/> </then> <else/> </filter> </in> <out> <send/> </out> </sequence> -
Create the Fault sequence with the following configuration. See the instructions on creating a sequence.
<sequence name="fault" trace="disable" xmlns="http://ws.apache.org/ns/synapse">
    <log level="full">
        <property name="MESSAGE" value="Executing default 'fault' sequence"/>
        <property expression="get-property('ERROR_CODE')" name="ERROR_CODE"/>
        <property expression="get-property('ERROR_MESSAGE')" name="ERROR_MESSAGE"/>
    </log>
    <drop/>
</sequence>
Create the FileProxy
-
Create a proxy service named
FileProxywith the following configuration. See the instructions on creating a proxy service.<proxy xmlns="http://ws.apache.org/ns/synapse" name="FileProxy" transports="vfs" startOnLoad="true" trace="disable"> <target> <inSequence> <log level="full"/> <clone> <target sequence="fileWriteSequence"/> <target sequence="sendMailSequence"/> <target sequence="databaseSequence"/> </clone> </inSequence> </target> <parameter name="transport.vfs.ActionAfterProcess">MOVE</parameter> <parameter name="transport.PollInterval">15</parameter> <parameter name="transport.vfs.MoveAfterProcess">file:///home/username/test/original</parameter> <parameter name="transport.vfs.FileURI">file:///home/username/test/in</parameter> <parameter name="transport.vfs.MoveAfterFailure">file:///home/username/test/failure</parameter> <parameter name="transport.vfs.FileNamePattern">.*.txt</parameter> <parameter name="transport.vfs.ContentType">text/plain</parameter> <parameter name="transport.vfs.ActionAfterFailure">MOVE</parameter> </proxy> -
Edit the proxy service and define the directory to which the original file should be moved after processing.
<parameter name="transport.vfs.MoveAfterProcess">[file:///home/]<username>/test/original</parameter> -
Edit the proxy service and define where the input file should be placed.
<parameter name="transport.vfs.FileURI">[file:///home/]<username>/test/in</parameter> -
Edit the proxy service and define the directory to which the file should be moved if an error occurs.
<parameter name="transport.vfs.MoveAfterFailure">[file:///home/]<username>/test/failure</parameter>
Create the databaseSequence
Follow the instructions below to create a sequence that can be used to connect to the database to insert data.
-
Create a sequence named
databaseSequencewith the following configuration. See the instructions on creating a sequence.<sequence xmlns="http://ws.apache.org/ns/synapse" name="databaseSequence"> <log level="full"> <property name="sequence" value="before-smooks"/> </log> <smooks config-key="smooks"> <input type="text"/> <output type="xml"/> </smooks> <log level="full"> <property name="sequence" value="after-smooks"/> </log> <iterate expression="//csv-set/csv-record"> <target> <sequence> <dbreport> <connection> <pool> <password>db-password</password> <user>db-username</user> <url>jdbc:mysql://localhost:3306/test</url> <driver>com.mysql.jdbc.Driver</driver> </pool> </connection> <statement> <sql><![CDATA[insert into INFO values (?, ?, ?)]]></sql> <parameter expression="//csv-record/name/text()" type="VARCHAR"/> <parameter expression="//csv-record/surname/text()" type="VARCHAR"/> <parameter expression="//csv-record/phone/text()" type="VARCHAR"/> </statement> </dbreport> </sequence> </target> </iterate> </sequence> -
Specify your database username, password, and URL in the
<pool>section of the sequence.
Create the fileWriteSequence
-
Create a sequence named
fileWriteSequencewith the following configuration. See the instructions on creating a sequence.<sequence xmlns="http://ws.apache.org/ns/synapse" name="fileWriteSequence"> <log level="custom"> <property name="sequence" value="fileWriteSequence"/> </log> <property xmlns:ns2="http://org.apache.synapse/xsd" name="transport.vfs.ReplyFileName" expression="fn:concat(fn:substring-after(get-property('MessageID'), 'urn:uuid:'), '.txt')" scope="transport"/> <property name="OUT_ONLY" value="true"/> <send> <endpoint name="FileEpr"> <address uri="vfs:file:///home/username/test/out"/> </endpoint> </send> </sequence> -
Edit the sequence and define the directory to which the file should be moved.
Create the sendMailSequence
-
Create a sequence named
sendMailSequencewith the following configuration. See the instructions on creating a sequence.<sequence xmlns="http://ws.apache.org/ns/synapse" name="sendMailSequence"> <log level="custom"> <property name="sequence" value="sendMailSequence"/> </log> <property name="messageType" value="text/html" scope="axis2"/> <property name="ContentType" value="text/html" scope="axis2"/> <property name="Subject" value="File Received" scope="transport"/> <property name="OUT_ONLY" value="true"/> <send> <endpoint name="FileEpr"> <address uri="mailto:[email protected]"/> </endpoint> </send> </sequence> -
Edit the sequence and define the e-mail address to which the notification should be sent.
Create the Smooks configuration
Create a smooks configuration file (for example smooks-config.xml) as shown below and save it to a location on your computer.
<smooks-resource-list xmlns="http://www.milyn.org/xsd/smooks-1.0.xsd">
  <!--Configure the CSVParser to parse the message into a stream of SAX events. -->
  <resource-config selector="org.xml.sax.driver">
    <resource>org.milyn.csv.CSVReader</resource>
    <param name="fields" type="string-list">name,surname,phone</param>
  </resource-config>
</smooks-resource-list>
Create a local registry entry
Configure a local entry as shown below. This local entry will be used to refer to the smooks configuration. See the instructions on creating a local registry configuration.
<localEntry key="smooks" src="file:resources/smooks-config.xml"/>Step 3: Package the artifacts
Package the artifacts in your composite application module to be able to deploy the artifacts in the server.
- Open the
pom.xmlfile in the composite exporter module. - Ensure that the relevant artifacts are selected in the POM file.
- Save the changes.
Step 4: Configure the Micro Integrator server
-
Click the Embedded Micro Integrator Configuration (
 ) icon on the upper menu to open the dialog box.
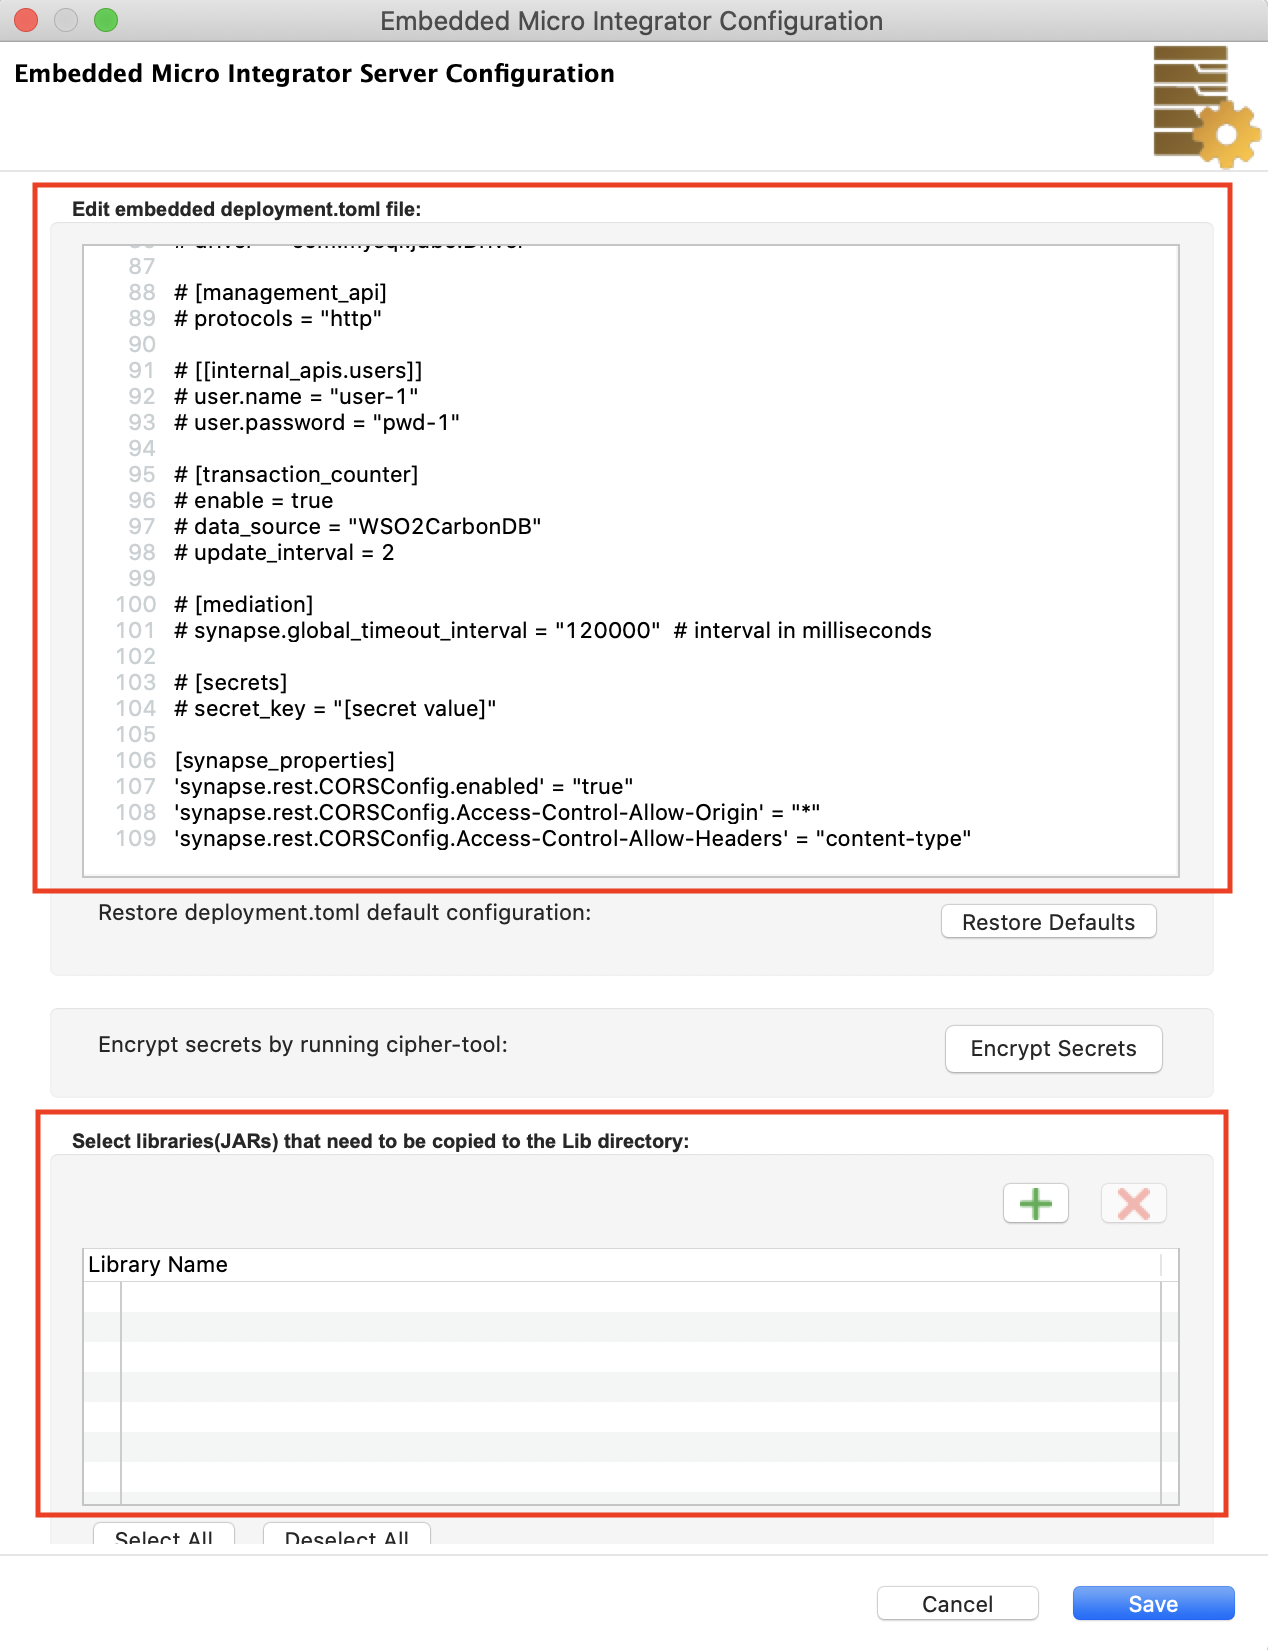
-
Add the following server configurations (to the
deployment.tomlfile) using the upper section in the dialog box.-
The VFS transport is enabled in the Micro Integrator by default. Enable the MailTo transport for sending the email message as shown below and update the values:
[[transport.mail.sender]]
name = "mailto"
parameter.hostname = "smtp.gmail.com"
parameter.port = "587"
parameter.enable_tls = true
parameter.auth = true
parameter.username = "demo_user"
parameter.password = "mailpassword"
parameter.from = "[email protected]"
Note
In this sample, you will not retrieve mails from a mailbox. Therefore, you do not need to enable the mailto transport receiver.
-
Add the following message formatter:
text_xml = "org.apache.axis2.transport.http.ApplicationXMLFormatter"
-
-
Click the (
 ) icon in the lower section and add the following drivers and libraries.
 Note
These are copied to the
/libfolder of the embedded Micro Integrator.
Step 5: Build and run the artifacts
To test the artifacts, deploy the packaged artifacts in the embedded Micro Integrator:
- Right-click the composite exporter module and click Export Project Artifacts and Run.
- In the dialog box that opens, confirm that the required artifacts from the composite exporter module are selected.
- Click Finish.
The artifacts will be deployed in the embedded Micro Integrator and the server will start.
- See the startup log in the Console tab.
- See the URLs of the deployed services and APIs in the Runtime Services tab.
Step 6: Test the use case
Create the input file
Create a text file with the following format:
name_1, surname_1, phone_1
name_2, surname_2, phone_2
Save the file in the .txt format to the in directory that you specified.
Analyze the result
The Micro Integrator listens on a local file system directory. When a file is dropped into the in directory, the Micro Integrator picks
this file.
- Make sure the file appears in the
outdirectory. - The Micro Integrator inserts the records from the text file to the database. Make sure the data is in the info table. The following screenshot displays the content of the
test.infotable with the data from the file. - Make sure the original file is moved to the
/home/<username>/test/originaldirectory. - Make sure the e-mail notification is sent to the email address that is specified. The message should contain the file data. The
following screenshot displays a notification received. If you see the error message
Username and Password not acceptedin the logs, you might need to turn onAllow less secure appsin your Google account from here.