Creating a Data Service
Follow the instructions given below to create a new data service artifact.
Tip
You can also use a sample template to create your data service.
- Open the Getting Started view of WSO2 Integration Studio (Menu -> Help -> Getting Started).
- In the Getting Started view, go to the Data Service tab and select the REST Data Service example.
Instructions
Create the data service artifact
Follow the steps given below to create the data service file:
-
Right-click the Data Service Config module in the project explorer and go to New -> Data Service.

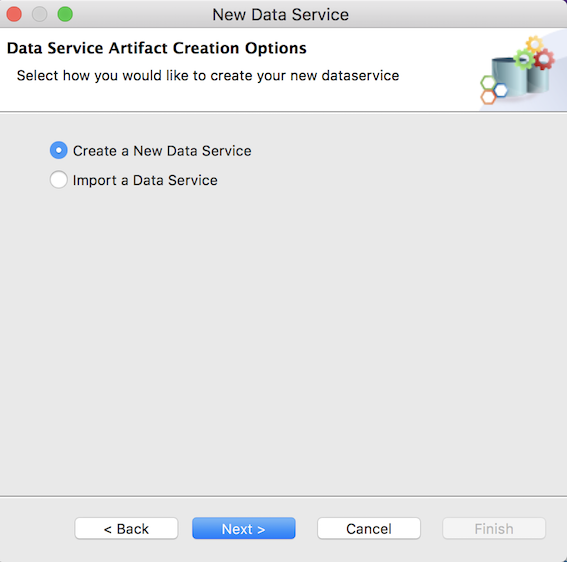
-
In the New Data Service wizard that opens, select Create New Data Service and click Next.
-
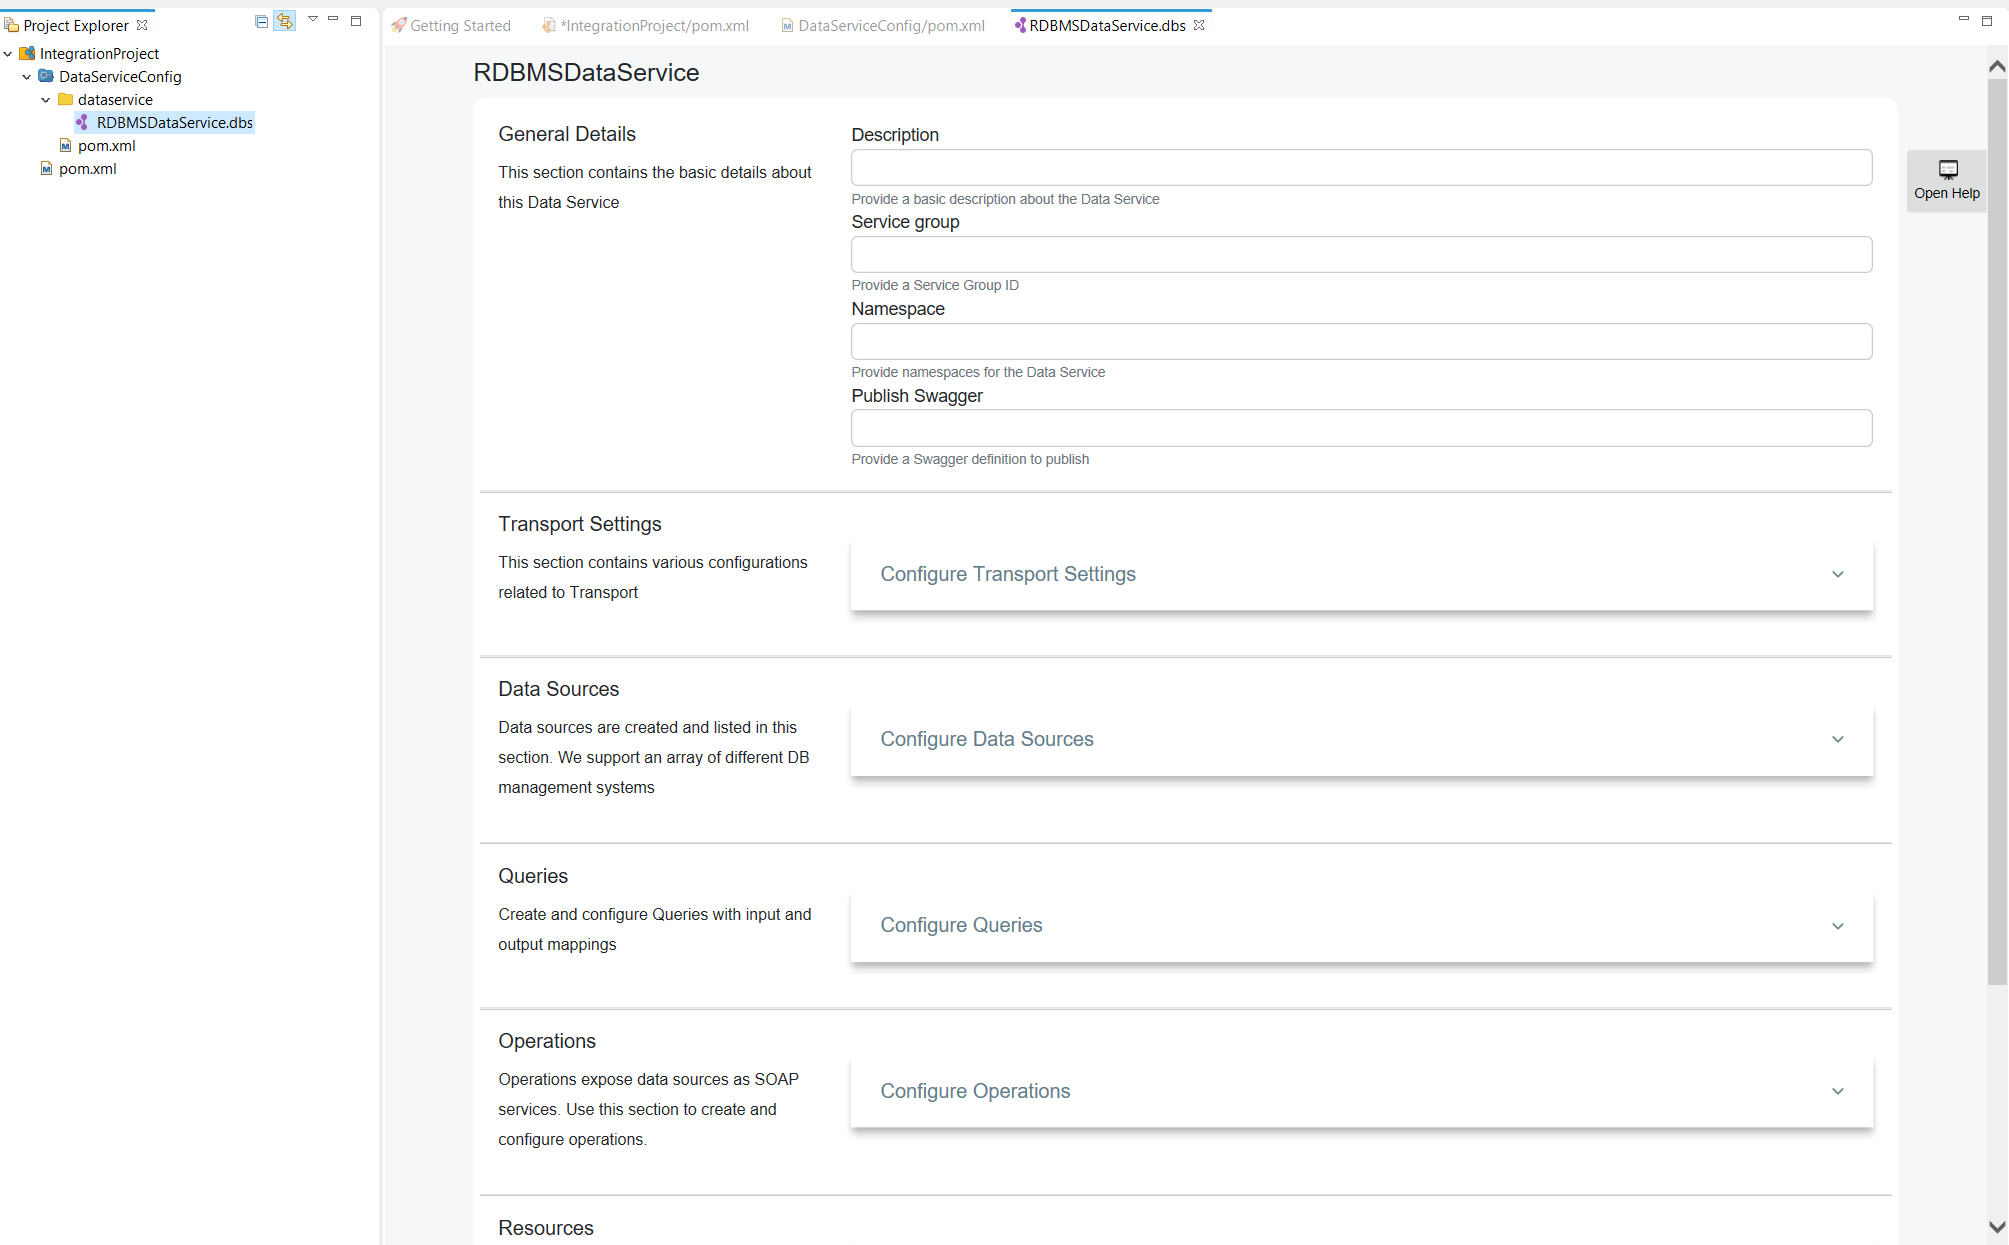
Enter a name for the data service and click Finish.
A data service file (DBS file) will now be created in your data service project as show below.
Adding a datasource
You can configure the datasource connection details using this section.
-
Click Data Sources to expand the section.
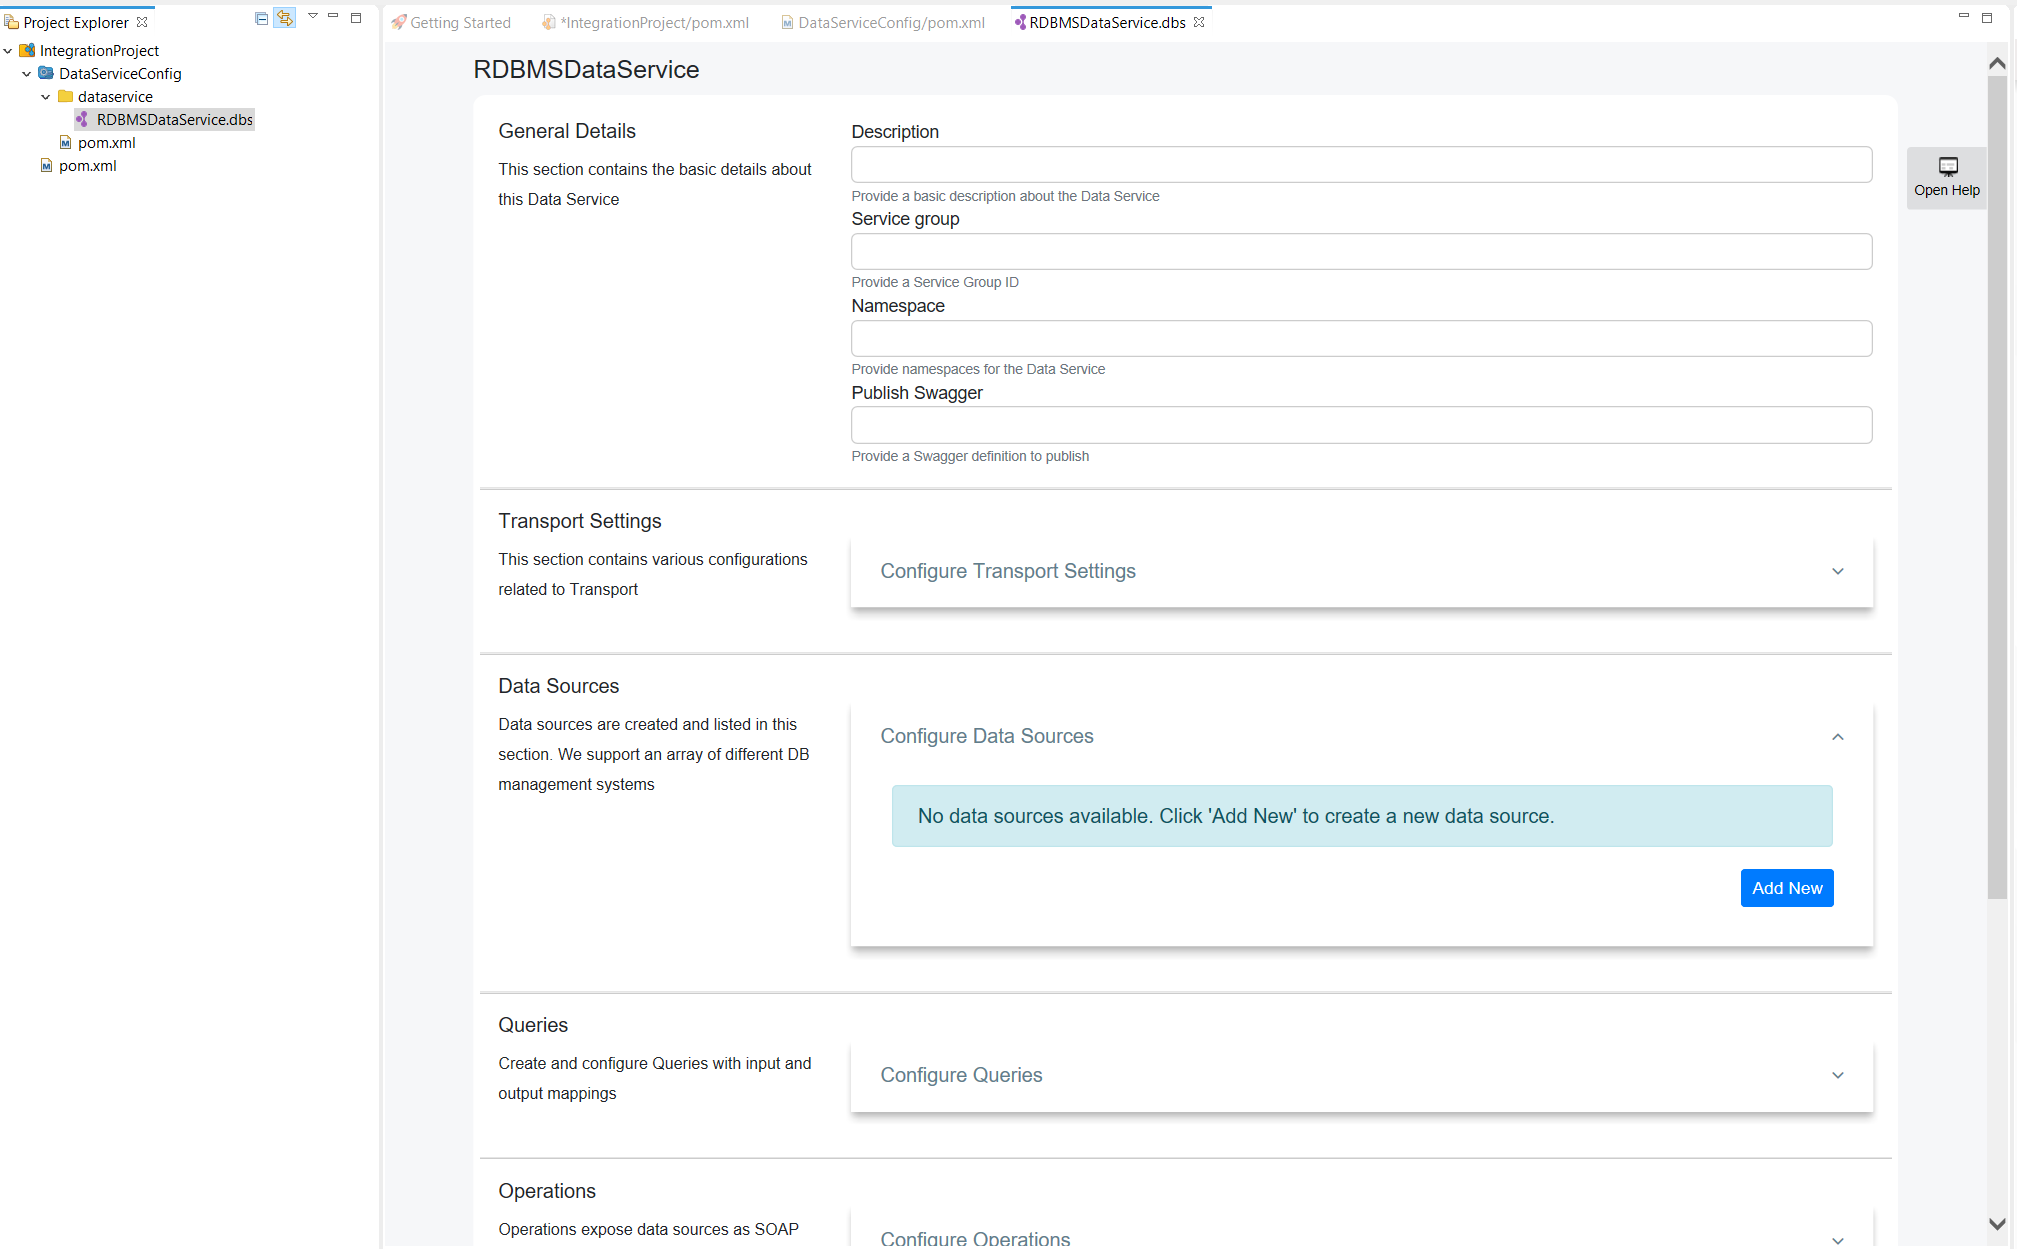
-
Click Add New to open the Create Datasource page.
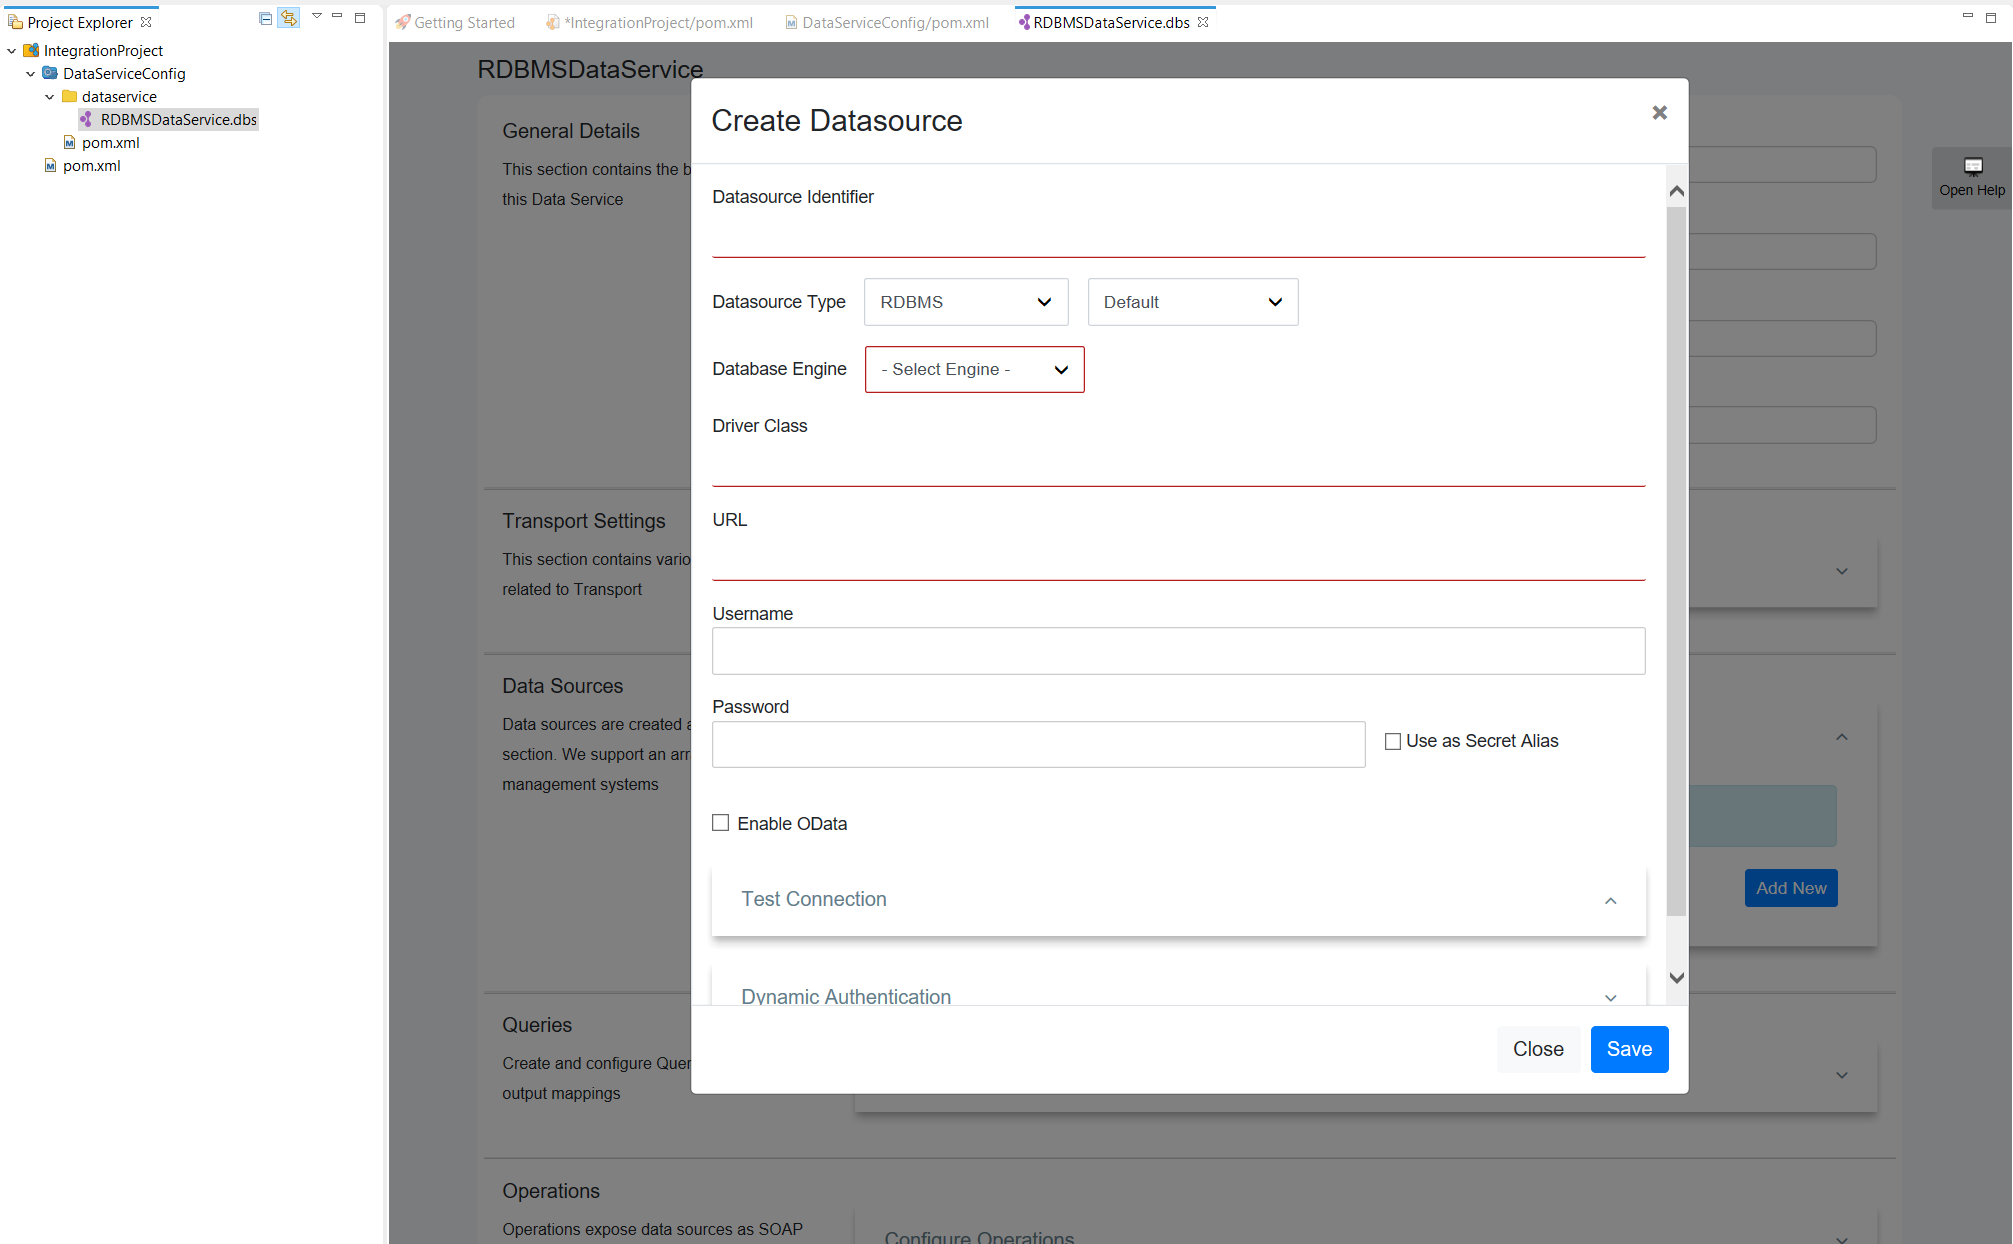
-
Enter the datasource connection details.
-
Click Test Connection to expand the section.
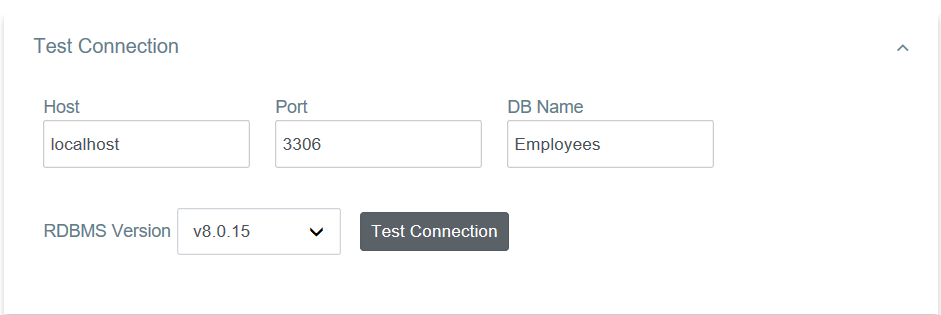
-
Click the Test Connection button to verify the connectivity between the MySQL datasource and the data service.
-
Save the data service.
Creating a query
You can configure the main query details using this section.
-
Click Queries to expand the section.
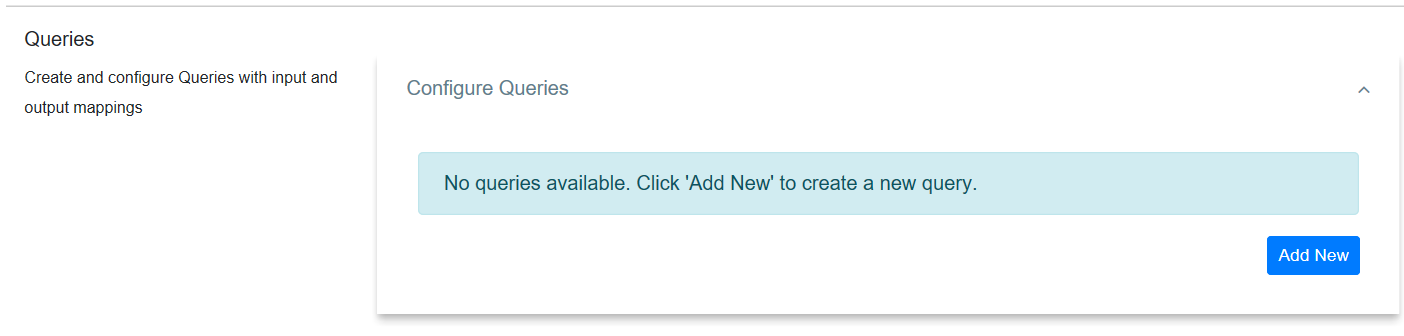
-
Click Add New to open the Add Query page.
-
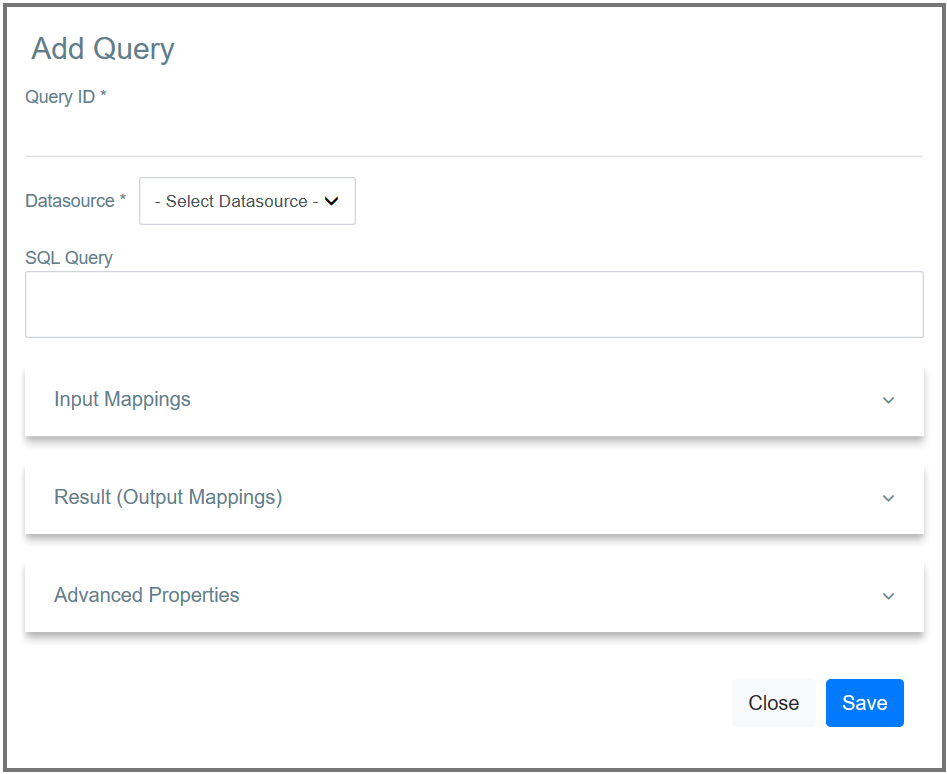
Enter the following query details.
Parameter Description Query ID Give a unique name to Identify the Query. Datasource All the datasources created for this data service are listed. Select the required datasource from the list. SQL Query You can enter the SQL query in this text box.
Input mapping
You can configure input parameters for the query using this section.
-
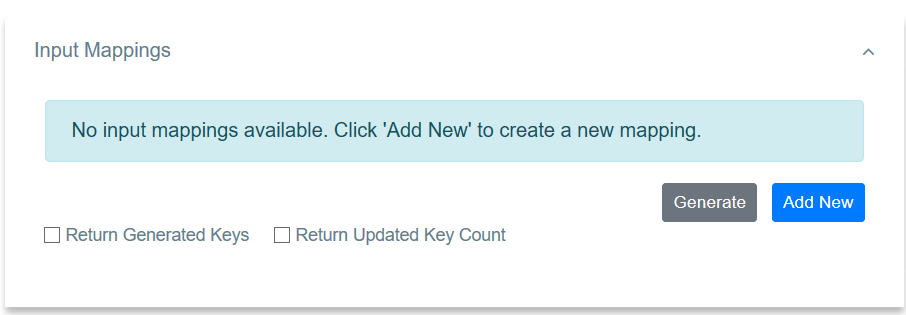
Click Input Mappings to expand the section.
-
There are two ways to create the mapping:
- You can click Generate to automatically generate the input mappings from the SQL query.
-
If you want to add a new input mapping:
-
Click Add New to open the Add Input Mapping page.

-
Enter the following input mapping details:
Parameter Description Mapping Name Give a name for the mapping. Parameter Type The parameter type. SQL Type The SQL type. -
Save the input mapping.
-
Shown below is an example query with input mapping:

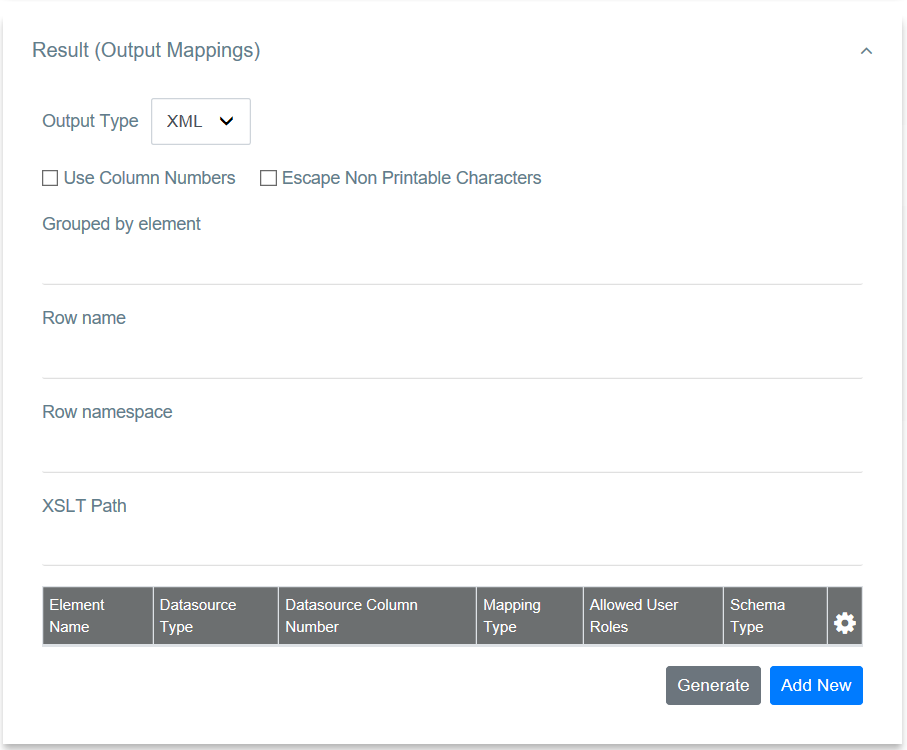
Result (Output Mappings)
You can configure output result parameters for the query using this section.
-
Click Result (Output Mappings) to expand the section.
-
Enter the following details:
Property Description Grouped by Element Employees -
There are two ways to create the output mapping:
- You can click Generate to automatically generate the output mappings from the SQL query.
-
Alternatively, you can manually add the mappings:
-
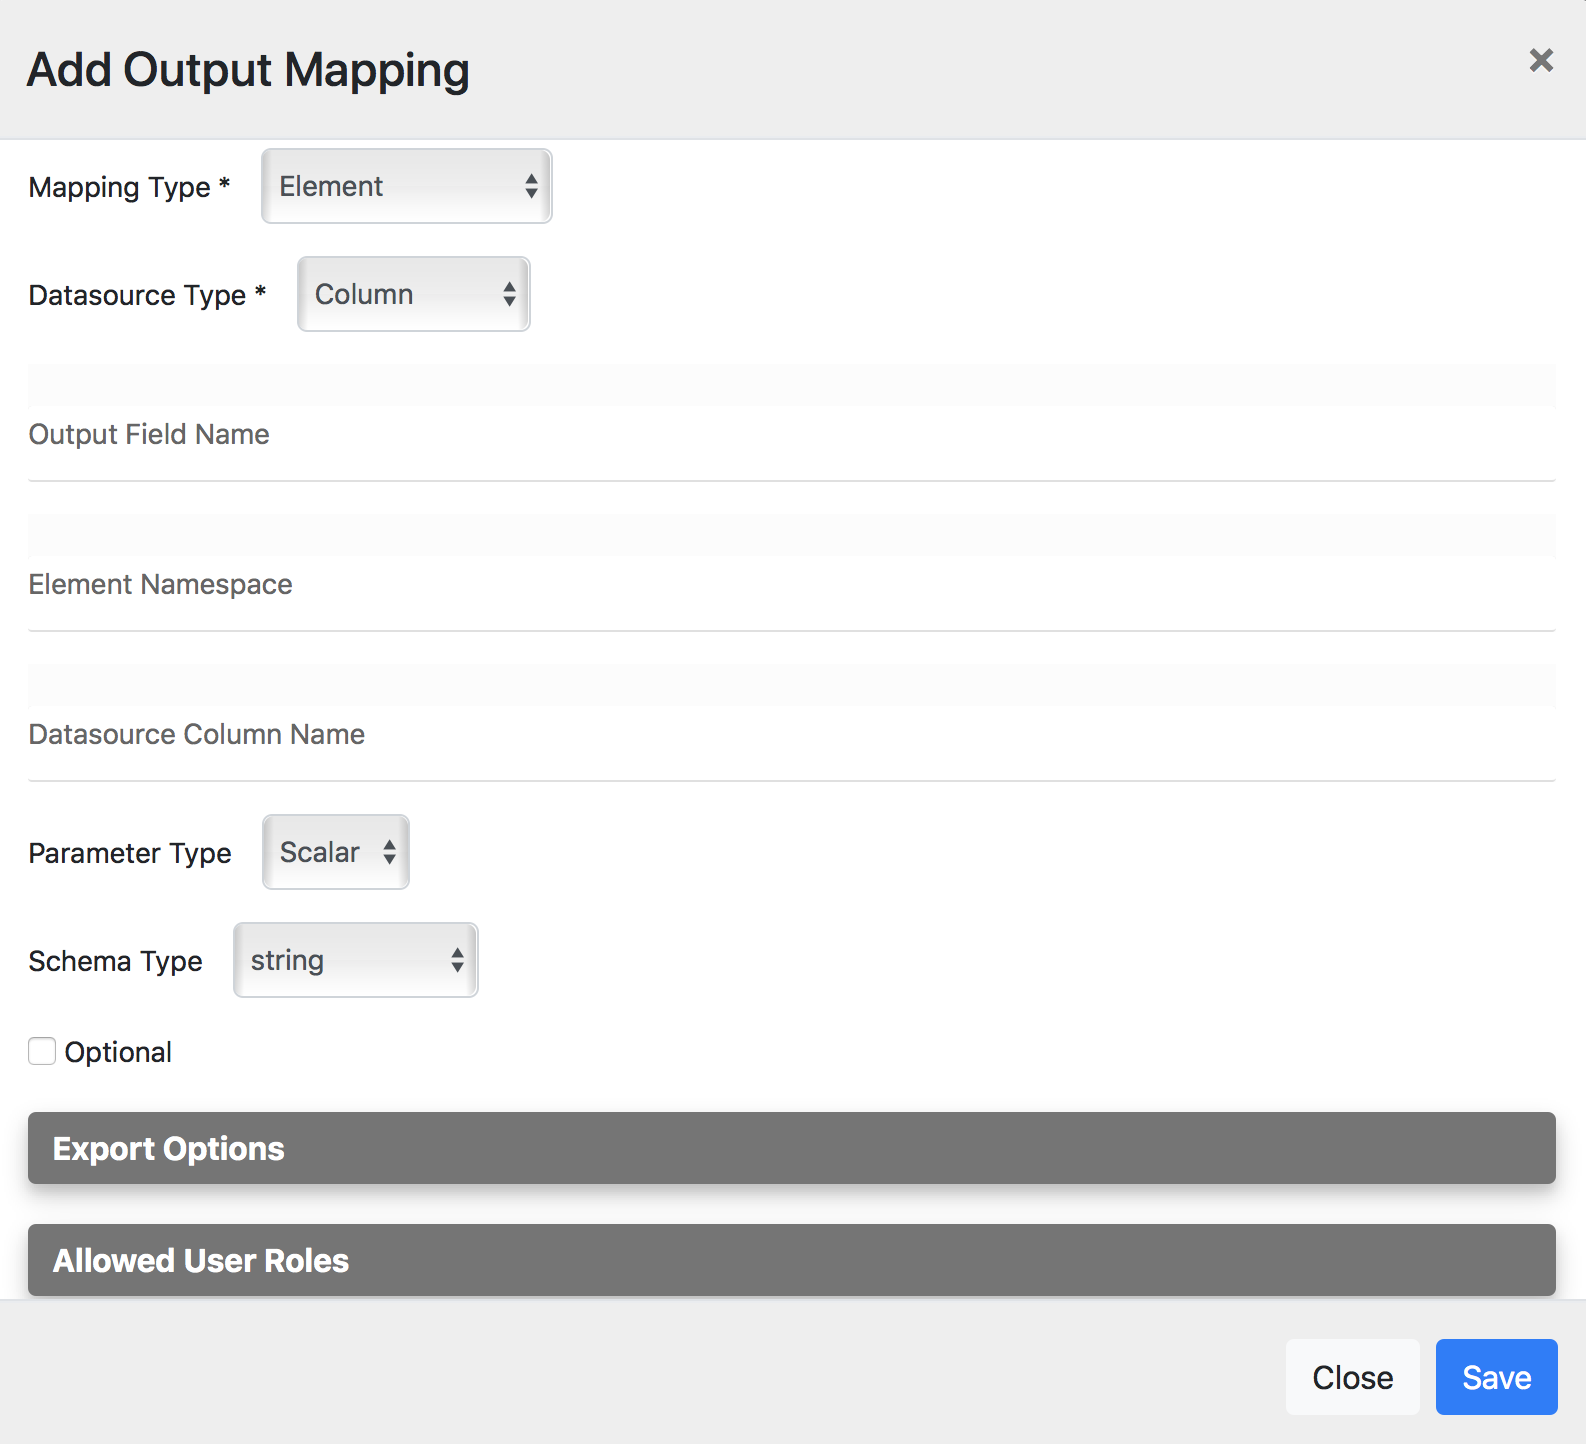
Click Add New to open the Add Output Mapping page.
-
Enter the following output element details.
Property Description Datasource Type column Output Field Name EmployeeNumber Datasource Column Name EmployeeNumber Schema Type String -
Save the element.
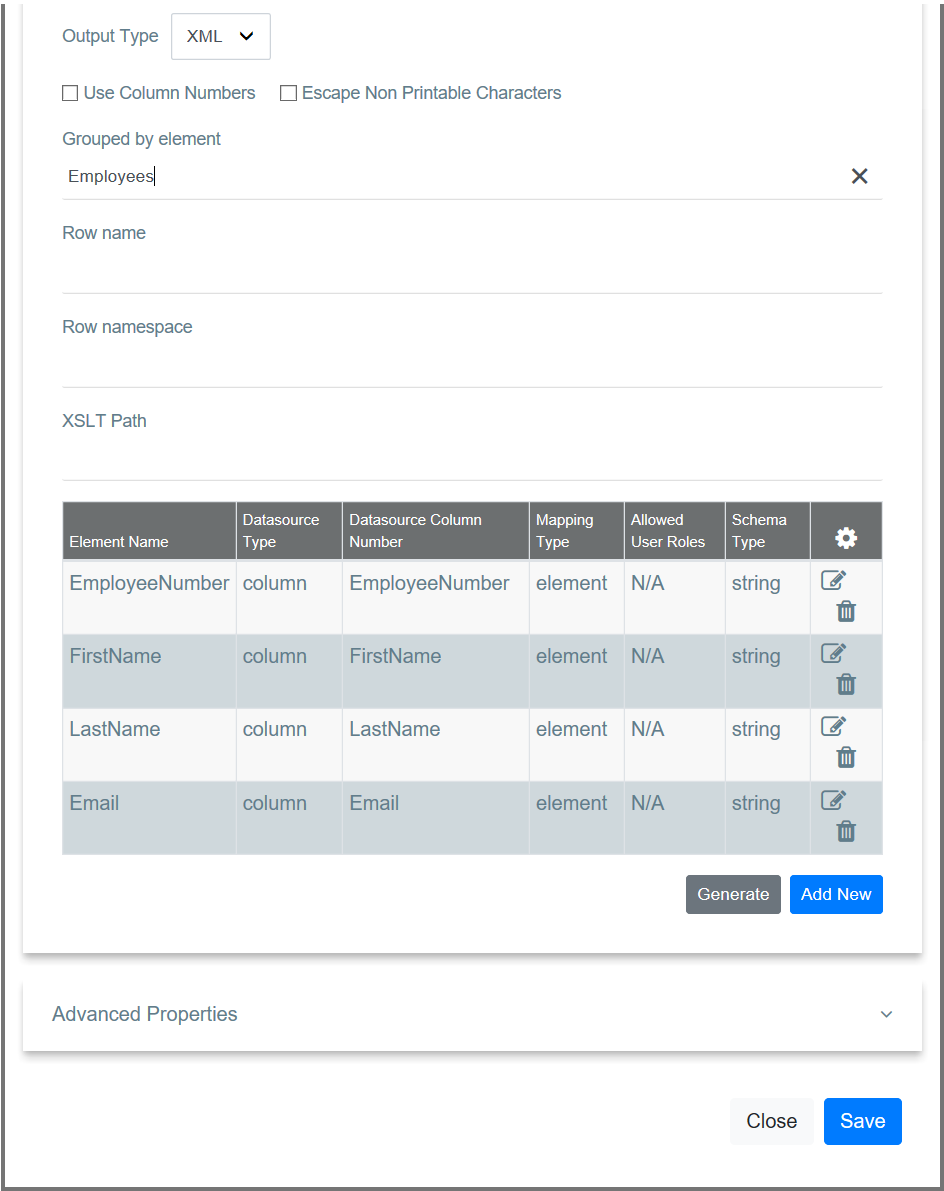
- Follow the same steps to create the remaining output elements.
-
Shown below is an example query with output mappings:
Advanced properties
Click Advanced Properties to expand the section and add the required parameter values.
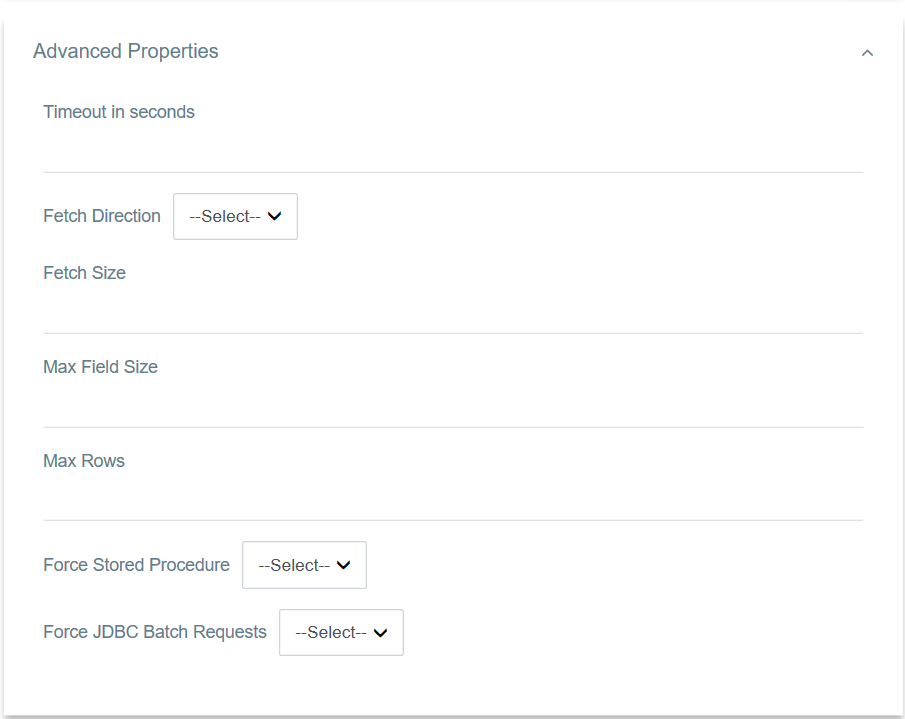
The data service should now have the query element added.
Adding a SOAP operation
Use this section to configure a SOAP operation for invoking the data service.
-
Click Operations to expand the section.

-
Click Add New to add a SOAP Operation for your data service.
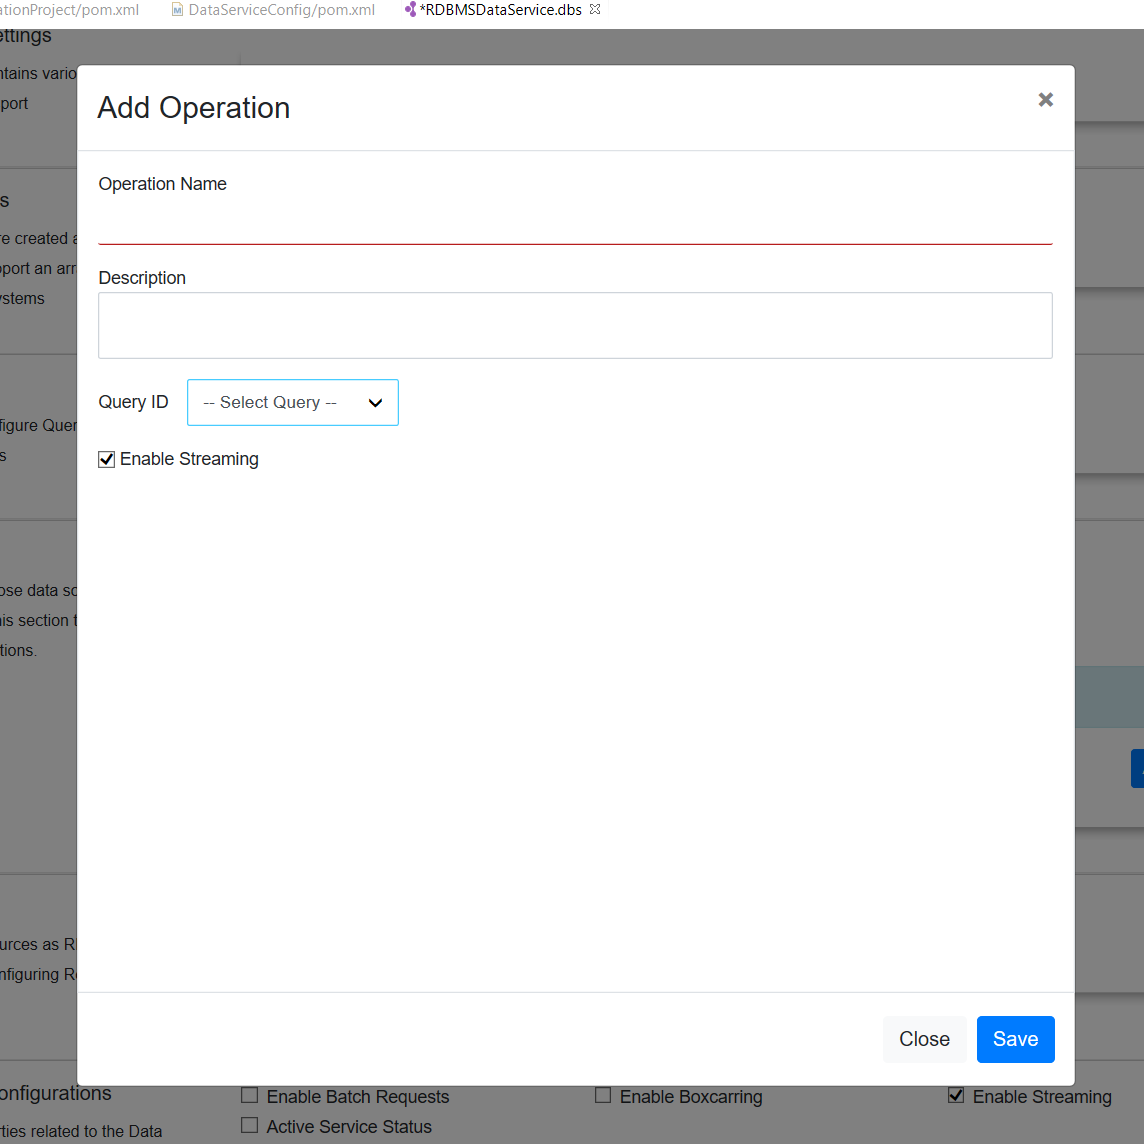
-
Enter the following information:
Parameter Description Operation Name Give a name to the SOAP Operation. Query ID Select the Query from the listed queries. Operation Parameters Click Add New to add new parameters to the operation.
Adding a Resource
Use this section to configure a REST resource for invoking the data service.
-
Click Resources to expand the section.
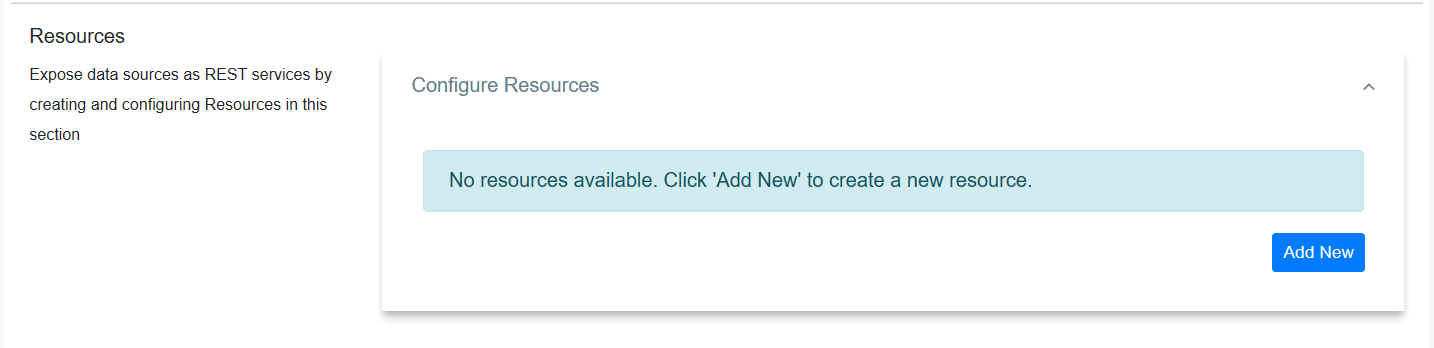
-
Click Add New to add a new resource.
-
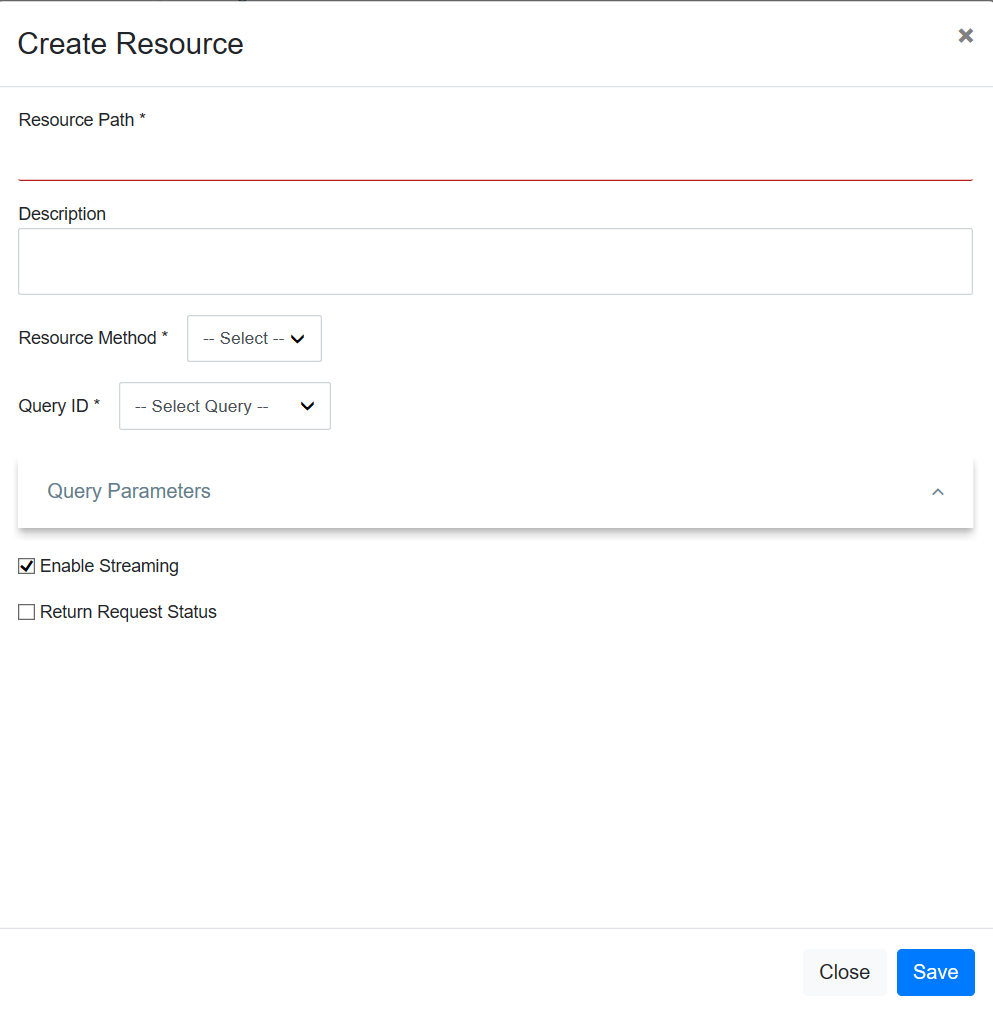
Give the following details to create the REST resource.
Parameter Description Resource Path Give the HTTP REST resource path you need to expose. Query ID Select the Query ID from the drop down list that you need to expose as a REST resource. -
Click Save to add the resource to the data service.
The data service should now have the resource added.
Generate Data Service from a Datasource
Follow the steps given below to automatically create a data service using a given datasource structure. When generating a data service, the server takes its table structure according to the structure specified in the datasource and automatically creates the SELECT, INSERT, UPDATE, and DELETE operations.
-
Create a datasource project and add a datasource in the current workspace. You can refer Creating a Datasource for more information.
-
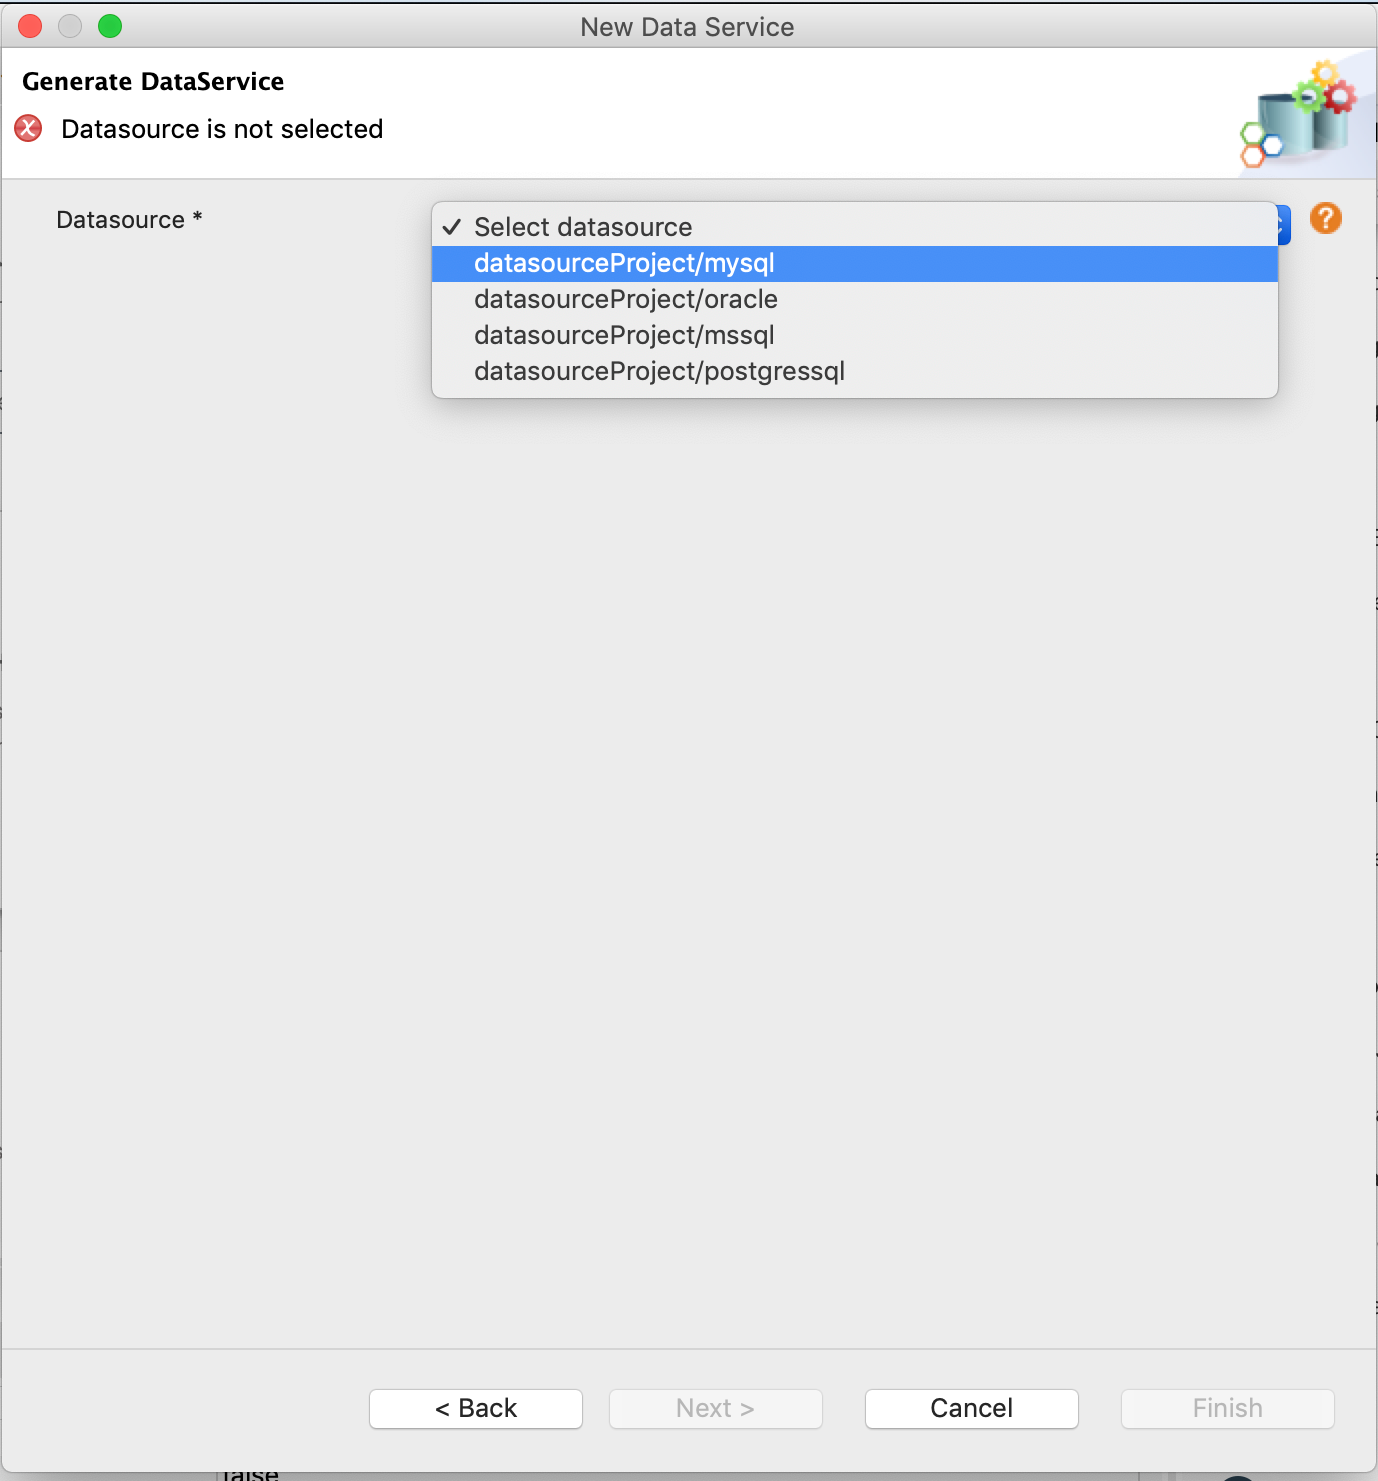
In the New Data Service wizard that opens, select Generate Data Service from Datasource and click Next.

-
From the wizard, select the datasource that you have configured in step 1.
-
Select the driver to connect to the datasource. There are two ways to select a driver:
- You can use an existing driver from the Integration Studio. You can select the driver version from the drop down.
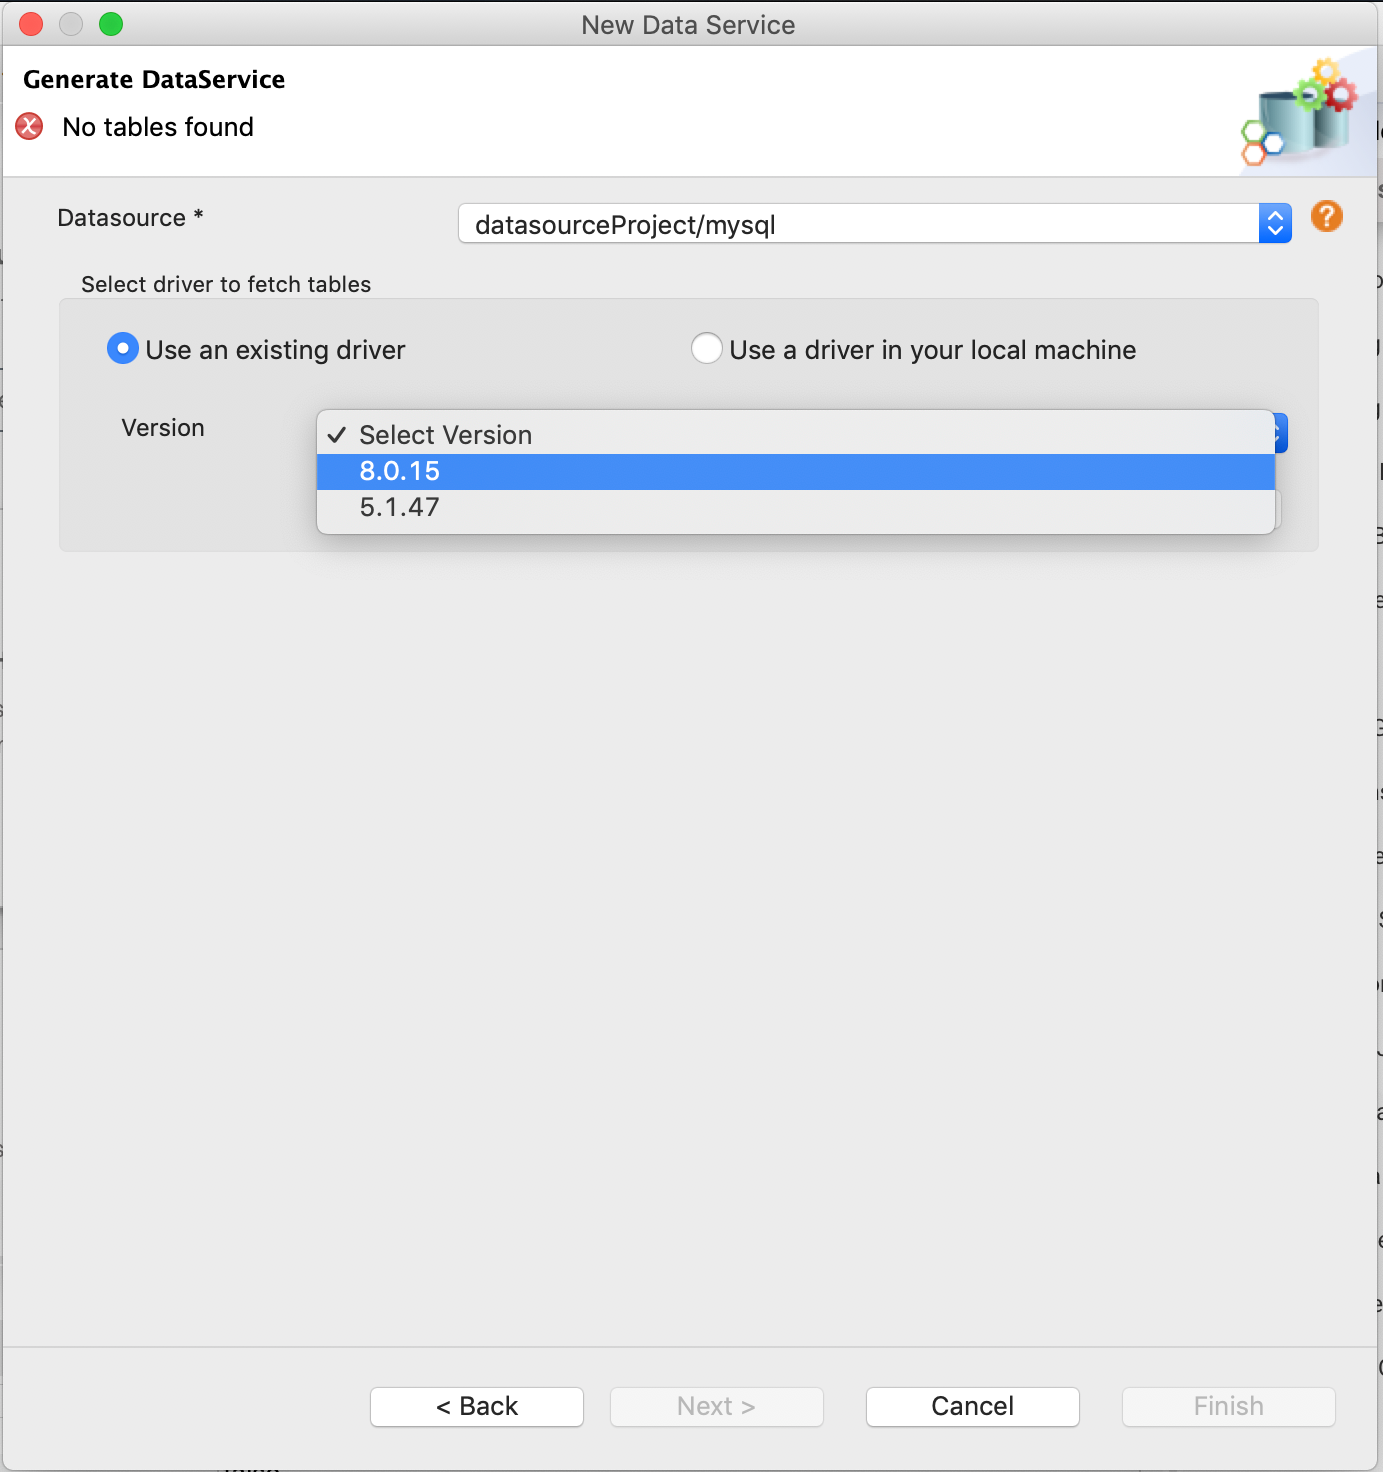
- You can browse and upload a driver from your file system.
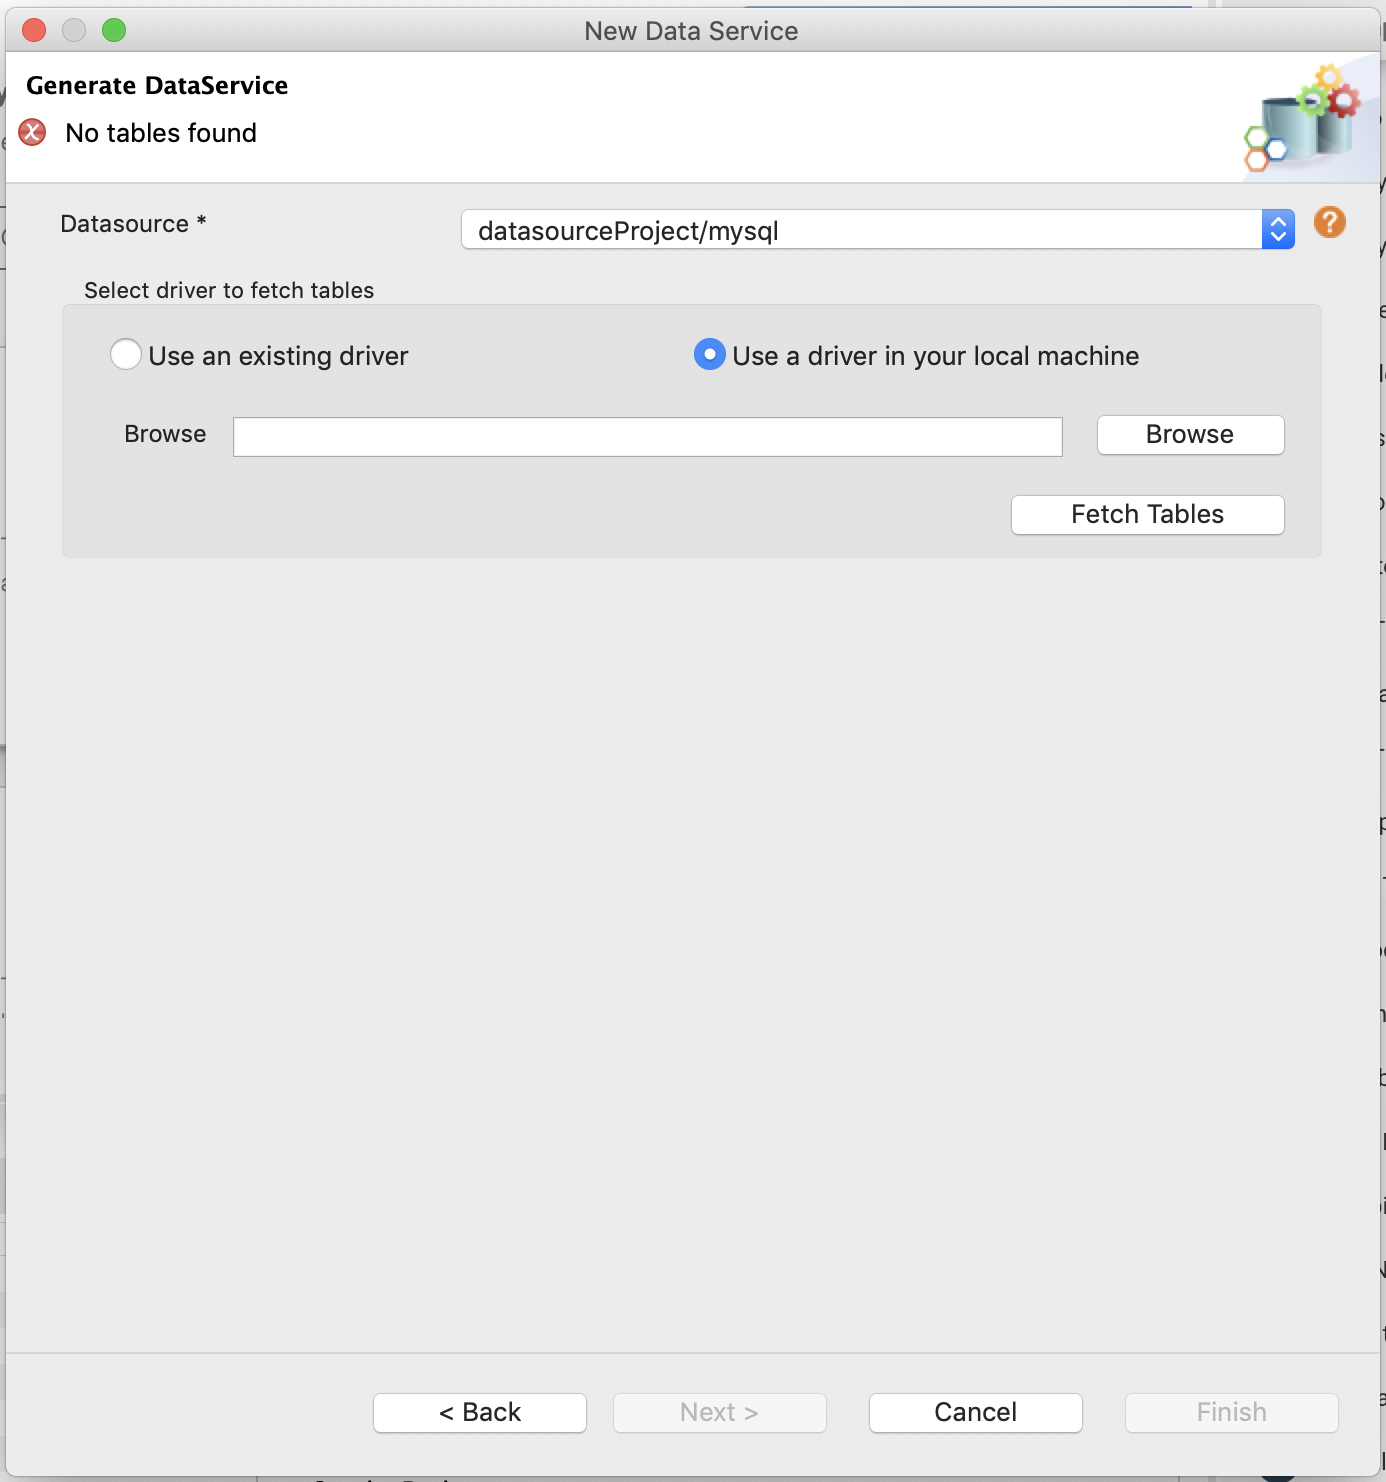
Then click Fetch Table to list down all avaialble tables in the selected datasource.
-
From the list of tables, select the tables and the REST resource methods that you want in the generated data service.
Note
- The POST REST method is enabled only when the database is not in read-only mode.
- The PUT and DELETE REST methods are enabled only when a primary key is defined on the table.

-
You can select a service generation mode from the following two options:
-
Single Service: Creates a single data service for resources of all tables. If this option is selected, you need to provide a name for the Data Service you are creating.
-
Multiple Services: Creates a service per table, which will contain isolated resources for each table.
-
-
Click Finish to generate the services and add to the dataservices project.
Examples
- Exposing an RDBMS Datasource
- Exposing Data in JSON Format
- Using an OData Service
- Using Nested Data Queries
- Batch Requesting
- Invoking Multiple Operations via Request Box
- Using Distributed Transactions in Data Services
- Validating Data Input