External Broker and Gateway Integration with API Manager
WSO2 API Manager now supports integrating external third party Gateways and Brokers. Solace is an advanced event broker which is efficiently streaming events and information across cloud, on-premises, and IoT environments. In this section, you will integrate the Solace gateway environment with API Manager.
Integrating the Solace Event Broker
-
Go to the Solace PubHub+ portal.
-
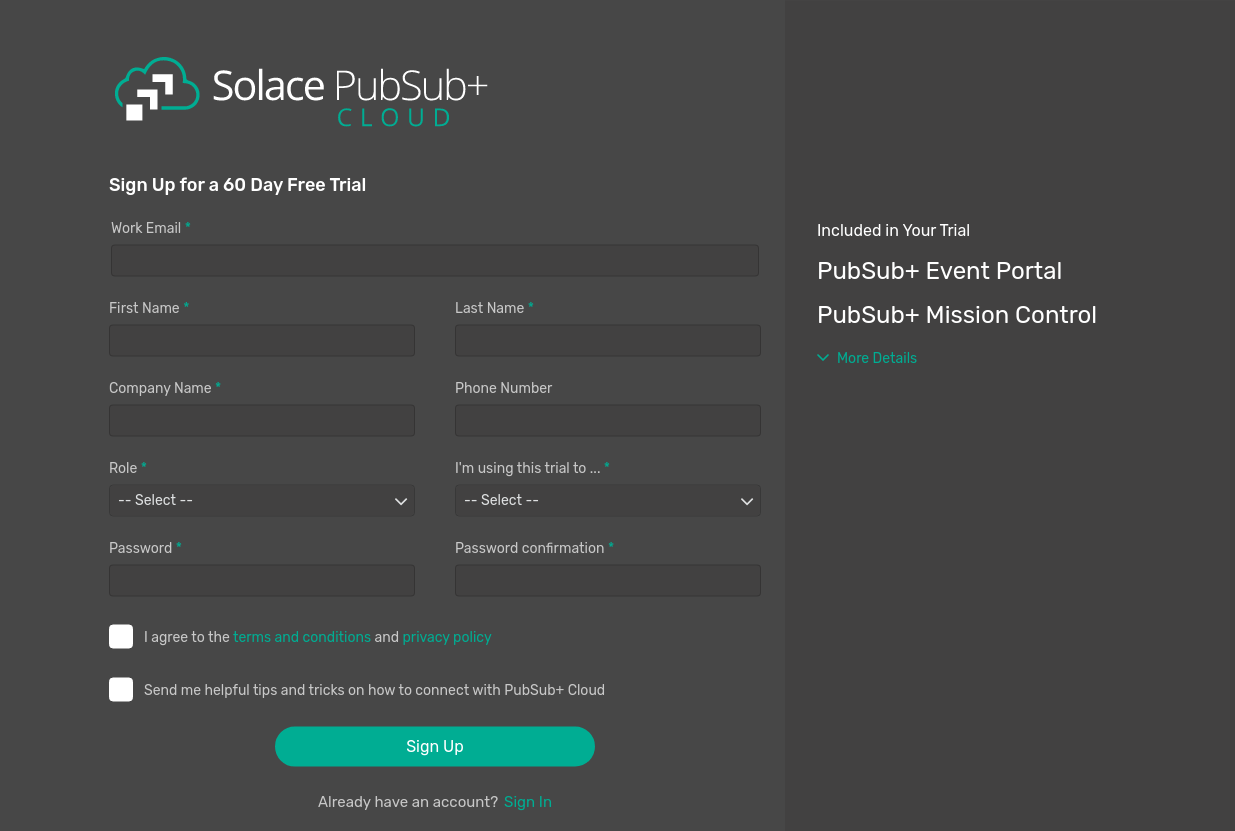
Create a new account and configure a Solace Broker.
Tip
See the Getting Started Guide for info on how to setup an account with Solace PubHub+.
- Extract the required configurations mentioned in Step-4 from the Solace broker.
- Open the
<API-M_HOME>/repository/conf/deployment.tomlfile and add the following according to your account details. Make sure to restart the server after adding the configurations.
Note that only all these properties are mandatory, except[[apim.gateway.environment]] name = <Name of the Solace Environment> display_name = <Display Name of the Solace Environment> type = <Type of the Environment> display_in_api_console = <Displays the environment under 'Try it' in the API Developer Portal, in the API console> description = <Description about Solace Environment> provider = <Vendor name of the environment. (Must be "solace")> service_url = <Base URL of the Solace broker> username = <Username of the Solace broker account> password = <Password of the Solace broker account> ws_endpoint = <WS Endpoint of the Solace broker environment> wss_endpoint = <WSS Endpoint of the Solace broker environment> http_endpoint = <HTTP Endpoint of the Solace broker environment> https_endpoint = <HTTPS Endpoint of the Solace broker environment> show_as_token_endpoint_url = false [apim.gateway.environment.properties] Organization = <Organization created in Solace> DevAccountName = <Solace Broker email ID>show_as_token_endpoint_url.
-
The Solace broker gateway is now available in the API Publisher.
Creating and deploying an API
You can use the Async API specification generated from the Solace PubSub+ Hub to create APIs in WSO2 API Manager.
Step 1 - Importing the Async API from Solace
Before you begin: Make sure that you have integrated the Solace event broker with WSO2 API Manager as shown in the above section.
- Login to the API Publisher via https://<hostname>:9443/publisher
-
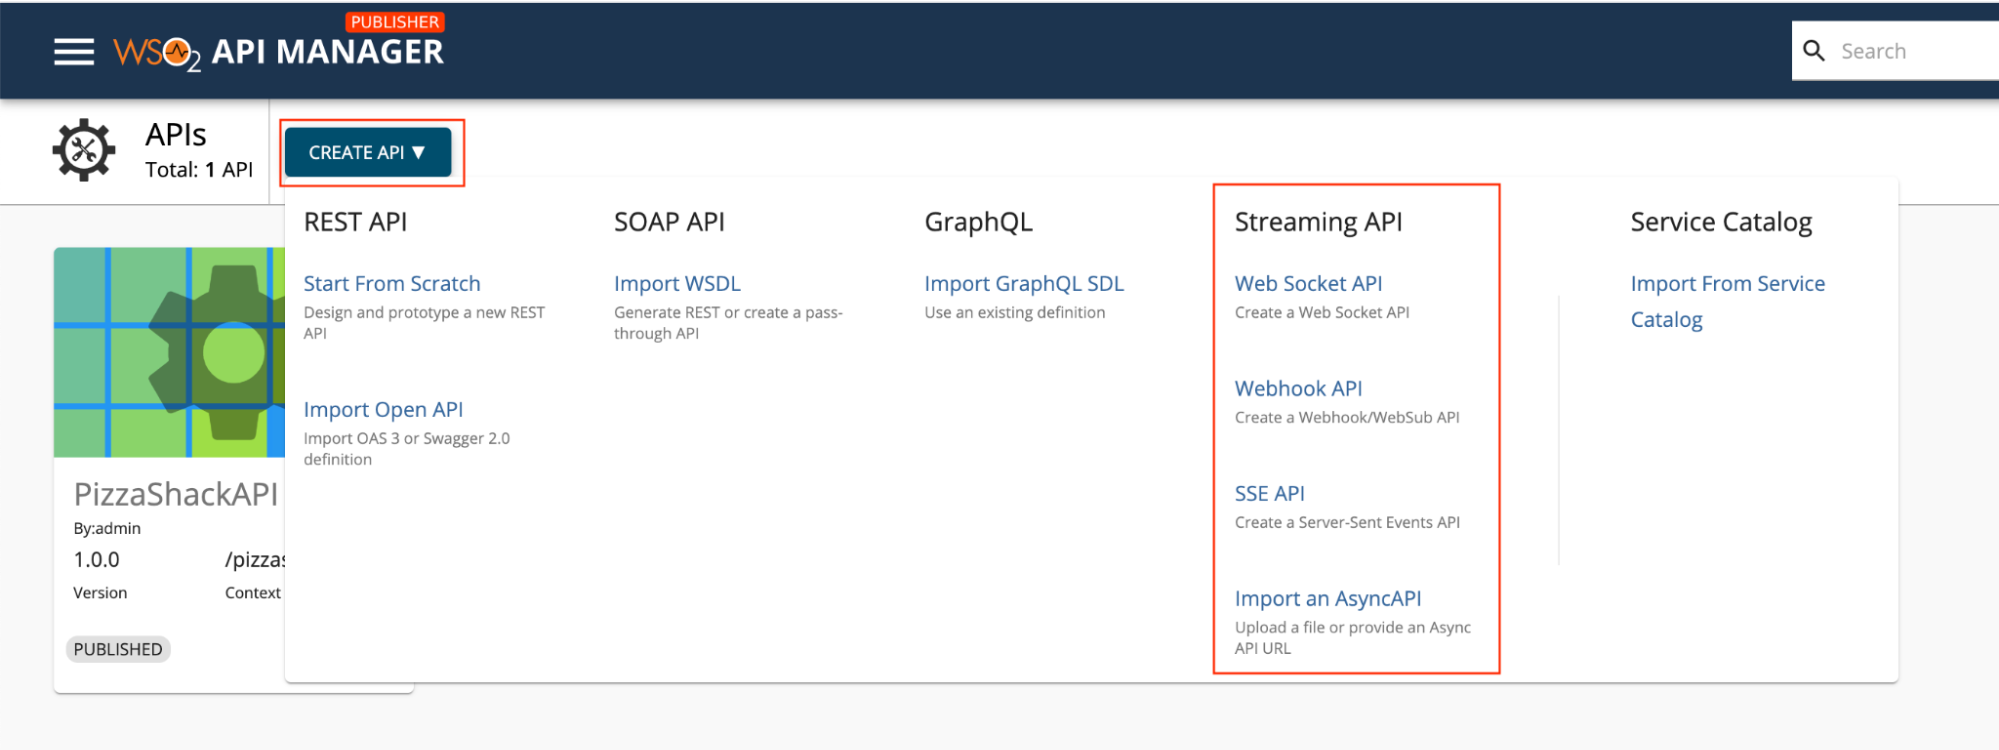
The following two options to import the AsynAPI definition appear.
- AsyncAPI URL - If you select this option, you need to provide a URL of a Solace API Specification.
- AsyncAPI File - If you select this option, click Browse File to Upload and upload a file, which contains a Solace AsyncAPI definition. Select your preferred method and click NEXT.
Info
If the Async API specification is a valid Solace Async API specification, the portal will display the Identified as Solace Event Portal API tag.
- Edit the Solace Async API information and click Create.
Note
The Async API definition of the Solace API will contain the specific API definition, with the supported protocols, such as HTTP, MQTT, AMQP, that the API topics have to use. You do not need to provide the protocol information separately
Step 2 - Configuring Topics
The topics will be created automatically from the Solace AsyncAPI definition provided in the previous step.
Step 3 - Viewing the Async API definition
-
Go to API Configurations and click AsyncAPI Definition to see the definition of the API you created in the previous step.

Warn
The current version of WSO2 API Manager only supports AsyncUnlimited Protocol as the API level subscription policy for Solace APIs. Once a subscription is made, that policy will be added automatically.
Step 4 - Deploying the API to the Solace broker
-
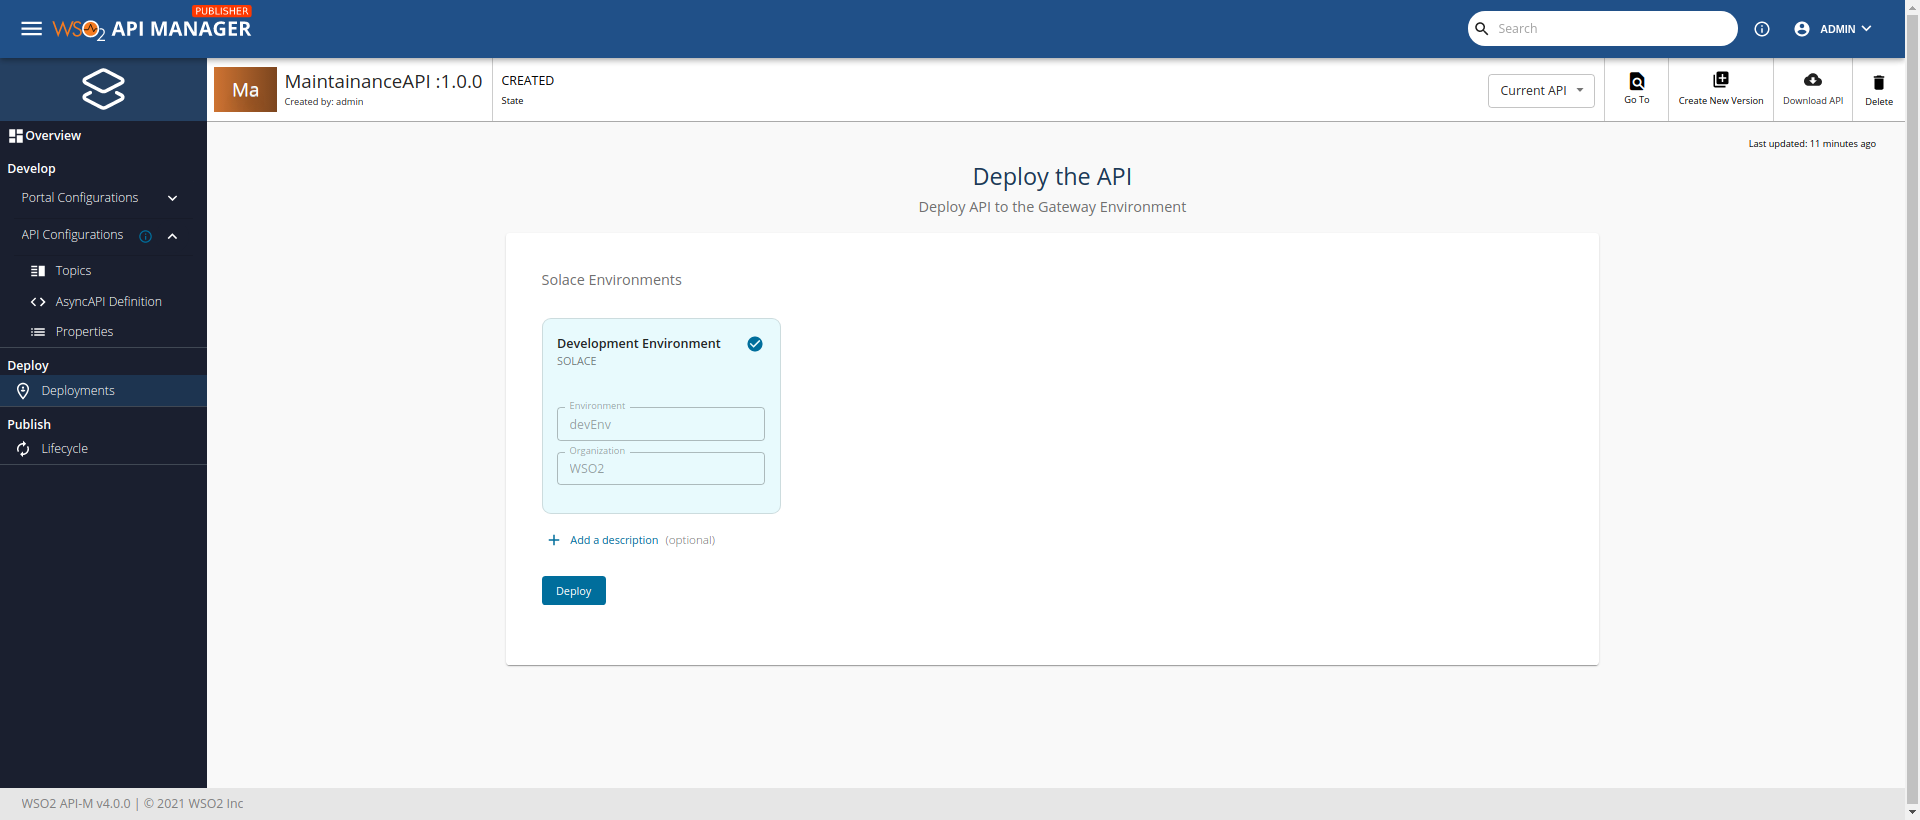
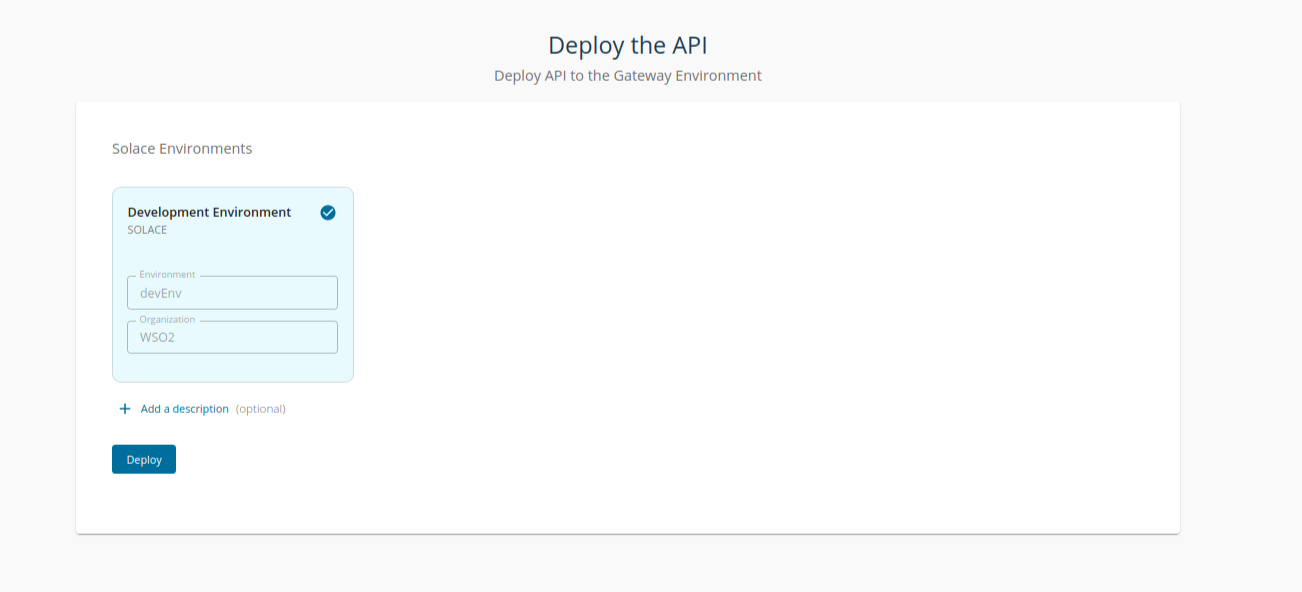
Select the Deployment environment and click Deploy.
- The API revision will be created. Select the API revision and click Deploy.
- The Solace API will be deployed to the Solace Broker environment that is user-provided.

Step 5 - Publishing the API
See Publish an API for instructions on publishing the API created in the previous steps.
Subscribing to an API
You have to subscribe to a published Solace API before consuming them. The subscription process fulfills the authentication process and provides you with access tokens that you can use to invoke an API. The subscription flow will be controlled by the WSO2 API Manager.
When the Application is attached with a Solace API Subscription, the solace broker will keep a copy of that Application for the authentication and validation process of the tokens generated by the WSO2 API Manager.
The following are the two methods available in the Developer Portal to subscribe an API to an application.
- Subscribe to an existing application - You can subscribe to a current API by selecting an existing application.
- Subscribe to an API using Key Generation Wizard - You can use the SUBSCRIPTION & KEY GENERATION WIZARD option to start the subscription process from scratch.
Note that the artifacts are deployed in the Solace broker, therefore API level and application-level throttling will not be supported for the Solace API subscriptions.
Note
The Applications subscribed to Solace APIs have pre-generated Production keys. Therefore, only the corresponding subscription will be made in the Solace broker. If you have not generated any keys such as Sandbox keys, then subscriptions will not be made in the Solace broker. If you subscribed to an application without Production keys and if you generate the Production keys then a subscription is created internally.
Info
- Internally an application is created for the subscription, and for a successful subscription, you can see a log like this in the carbon logs.
INFO - SolaceNotifierUtils Solace application 'app1' created successfully
- When subscribing to a Solace API, it takes few seconds to proceed. If you try to click the Subscribe button twice within a short period of time, it will give out an error in subscribing and the same error will appear when looking for Solace information.
Invoking an API
In this section, you will subscribe to the AsyncAPI through the Developer Portal
Step 1 - Subscribing to the Solace API
- Log in to the Developer Portal via https://<hostname>:9443/devportal
- Select your Solace API and navigate to the Overview.
- Subscribe to your API using the sample application. You can also create a new application for this purpose.
Step 2 - Generating keys
-
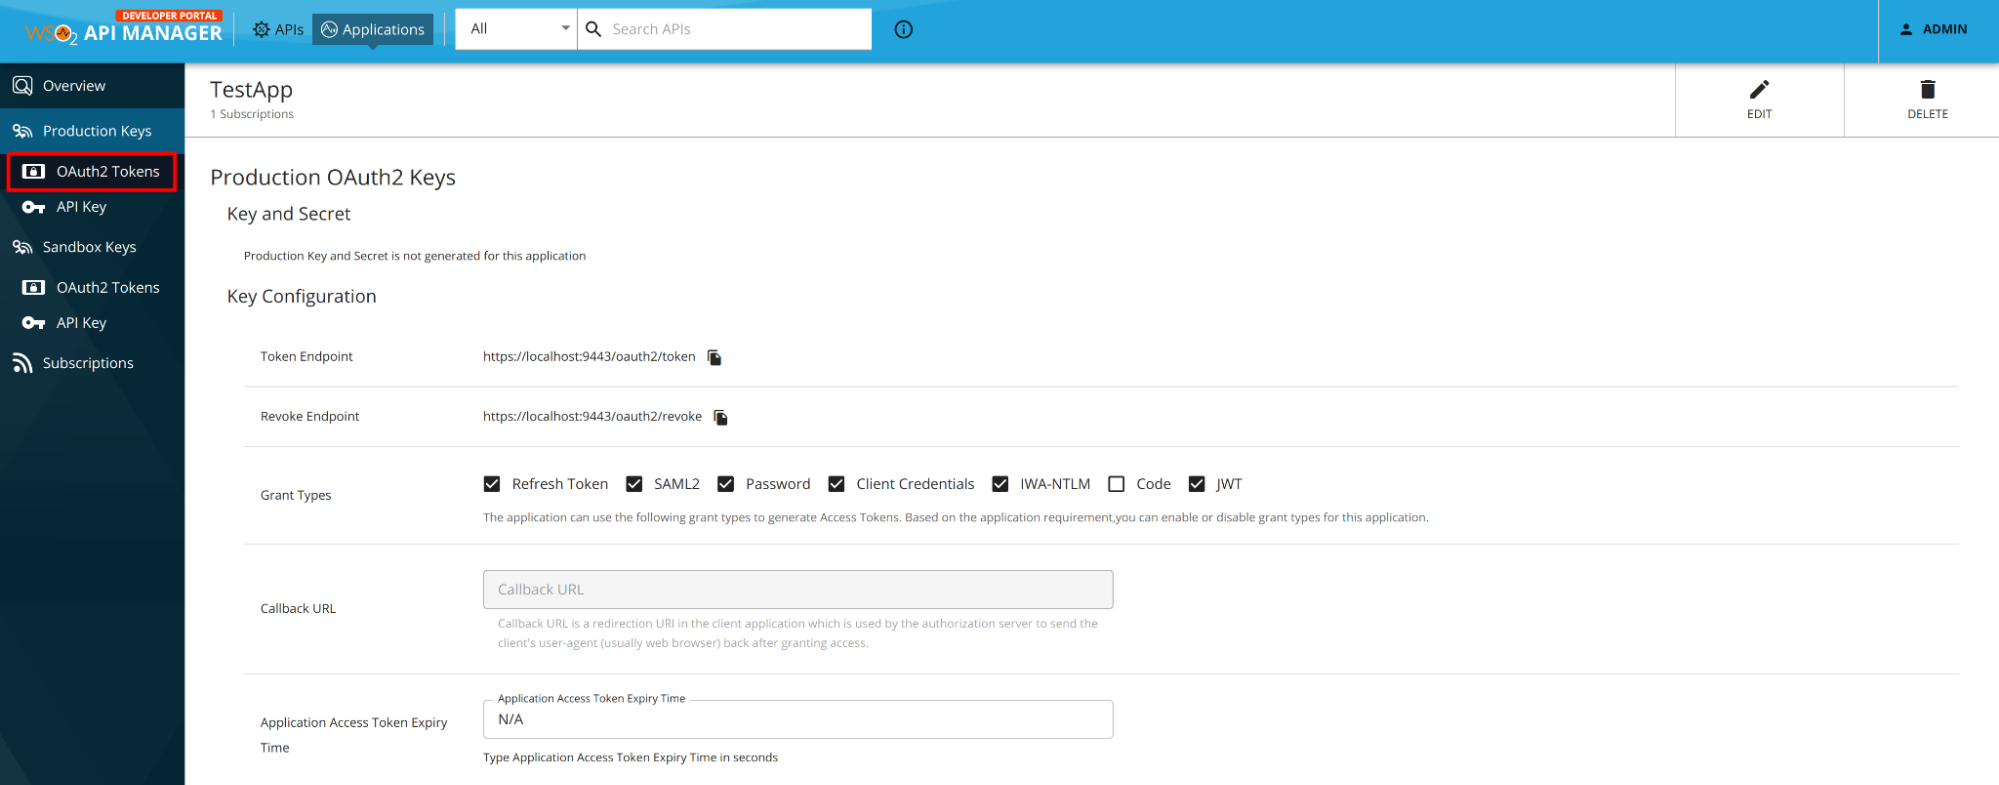
In the sample application, click Production Keys and navigate to OAuth2 Tokens.
-
Select the required grant types and other options and click GENERATE KEYS. Copy the generated access token.
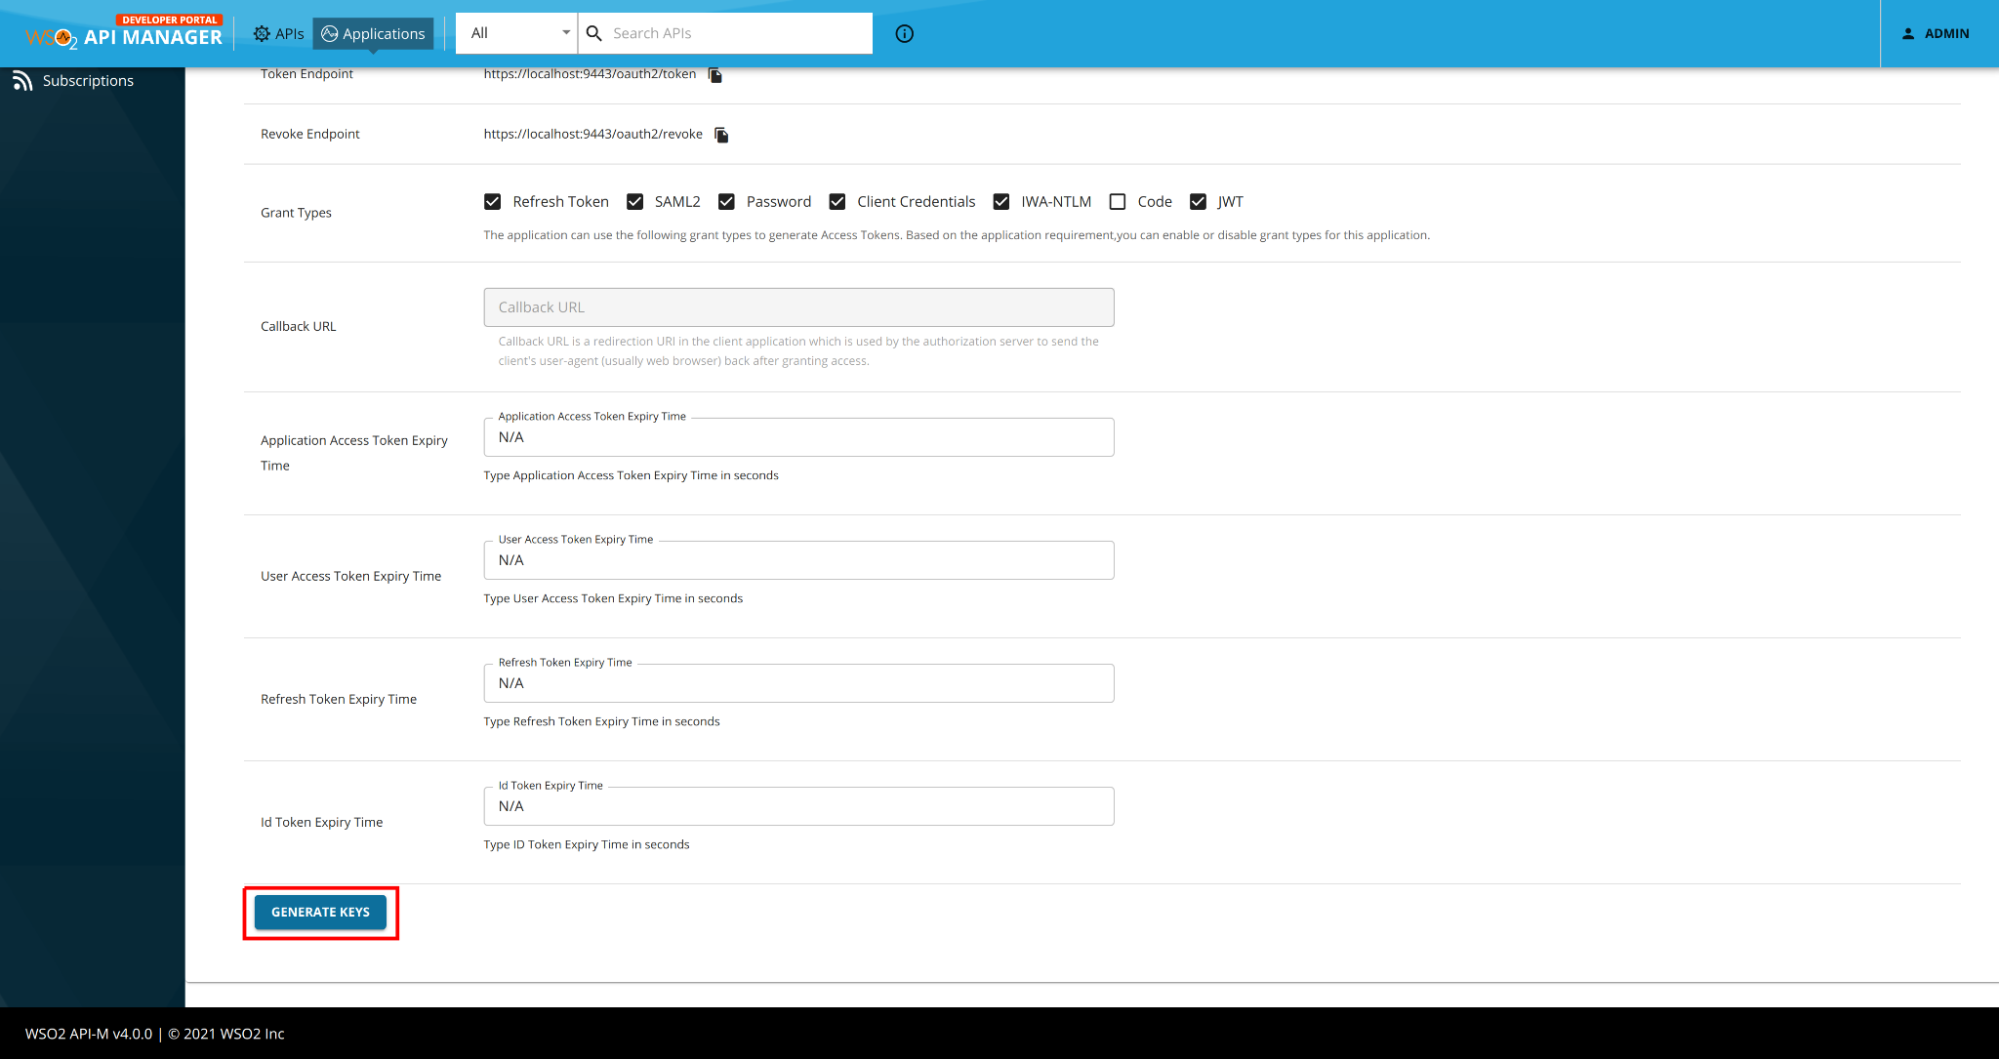
For instructions on generating keys see, Application Keys.
Step 3 - Selecting the Async Protocol and Topic
-
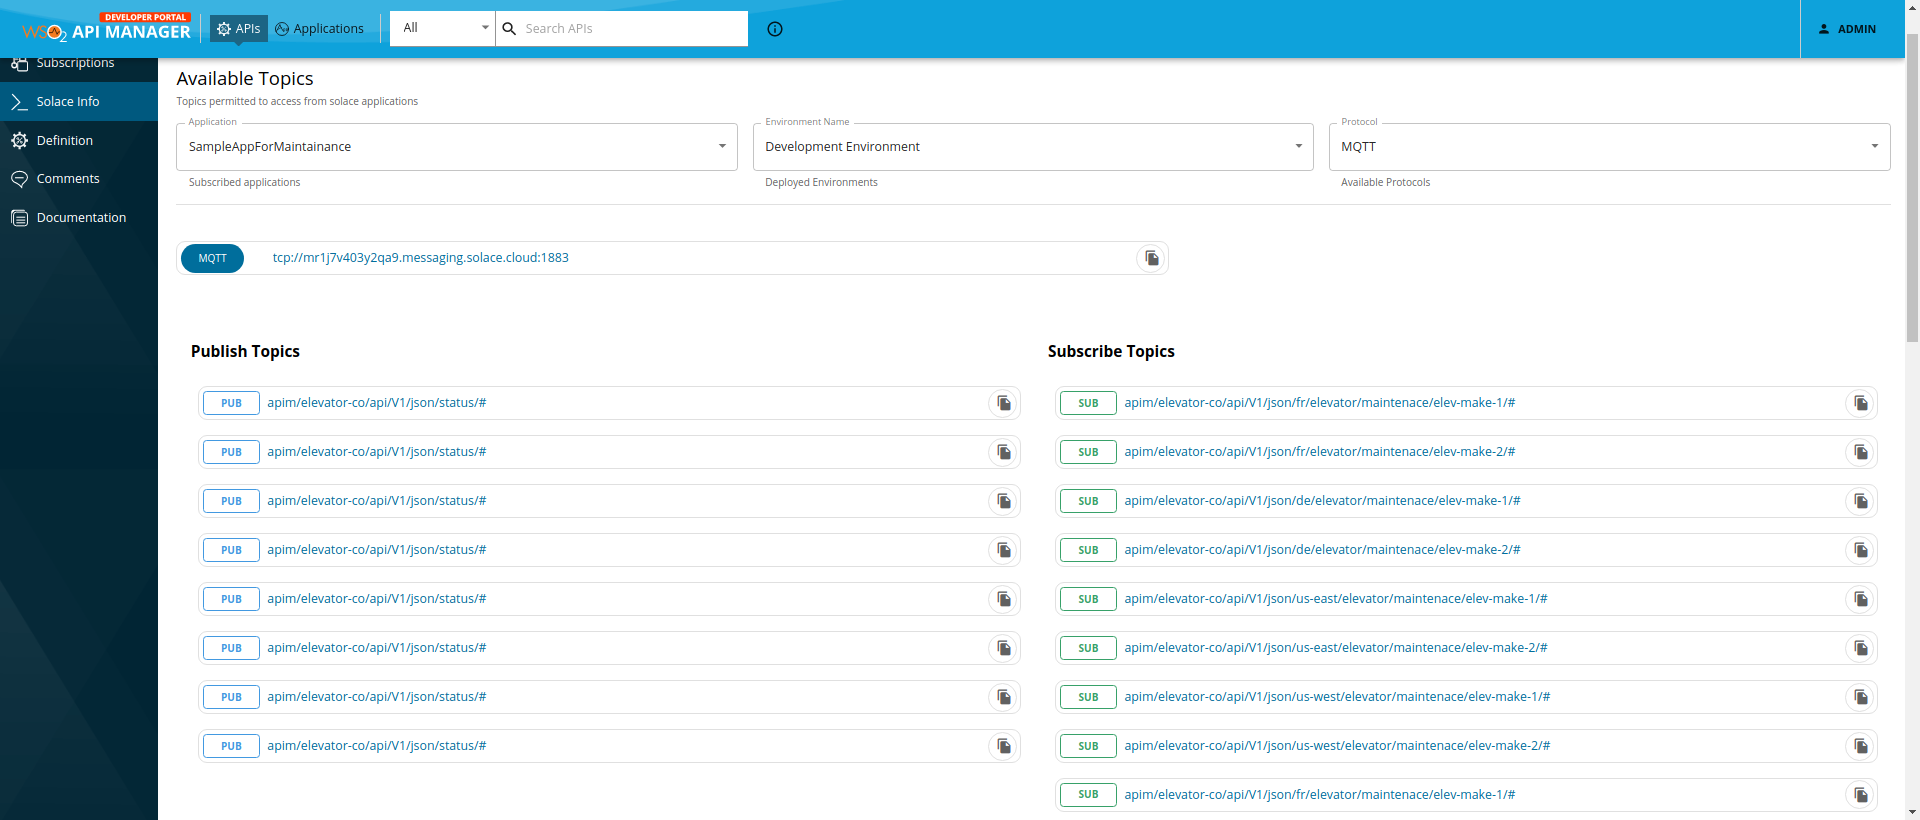
Select the Solace API and click on the Solace Info section in the left menu. This will render an information page like the following.
-
Select the Application, Environment, and Protocol from the dropdowns of the info page.
- Application - Select the required application of the subscribed Application of the Solace API.
- Environment - Select the deployed Solace broker environment that needs to be used.
- Protocol - Type of the transport protocol to invoke the Async topics with.
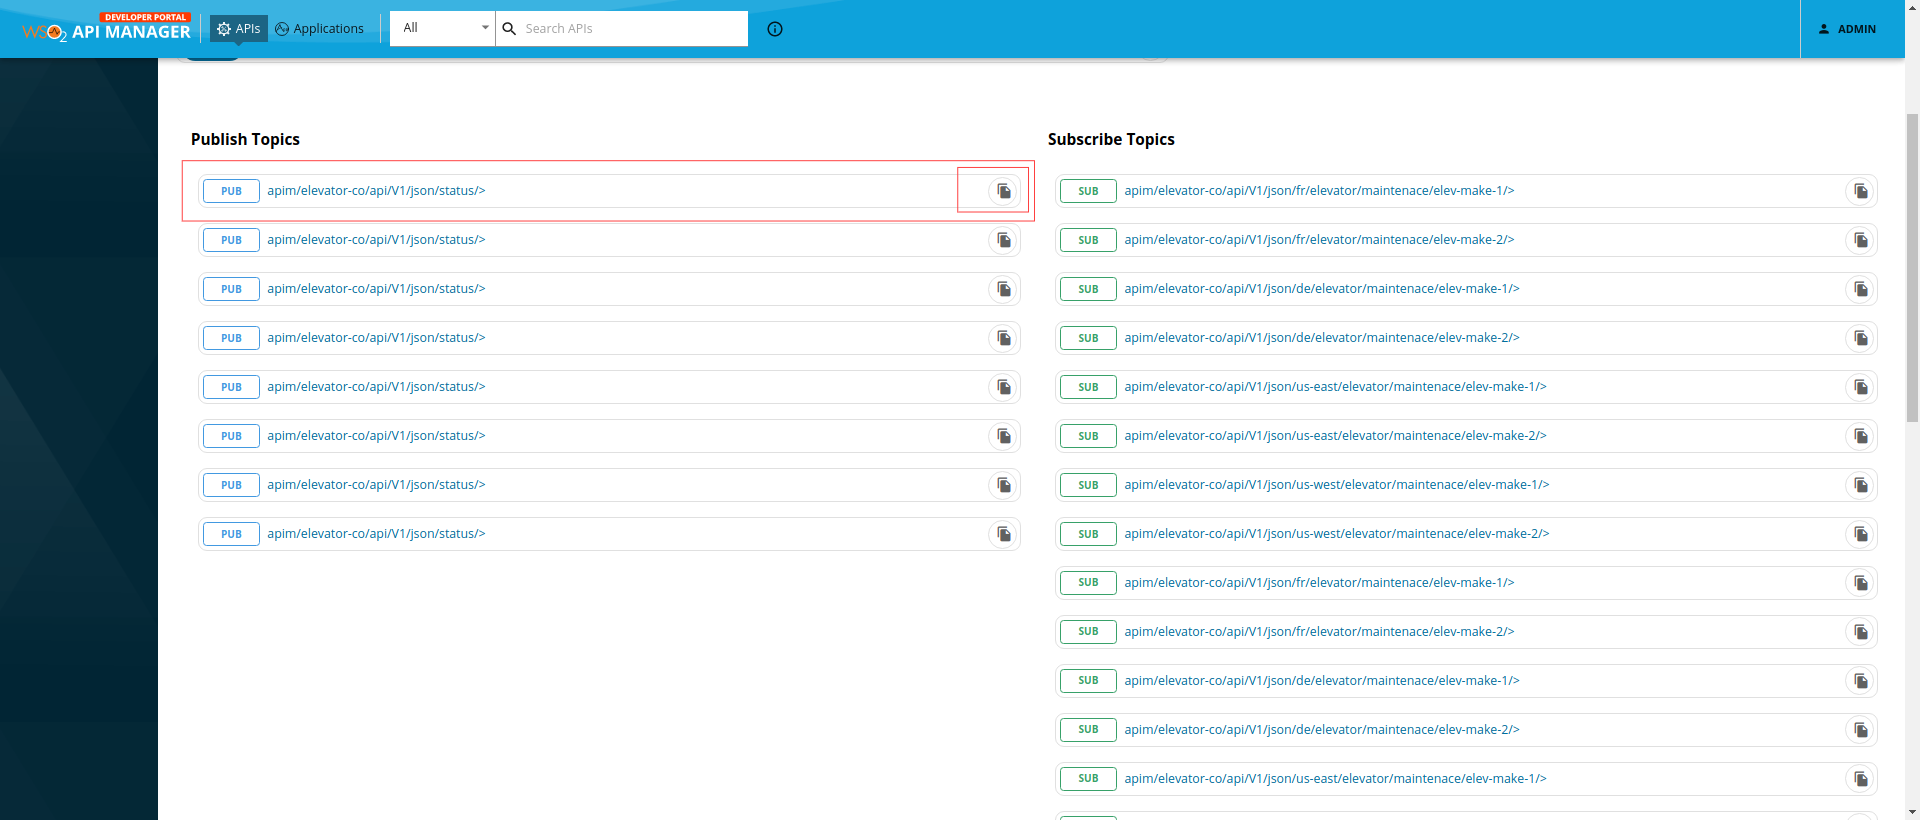
The topics supported for the selected Application, Environment and Protocol will be rendered.
-
Copy the endpoint URL of the protocol of the selected environment.

-
Copy the topic that needs to be consumed. Click on the Copy icon in front of the topic.
-
Use this information to create a request on the desired protocol to invoke the topic and consume the topic.
Viewing Solace Info
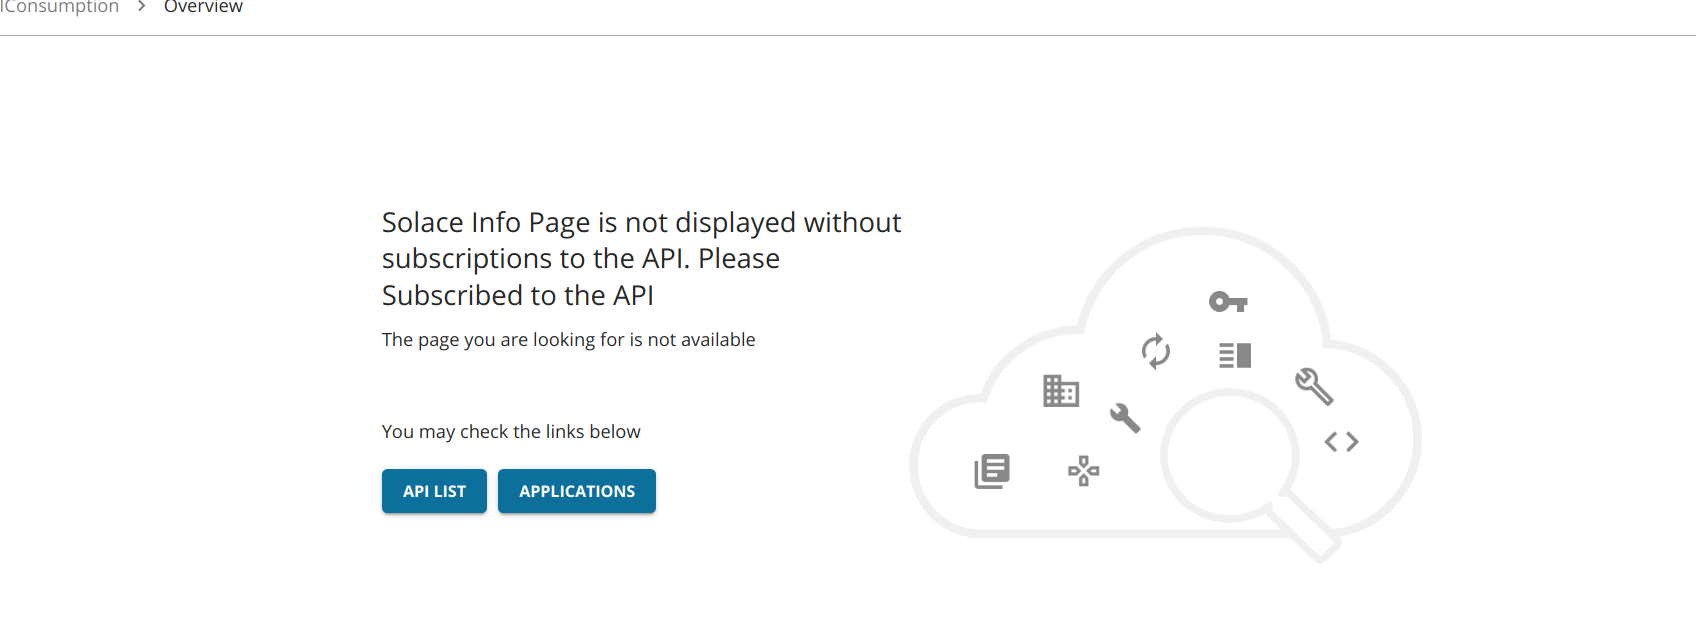
If you have successfully created a subscription for the API, you can navigate to the Solace info page to view it. A successful subscription means subscribing from an application with production keys generated. If the subscription is unsuccessful, the subscriptions and topic info of the Solace API will not be viewable.
Top