Log in to the Developer Portal using Social Media
You can integrate WSO2 Identity Server with WSO2 API Manager and use your social media credentials to log in to the Developer Portal and Publisher. This tutorial shows you how to integrate Facebook authentication and log in to the Developer Portal. Before following these steps, configure WSO2 Identity Server as a Key Manager with API Manager.
Note
Note that the Facebook application development UI might be slightly different from the demonstrated UIs in this tutorial due to the frequent updates in the Facebook Developer Portal.
Create a Facebook application
- Go to https://developers.facebook.com/ and log in using your Facebook credentials.
- Select My Apps in the navigation and create a new app by clicking Create App .
-
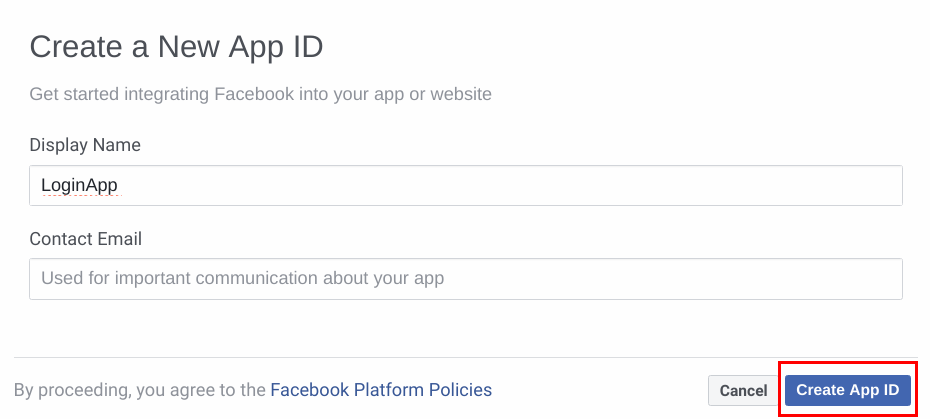
Enter the name of your app and your email address. Click Create App ID .
-
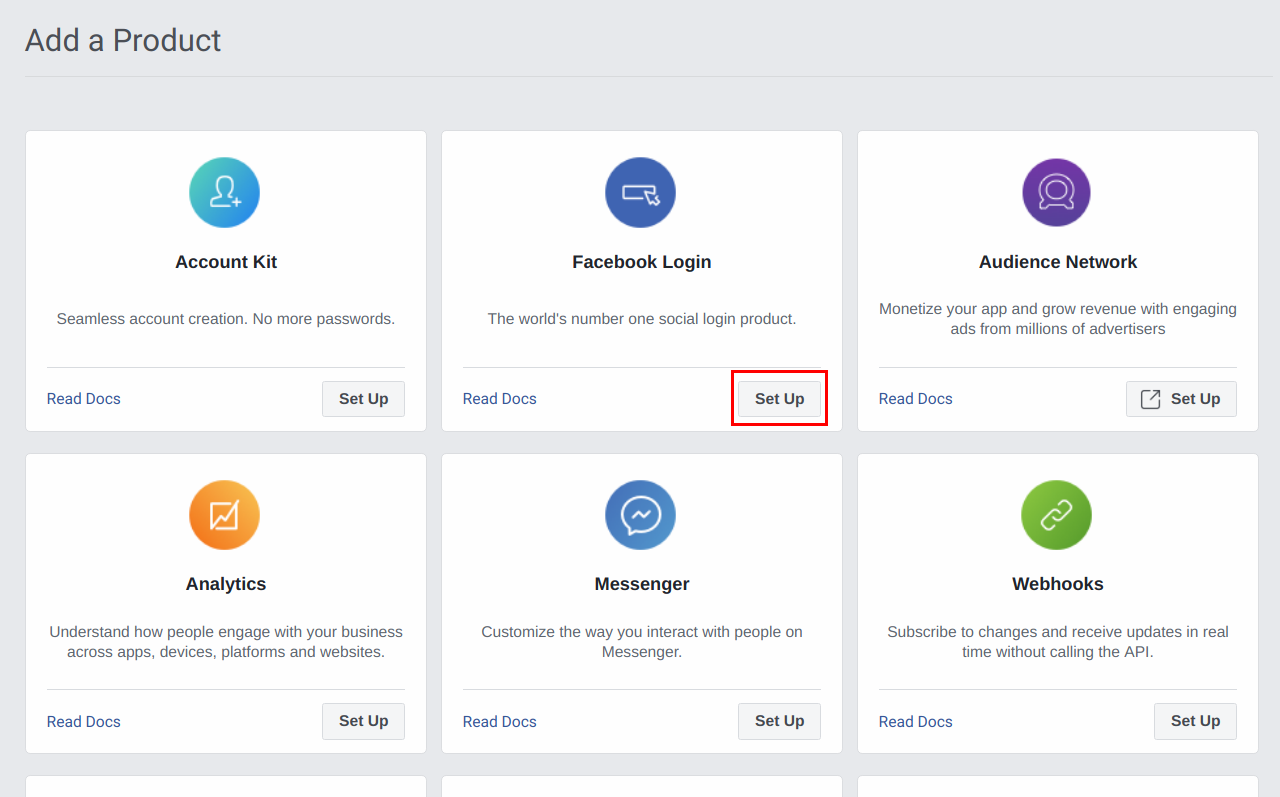
Click Set Up to create a Facebook Login product.
-
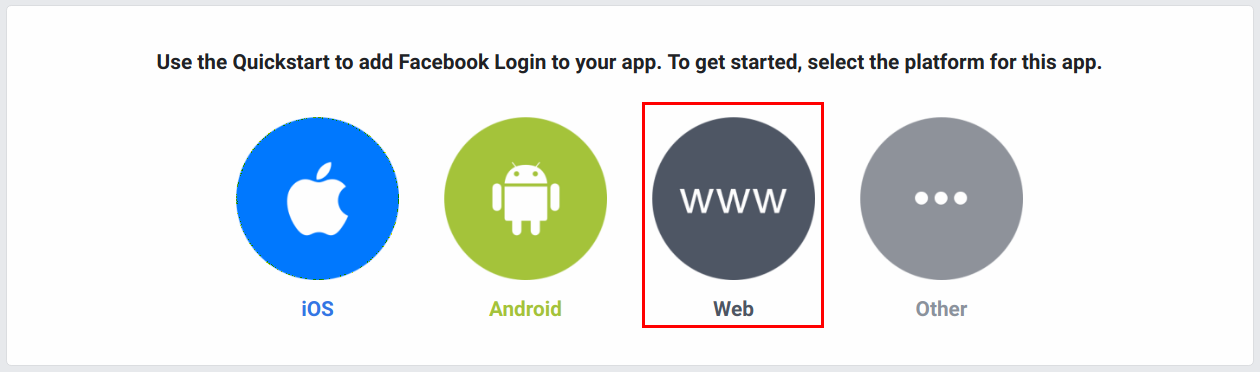
Select Web to work with this sample. You can select any other platform you wish to use.
-
Add the
serverURLof WSO2 Identity Server (which is configured withoffset= 1)https://localhost:9444/and click Save and Continue .Info
If you have changed the hostname of identity server use that instead of
localhost.For example, if the host name is identity.com, then the server URL is
https://identity.com:9444/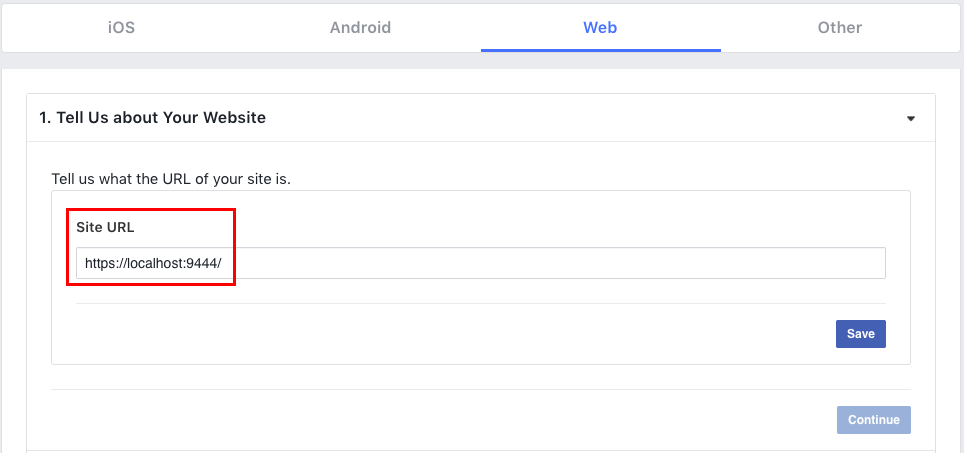
-
Go to Set Up the Facebook SDK for JavaScript and click Next until the steps are complete.
-
Click Settings and select Basic. You can find your
App IDand theApp Secretas shown in the image below.
-
Select a Category for you application.
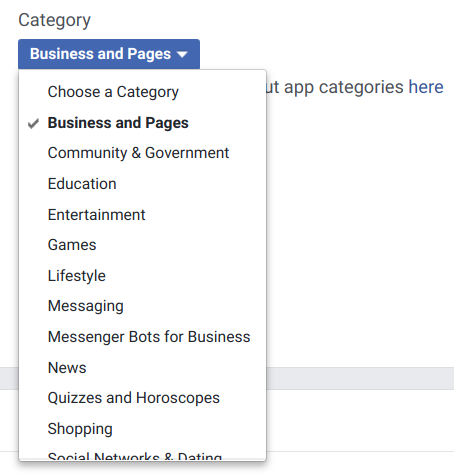
Add the correct Site URL as shown below and click Save Changes .

-
Click on the new Facebook Login product you have added and configure it as follows.
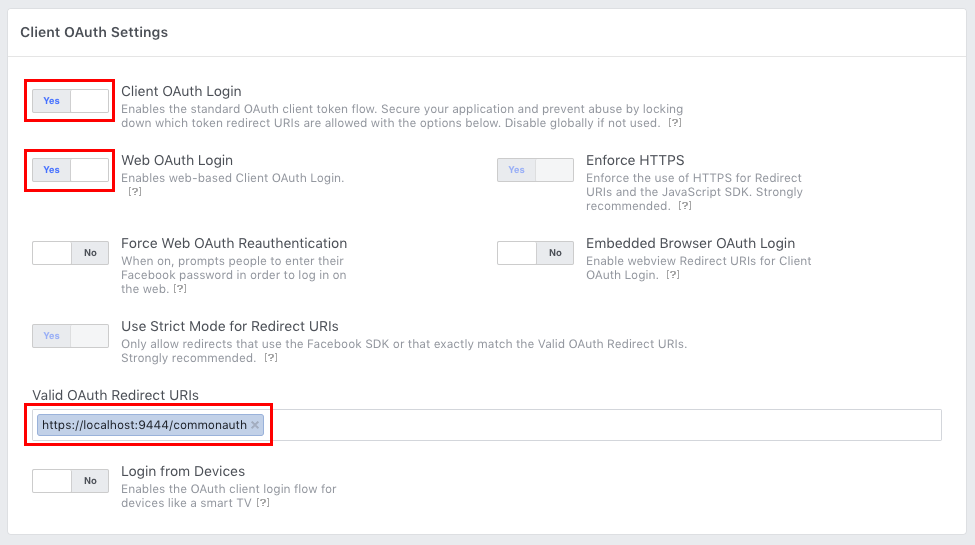
Parameter Value Client OAuth Login YesWeb OAuth Login YesValid OAuth Redirect URLs https://localhost:9444/commonauthInfo
After the user authorizes the application, the authorization server redirects the user back to the application with access token or the authorization code in the URL. Since the redirected URL contains sensitive information, it is required to assure that the service does not redirect to arbitrary locations. The best way to ensure that the user is directed to the appropriate location is to define an OAuth Redirect URL as shown above.
Now you have configured Facebook as your Identity Provider.
Configure Facebook login with Identity Server
Let's see how to configure WSO2 Identity Server to work with Facebook for user authentication, so that when you try to login to the Publisher or Developer Portal, WSO2 Identity Server will redirect to Facebook to do the authentication. For this purpose you have to configure WSO2 Identity Server by adding a new identity provider
- Log in to the Management Console of WSO2 Identity Server as the admin user.
-
Go to the Identity section under the Main tab. Click Add under Identity Providers and enter following details.
Identity provider Name Alias facebook https://localhost:9444/oauth2/tokenNote
To authenticate the user with Facebook which is an external system, we have to configure the federated authenticator. For more details, see Federated Authetication.
-
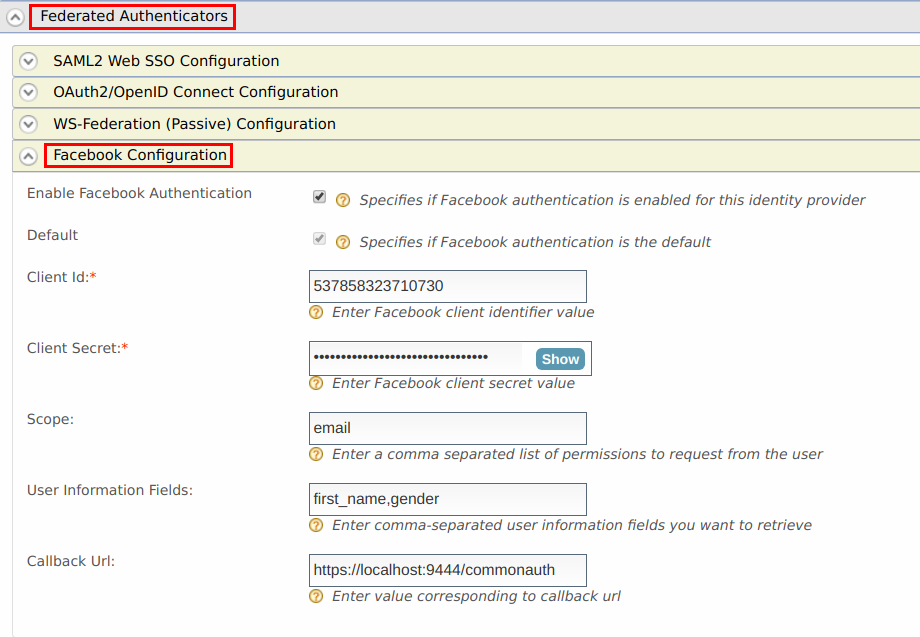
Go to Facebook Configuration under Federated Authenticators.
-
Enter the Client ID and Client Secret from the values obtained from Facebook app created in the previous section.
-
Select Enable Facebook Authenticator and select Default to make it the default authentication method.
-
Enter the User information fields you want to retrieve separated by commas under User Information fields.
-
Click Update.
Note
The Scope defines the permission to access particular information from a Facebook profile. See the Permissions Reference for a list of the different permission groups in Facebook APIs.
Configuring requested claims for user authentication in Facebook Identity Provider
We need to acquire the identity information by configuring claims to use Authentication in facebook. Let's see how you can configure Identity Server with Facebook by mapping the claims. For more information on claim Mapping refer Claim Management .
-
Go to the Identity section under the Main tab. Select List under Identity Providers.
-
Click Edit to edit the facebook identity provider you created.
-
Go to Basic Claim Configuration under Claim Configuration.
-
Select the Define Custom Claim Dialect option under Select Claim mapping Dialect and click Add Claim Mapping to add custom claim mappings as follows.
Identity Provider Claim URI Local Claim URI email http://wso2.org/claims/emailaddress name_format http://wso2.org/claims/roles Select User ID Claim URL as email from dropdown.
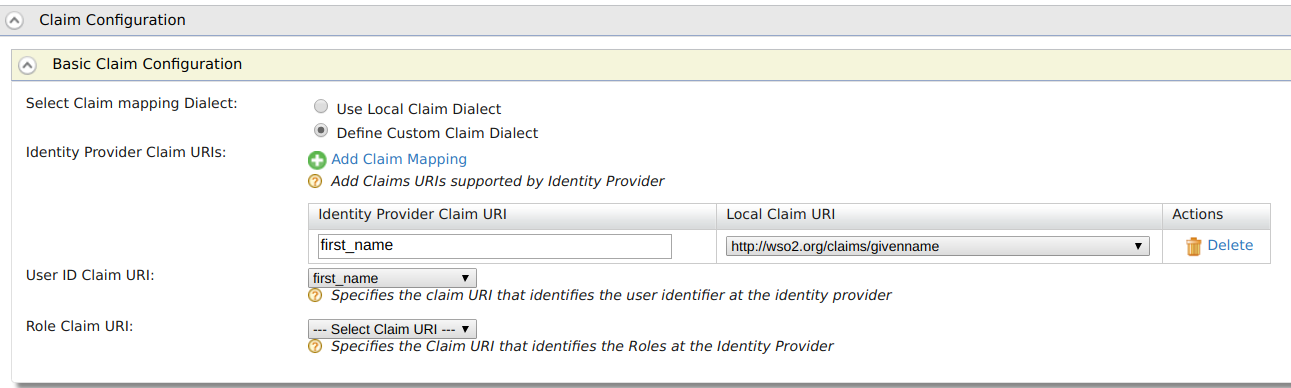
If you prefer to use the User ID as your first name of Facebook account, configure
first_nameclaim as above. You need to select the same claim as UserID Claim URI. -
Add Identity Provide Roles under Role Configurations as follows.
Identity Provider Role Local Role Internal/subscriber -
The following are some common attribute names. You can map these names to any suitable Local Claim URI. (Local Claim is a set of standard claim values which are local to the WSO2 Identity Server)
idemailnamefirst_namelast_namelinkgenderlocaleage_range
For more information, see Permissions Reference - Facebook Login.
Configure service providers to the Publisher and Developer Portal with the Facebook Identity Provider
To federate logging in to the Publisher and Developer Portal with Facebook, you need to configure the service provider with the Facebook Identity Provider.
Note
You have to allow the usage of email addresses as usernames, to use email addresses. For instructions, see Setting up an e-mail login.
-
Go to the Management Console of WSO2 Identity Server (
https://localhost:9444/carbon) and click on Service Providers. -
Click Edit to edit the
apim_publisher.
-
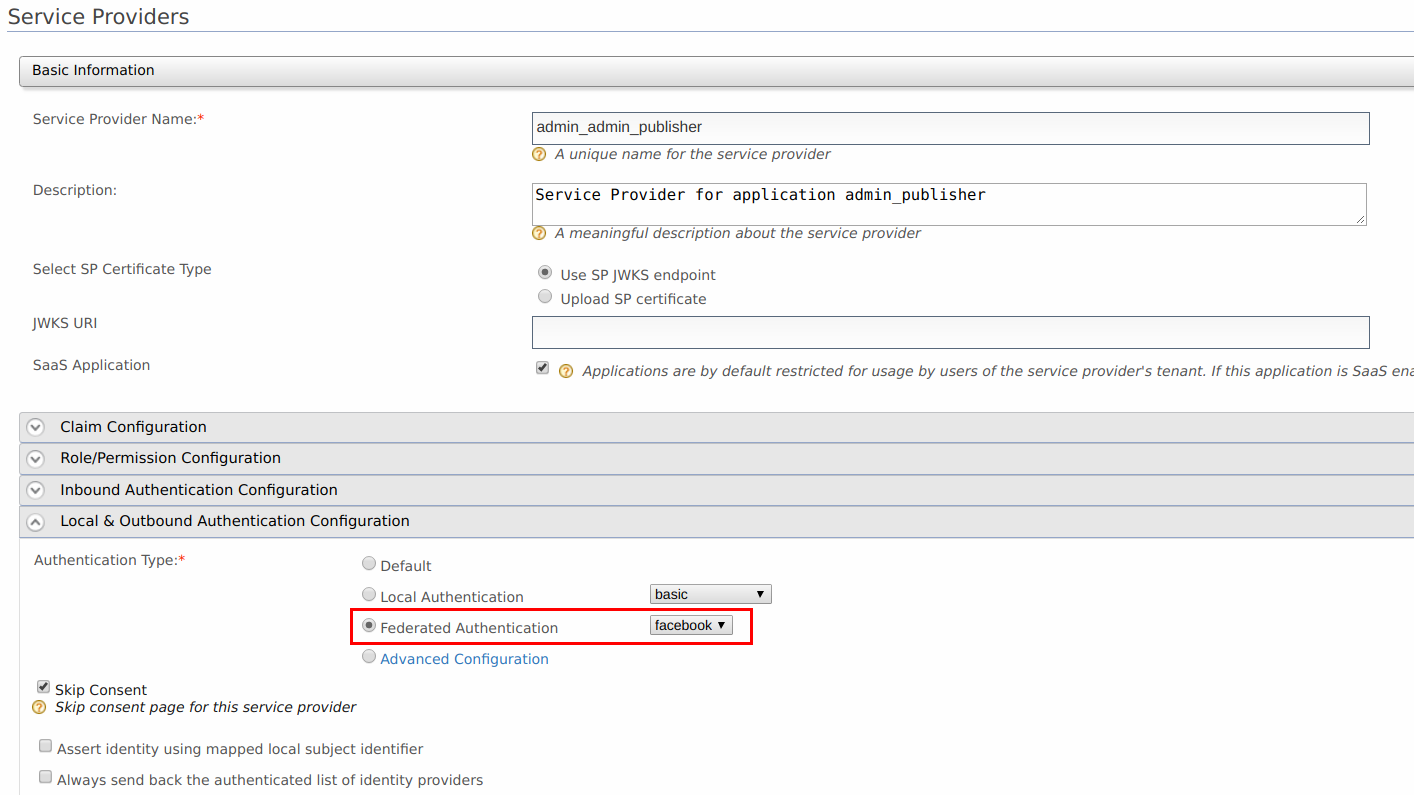
Go to the Local & Outbound Authentication Configuration section. Select the Identity Provider you created from the dropdown list under Federated Authentication.
-
Make sure that Federated Authentication is selected. Click Update to save the changes.
-
Repeat steps 1 to 4 and configure the
apim_devportalservice provider.
Test Facebook authentication
Warning
Make sure to copy the org.wso2.carbon.identity.application.authenticator.facebook-5.1.14.jar found in <IS_HOME>/repository/components/dropins directory to <API-M_HOME>/repository/components/dropins directory. Then restart the API-M server before testing Facebook Authentication.
-
Access the Publisher via
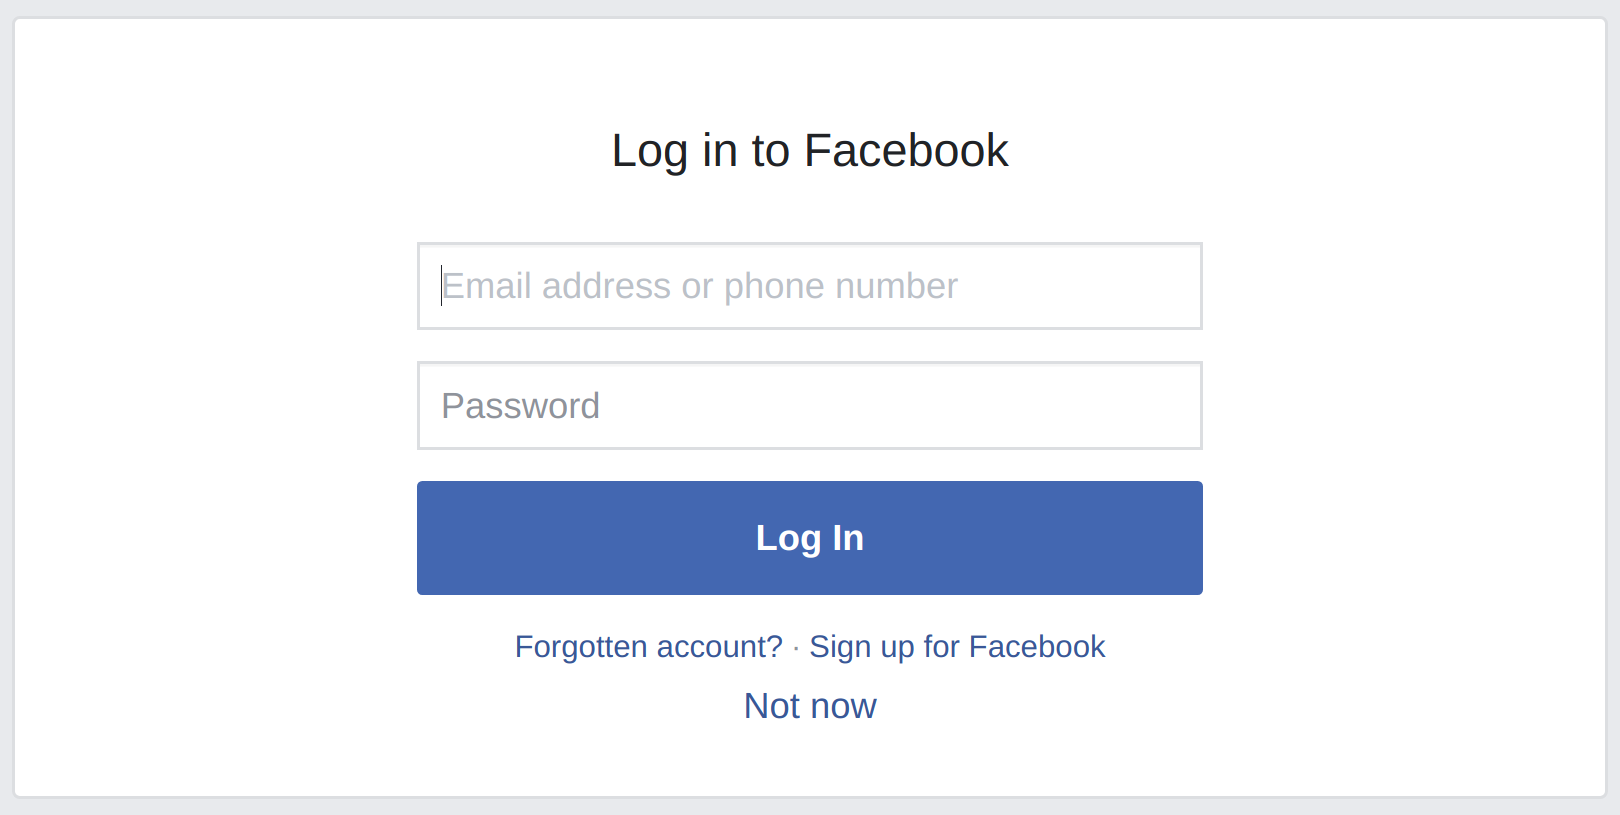
https://localhost:9443/publisher. Observe the request redirect to the WSO2 IS login page and then Facebook login page. -
Enter the username and password of your facebook account.
-
After successfully authenticating the log in, you will be logged into Publisher. Your username will be the first name of your Facebook account. This is because you have already configured the first name as the UserID Claim URI.
If you configure your UserID Claim URI with the
last_name, your username will be the last name of your Facebook account.
Configure the associated social login in Identity Server dashboard
Identity Server has a dashboard which offers multiple options for users to maintain user accounts. Associating a social login for their account is one of the options provided in this dashboard. It can be accessed with the following URL : https://<IS_HOST>:<IS_PORT>/dashboard. By associating the social login you have the option to use local claims. Instead of showing the logged in name as facebook username you can show the username in the local user store.
Note
Make sure that you have enabled user account association for federated users by setting enable_for_federated_users property to true as explained in Associating User Accounts.
-
Login to the dashboard with Developer Portal user account.
-
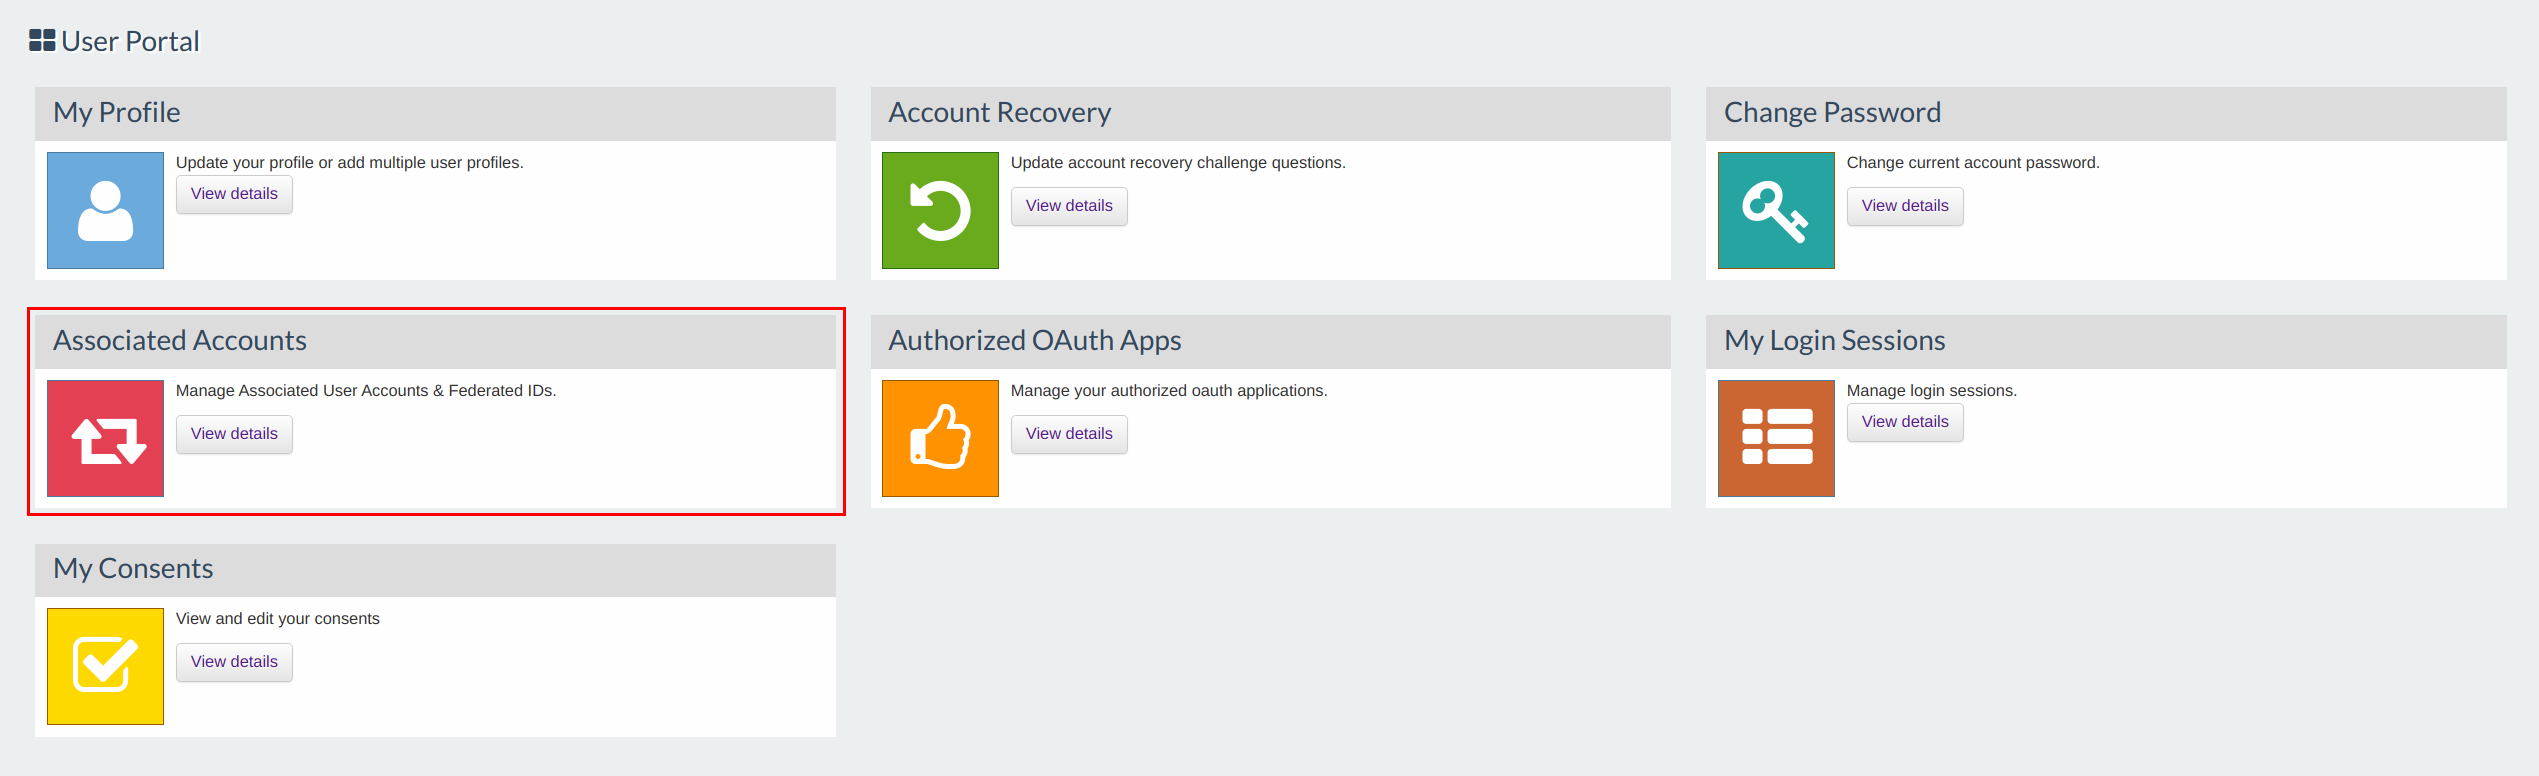
Click View Details in the Associated Accounts gadget.
-
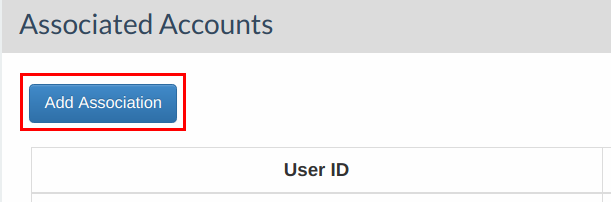
Click Add Association to give your facebook account details.
-
Select Account Type as
Federated, enter your Identity Provider Id (facebook) and your username (as configured in Subject Claim URI ) and click Associate.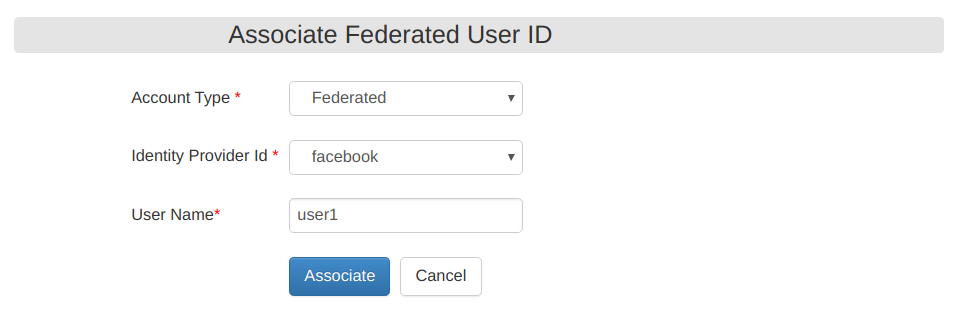
-
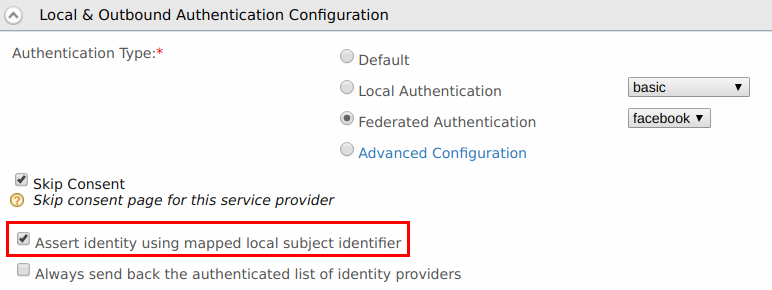
Select Local & Outbound Configuration and check Assert identity using mapped local subject identifier.
After logging in to Publisher, you will see the configured local claim appearing as your username.
You have now successfully logged in to the Publisher using your facebook credentials.
Top