Configure Okta as a Key Manager
It is possible to integrate the WSO2 API Manager with an external Identity and Access Management server (IAM) using the Okta OAuth Authorization Server to manage the OAuth clients and tokens that are required by WSO2 API Manager. WSO2 API Manager has inbuilt support to consume APIs exposed by Okta OAuth.
Follow the instructions below to configure Okta as a third-party Key Manager:
Step 1 - Configure Okta
-
Navigate to the Okta sign up page and signup to Workforce Identity Cloud.
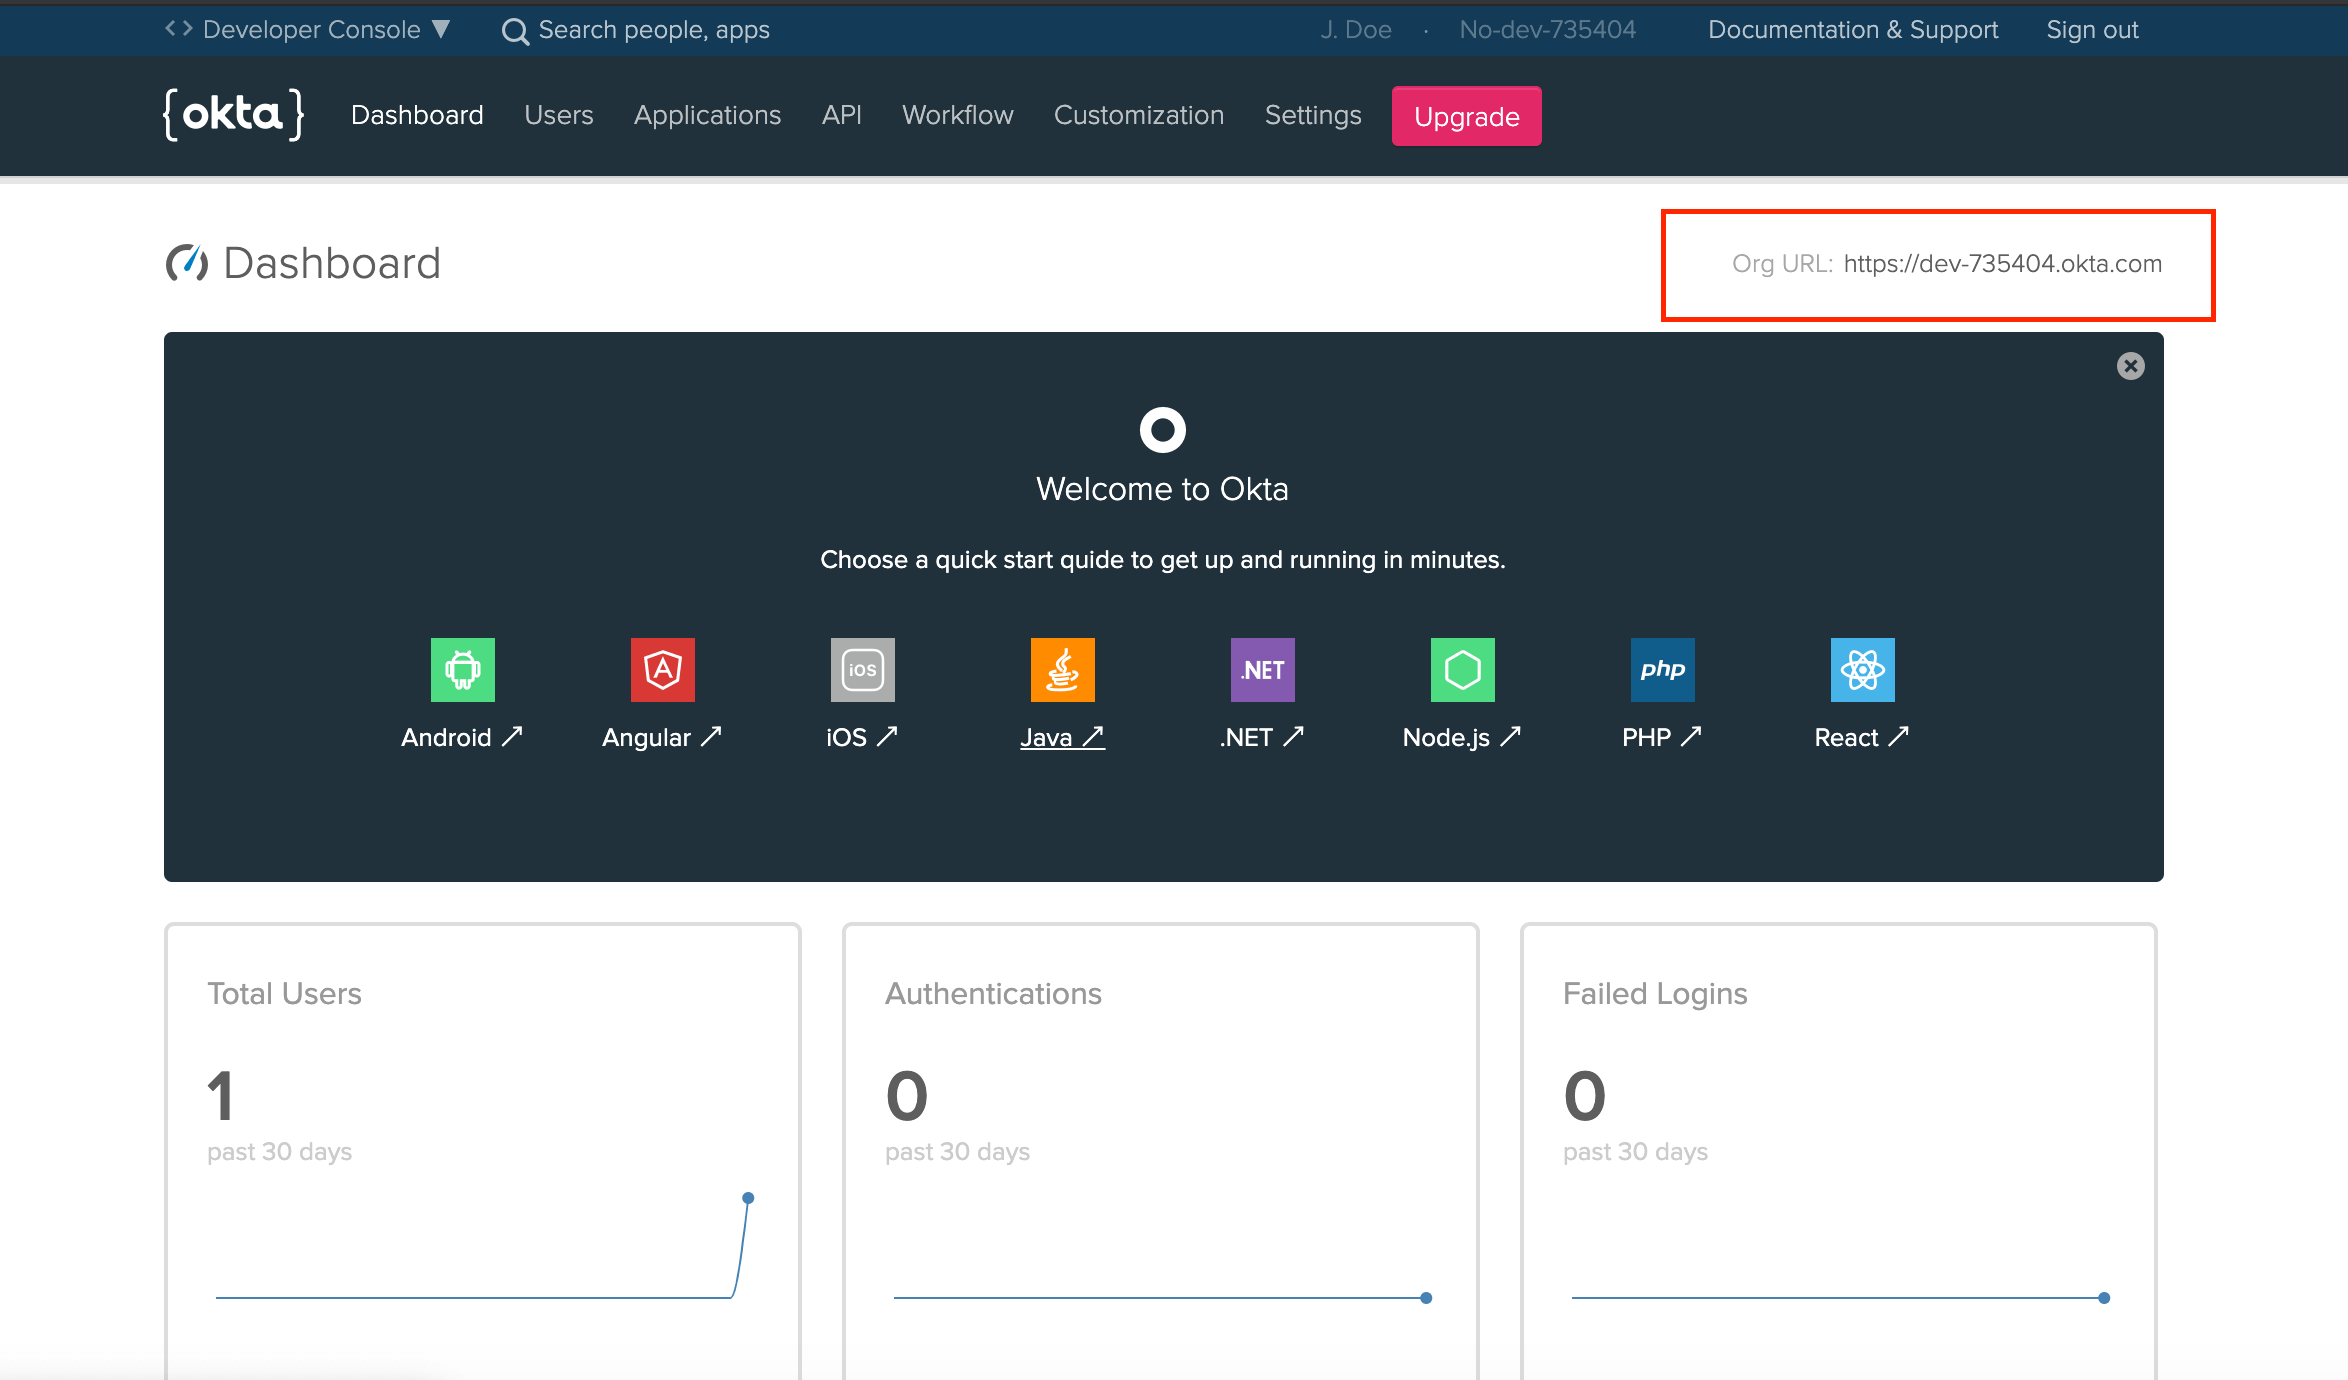
Create an Okta account and get the Okta instance URL. You can create an account in Developer Edition for this.
Example:
-
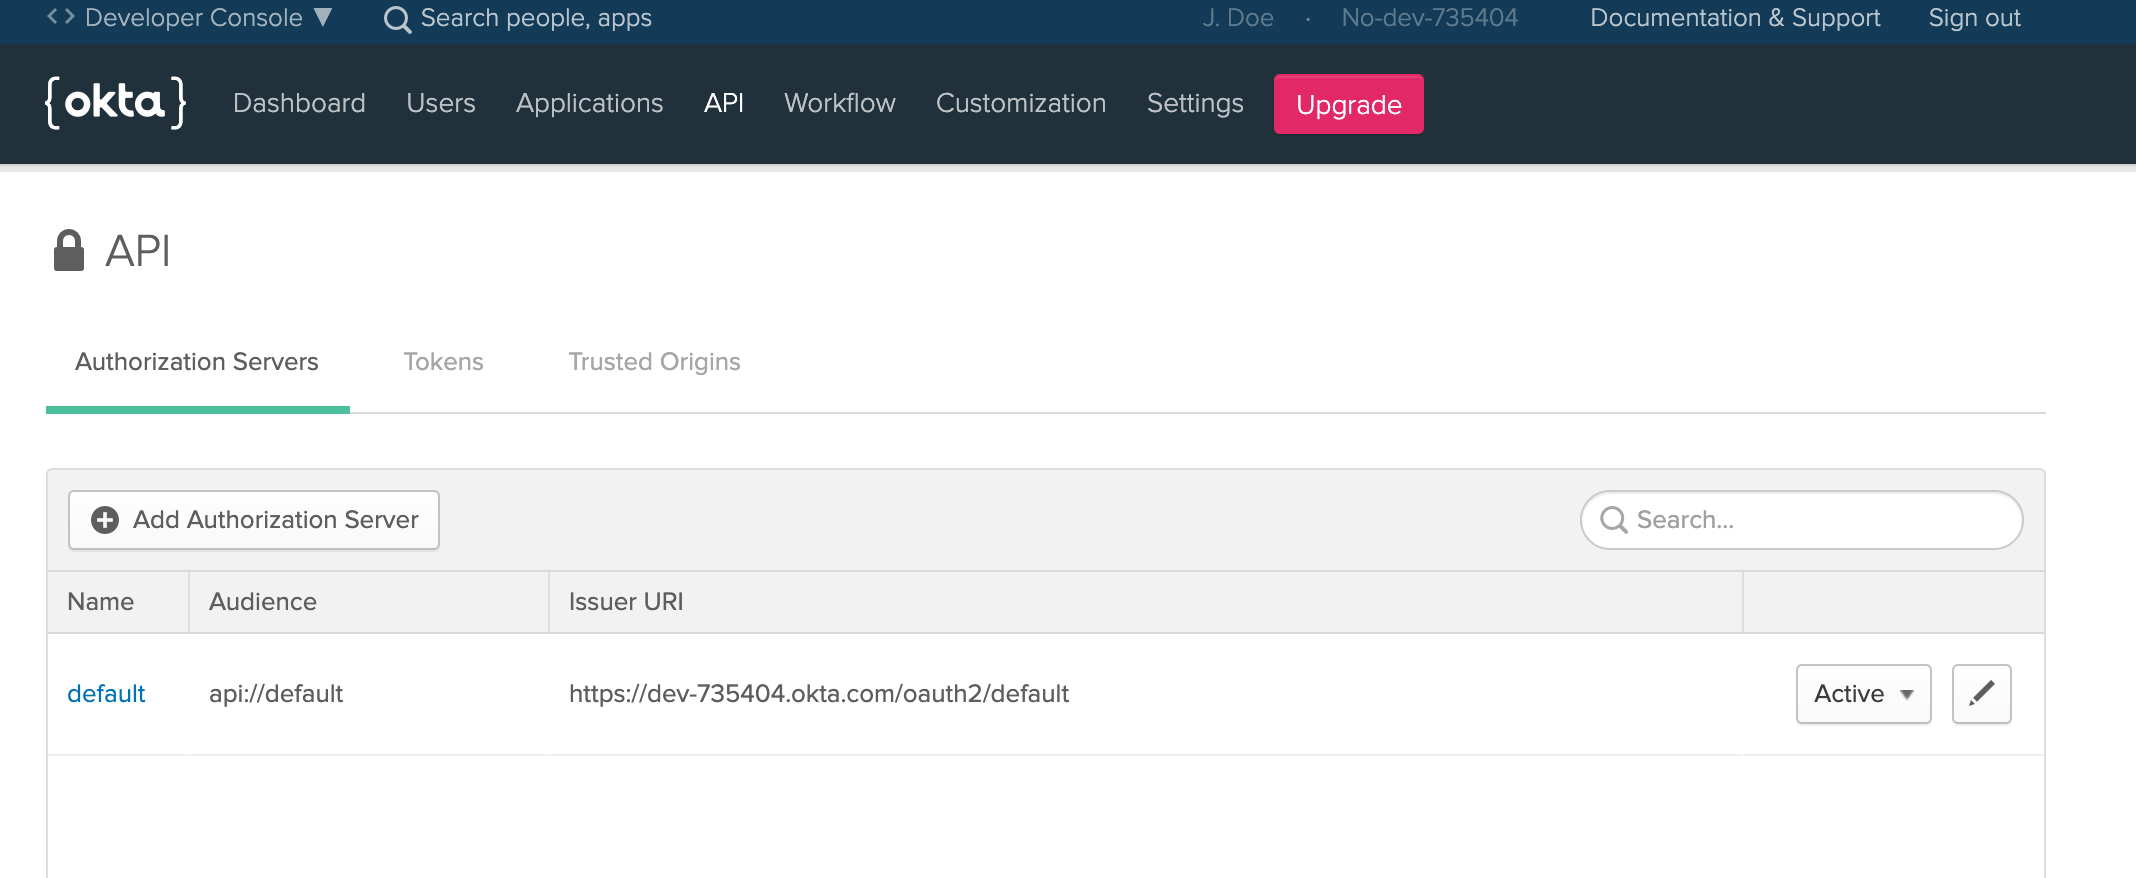
Obtain the authorization server ID.
- Click API under Security and then click Authorization Servers in the Okta Developer Dashboard.
-
Create a new authorization server.
Alternatively, you can use the default server.
-
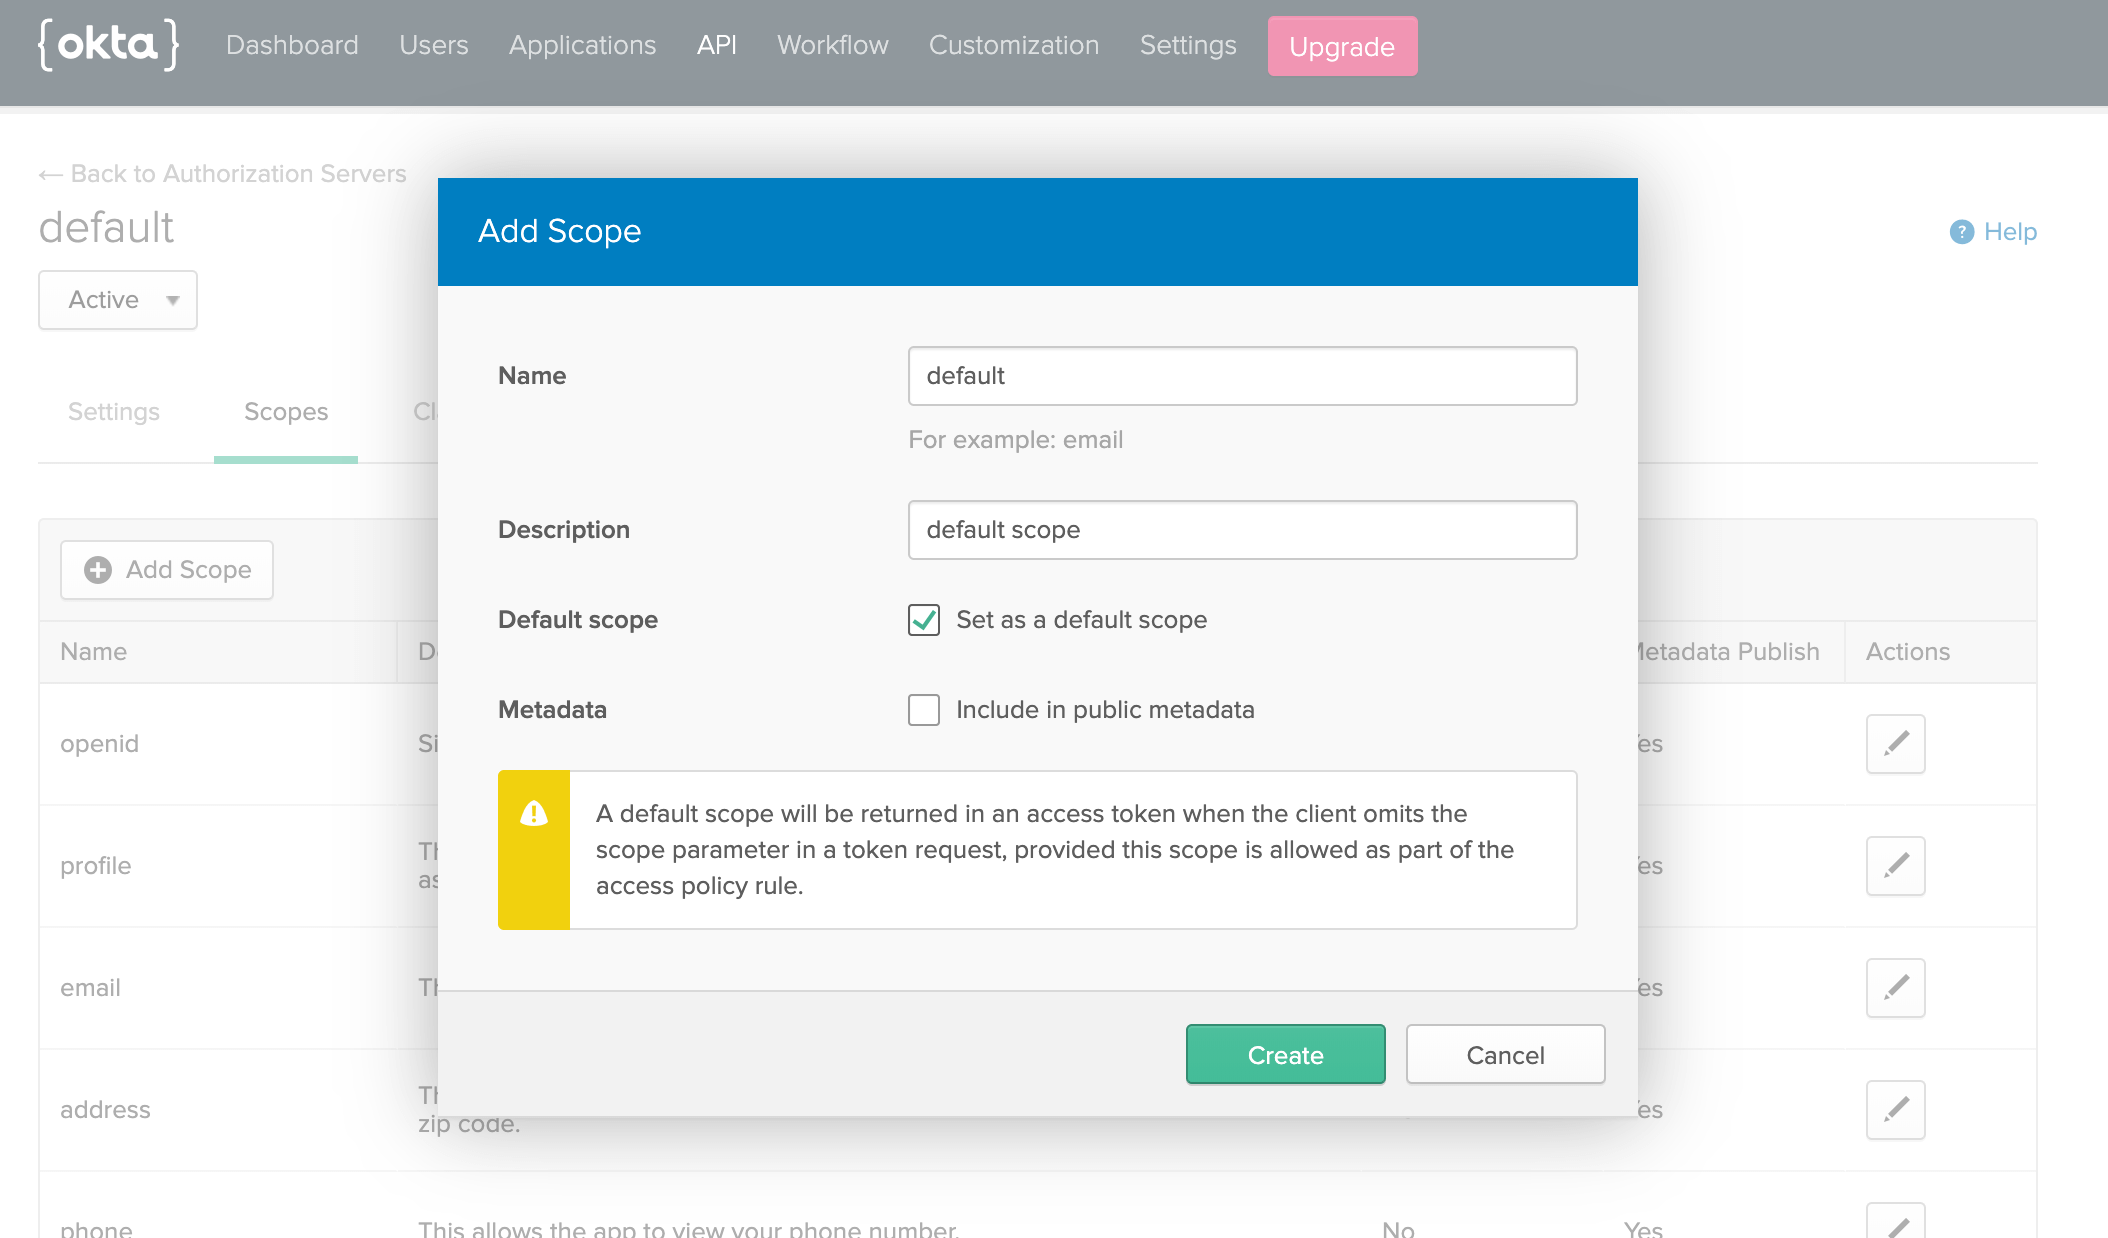
Add a default scope.
-
Select the authorization server (e.g., default) and click Scopes to navigate to the Scopes section.
-
Create a new scope (e.g., default).
-
Select Default Scope.
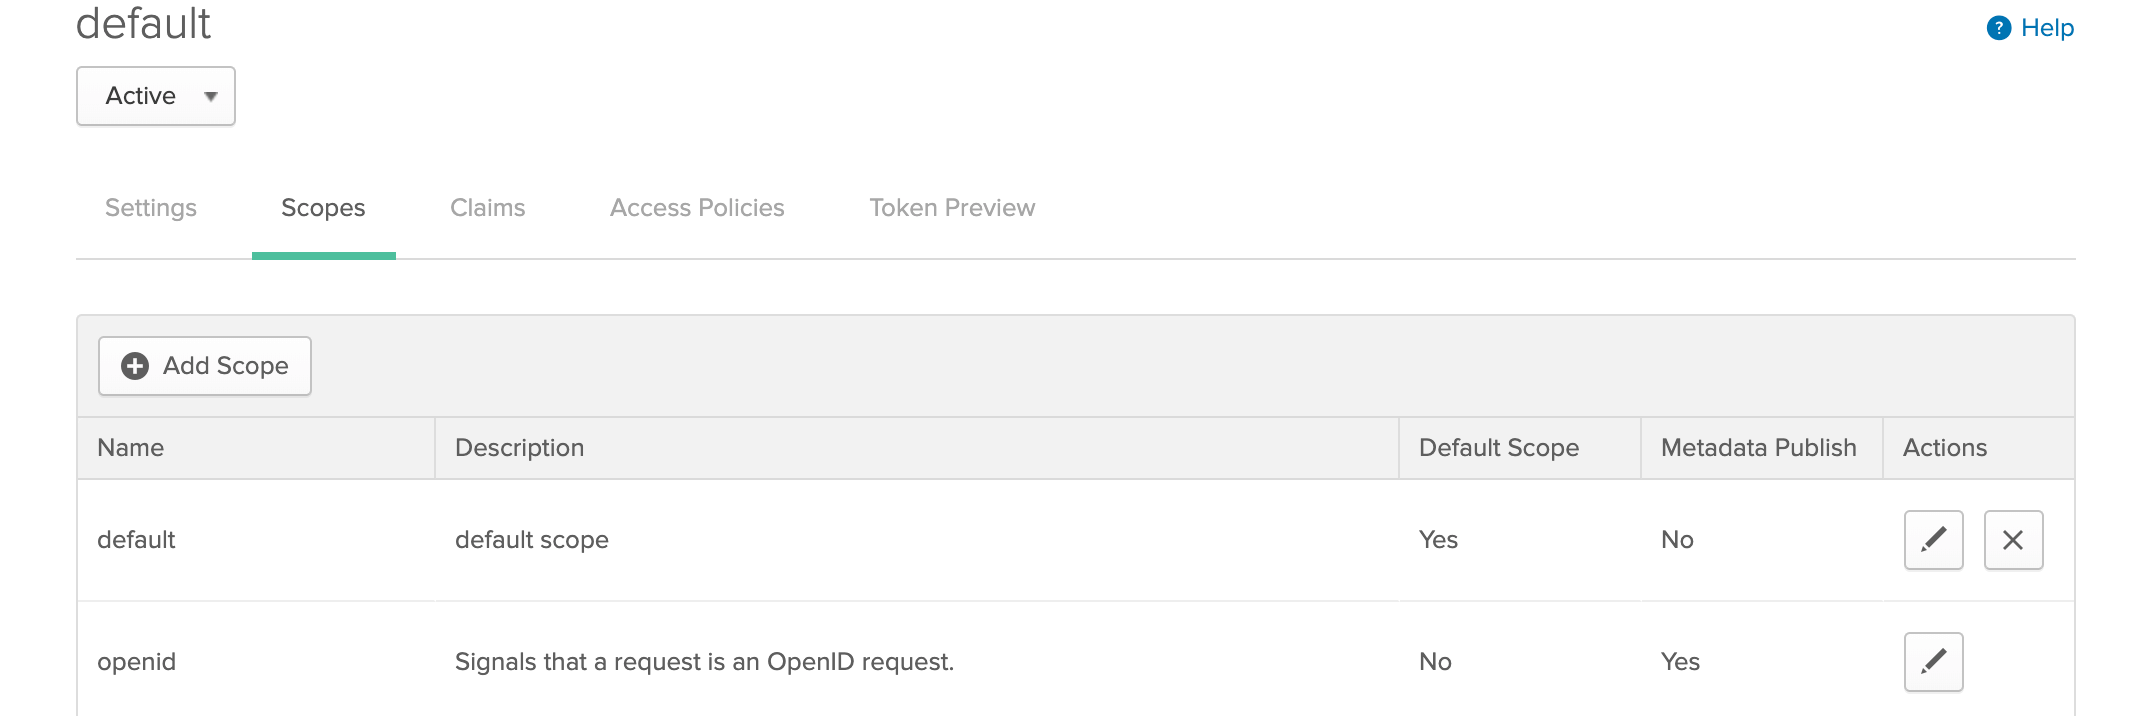
-
-
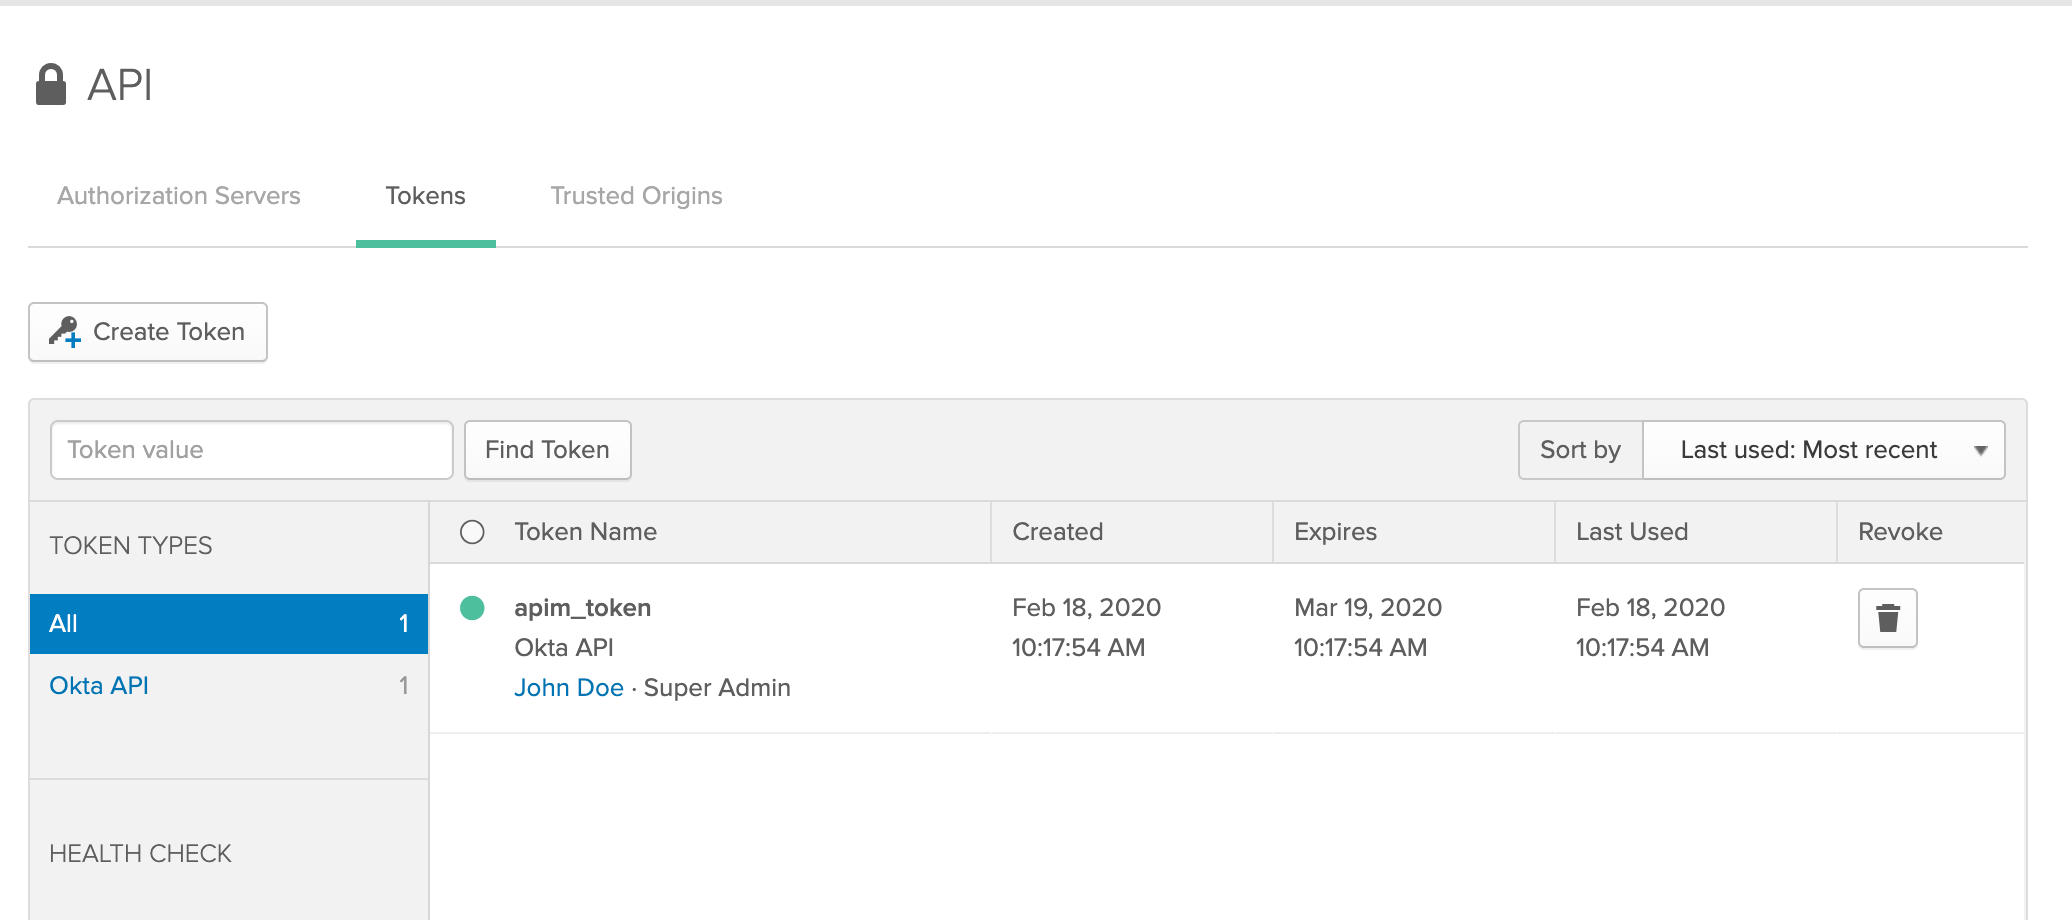
Get the API key.
- Click API under Security and then click Tokens in the Okta Developer Dashboard.
- Click Create Token and enter a name for the token.
-
Copy the token value and keep it for future use.
-
Create access policies.
If you already have at least one access policy in your authorization server, skip the following steps and go to Step 1 - (5).
- Click API under Security and then click Authorization Servers in the Okta Developer Dashboard.
- Select an Authorization Server.
- Click Access Policies and then click Add New Access Policy
-
Enter the required information.
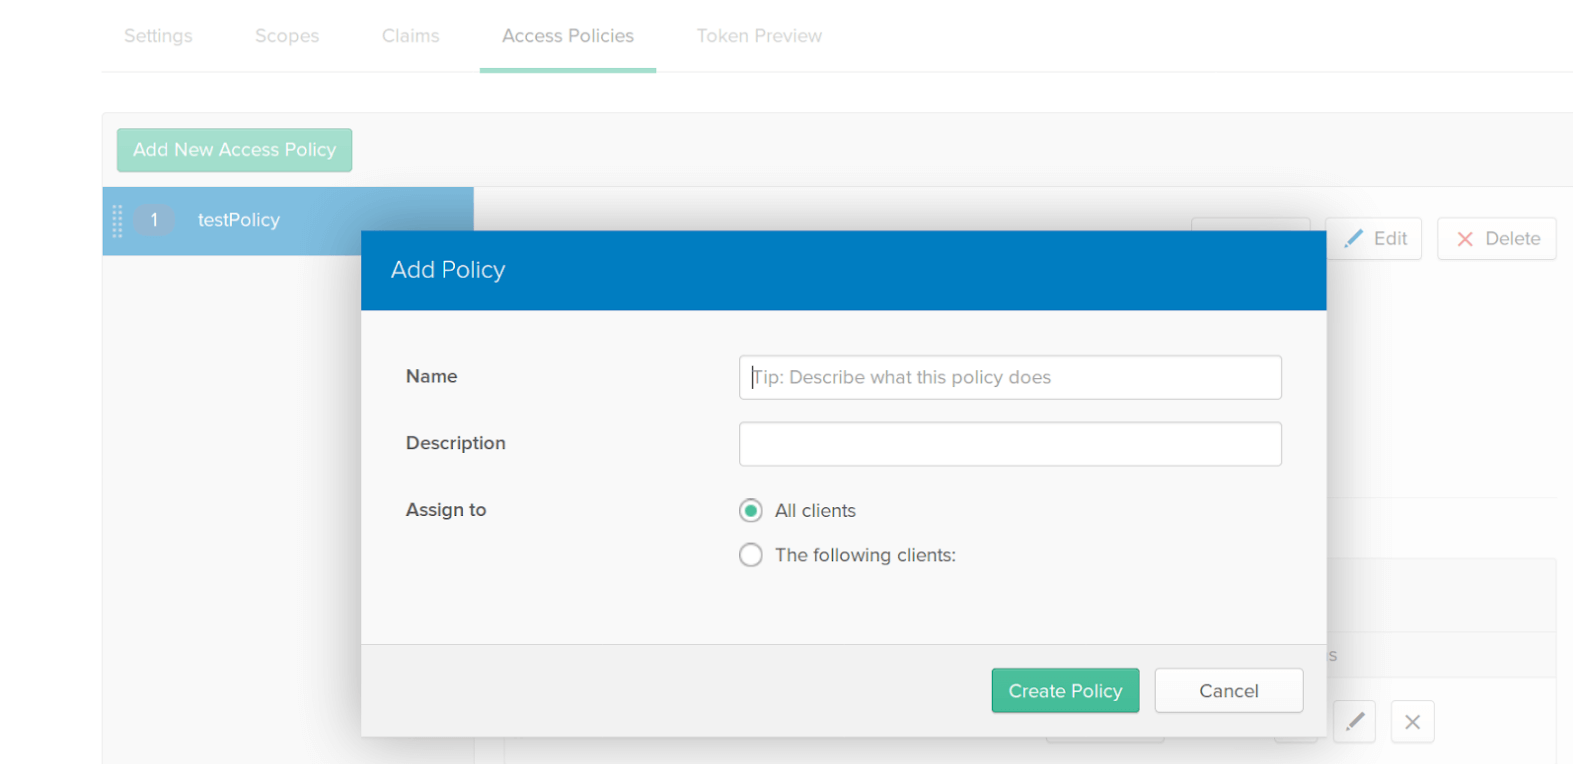
-
Click Create Policy to save the policy.
-
Create Rules for the Access Policy.
If you already have at least one rule in your access policy, skip the following steps and go to Step 1 - (6).
- Click API under Security and then click Authorization Servers in the Okta Developer Dashboard.
- Select the name of an authorization server, and select Access Policies.
-
Select the name of an access policy, and click Add Rule.
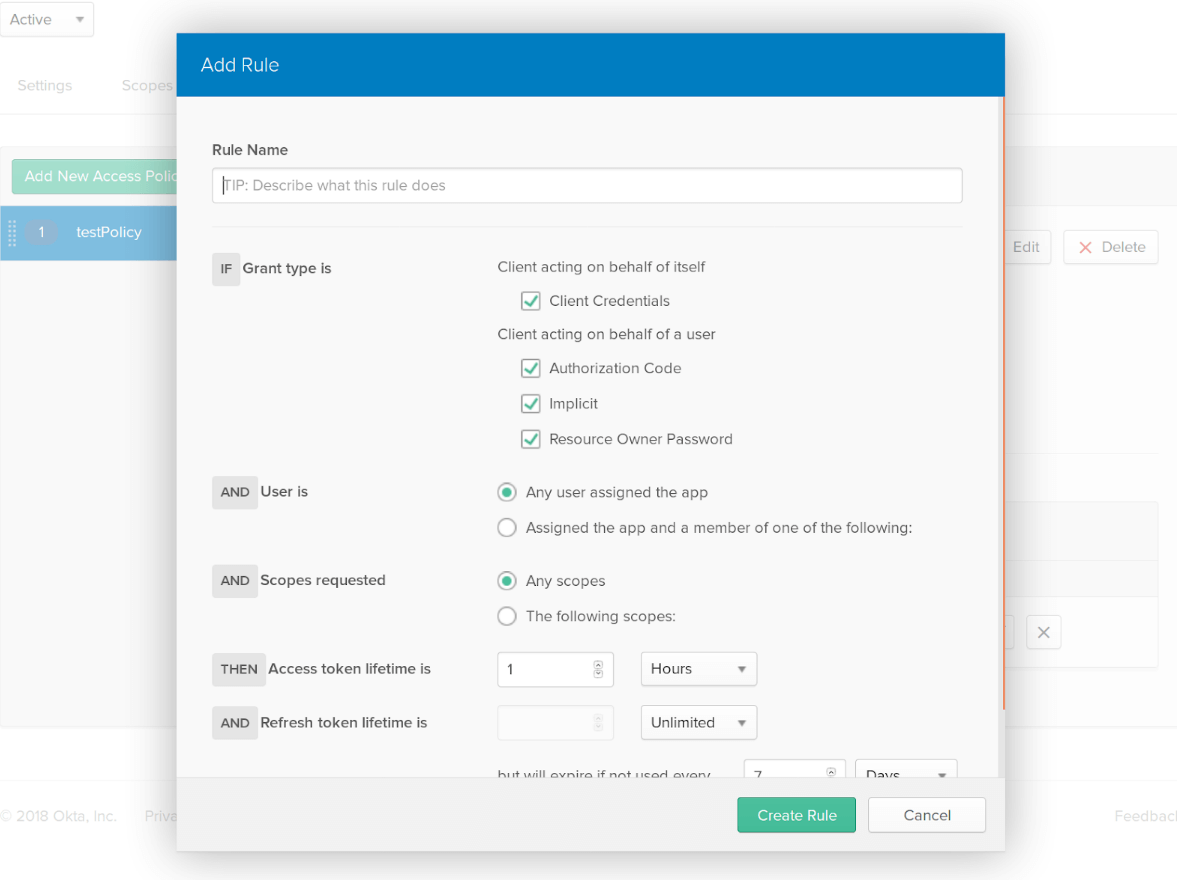
-
Enter the requested information.
- Click Create Rule to save the rule.
-
Create an OAuth application to get the credentials to access the introspect API:
-
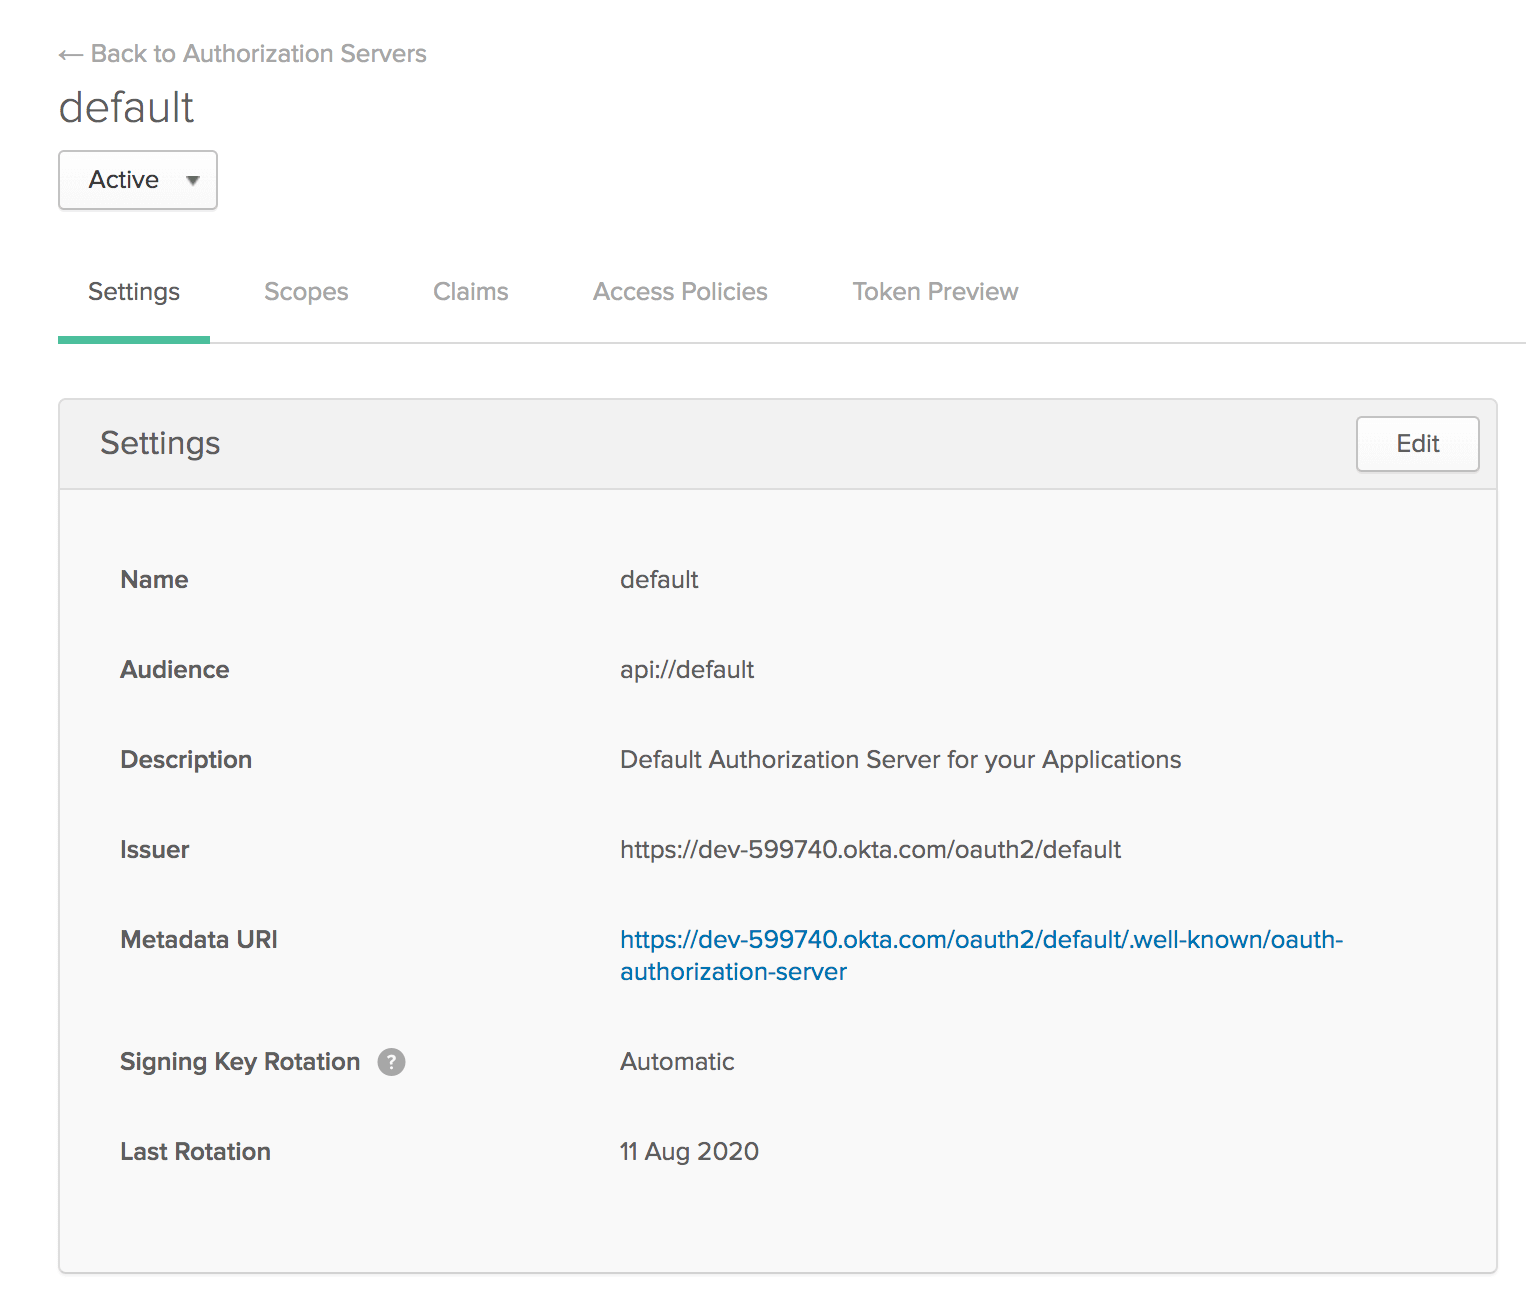
Note down the Authorization server's settings.
- Click API under Security and then click Authorization Servers.
- Select the authorization server.
- Note down the settings related to the Authorization server.
Step 2 - Configure WSO2 API Manager
-
Start WSO2 API Manager.
-
Sign in to the Admin Portal.
https://<hostname>:9443/adminhttps://localhost:9443/admin -
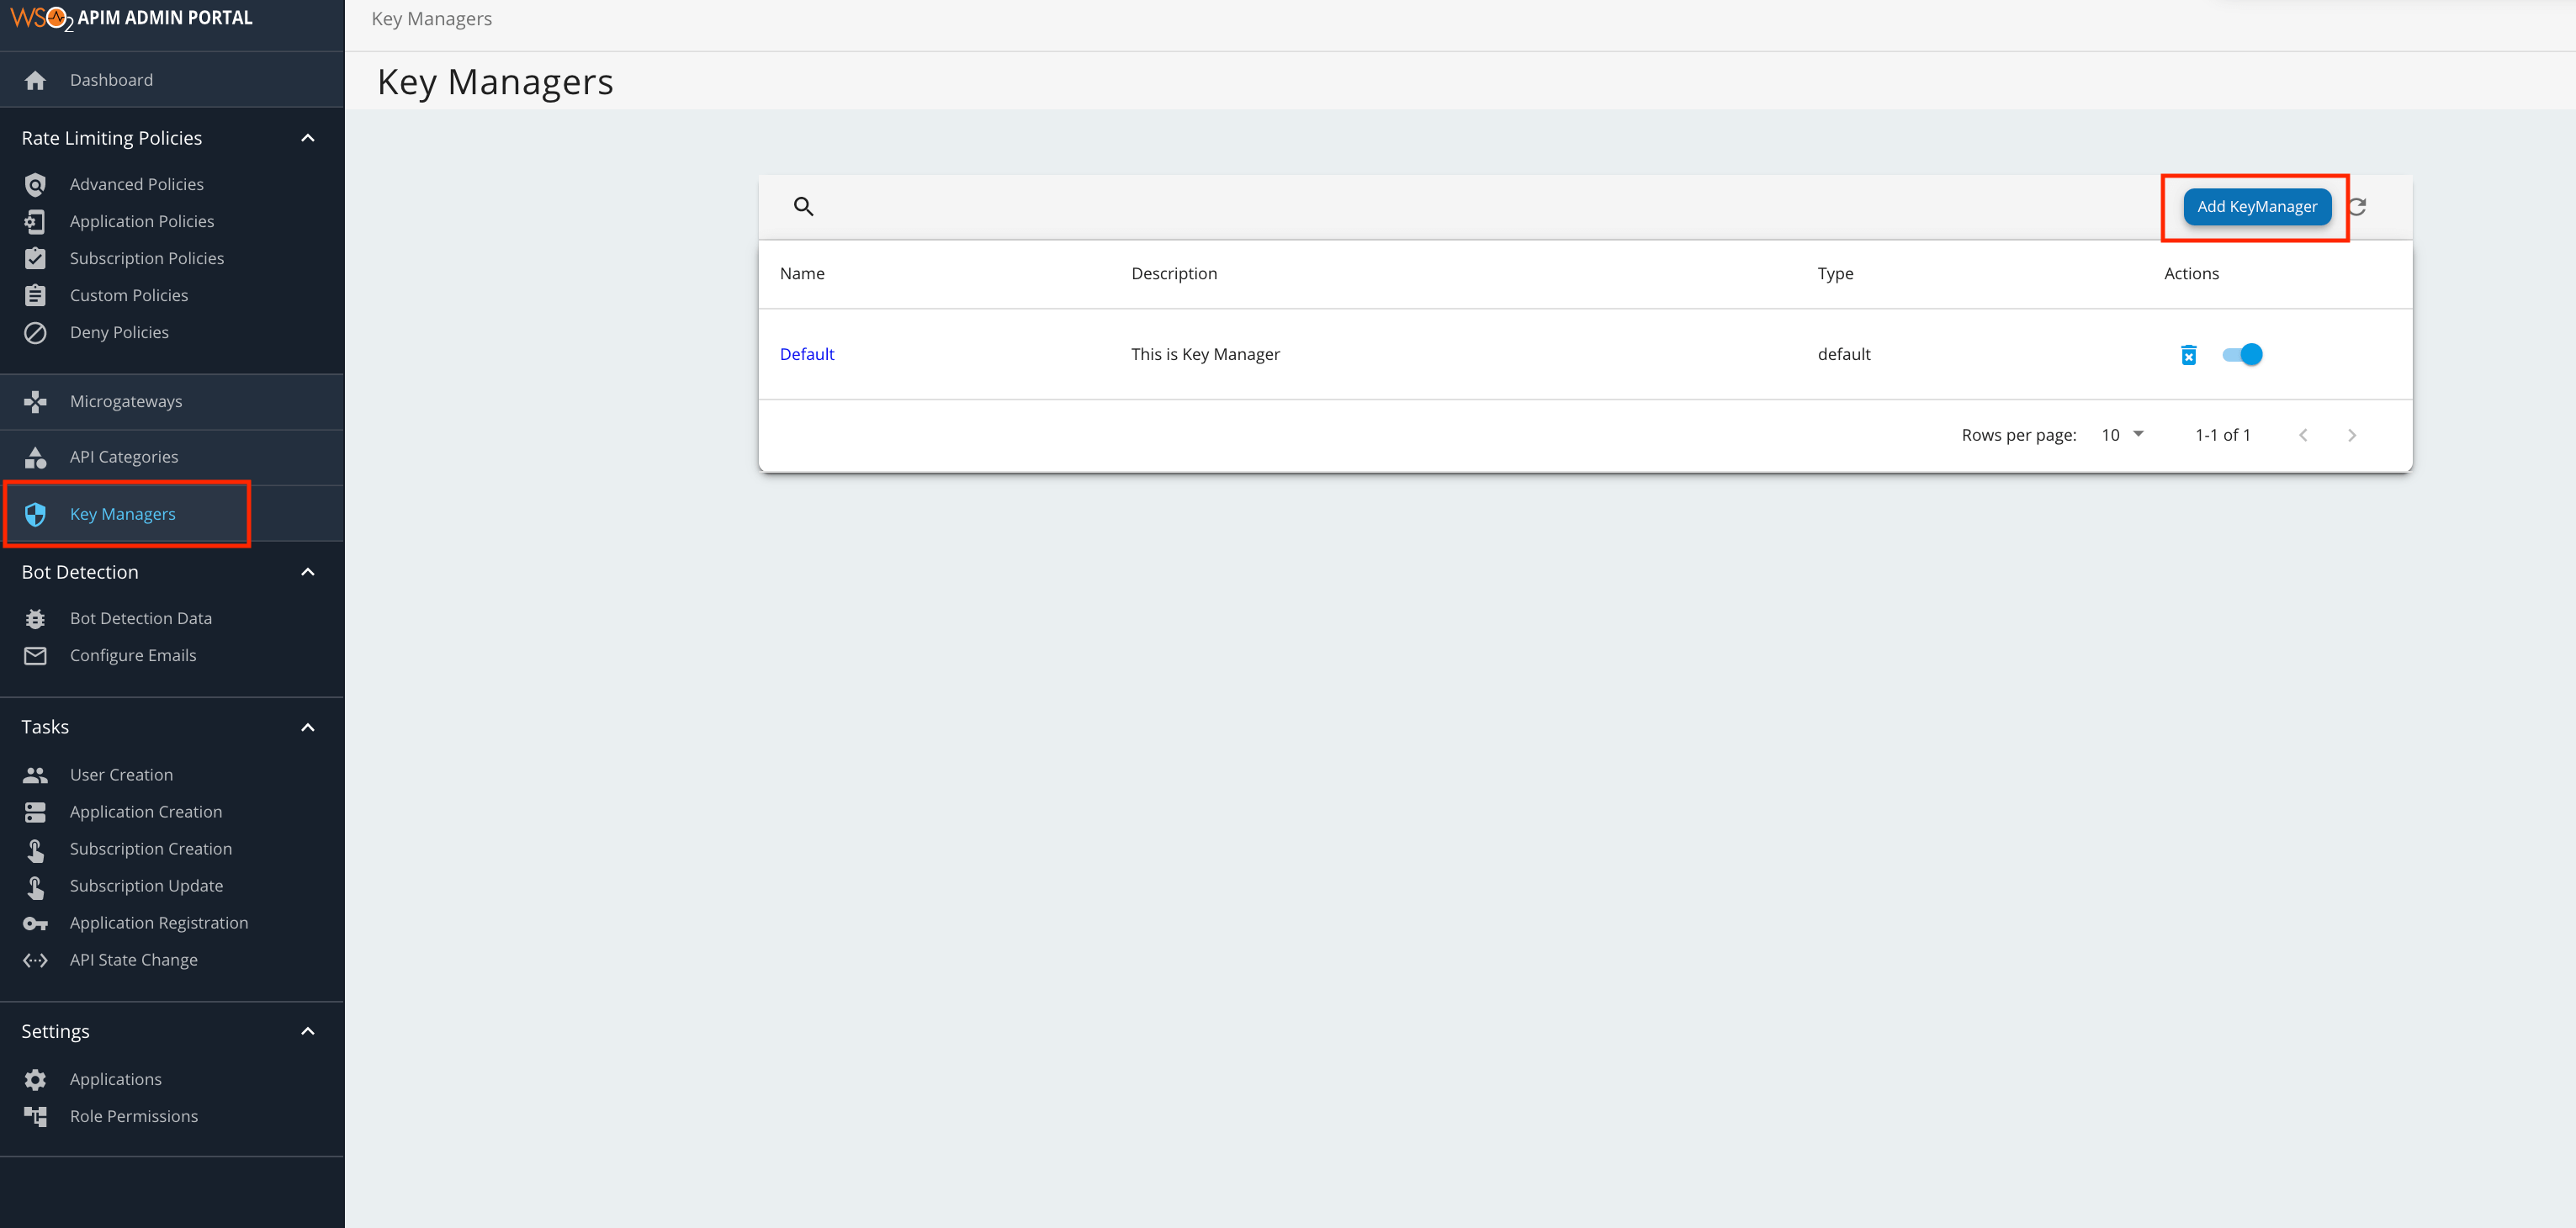
Add a new Key Manager.
-
Click Key Managers and then click Add Key Manager.
-
Add the following Key Manager configurations.

Auto-filling Key Manager configurations
The Key Manager configurations can be auto-filled by clicking the Import button after providing the well-known endpoint of Okta. The well-known-URL is the Metadata URI, under Settings section.
The following table provides definitions for each of the Key Manager configurations.
Configuration Description Name The name of the authorization server. Mandatory Display Name A name to display in the UI. Mandatory Description A brief description of the Key Manager. Optional Key Manager Type The type of the Key Manager to be selected. Mandatory Well-known-url The well-known URL of the Authorization Server (Key Manager).
If the well-known URL is provided, other endpoints can be imported.
Example: https://dev-599740.okta.com/oauth2/default/.well-known/oauth-authorization-serverOptional Issuer The issuer that consumes or validates access tokens.
Example: https://dev-599740.okta.com/oauth2/defaultOptional Key Manager Endpoints Client Registration Endpoint The endpoint that verifies the identity and obtain profile information of the end-user based on the authentication performed by an authorization server.
Optional if the well-known URI is provided. Introspection Endpoint The endpoint that allows authorized protected resources to query the authorization server to determine the set of metadata for a given token that was presented to them by an OAuth client. Optional if the well-known URI is provided. Token Endpoint The endpoint that issues the access tokens. Optional if the well-known URI is provided. Revoke Endpoint The endpoint that revokes the access tokens. Optional if the well-known URI is provided. Userinfo Endpoint The endpoint that allows clients to verify the identity of the end-user based on the authentication performed by an authorization server, as well as to obtain basic profile information about the end-user. Optional Authorize Endpoint The endpoint used to obtain an authorization grant from the resource owner via the user-agent redirection. Optional Scope Management Endpoint The endpoint used to manage the scopes. Optional Connector Configurations API Key The API key generated from section 3. Mandatory Client ID The client ID generated from section 6. Mandatory Client Secret The client secret generated from section 6. Mandatory Claim URIs This provides claim URIs for the consumer key and the scopes. Mandatory Consumer Key Claim URI The claim URI for consumer key Example: cid Mandatory Scopes Claim URI The claim URI for scopes Example: scp Mandatory Grant Types The supported grant types. Optional Certificates PEM Either copy and paste the certificate in PEM format or upload the PEM file. Optional JWKS The JSON Web Key Set (JWKS) endpoint is a read-only endpoint. This URL returns the Okta's public key set in JSON web key set format. This contains the signing key(s) the Relying Party (RP) uses to validate signatures from the Okta. Example: https://dev-599740.okta.com/oauth2/default/v1/keys Optional Advanced Configurations Token Generation This enables token generation via the authorization server. Optional Out Of Band Provisioning This enables the provisioning of Auth clients that have been created without the use of the Developer Portal, such as previously created Auth clients. Optional OAuth App Creation This enables the creation of Auth clients. Optional Token Validation Method The method used to validate the JWT signature. This is mandatory if the Token Validation Method is introspect Self Validate JWT The kidvalue is used to validate the JWT token signature. If the `kidvalue is not present, thegateway_certificate_aliasis used.Optional Use introspect The JWKS endpoint is used to validate the JWT token signature. If this option is used to validate the tokens it is mandatory to add a Token Handling Option For Okta it should be JWT and it is required to specify a claim mapping as a unique identifier. Example: Claim Key : iss Claim Value : https://dev-599740.okta.com/oauth2/default Optional Token Handling Options This provides a way to validate the token for this particular authorization server. Optional This is mandatory if the Token Validation Method is introspect REFERENCE The tokens that match a specific regular expression (regEx) are validated. JWT The tokens that match a specific JWT is validated. CUSTOM The tokens that match a custom pattern are validated. Claim Mappings Local and remote claim mapping. Optional
-
Step 3 - Generate keys using the Okta Key Manager
-
Sign in to the Developer Portal.
https://<hostname>:9443/devportalhttps://localhost:9443/devportal -
Click Applications.
- Create a new application or use the default application.
-
Click Sandbox Keys.
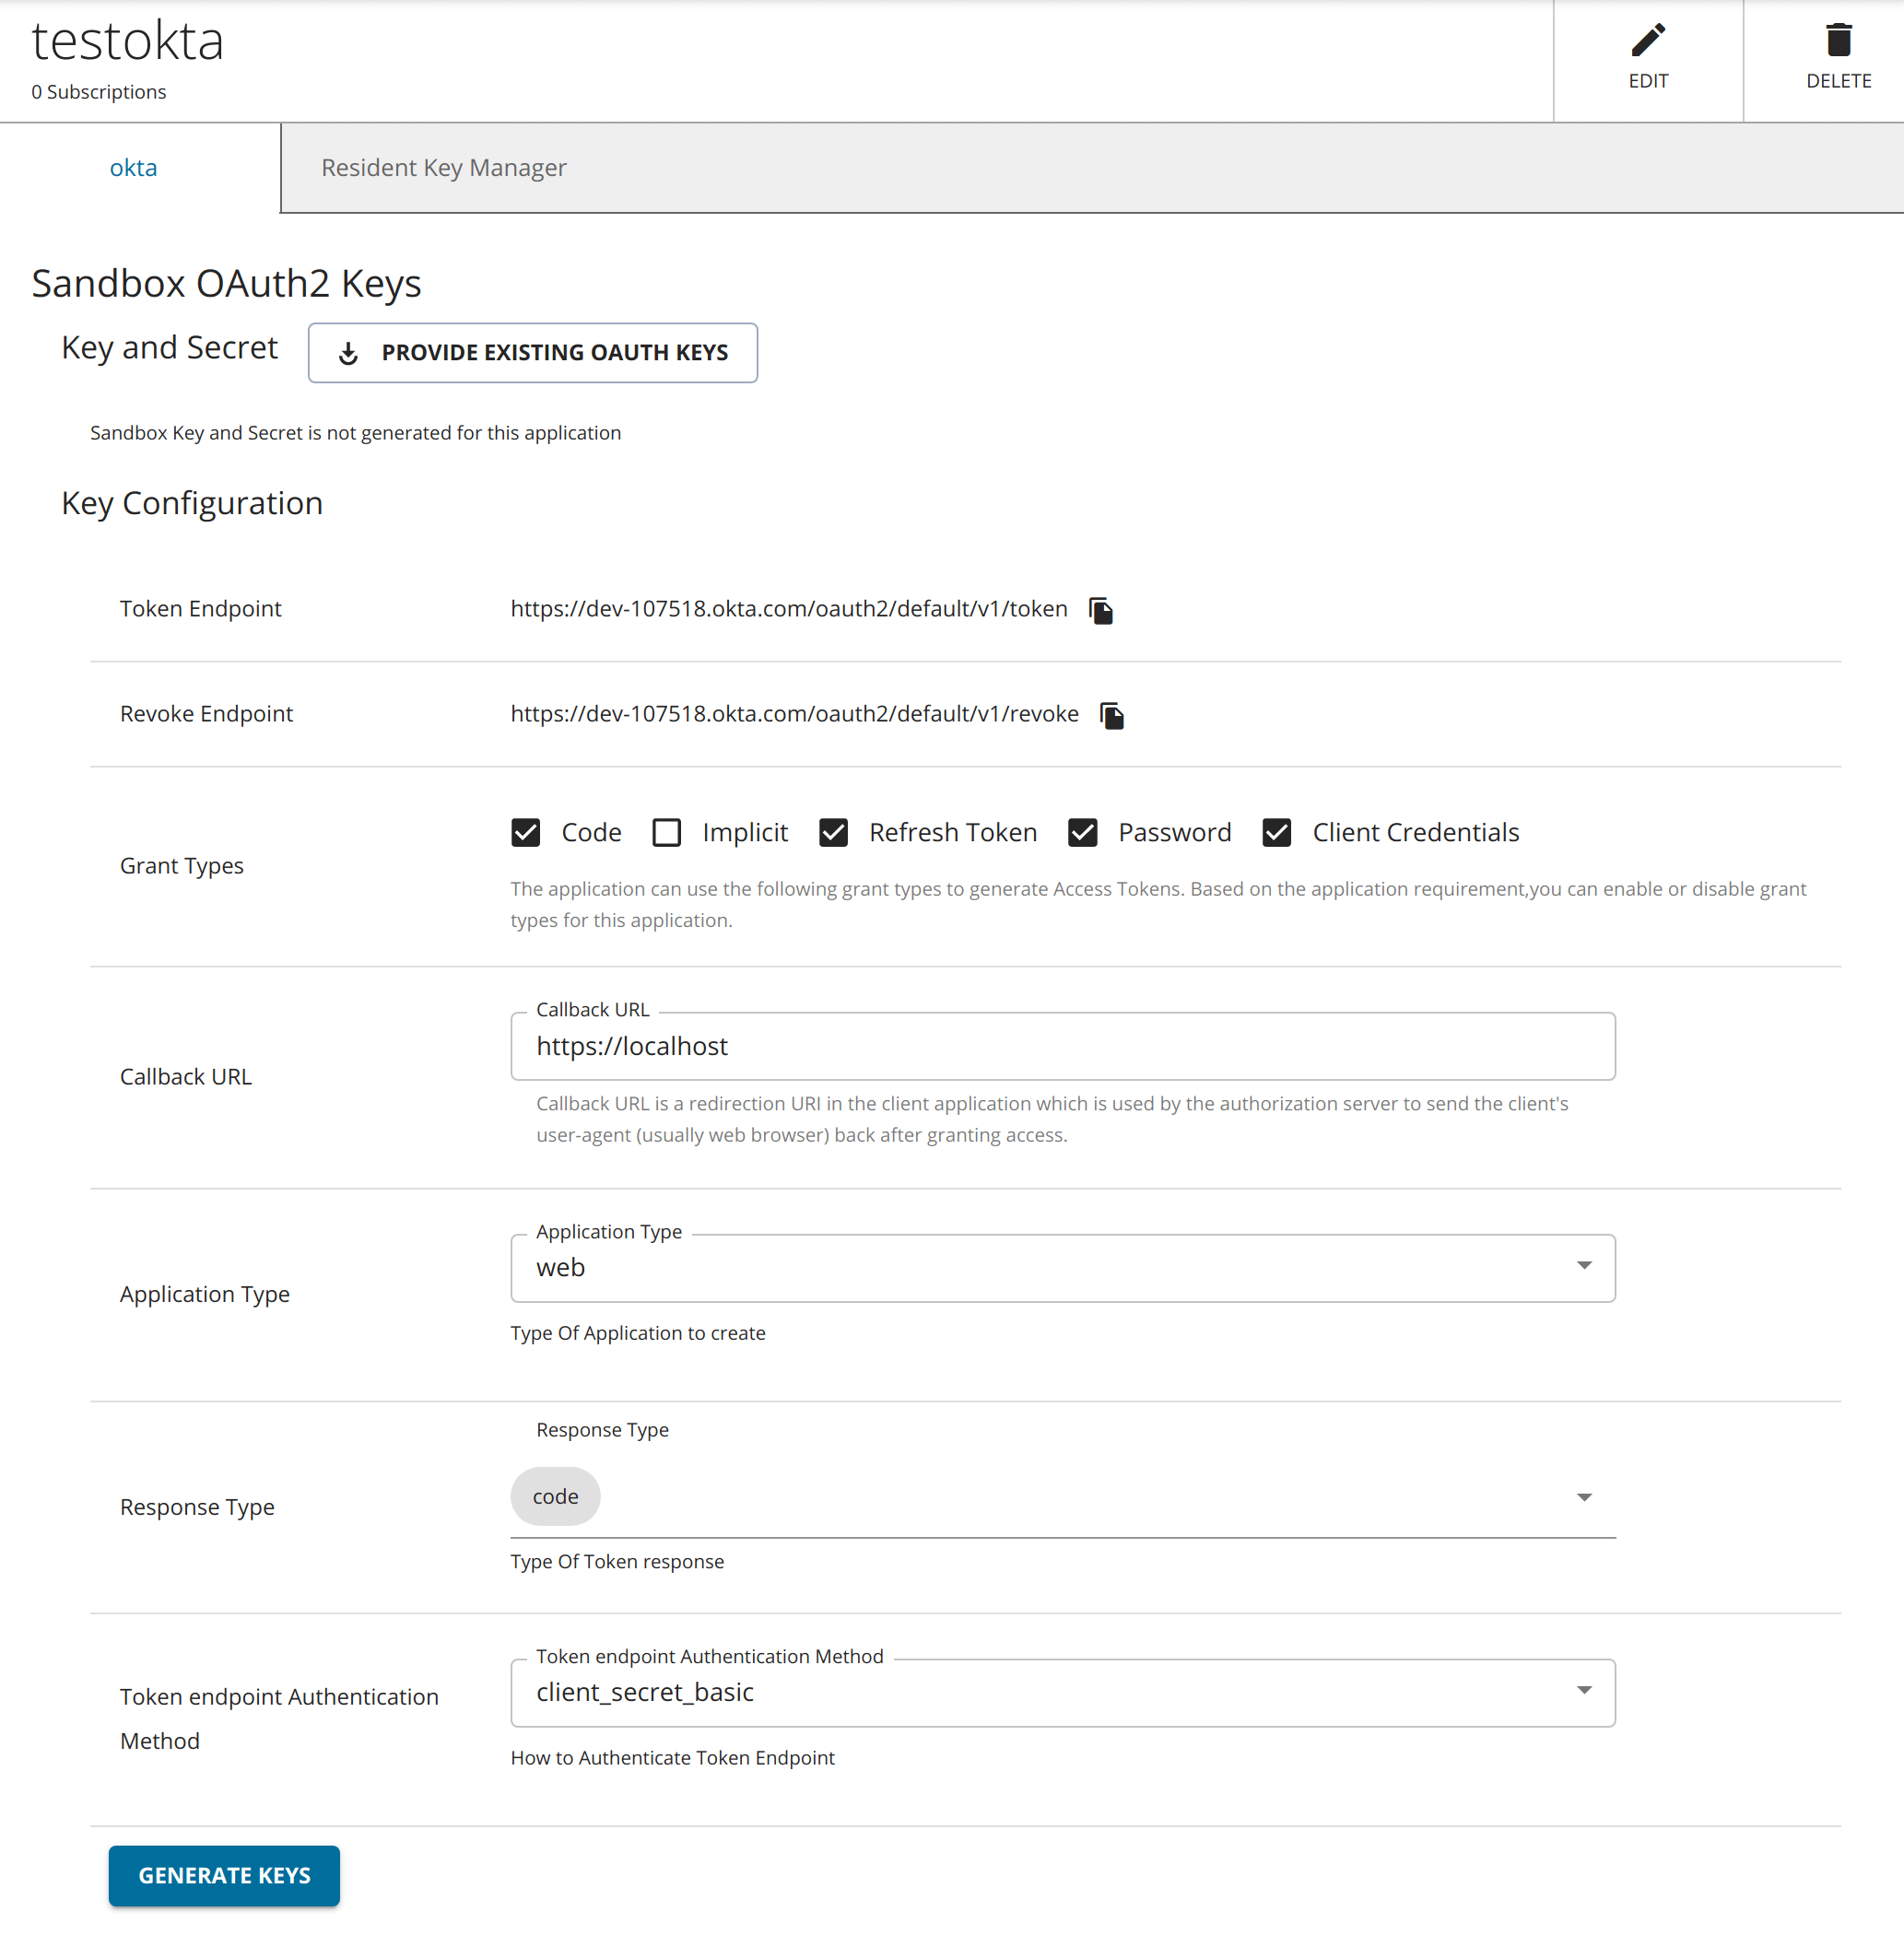
-
Select the Response Type.
-
Click Generate Keys.
Tip
If you want to generate the tokens with scopes, those scopes should have been defined in Okta as mentioned in the Step 1 - (2) c.