API Analytics Getting Started Guide
API Manager offers analytics as a cloud service. Therefore, you need to register with the analytics cloud in order to use API Manager Analytics. Follow the instructions below to get started with analytics:
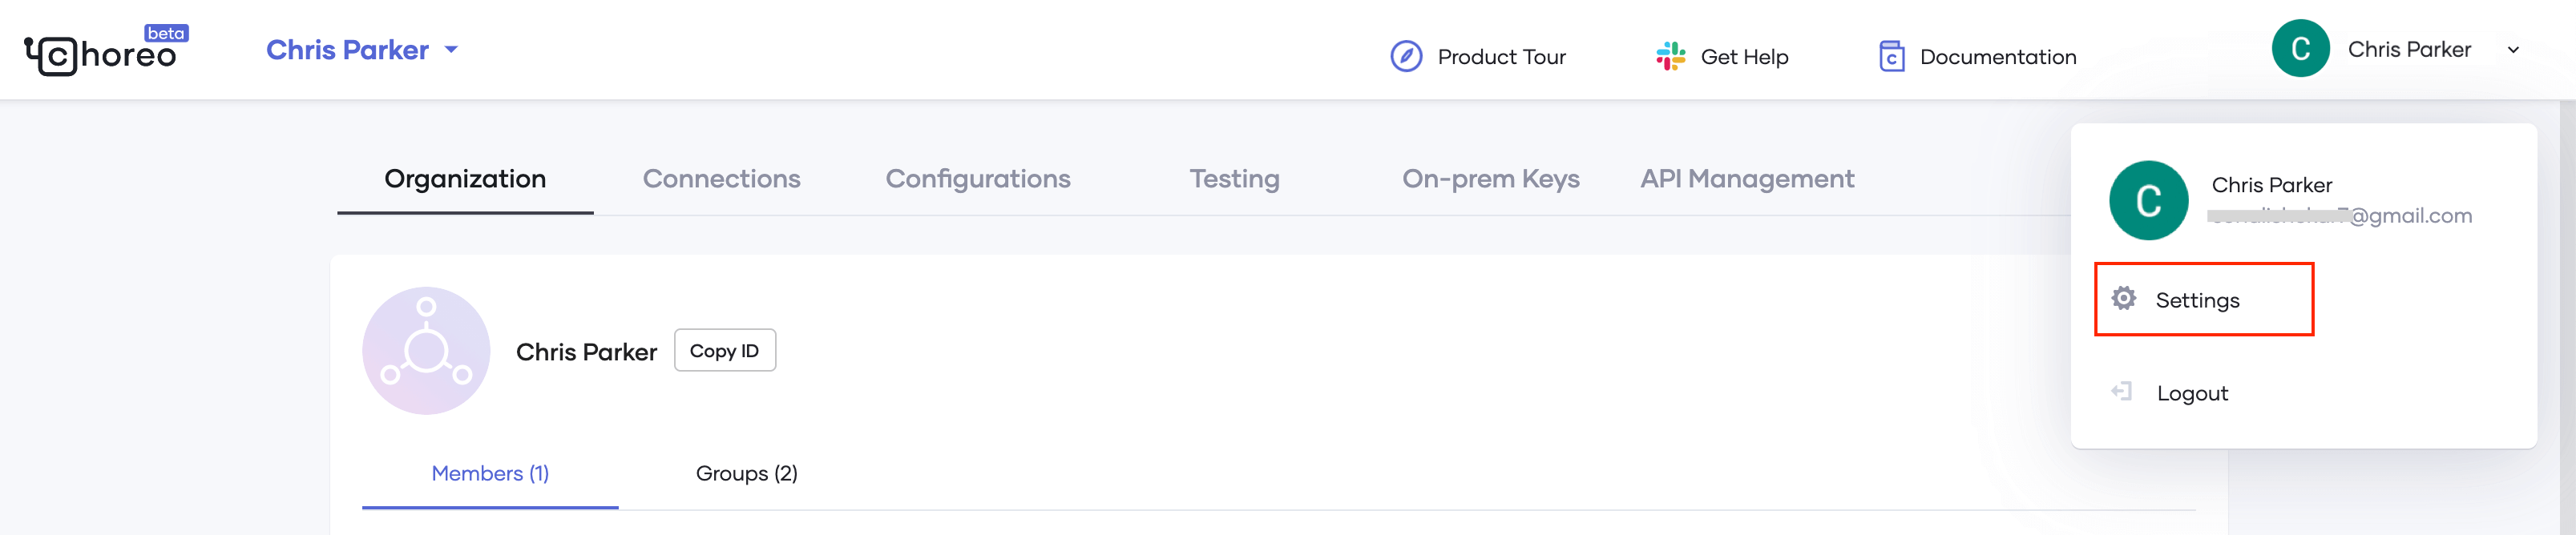
Step 1 - Sign in to Choreo
Follow the instructions below to sign in to Choreo.
-
Navigate to Choreo using the following URL.
-
Sign-in to Choreo.

Step 2 - Register your environment
Follow the instructions below to register your on-premise environment:
-
Click the Settings on the bottom left corner.
-
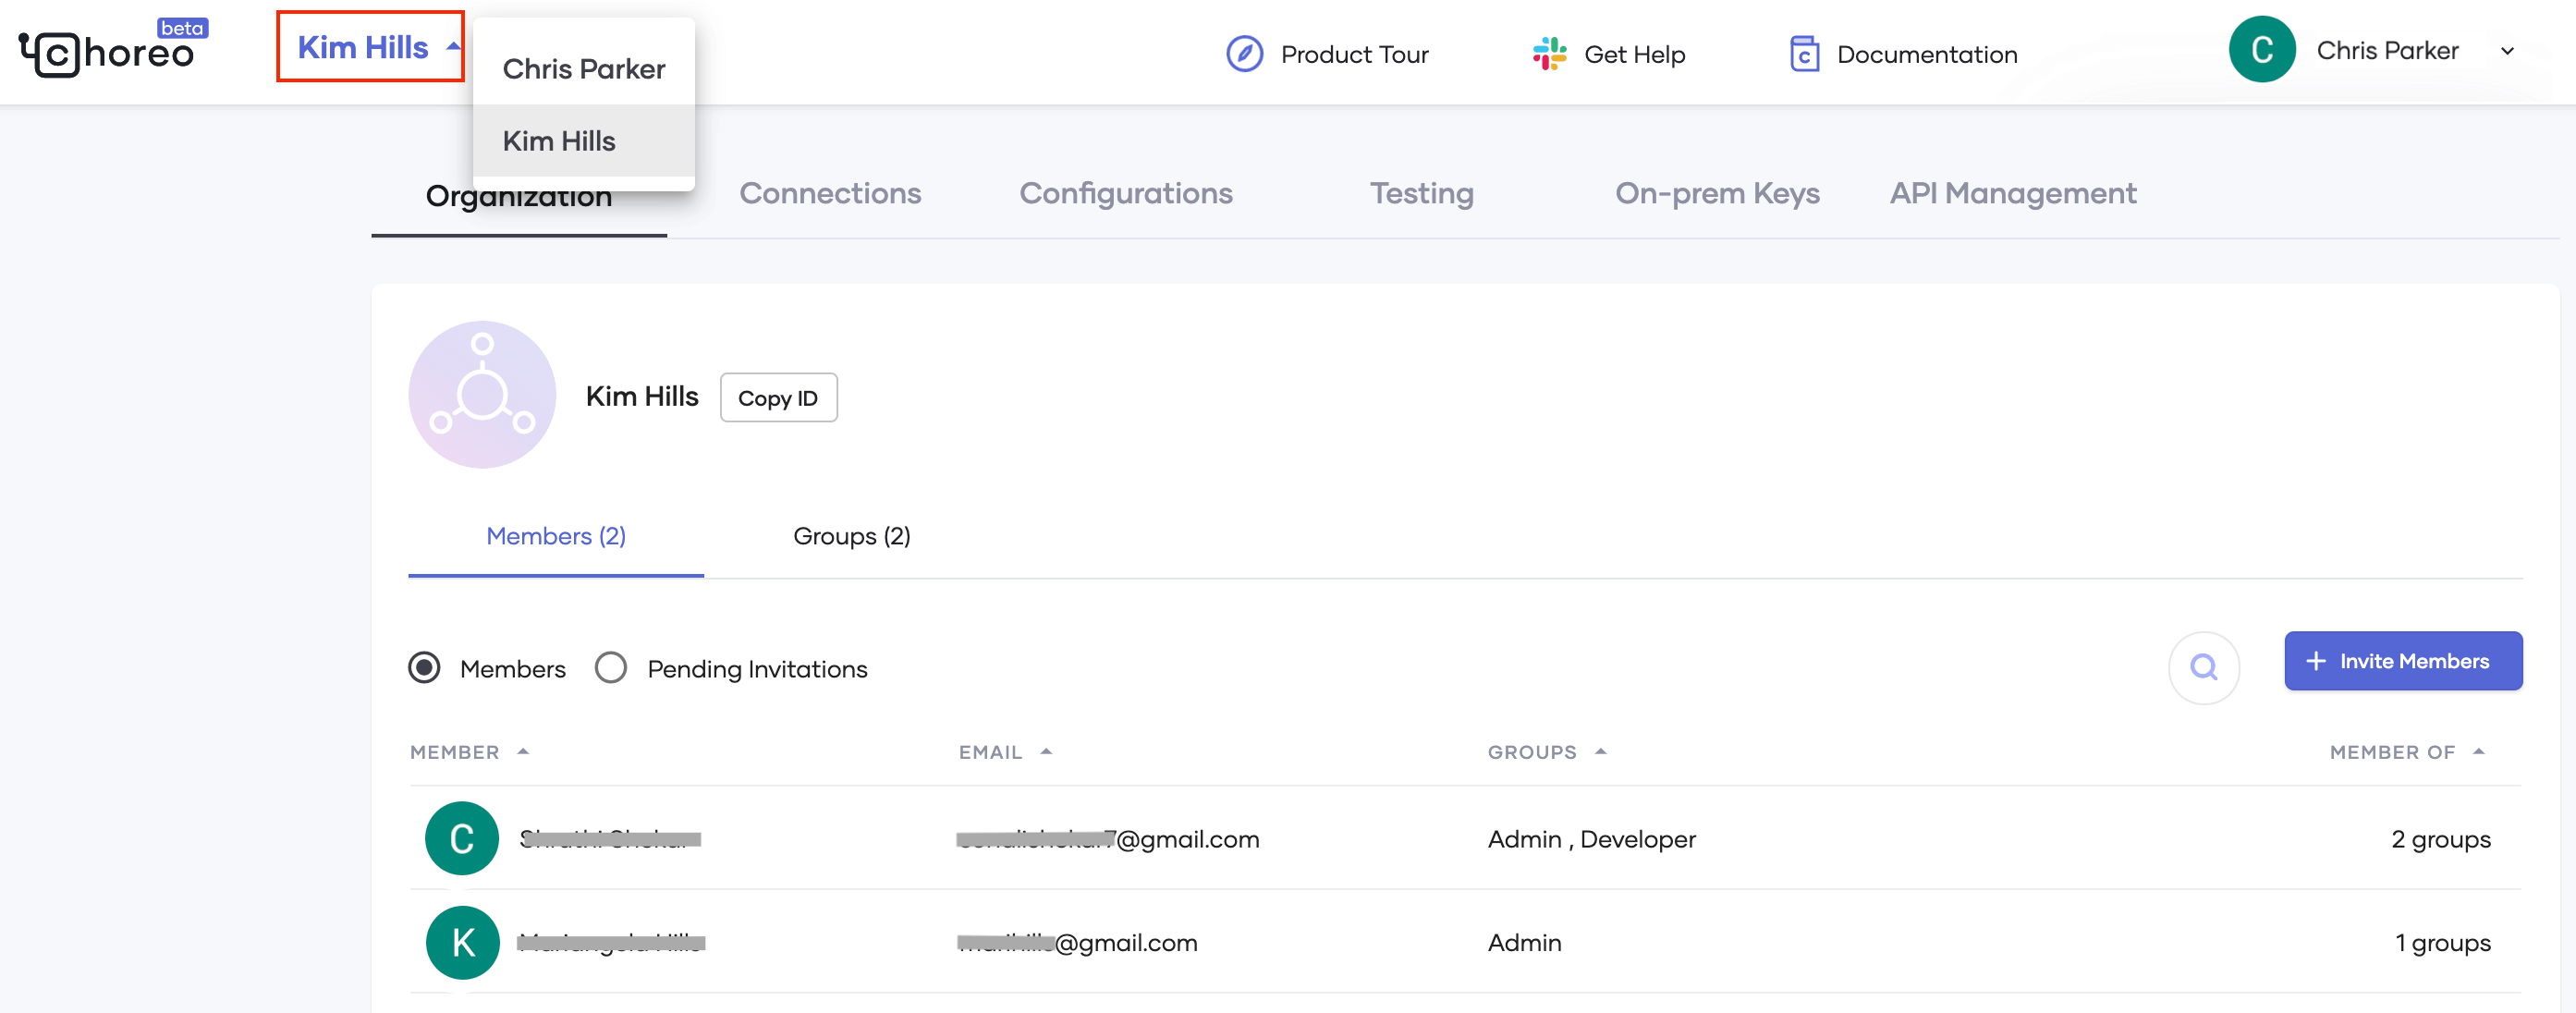
If you are a member of multiple organizations, select the appropriate organization from the top left-hand corner.
For more information on handling users with role-based access control in organizations, see Role-based Access Control for API Analytics.
-
Select the On-prem Keys tab and click Generate keys.
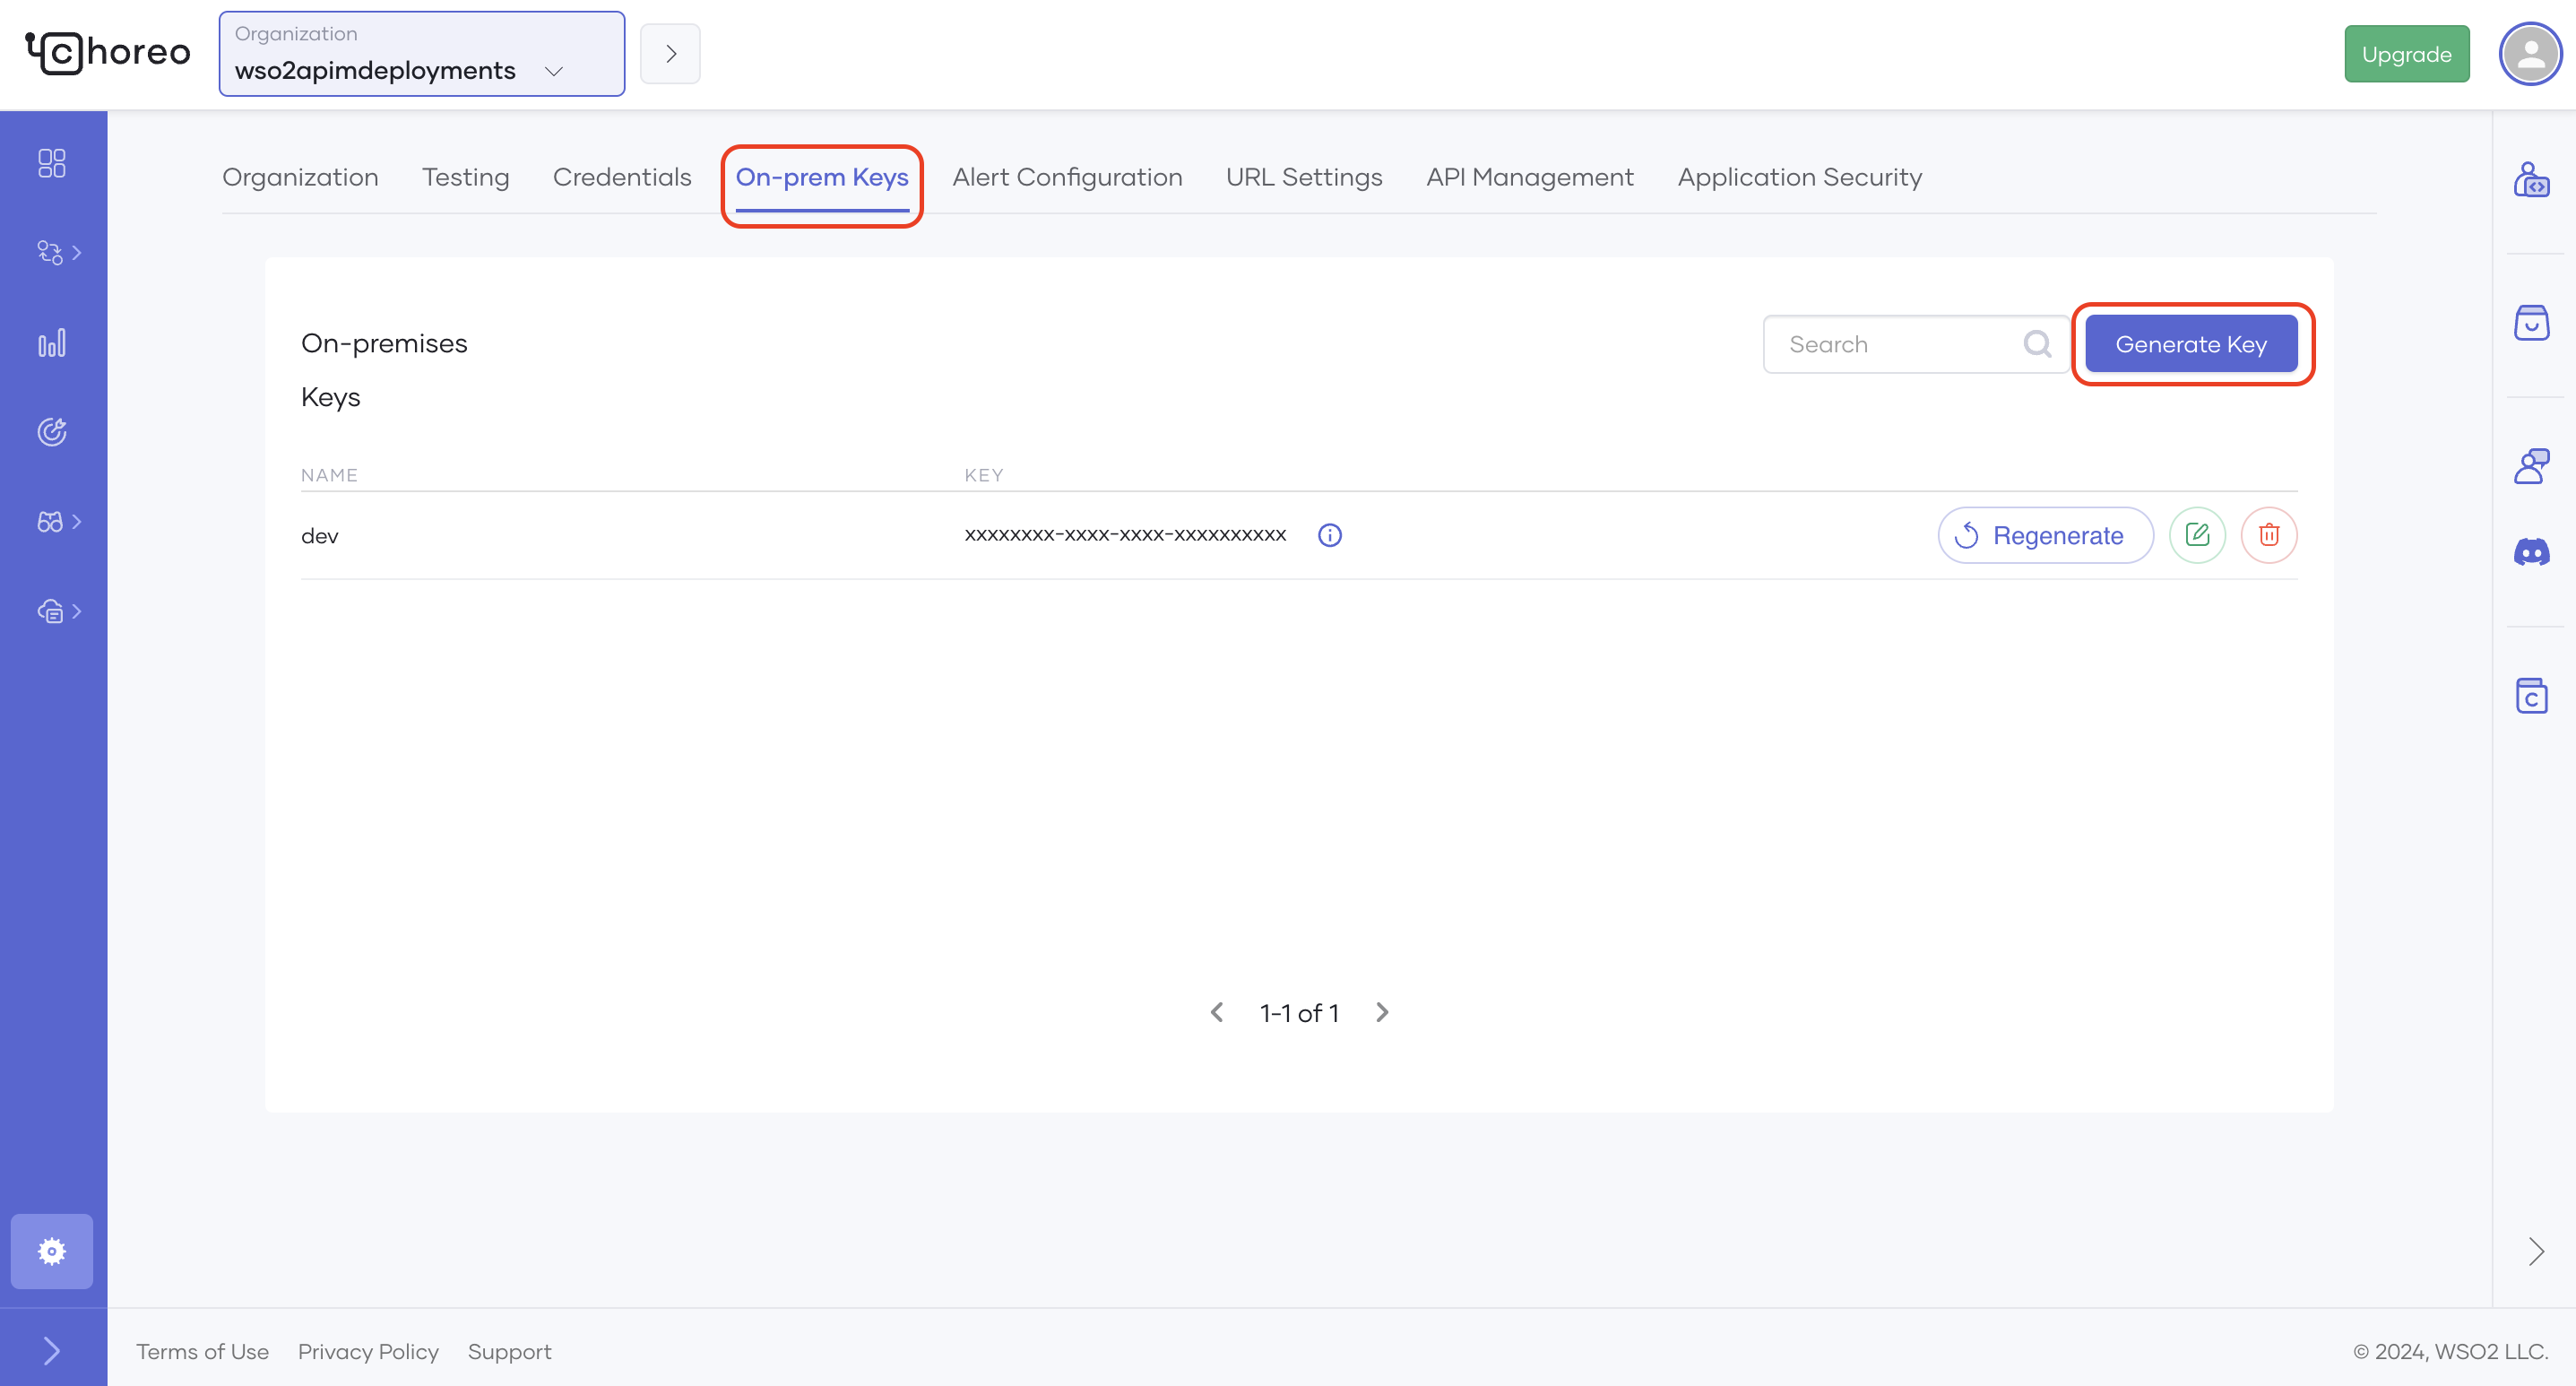
-
Enter a suitable name for your environment (e.g., customer1-dev).
-
Click Generate.
Info
The validity period of the key and the number of keys that you are allowed to generate vary based on the type of user as explained below:
User Type Descrption Validity Period Number of Keys Allowed Free user Refers to users who do not have a valid subscription for Choreo. 2 weeks NOTE: The validity of the keys can be temporarily extended by contacting sales and submitting a request.
3 keys Subscription customers Refers to users who have a valid subscription for Choreo. 1 year unlimited -
Copy the key that was generated before closing the dialog box.
Step 3 - Configure the Gateway
The Gateway configuration process varies based on the Gateway that you are using.
If your system connects to the service through a proxy server/firewall, you need to grant access to the following endpoints to access the Choreo Analytics Cloud service to publish data.
| Host | Port | Protocol |
|---|---|---|
analytics-prod-incoming.servicebus.windows.net |
5671 | AMQP |
analytics-prod-incoming.servicebus.windows.net |
5672 | AMQP |
analytics-event-auth.choreo.dev |
443 | HTTPS |
API Gateway
Follow the instructions below to publish analytics data to the analytics cloud via the API Gateway:
-
Open the
<API-M_HOME>/repository/conf/deployment.tomlfile and update the[apim.analytics]config segment as follows:[apim.analytics] enable = true config_endpoint = "https://analytics-event-auth.choreo.dev/auth/v1" auth_token = "<use token that you generate>"Note
This is the basic configuration that you need to publish analytics data to the analytics cloud.
- If you need to change the following default values of the Worker Thread Count, Queue Size or Client Flushing Delay, see the Advanced configurations.
Parameter Default Value worker.thread.count1 thread queue.size20000 requests client.flushing.delay10 seconds
-
Enter the on-premise token, which you obtained via the Choreo Portal in the Register your environment step, as the Auth token field.
-
Restart the API Gateway.
Step 4 - View the Analytics Dashboards
Invoke APIs and open Choreo Insights to view the dashboards.
For more detailed information on the Choreo Insights dashboards and their usage, go to the View API Insights page of the Choreo documentation.
What's Next?
Enterprises and companies who want to use the Choreo Insights collaboratively can utilize the organization concept in Choreo. For more information, see Role-based Access Control for API Analytics.
Top