Create an API Product
Let's create an API Product named customer leasing that includes resources from the Customer Info API & Leasing API, as discussed in the previous example.
-
Sign in to the API Publisher.
https://<hostname>:9443/publisher(e.g.,
https://localhost:9443/publisher). -
Create the following two APIs by importing the attached OpenAPI definition (a.k.a Swagger definition) files.
-
Customer Info API - customer-info-api.yaml
-
Leasing API - leasing-api.yaml
Note
Ensure that you provide an endpoint for each API after it is imported. The API Product will reuse the endpoint specified at the API-level.
- It is not necessary to publish an API in order to use it to create an API Product.
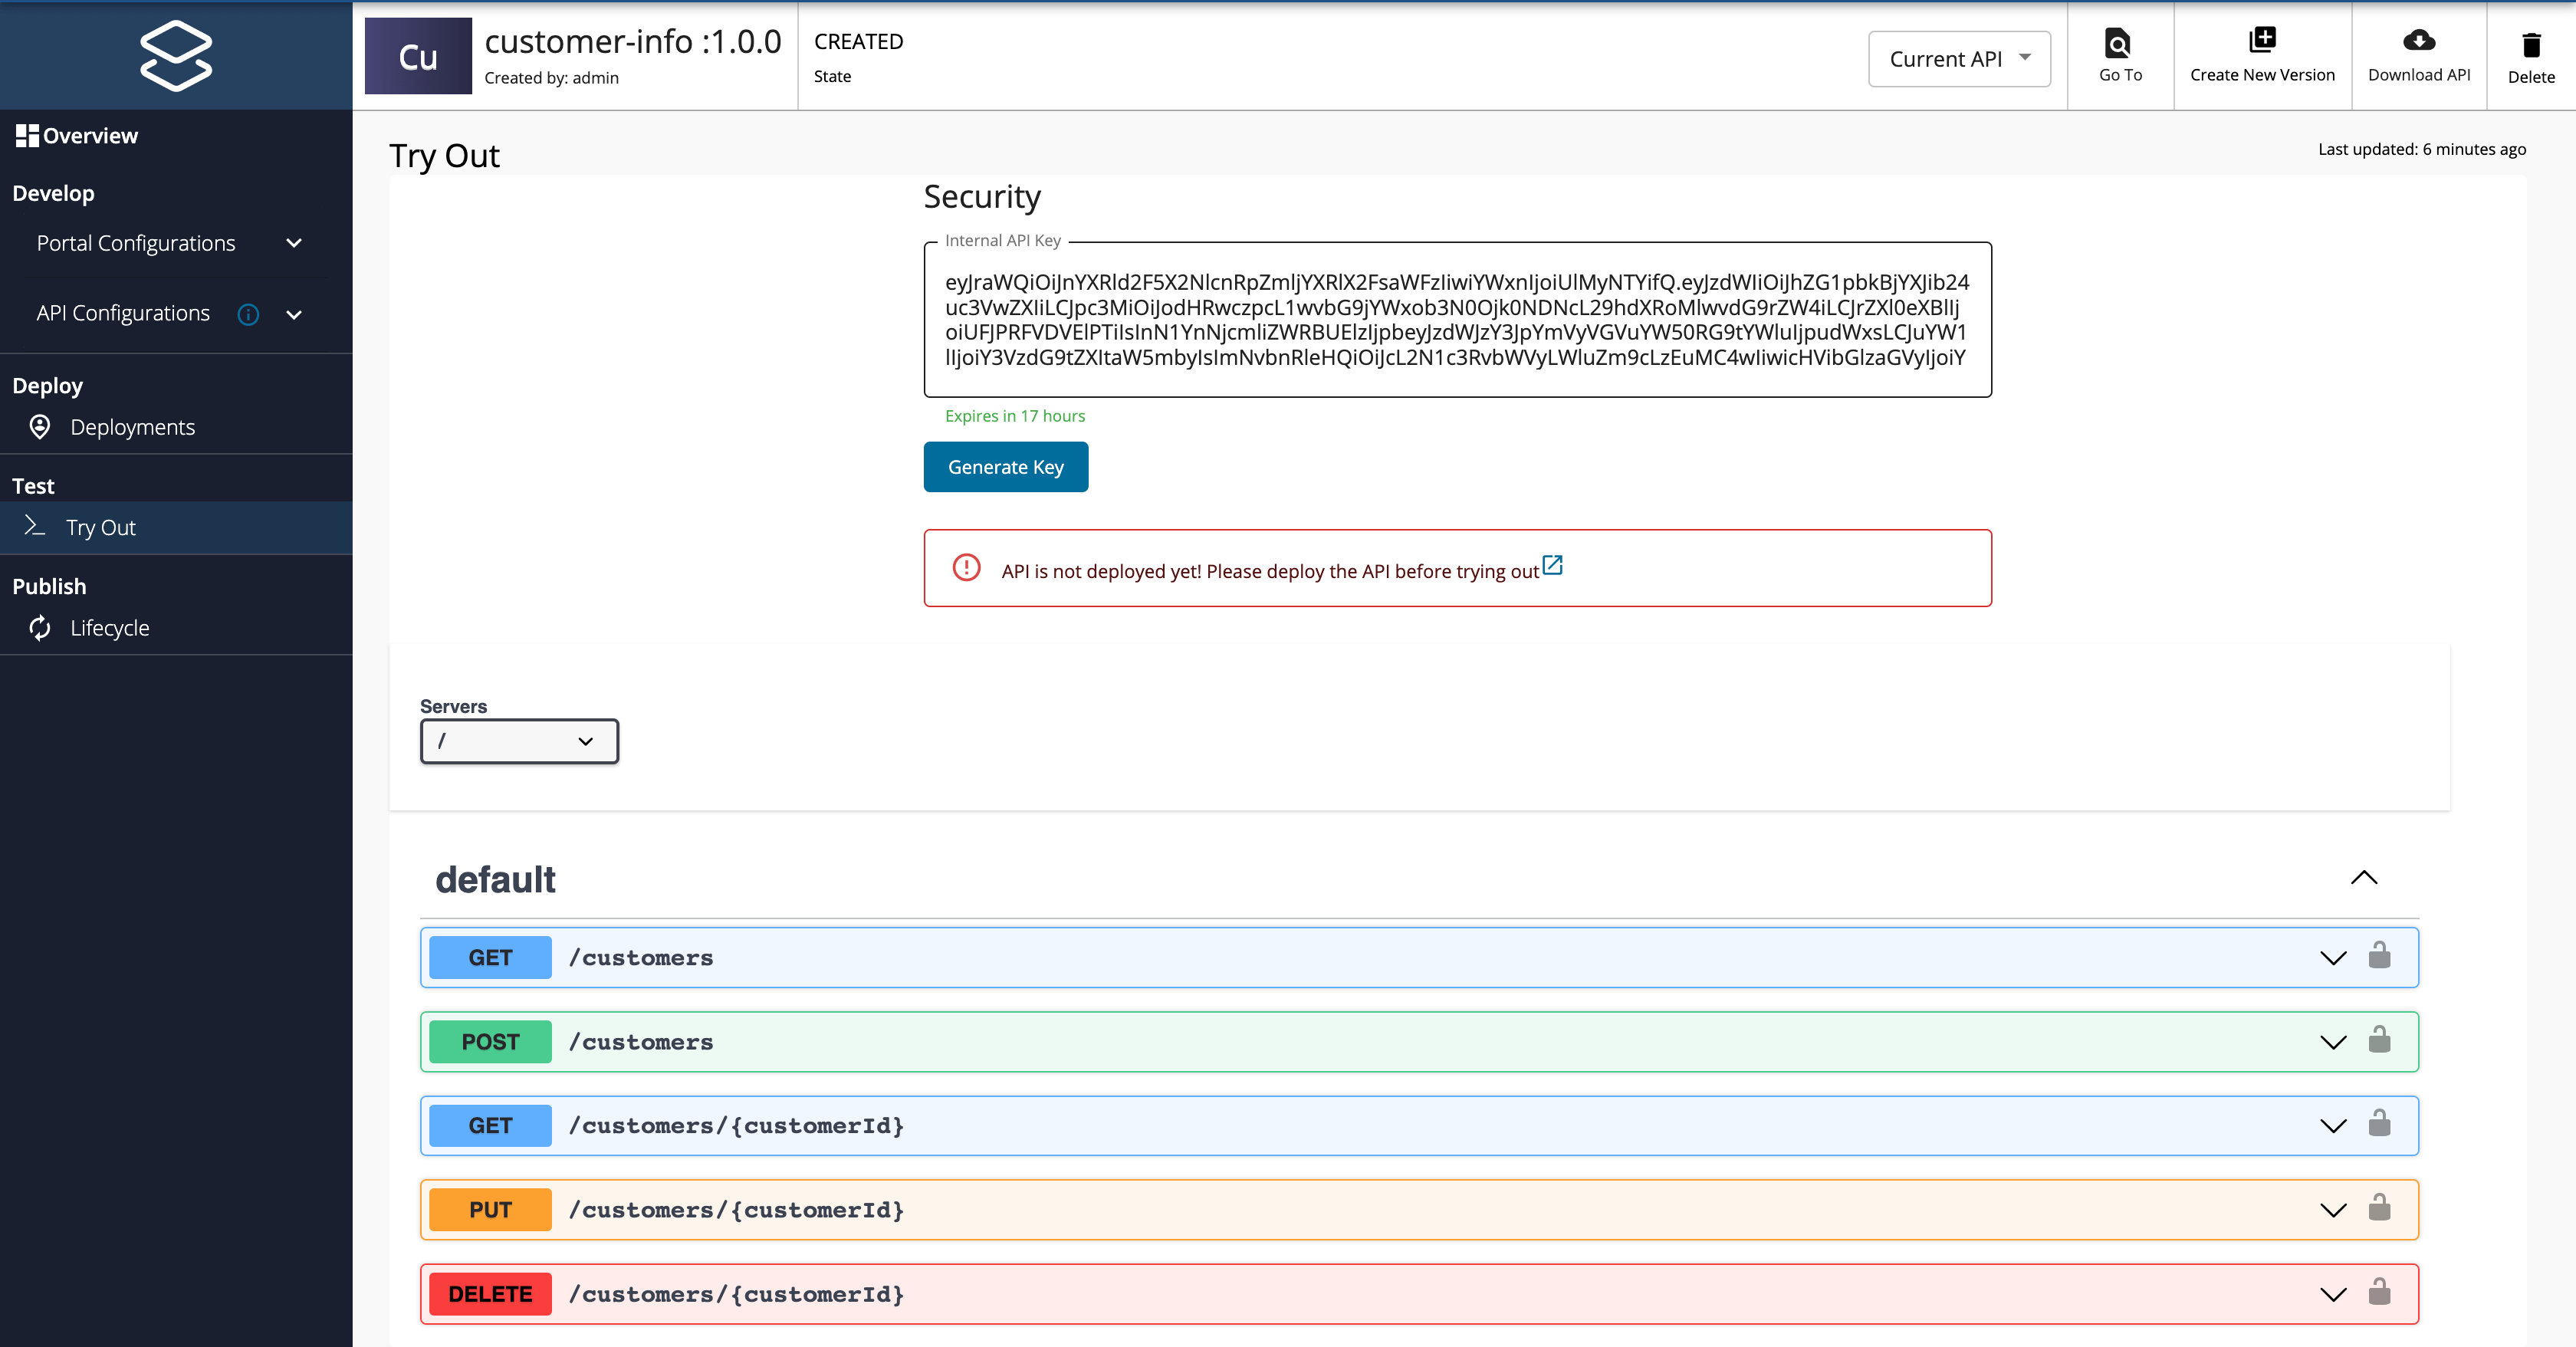
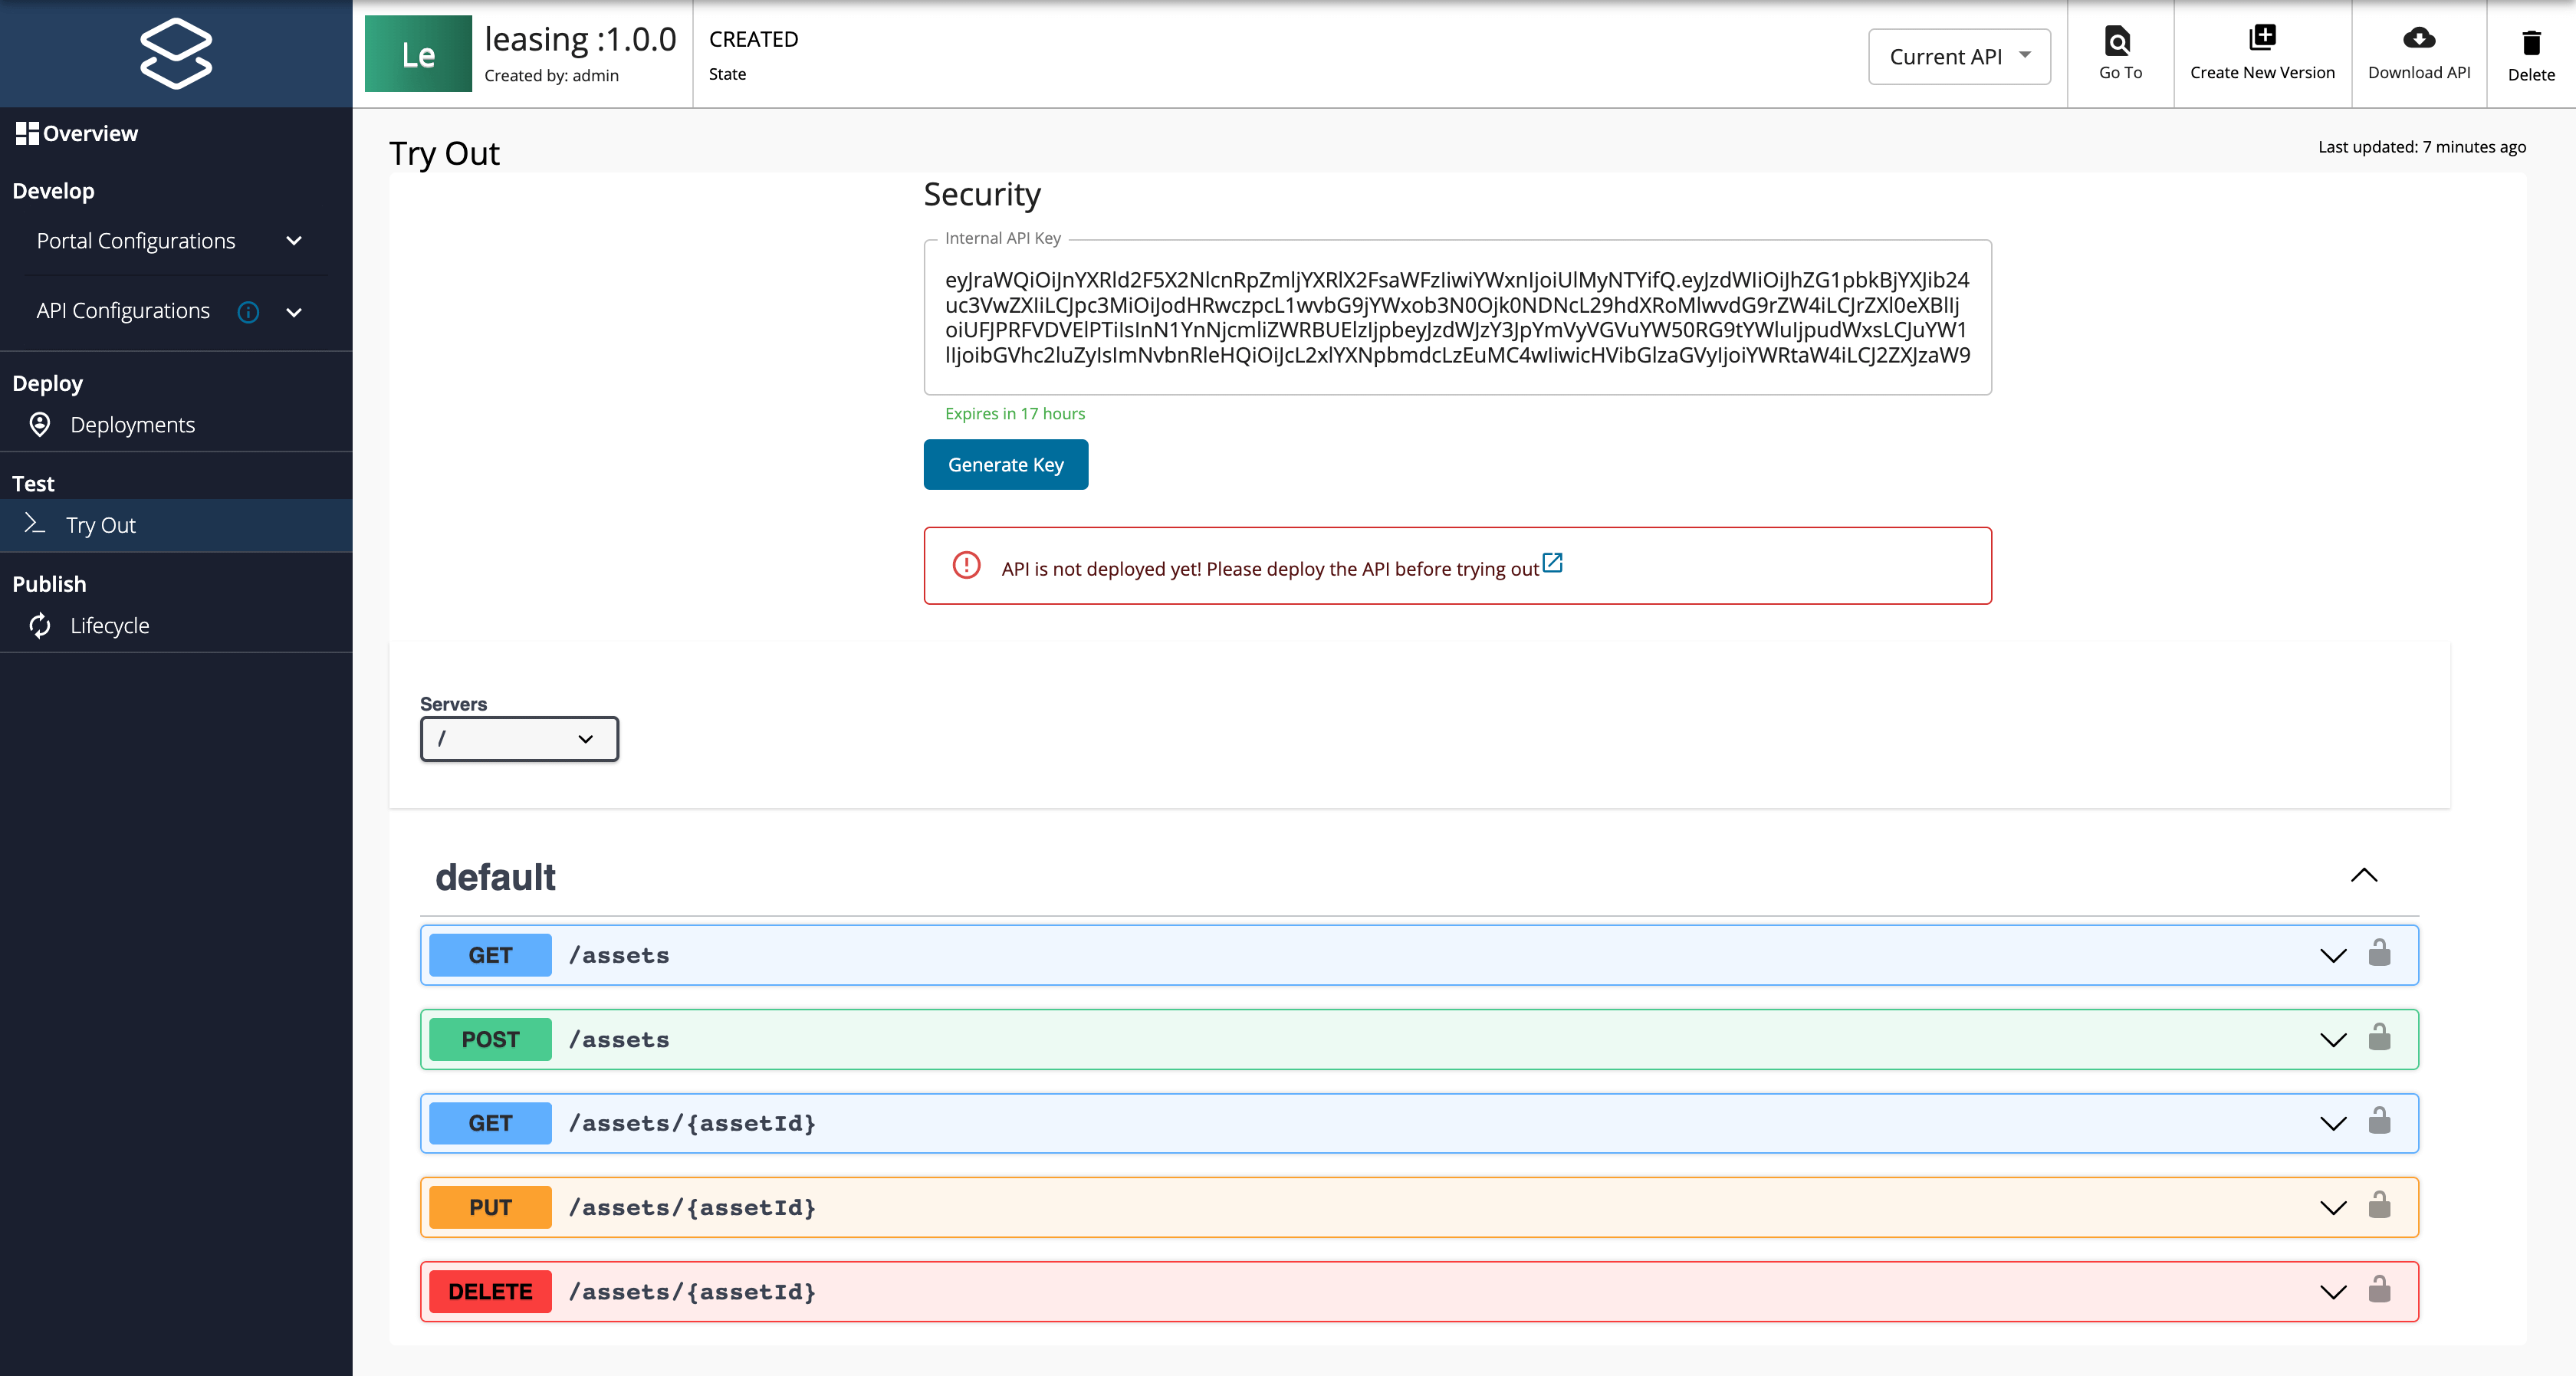
After you create each of the APIs, click Try Out, to view the respective resources for each of the APIs as follows:
-
Customer info API
-
Leasing API
Note
Only users with publisher permission are allowed to create an API Product.
If you have not already signed in to the Publisher Portal as a user who has
Internal/publisherpermissions (e.g.,admin), you need to sign out and sign in with this permission in order to be able to carry out the following instructions.
-
-
Click API Products on the left menu, and then click on API Product.
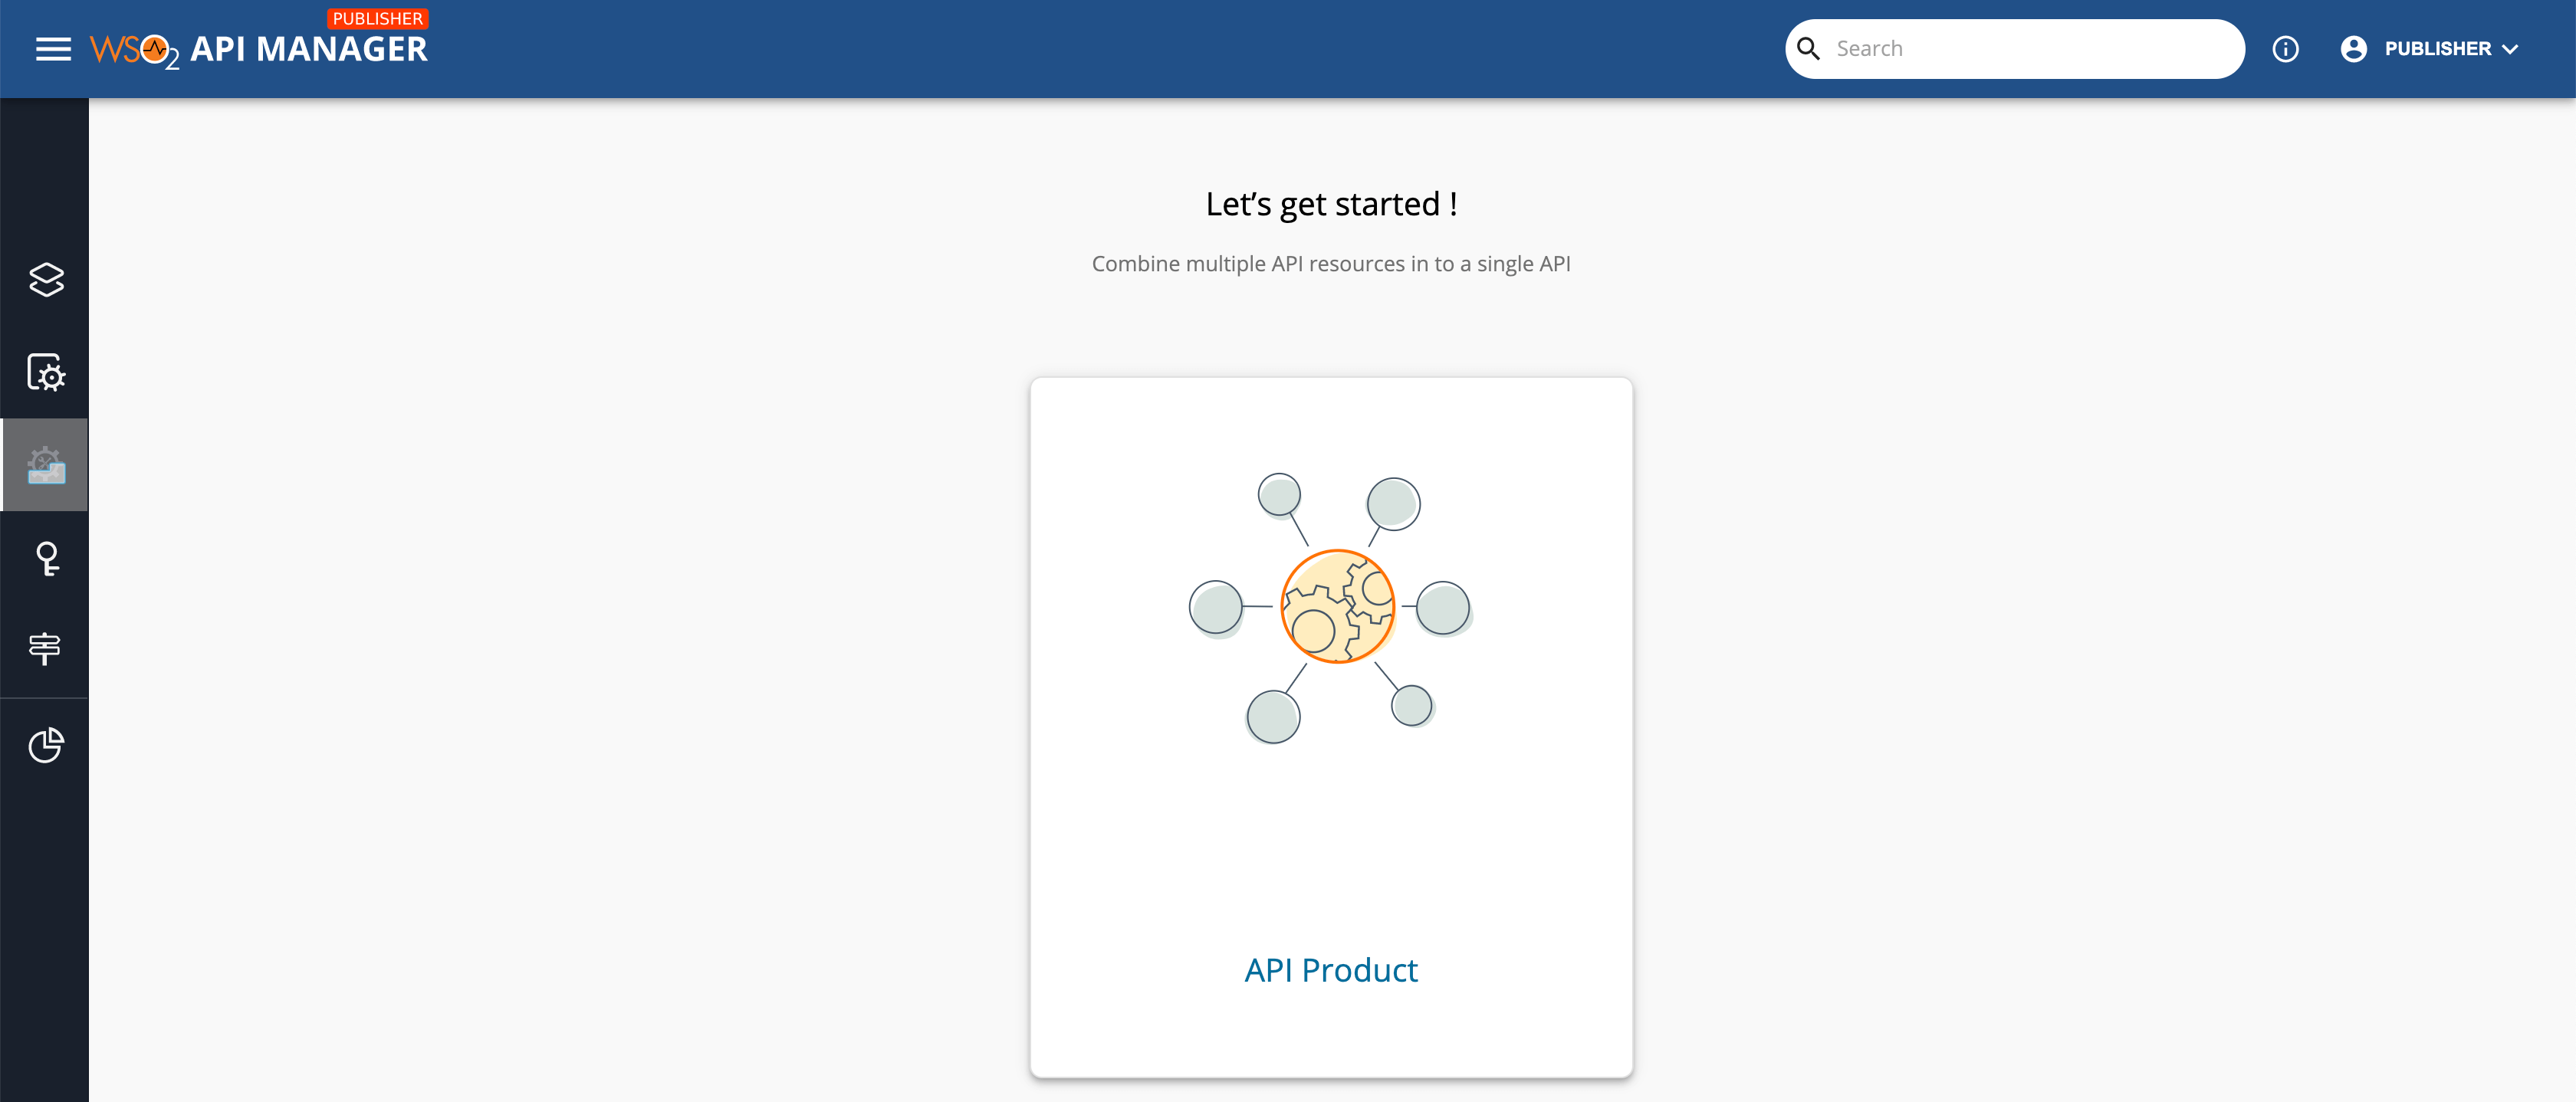
The Create an API Product page appears.
-
Enter the API Product details.
Name customer-leasing Context customer-leasing 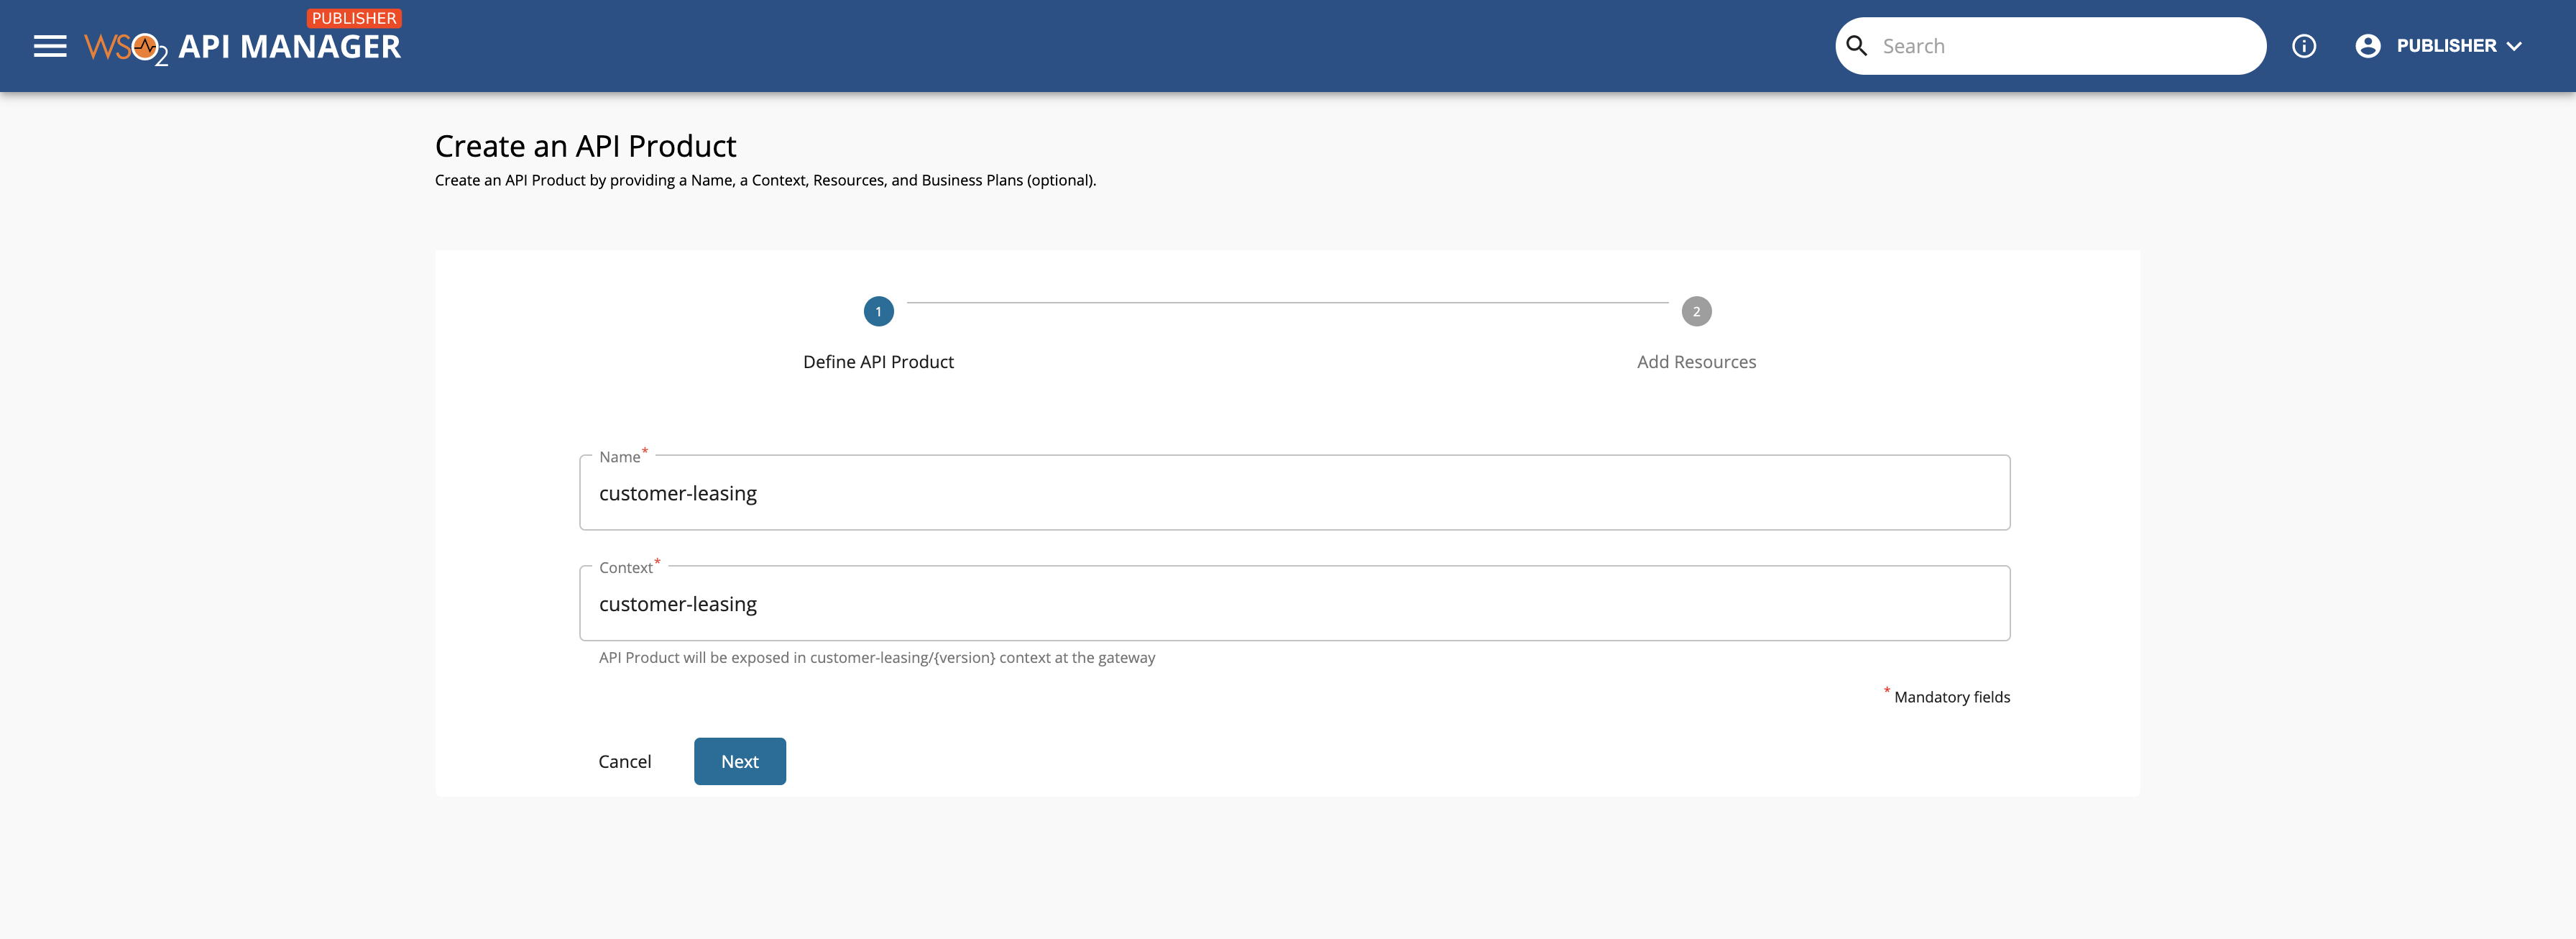
-
Click NEXT.
The Add Resources page appears.
- The leftmost pane shows the available list of APIs.
- The central pane lists the available resources of a given API, which is selected in the left pane.
- You can select a resource in the central pane and add it to the right pane, which shows the resources that will be added to the API Product.
-
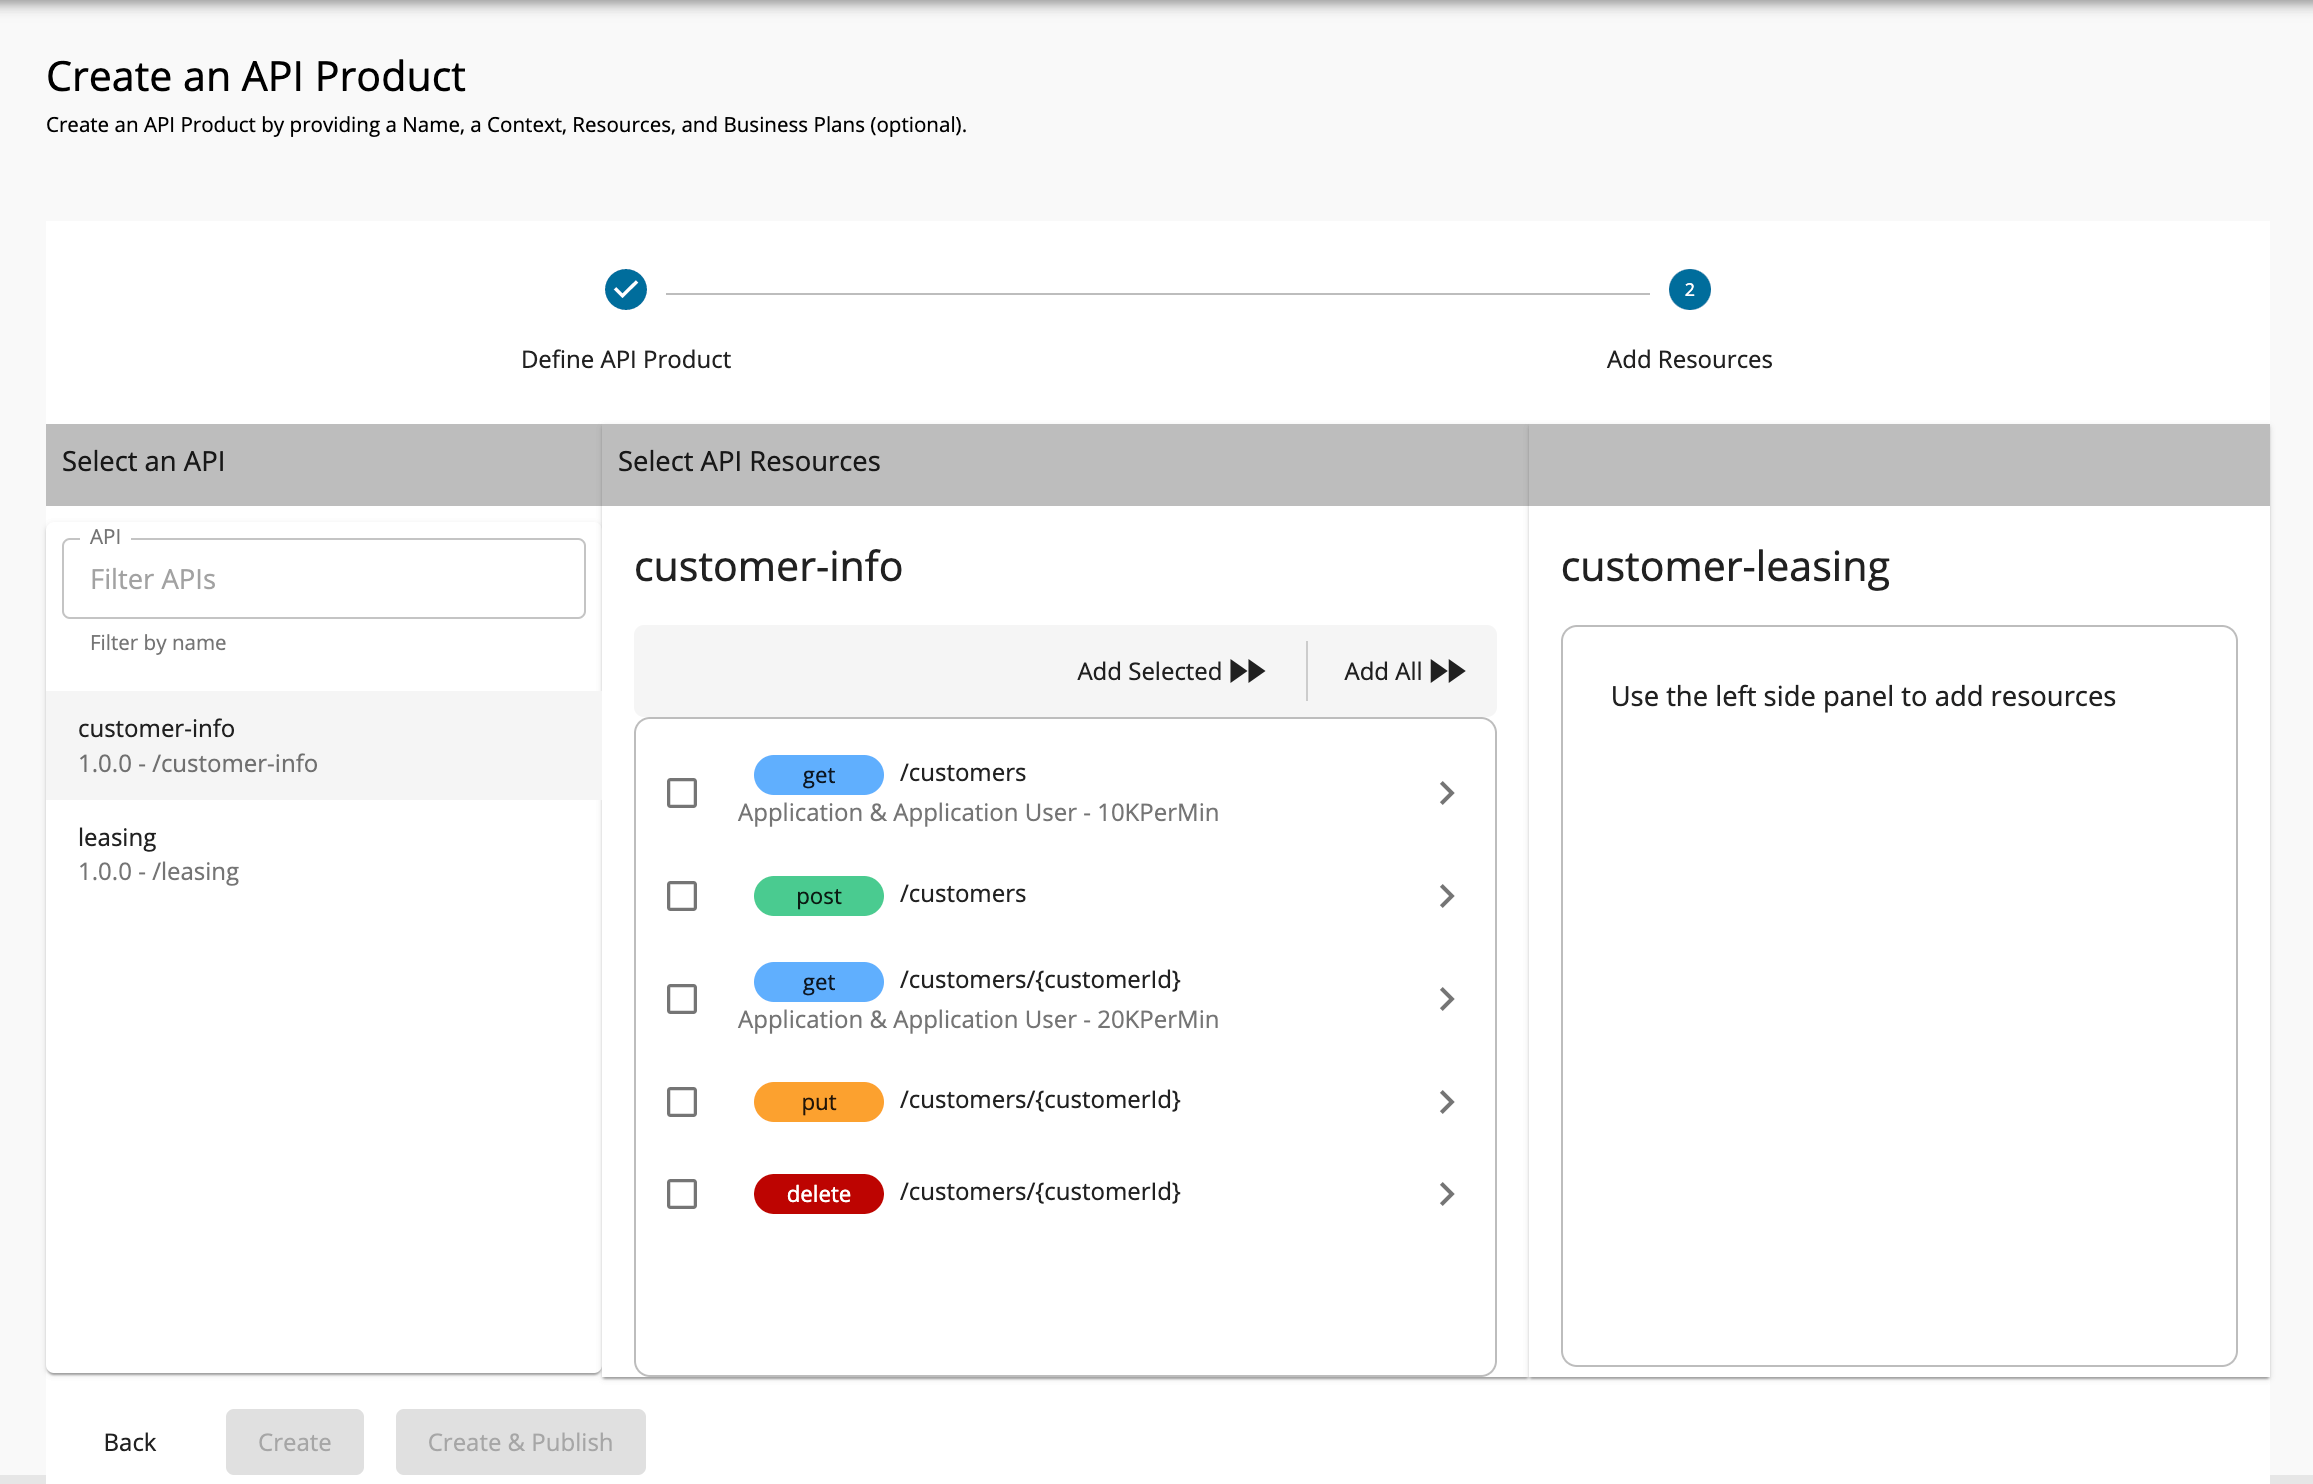
Add resources from the
customer-infoAPI.- Click on the
customer-infoAPI in the left pane. - Select the
GET /customersandGET /customers/{customerId}resources in the central pane. - Click Add Selected to add these resources to the right pane so that you can use them to create the API Product.
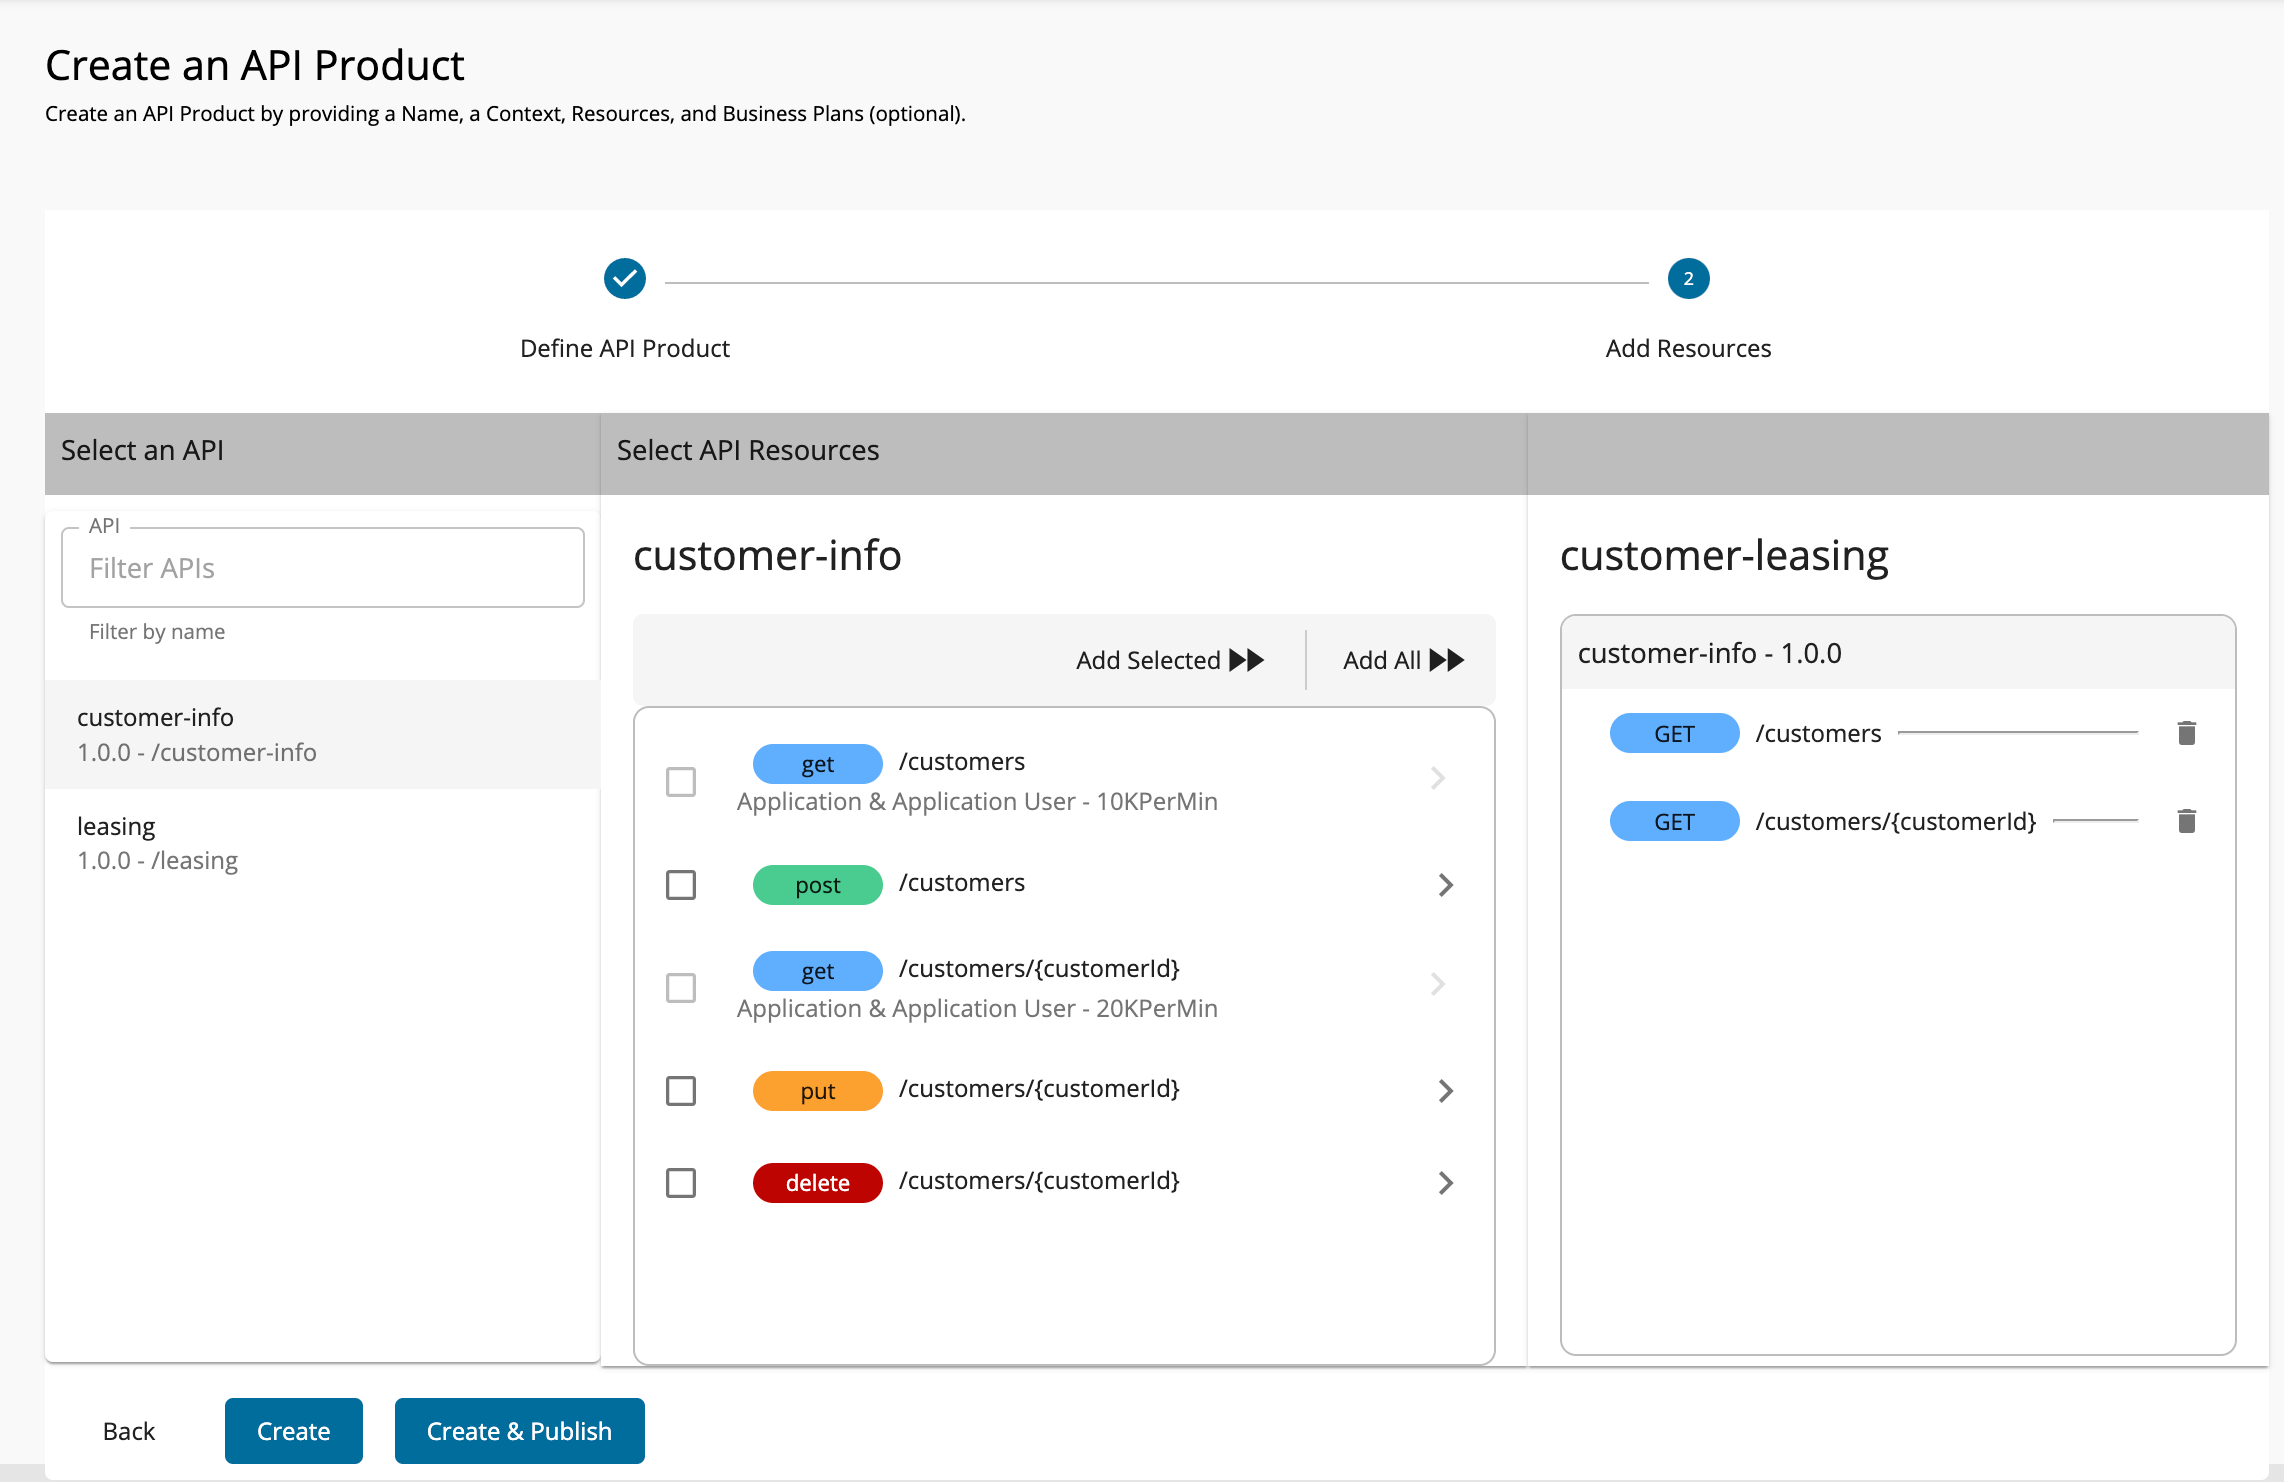
- Click on the
-
Add resources from the
leasingAPI.- Click on the
leasingAPI in the left pane. - Select the
GET /assets/{assetId}andPOST /assetsresources in the central pane. - Click Add Selected to add these resources to the right pane so that you can use them to create the API Product.
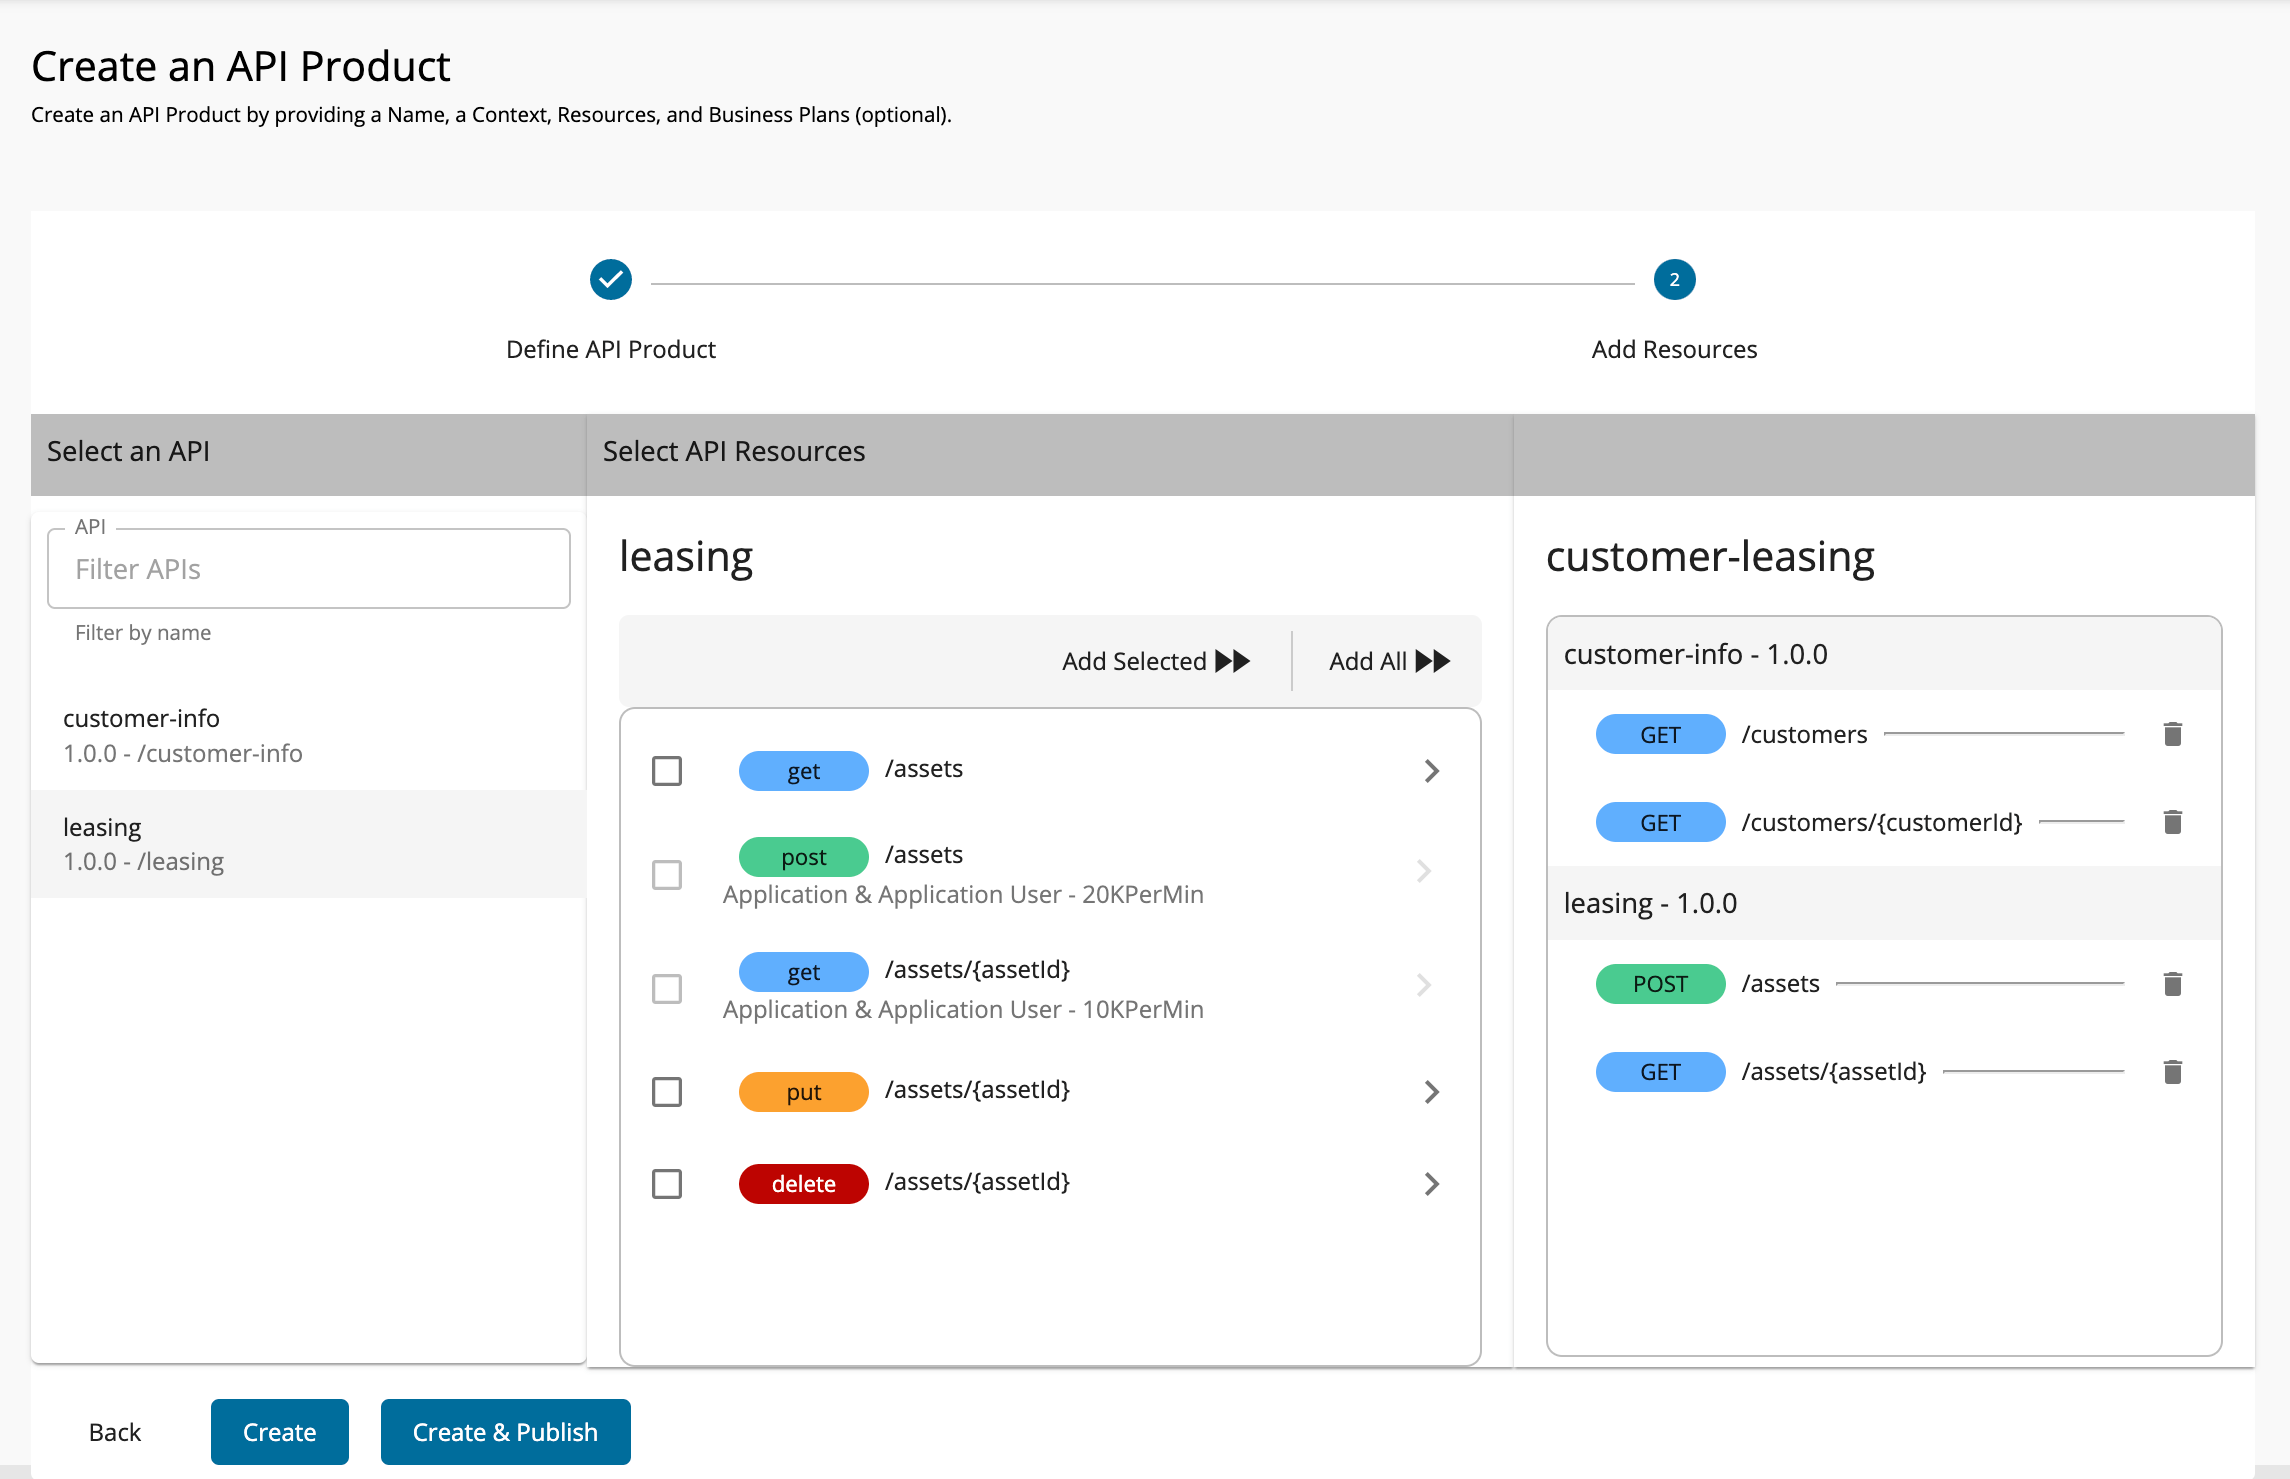
- Click on the
-
Create the API Product.
-
If you only want to create the API Product without deploying and publishing the API Product, click Create.
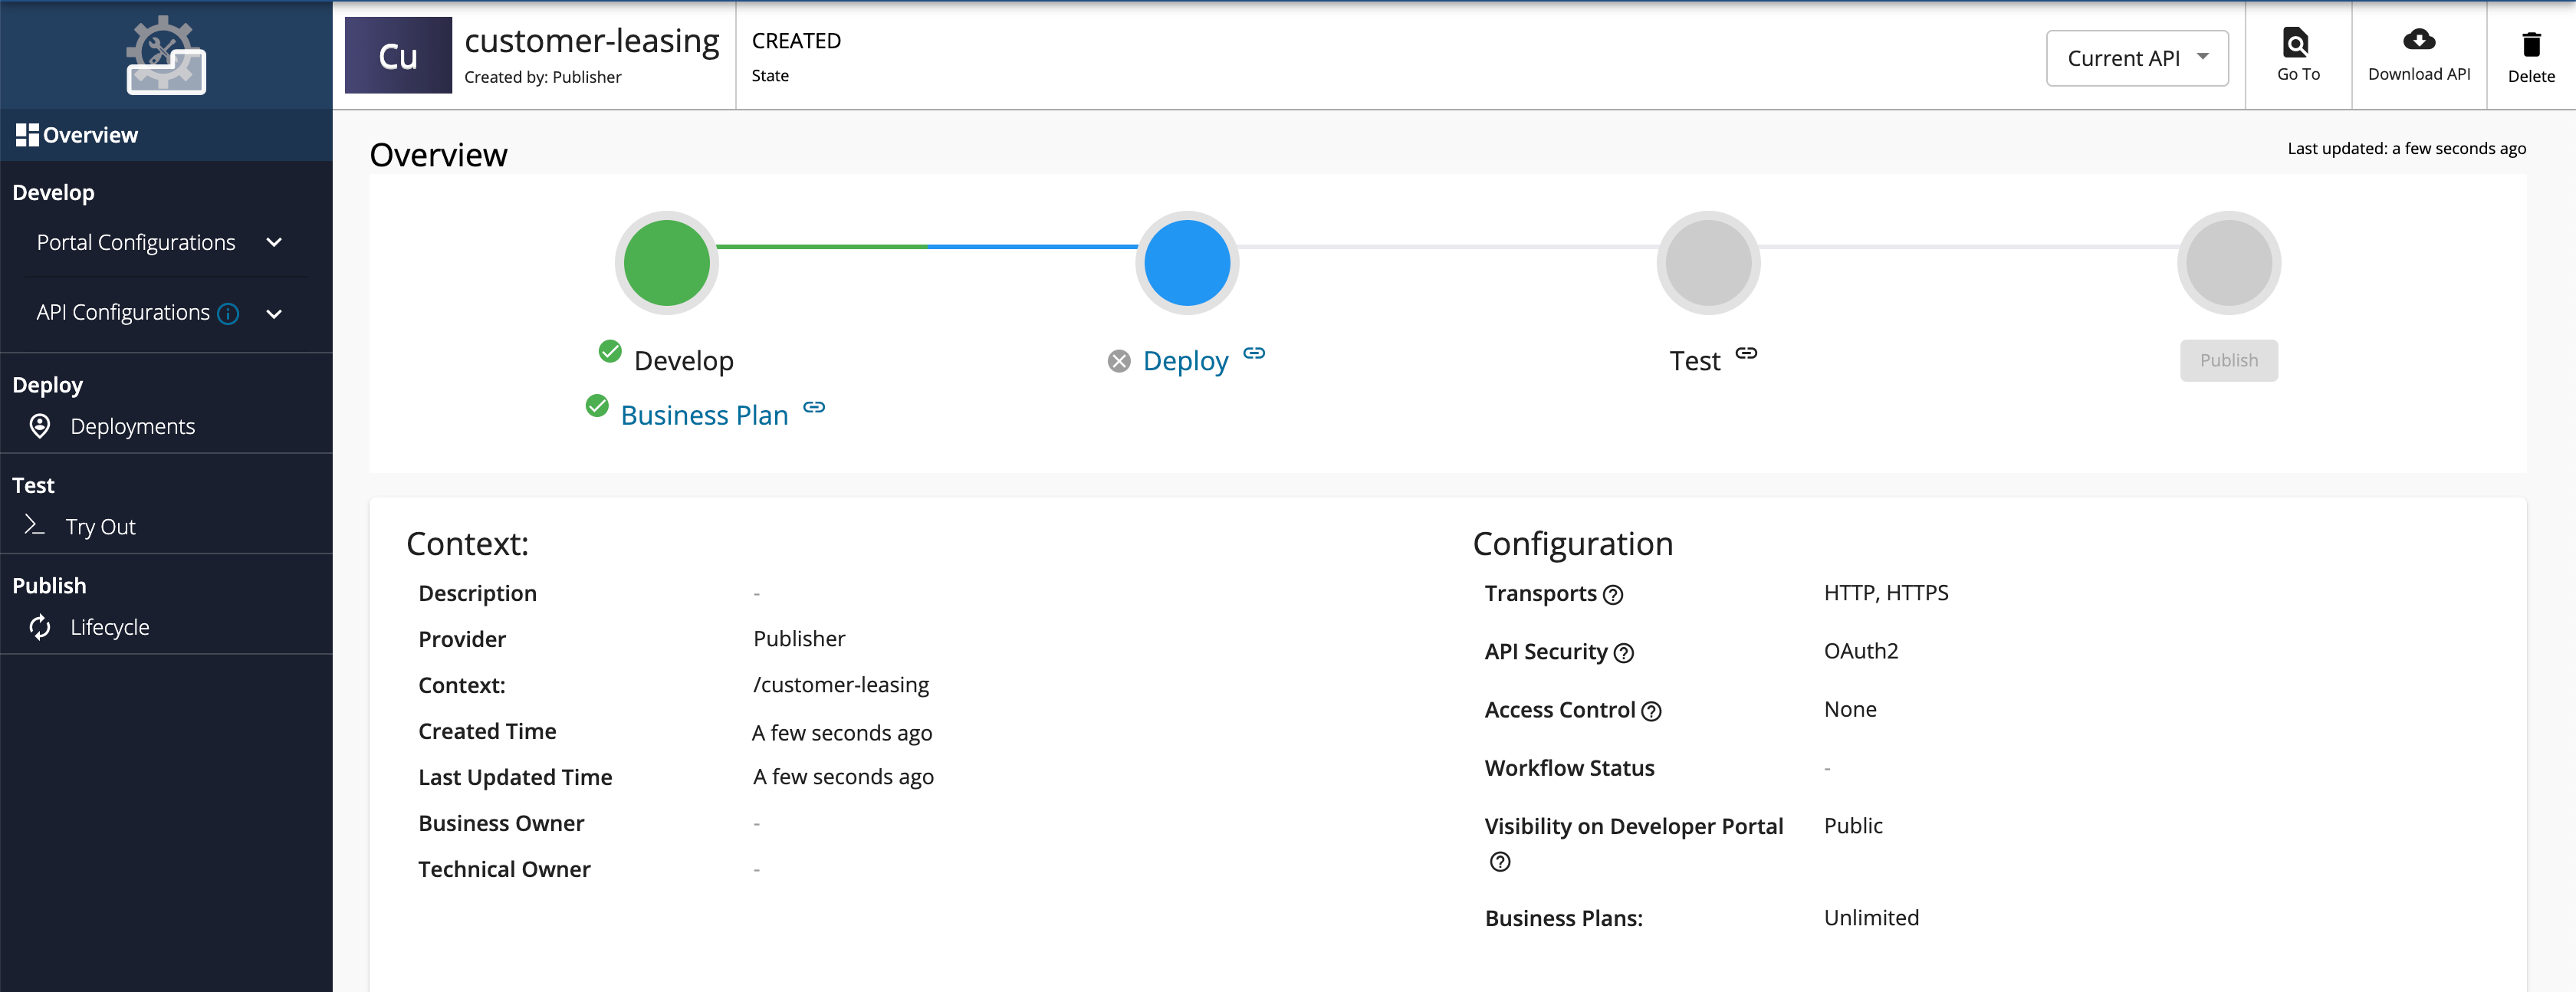
The API Product will appear in the API Publisher, as shown below.
-
If you want to create, deploy and publish the API Product, click Create & Publish.
Deploying the API Product will make it available for invocation via the Gateway, and publishing the API Product will make it available in the Developer Portal.
Info
Skip steps 9 and 10 if you opt for this option.
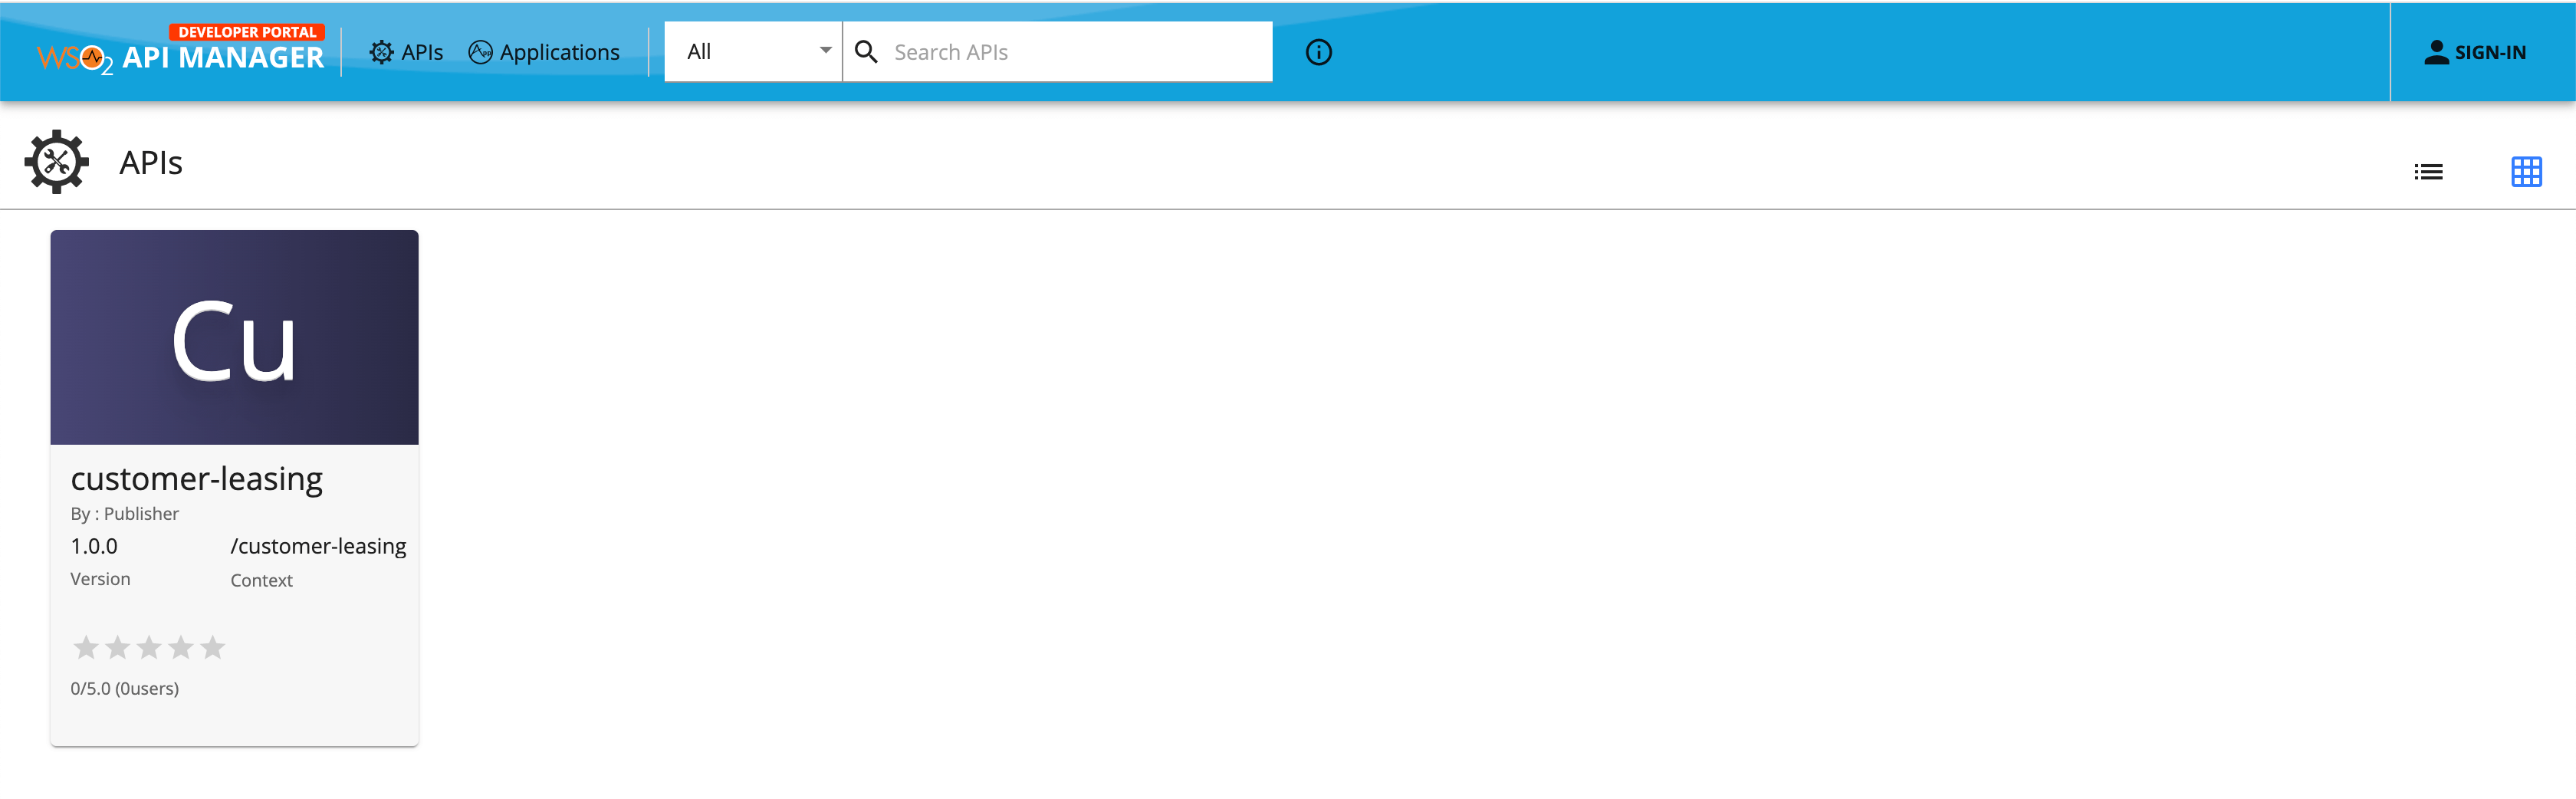
In this case, the API Product will also appear in the Developer Portal, as shown below.
-
-
This makes the API Product available for invocation via the Gateway.
Info
API developers can try out the API Products from Publisher Portal's tryout console when the API Product is in the
CREATEDstate. -
Publish the API Product to make it available in the Developer Portal.

-
Sign in to the Developer Portal to subscribe and consume the API Product in the same way you would do for an API.
https://<hostname>:9443/devportal(e.g.,
https://localhost:9443/devportal).For more information on how to subscribe to an API, see Subscribe to an API.