Publish Through Multiple API Gateways
If you need to distribute the Gateway load that comes in, you can configure multiple API Gateway environments in WSO2 API Manager to publish to a single Developer Portal. This helps you to distribute the API Gateway load to multiple nodes and also gives you some logical separation (e.g., production vs. sandbox) between the APIs in the Developer Portal. When you publish an API through multiple Gateway environments, the APIs in the API Developer Portal will have different server hosts and ports.
In the following guide, let's set up three (3) WSO2 API Manager (WSO2 API-M) instances on the same server.
- Instance 1 : Acts as the node that provides the Control Plane functionality, such as the Publisher, Developer Portal, and the Key Manager functionality.
- Instance 2 : Acts as a production Gateway node.
- Instance 3 : Acts as a sandbox Gateway node.
Note
In a typical production environment, the Gateways will ideally be in separate servers.
Step 1 - Configure the Control Plane
Open the <API-M_HOME>/repository/conf/deployment.toml file in the first API Manager instance, add two API Gateway environments by adding two [[apim.gateway.environment]] sections and comment out the [[apim.gateway.environment]] section that comes by default.
This is done to point to the two API Gateway instances from the first instance.
Note
-
There can be different types of environments, and the allowed values are
hybrid,production, andsandbox. -
An API deployed on a
productiontype Gateway will only support production keys. - An API deployed on a
sandboxtype Gateway will only support sandbox keys. - An API deployed on a
hybridtype Gateway will support both production and sandbox keys. - The
api-consoleelement specifies whether the environment should be listed in API Console or not. - The Gateway environment names must be unique.
Example
[[apim.gateway.environment]]
name = "Production Gateway"
type = "production"
display_in_api_console = true
description = "Production Gateway Environment"
show_as_token_endpoint_url = true
service_url = "https://localhost:9444/services/"
username= "admin"
password= "admin"
http_endpoint = "http://localhost:8281"
https_endpoint = "https://localhost:8244"

[[apim.gateway.environment]]
name = "Default"
type = "hybrid"
display_in_api_console = true
description = "Hybrid Gateway Environment"
show_as_token_endpoint_url = true
service_url = "https://localhost:9445/services/"
username= "admin"
password= "admin"
http_endpoint = "http://localhost:8282"
https_endpoint = "https://localhost:8245"
Tip
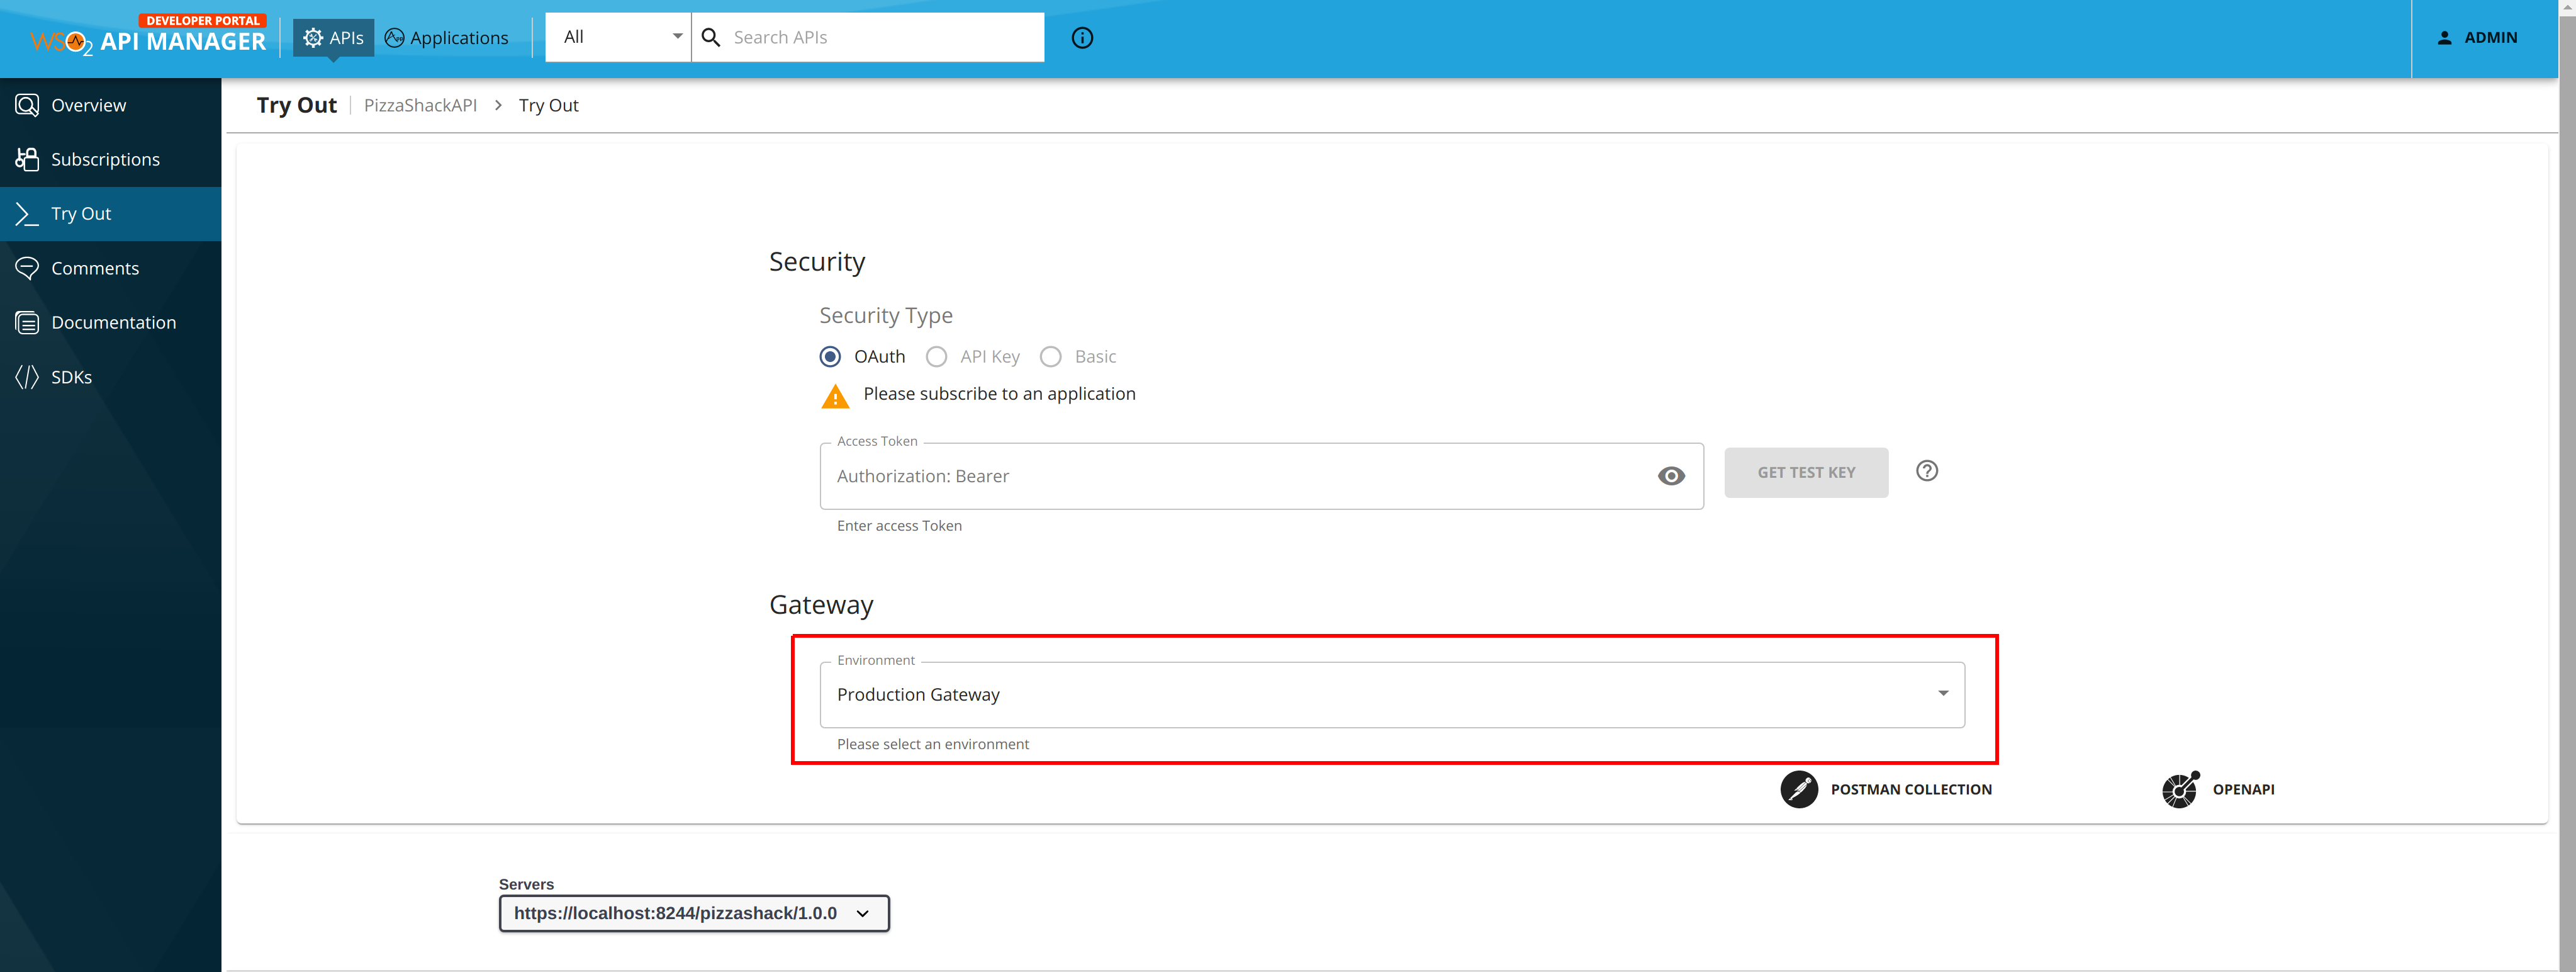
If you have multiple Gateways that support one type of key (e.g., when there are two Gateways that support the production keys, as seen in the above code snippet), the environments you add via the <API-M_HOME>/repository/conf/deployment.toml file will be visible in a drop-down list of the API Try Out tab, which is in the Developer Portal of instance 1. This allows subscribers to send API requests to any selected Gateway.
Note
To stop a given Gateway environment from being displayed in the API Try Out tab, you can set the display_in_api_console attribute to false in the apim.gateway.environment element, which is in the deployment.toml file.
Example
[[apim.gateway.environment]]
display_in_api_console = false
Step 2 - Configure the two Gateway nodes
As mentioned above, the second and the third instances will serve as the Gateway instances.
Step 2.1 - Configure port offset
Note
This is only applicable when all three instances are running on the same server.
-
Open the
<API-M_HOME>/repository/conf/deployment.tomlfile in the second API Manager instance, and add an offset of 1 to its default port. This increments its default server port, which is 9443, by 1.[server] offset=1 -
Open the
<API-M_HOME>/repository/conf/deployment.tomlfile in the third API Manager instance and add an offset of 2 to its default port.This increments its default server port, which is 9443, by 2.
[server]
offset=2
Step 2.1 - Configure the Gateway instances
Carry out the following instructions in the second and the third instances to configure the Gateway instances so that it can communicate with the Control Plane node:
-
Open the
<API-M_HOME>/repository/conf/deployment.tomlfile of the Gateway node. -
Add the following configurations to the
deployment.tomlfile.-
Connecting the Gateway to the Key Manager component in the Control Plane:
[apim.key_manager] service_url = "https://[control-plane-LB-host]/services/" username = "$ref{super_admin.username}" password = "$ref{super_admin.password}"[apim.key_manager] service_url = "https://[control-plane-host]:${mgt.transport.https.port}/services/" username = "$ref{super_admin.username}" password = "$ref{super_admin.password}" -
Connecting the Gateway to the Traffic Manager component in the Control Plane:
[[apim.throttling.url_group]] traffic_manager_urls = ["tcp://control-plane-1-host:9611"] traffic_manager_auth_urls = ["ssl://control-plane-1-host:9711"] [[apim.throttling.url_group]] traffic_manager_urls = ["tcp://control-plane-2-host:9611"] traffic_manager_auth_urls = ["ssl://control-plane-2-host:9711"] [apim.throttling] service_url = "https://[Traffic-Manager-LB-Host]/services/" throttle_decision_endpoints = ["tcp://control-plane-1-host:5672", "tcp://control-plane-2-host:5672"][[apim.throttling.url_group]] traffic_manager_urls = ["tcp://control-plane-host:9611"] traffic_manager_auth_urls = ["ssl://control-plane-host:9711"] [apim.throttling] service_url = "https://control-plane-host:${mgt.transport.https.port}/services/" throttle_decision_endpoints = ["tcp://control-plane-host:5672"]
-
-
Add the following configurations to the
deployment.tomlfile to configure the Gateway environment.Change the
gateway_labelsproperty based on your Gateway environment.[apim.sync_runtime_artifacts.gateway] gateway_labels =["Default"] -
Enable JSON Web Token (JWT) if required.
For instructions, see Generating JSON Web Token.
-
Add the public certificate of the private key (that is used for signing the tokens) to the truststore under the
"gateway_certificate_alias"alias.For instructions, see Create and import SSL certificates.
Note
This is not applicable if you use the default certificates, which are the certificates that are shipped with the product itself.
-
Follow the steps given below to configure High Availability (HA) for the API-M Gateway:
- Create a copy of the API-M Gateway node that you just configured. This is the second node of the API-M Gateway cluster.
-
Configure a load balancer fronting the two Gateway nodes in your deployment.
For instructions, see Configuring the Proxy Server and the Load Balancer.
Note
To keep custom runtime artifacts deployed in the Gateway, add the following configuration in the
/repository/conf/deployment.toml file of the Gateway nodes. [apim.sync_runtime_artifacts.gateway.skip_list] apis = ["api1.xml","api2.xml"] endpoints = ["endpoint1.xml"] sequences = ["post_with_nobody.xml"] local-entries = ["file.xml"] -
Open the
deployment.tomlfiles of each Gateway node and add the cluster hostname.For example, if the hostname is
gw.am.wso2.com:[server] hostname = "gw.wso2.com" -
Specify the following incoming connection configurations in the
deployment.tomlfiles of both nodes.[transport.http] properties.port = 9763 properties.proxyPort = 80 [transport.https] properties.port = 9443 properties.proxyPort = 443 -
Open the server's
/etc/hostsfile and map the hostnames to IPs.<GATEWAY-IP> gw.wso2.comxxx.xxx.xxx.xx4 gw.wso2.com
Sample configuration for the Gateway
[server]
hostname = "gw.wso2.com"
node_ip = "127.0.0.1"
server_role = "gateway-worker"
offset=4
[user_store]
type = "database_unique_id"
[super_admin]
username = "admin"
password = "admin"
create_admin_account = true
[database.shared_db]
type = "mysql"
hostname = "db.wso2.com"
name = "shared_db"
port = "3306"
username = "root"
password = "root"
[keystore.tls]
file_name = "wso2carbon.jks"
type = "JKS"
password = "wso2carbon"
alias = "wso2carbon"
key_password = "wso2carbon"
[truststore]
file_name = "client-truststore.jks"
type = "JKS"
password = "wso2carbon"
[apim.key_manager]
service_url = "https://km.wso2.com:9443/services/"
[apim.throttling]
service_url = "https://tm.wso2.com:9446/services/"
throttle_decision_endpoints = ["tcp://tm.wso2.com:5675"]
[[apim.throttling.url_group]]
traffic_manager_urls=["tcp://tm.wso2.com:9614"]
traffic_manager_auth_urls=["ssl://tm.wso2.com:9714"]
[apim.cors]
allow_origins = "*"
allow_methods = ["GET","PUT","POST","DELETE","PATCH","OPTIONS"]
allow_headers = ["authorization","Access-Control-Allow-Origin","Content-Type","SOAPAction"]
allow_credentials = false
[apim.sync_runtime_artifacts.gateway]
gateway_labels =["Default"]Step 3 - Start the instances
Start all the WSO2 API-M instances.
Make sure to start instance 1 first before starting the other two instances.
Step 4 - Publish an API via Multiple API Gateways
-
Sign in to the API Publisher in the first WSO2 API-M instance and click to edit an API.

-
Click Deployments and click Deploy New Revision.

Note that the two Gateway environments are listed there

-
Select both Gateways and click deploy.

-
Sign in to the Developer Portal (of the first instance) and click on the respective API to open it.

In the Overview tab that corresponds to the API, note that it has two sets of URLs for the two Gateway instances:

You have successfully published an API to the API Developer Portals through multiple Gateway environments.
Step 5 - Generated the keys for the applications
Use the following sample cURL command to generate an access token for the Gateway URL of the initially published Gateway Environments, which was listed in API Publisher in step 10, using the Password Grant type.

Change the Gateway URL based on the Gateway that you need to publish the API.
Note
If you wish to use the API-M pack that you used as the first instance to try-out other tutorials, please ensure to delete the API Gateway configurations that you added in step 2.1, and uncomment the default [[apim.gateway.environment]] configurations in the <API-M_HOME>/repository/conf/deployment.toml file.