Access Control for API requests
This section guides you through the following areas:
Allowed IPs
When requests to an API are to be permitted from a set of known/trusted IPs only, you can achieve this by configuring a group of Allowed IPs through the Advanced Rate Limiting feature.
Creating the Advanced Rate Limit policy
- Login to the admin portal of WSO2 API Manager (https://<ip_address>:9443/admin).
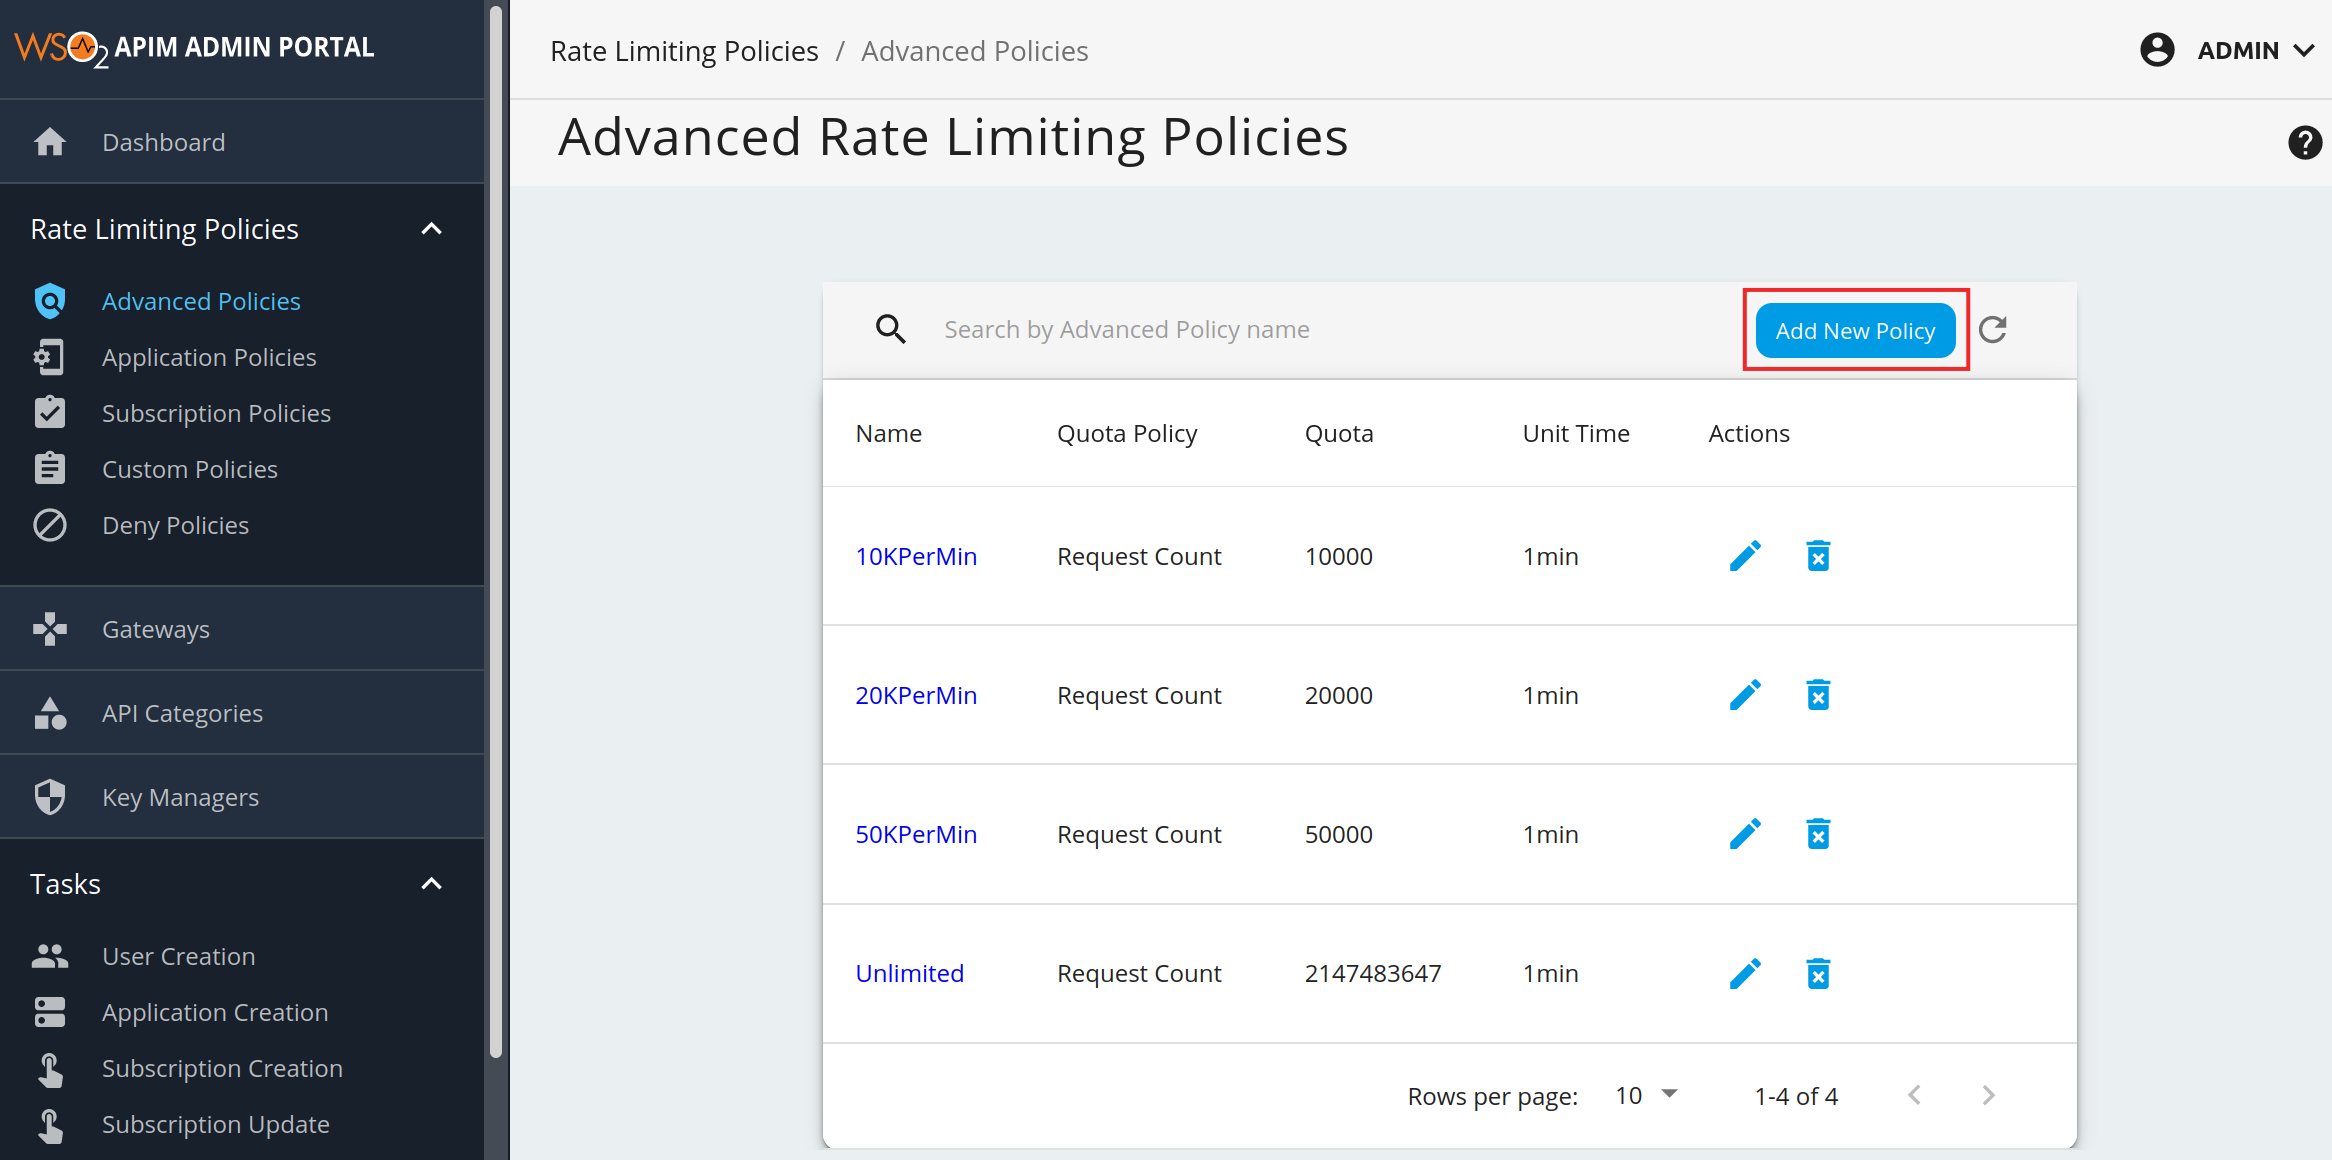
- Under the Rate Limiting Policies tab and navigate to Advanced Policies.
-
Click Add New Policy to add a new Rate Limit tier.
-
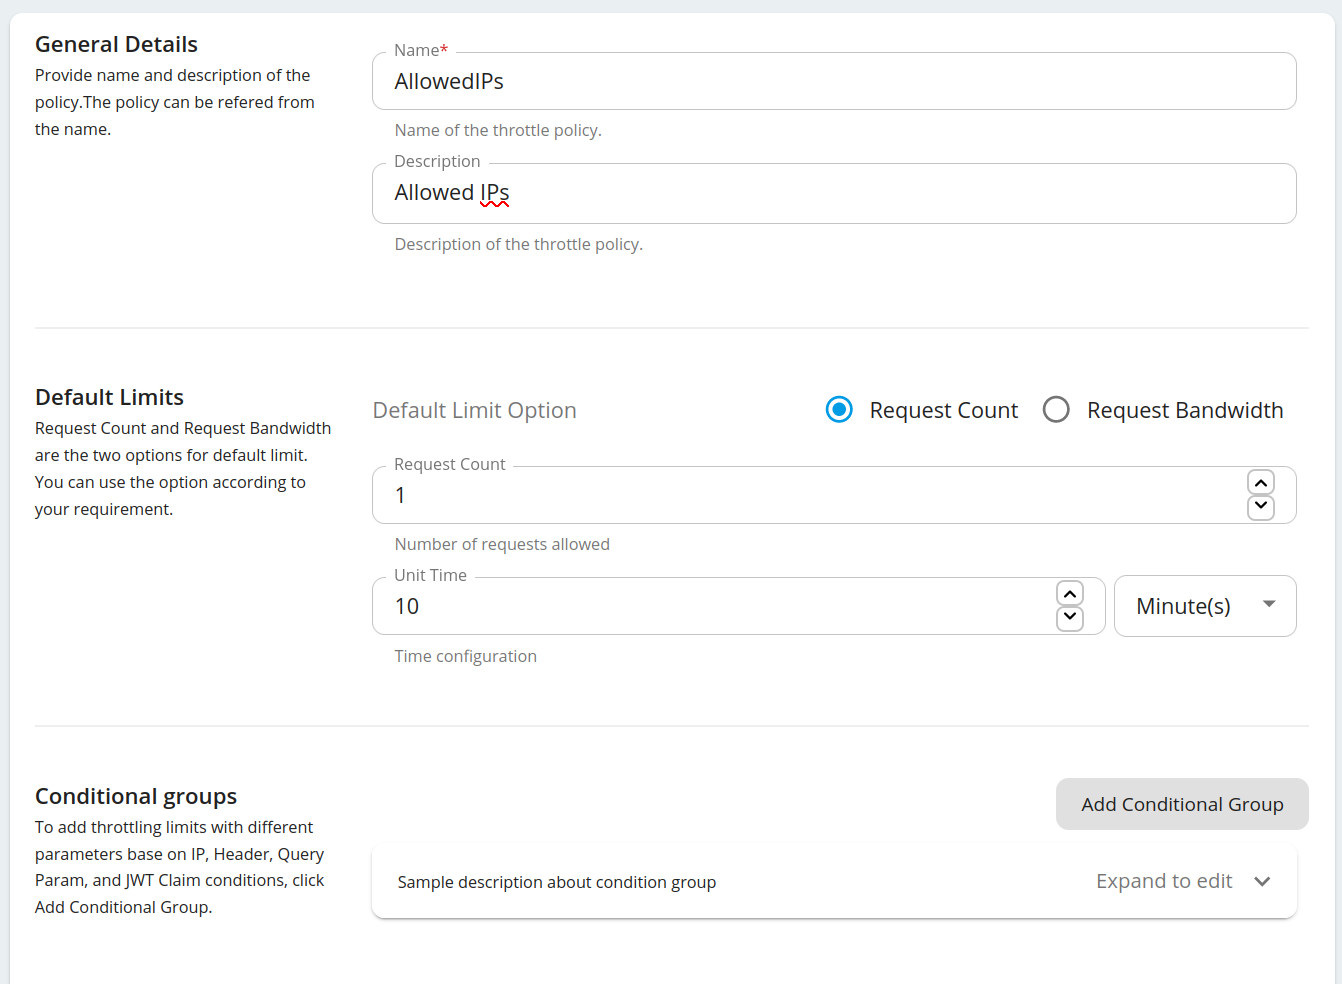
Fill the details as below and click Add Conditional Group.
-
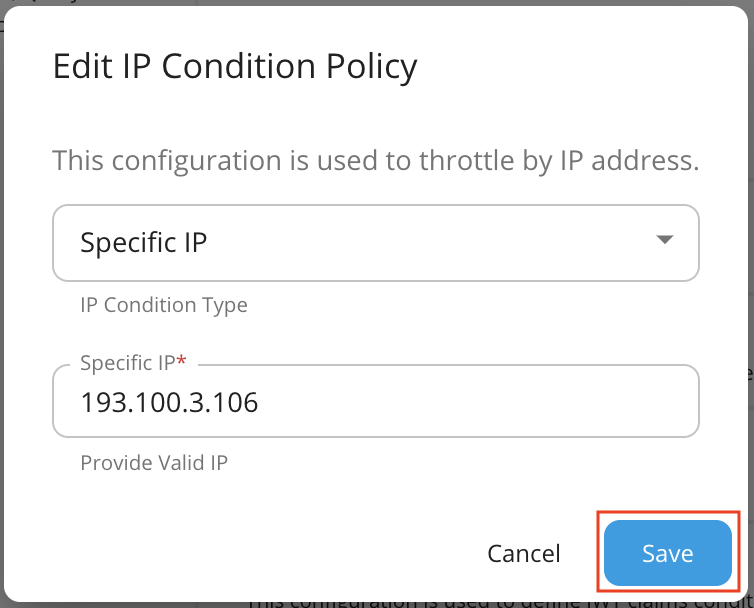
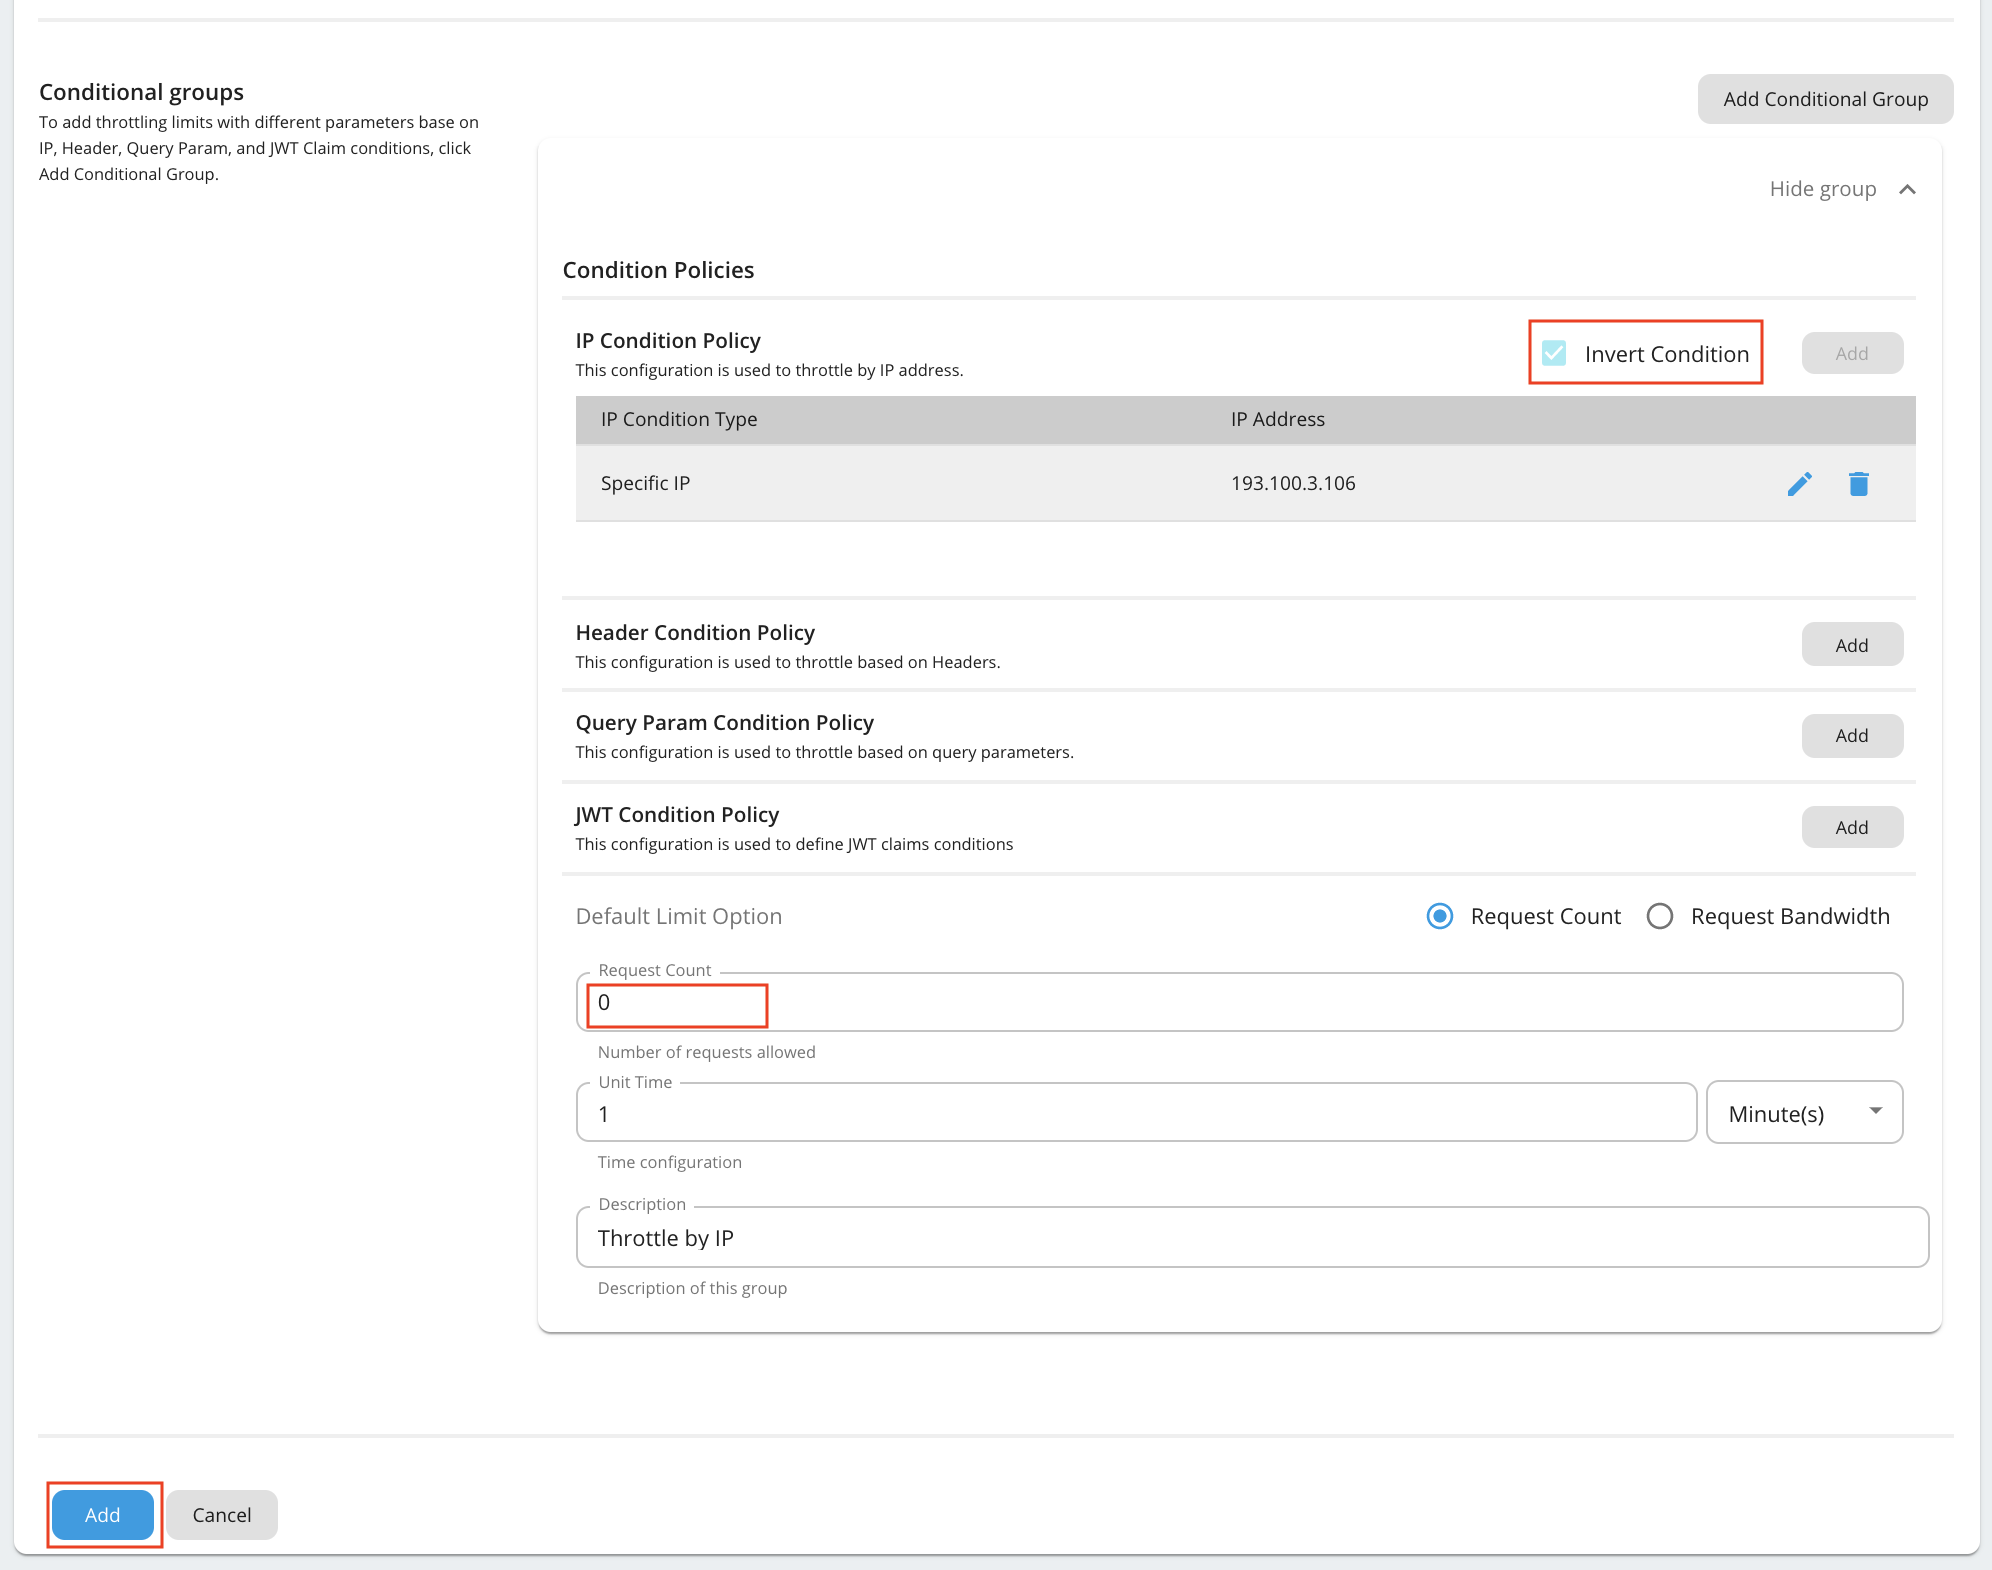
Open the Conditional Group added and fill the details.
Property Value IP Condition Type Specific IP IP Address E.g. 193.100.3.106 Invert Condition Checked (If the 'Invert Condition' is checked, then the condition applies only to the IPs not mentioned in the 'IP Address'.) Request Count 0 Following is an example configuration.
Note
In the above configuration we are allowing a Specific IP address to access an API. You can allow a range of IPs as well by selecting IP Range for the IP Condition Type in the Conditional Group and specifying the range as follows.

-
Click Save.
You have now successfully created the policy. Now we should engage this policy to an API.
Engage the policy with an API
- Login to API Publisher https://:9443/publisher.
- Select the API and go to the Resources menu.
-
Enable API level under Operational Configuration and select the newly created rate limiting policy.

-
Save and Publish the API. Now the API will be accessible only by the IP specified in the rate limiting policy.
Note
The policy will be re-enforced for every unit time. Each time the policy is enforced a minimum of 1 request will be allowed to pass before blocking requests. Having a smaller unit time will increase the frequency of requests passing through. Hence, having an larger unit time is suitable to minimize the number of requests passing through.
Denying requests
By denying requests, you can protect servers from common attacks and abuse by users. For example, if a malicious user misuses the system, all requests received from that particular user can be completely blocked. Tenant administrative users can block requests based on the following parameters:
- Block calls to specific APIs
- Block all calls from a given application
- Block requests coming from a specific IP address
- Block a specific user from accessing APIs
To deny a request,
- Log in to the Admin Portal using the URL
https://localhost:9443/adminand your admin credentials. -
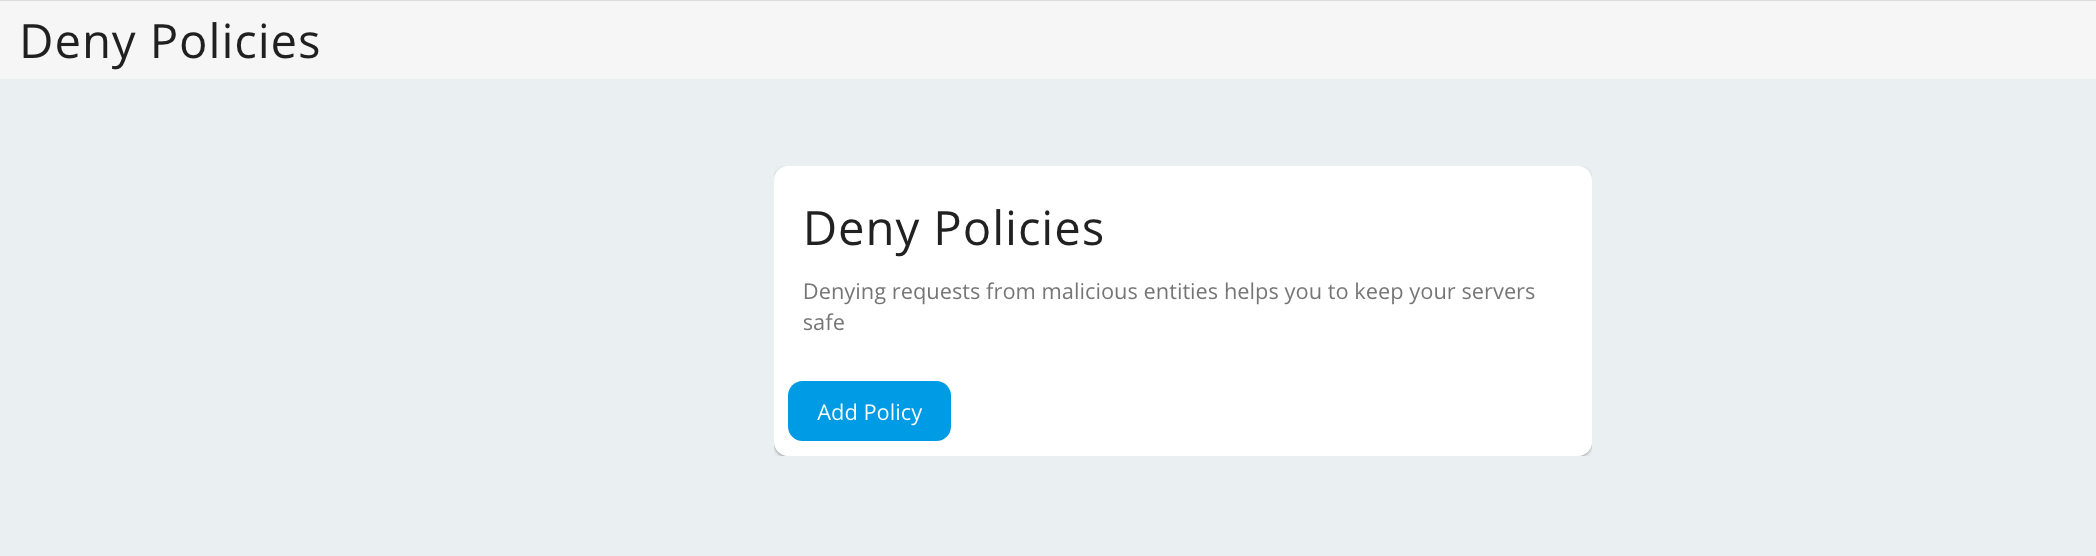
Click Deny Policies under the Rate Limiting Policies section and click Add Policy.
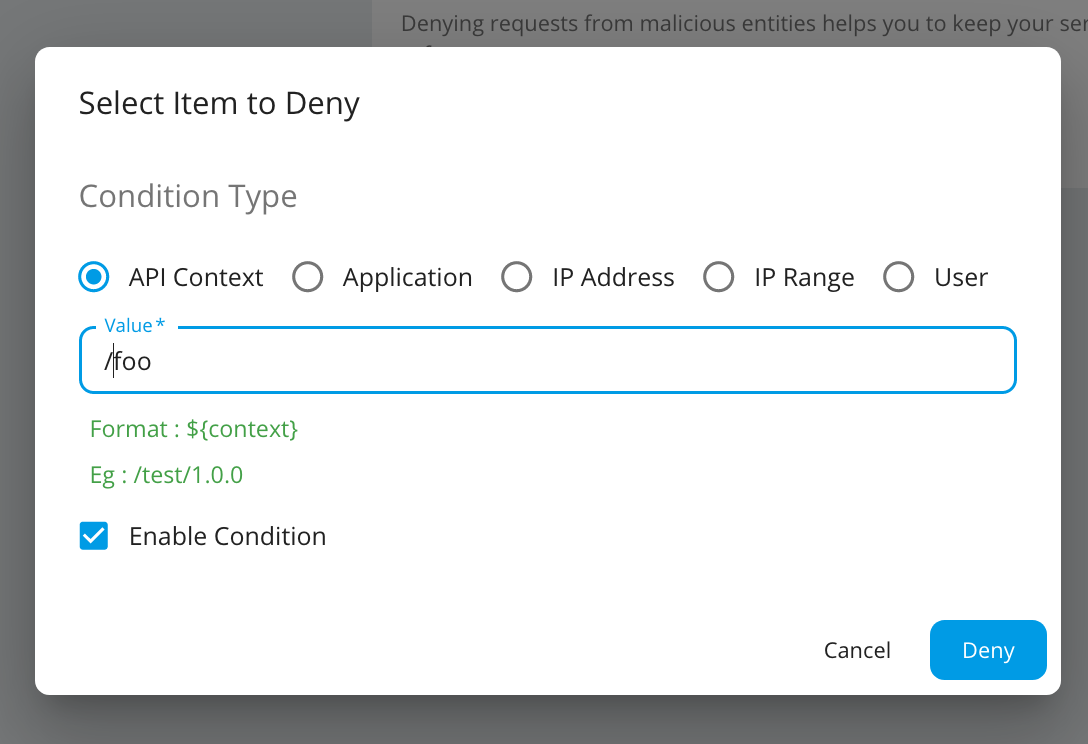
Select the item to deny, enter a value and click Deny.
Note
You can temporary switch on/off the denied condition by enabling/disabling the Condition status that is auto enabled when a denied condition is created.

Denying PhoneVerification API
As described above you can deny requests for APIs, by Applications, to IP Addresses and for Users. Let's see how we can deny requests to an API.
- Log in to the Admin Portal using the URL
https://localhost:9443/adminand your admin credentials. - Click Deny Policies under the Rate Limiting Policies section and click Add Policy.
-
Select API Context and provide the Context of PhoneVerification API with version as the Value.
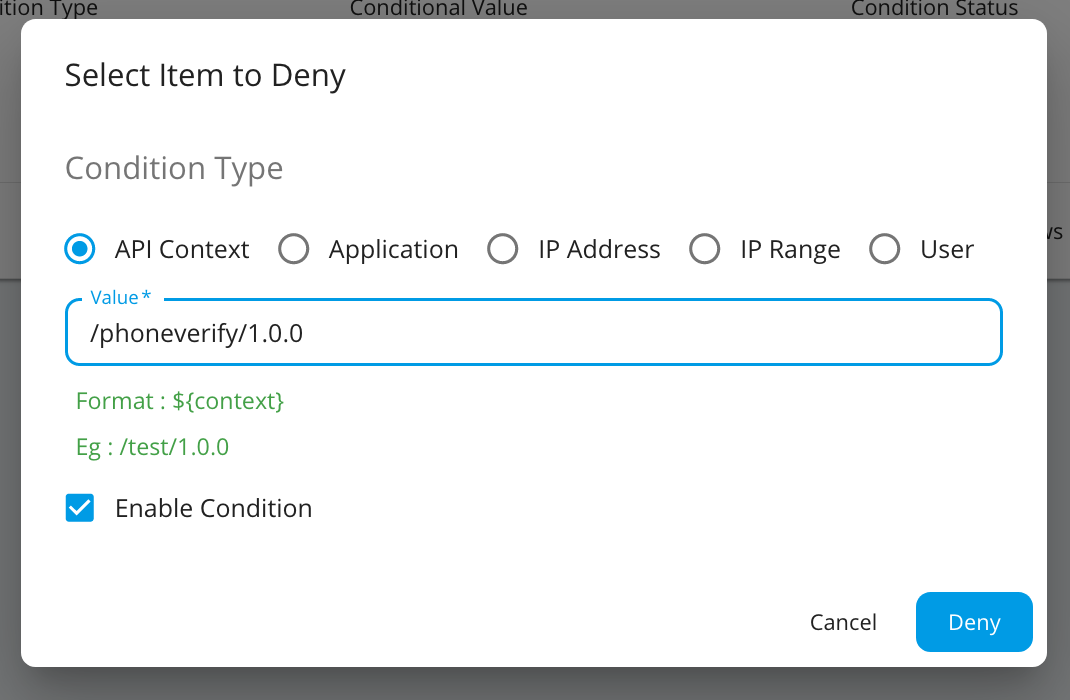
-
Click Deny.
-
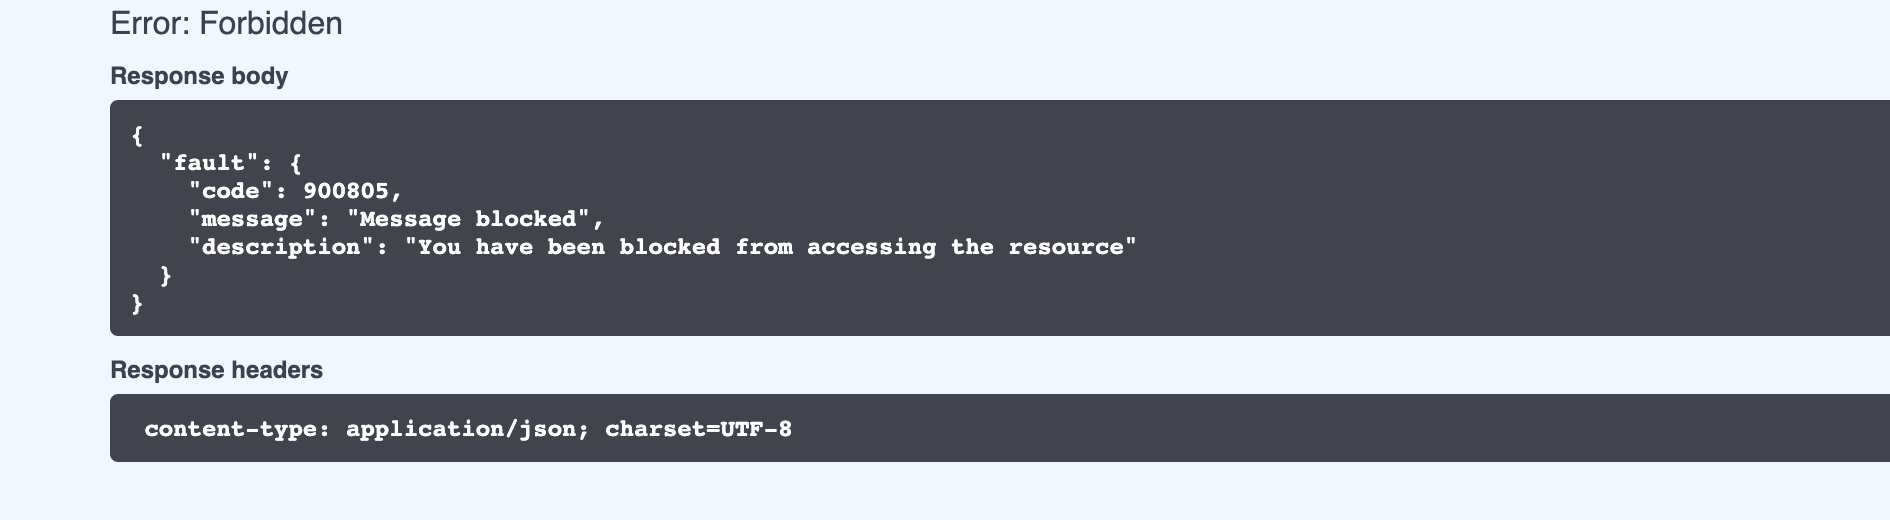
Now login to API Developer Portal using the URL
https://localhost:9443/devportaland invoke the API. You will see the following response.