Adding an API State Change Workflow
This section let's see how to add a simple approval workflow to control the API state changes in WSO2 API Manager.
Engaging the Approval Workflow Executor in API Manager
-
Enable the API state change workflow for the Approval Workflow Executor.
-
Sign in to the API-M management console (
https://<Server Host>:9443/carbon). -
Click Resources → Browse.

-
Go to the
/_system/governance/apimgt/applicationdata/workflow-extensions.xmlresource. -
Disable the
Simple Workflow Executorand enable theApproval Workflow Executor.<WorkFlowExtensions> .... <!--APIStateChange executor="org.wso2.carbon.apimgt.impl.workflow.APIStateChangeSimpleWorkflowExecutor" /--> <APIStateChange executor="org.wso2.carbon.apimgt.impl.workflow.APIStateChangeApprovalWorkflowExecutor"> <Property name="stateList">Created:Publish,Published:Block</Property> </APIStateChange> .... </WorkFlowExtensions>You have now engaged the API state change approval Workflow. The default configuration is set to the following state changes.
-
Created to Publish
-
Published to Block
For information on configuring more state changes, see Advanced Configurations.
-
-
-
Trigger an API state change request.
- Sign in to the API Publisher (
https://<Server-Host>:9443/publisher) and publish an API.
For more information, see Create a REST API and Publish an API.
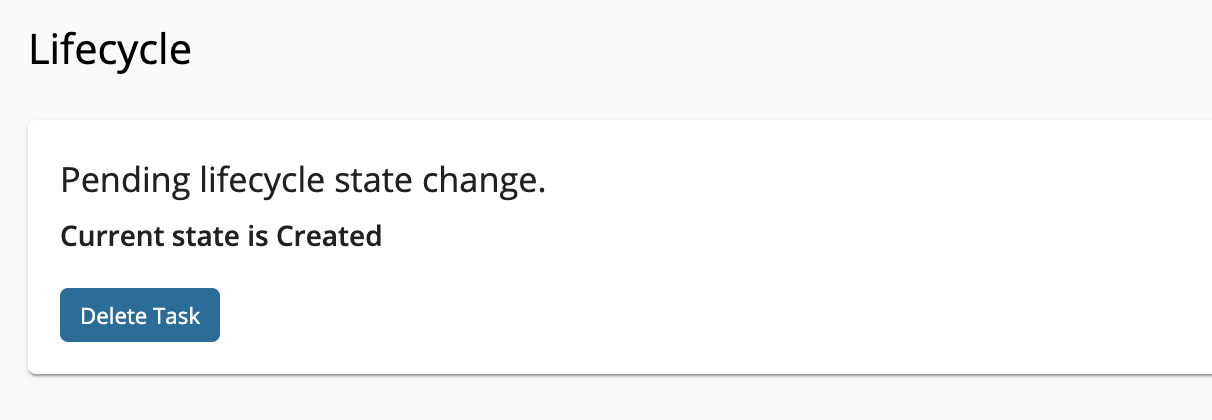
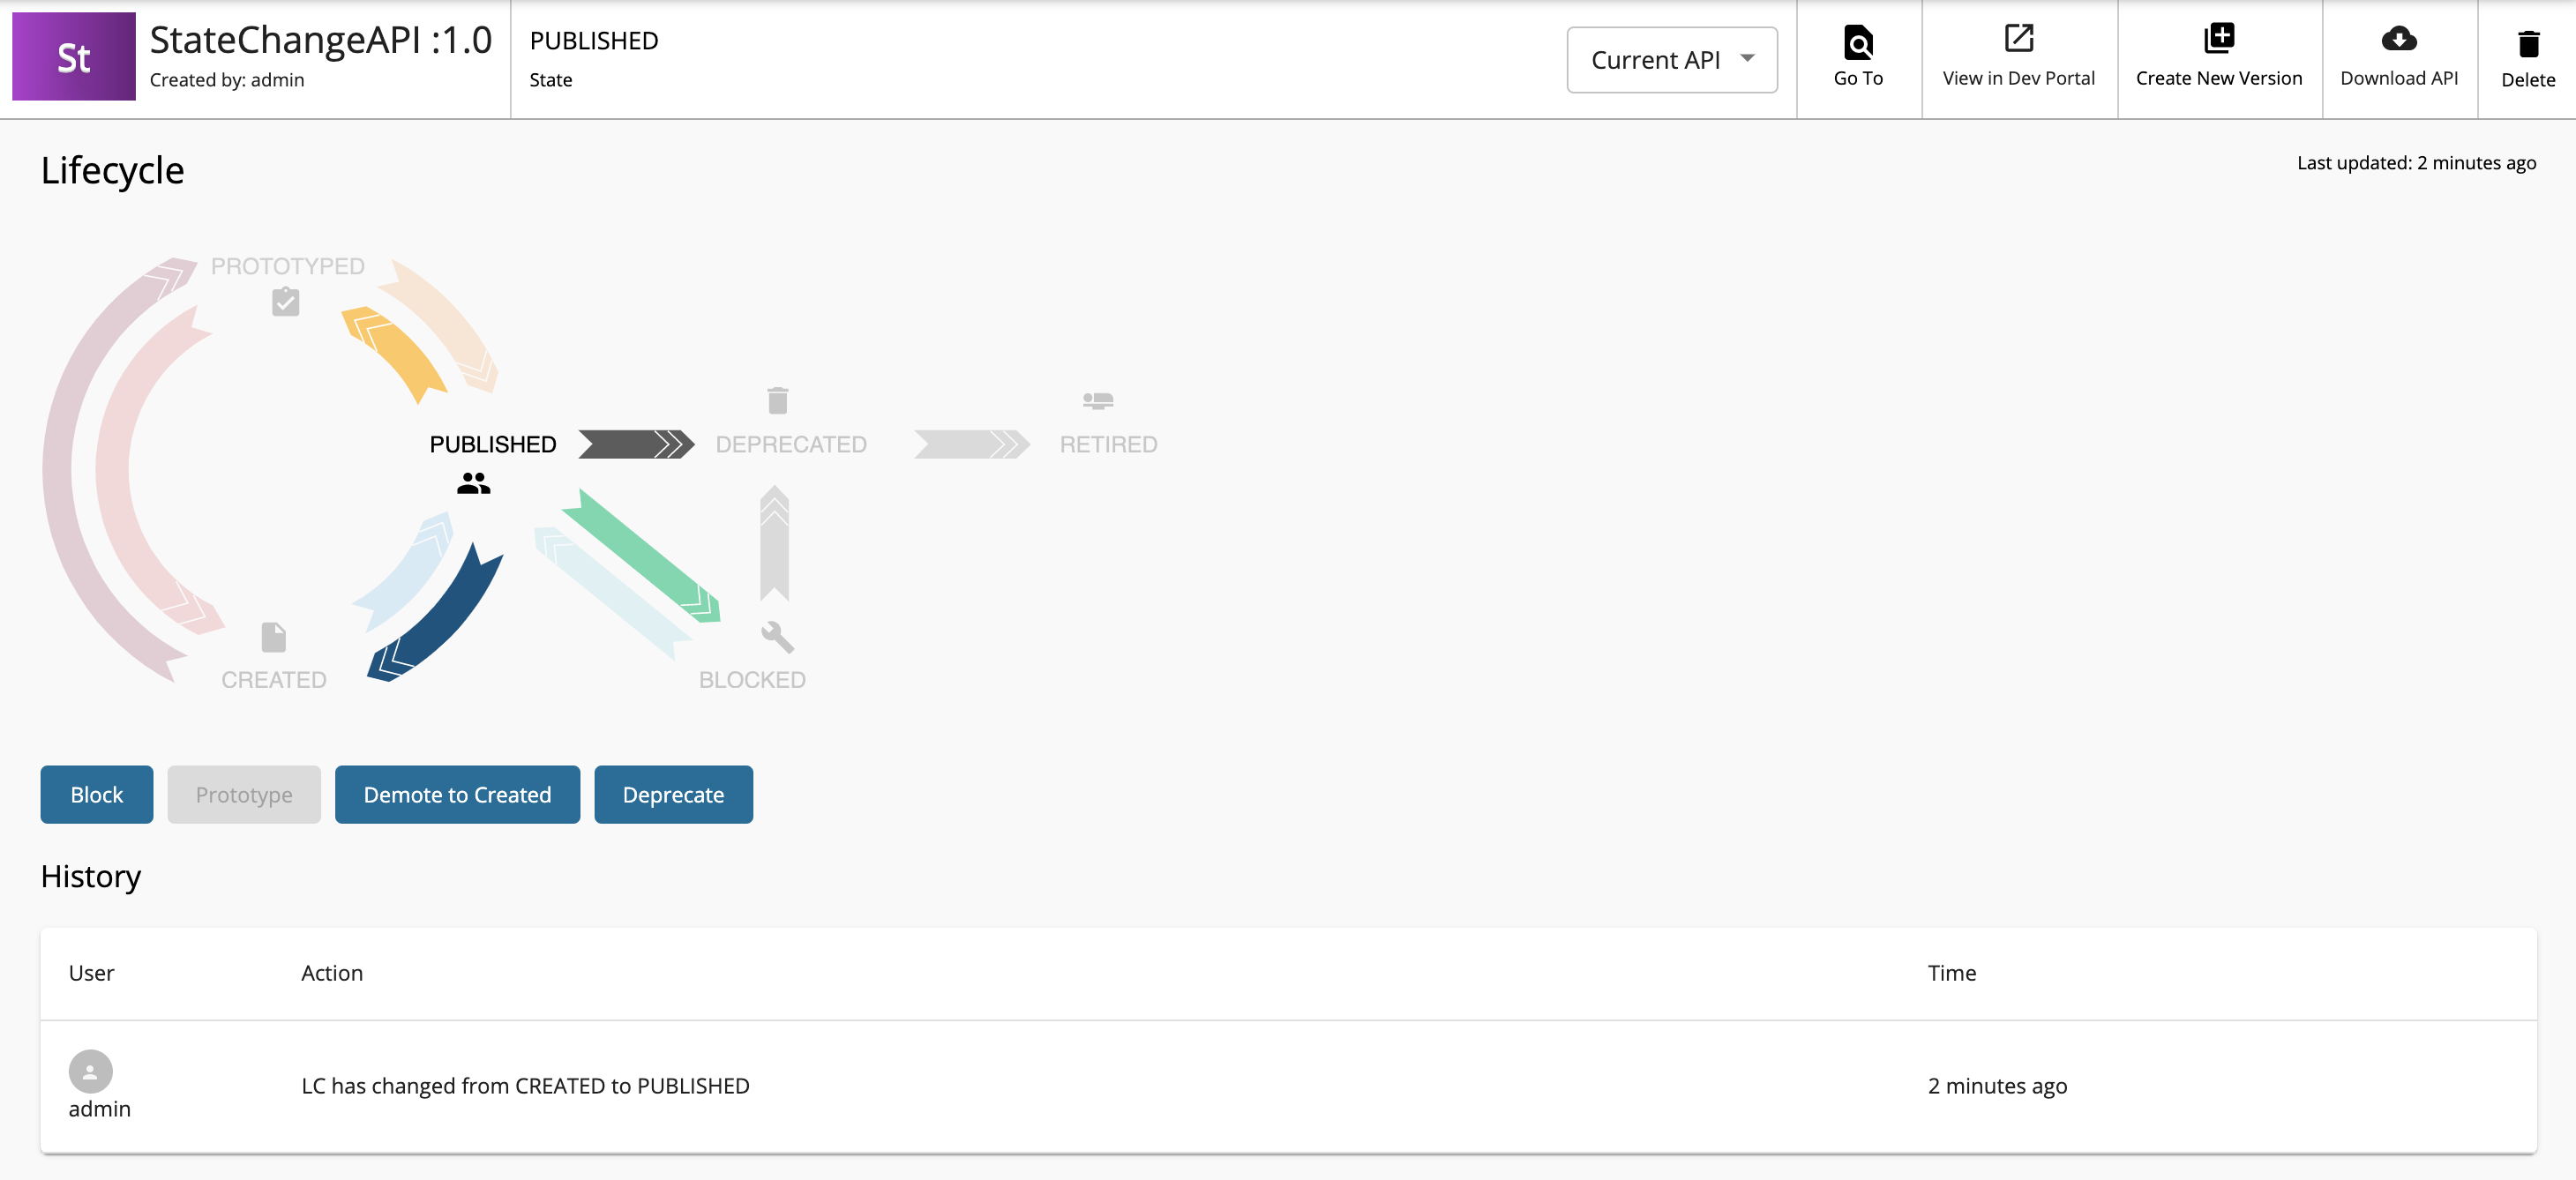
- Click Lifecycle.
A message related to the publish workflow will be displayed because the workflow is enabled for Created to Publish state change.
Info
Note that the publish button will be disabled in the overview page until the workflow task is completed or deleted.

-
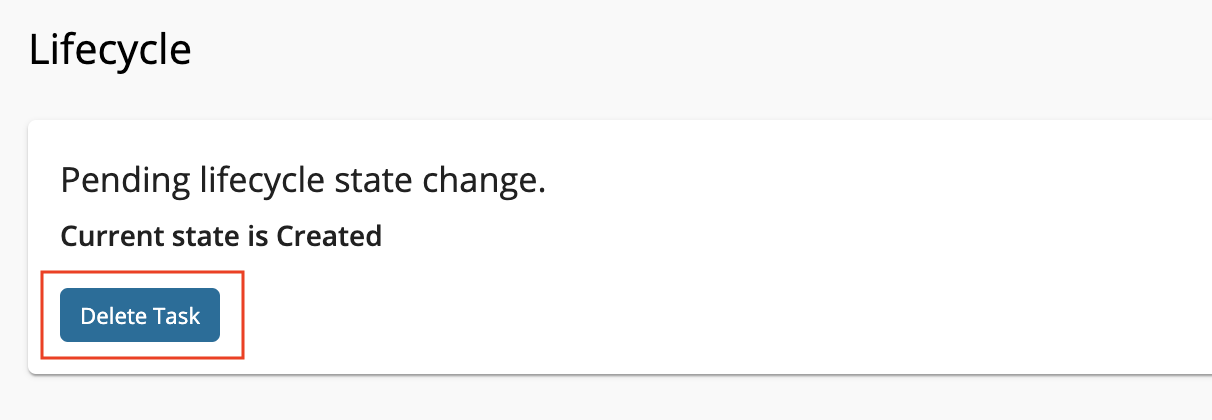
Optionally, you can revoke the state change by clicking Delete Task.
- Sign in to the API Publisher (
-
Approve or reject the API state change pending request.
-
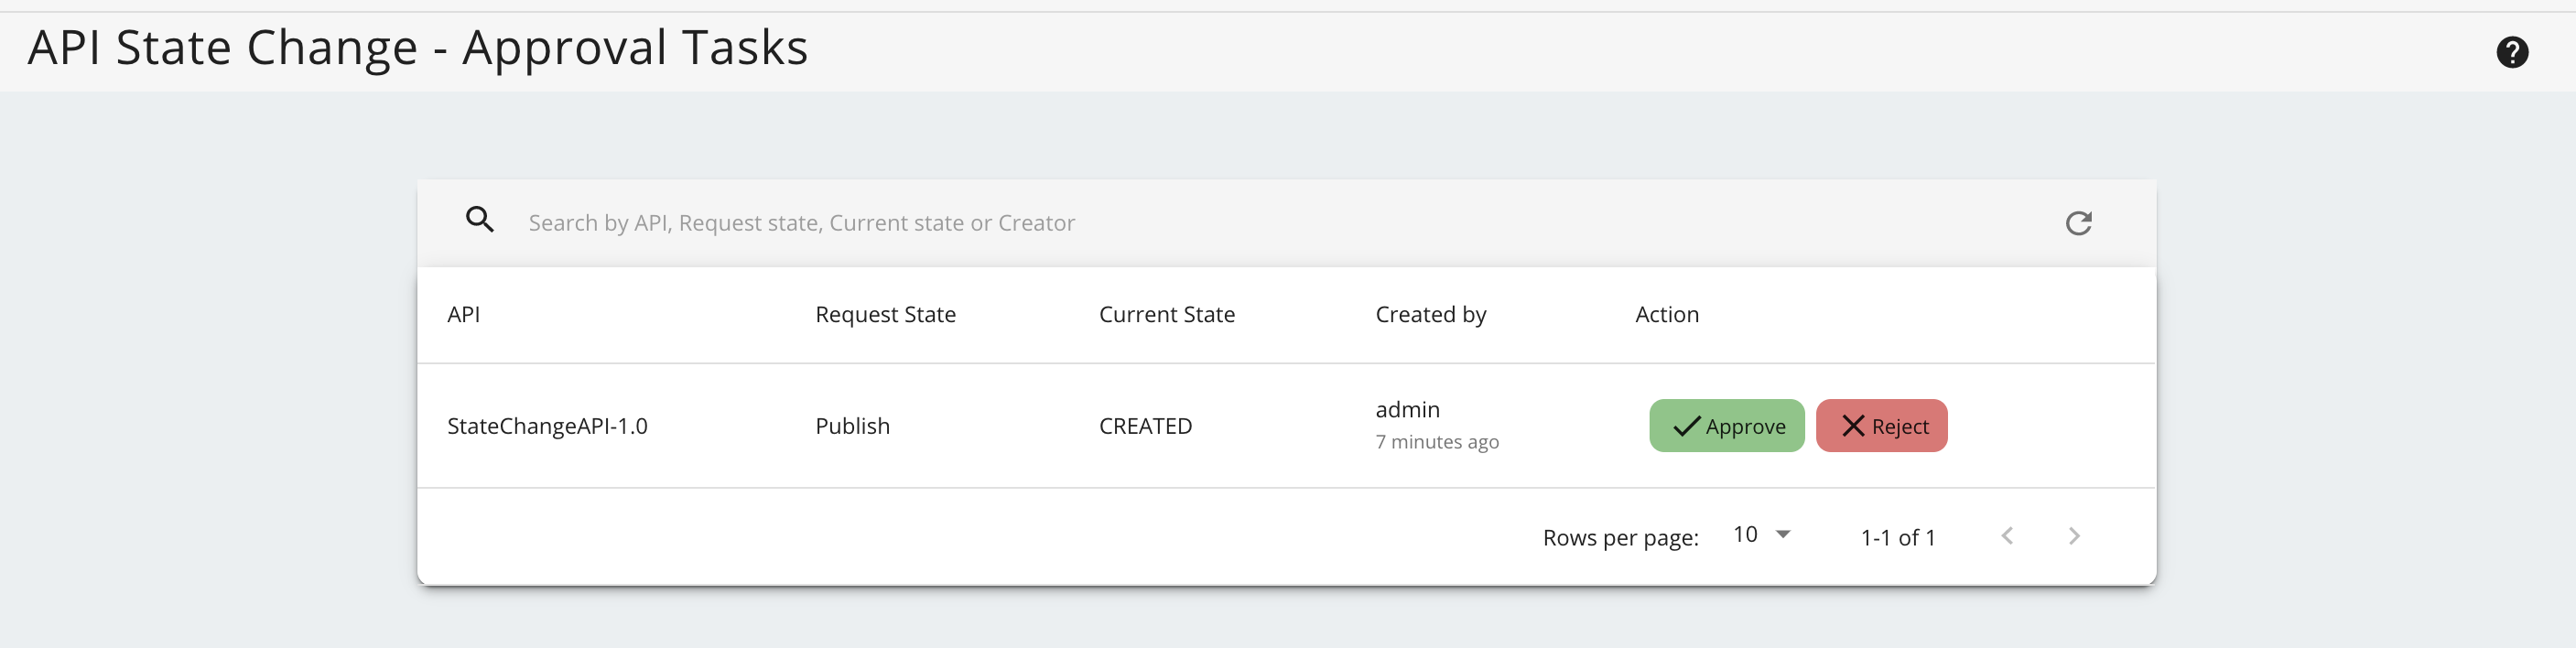
Sign in to the Admin Portal (
https://<Server Host>:9443/admin) -
Click Tasks → API State Change.
The list of API state change tasks awaiting for approval appears.
-
Click on Approve or Reject to approve or reject the pending API state change request(s).
-
-
View the outcome of the updated API state change request.
-
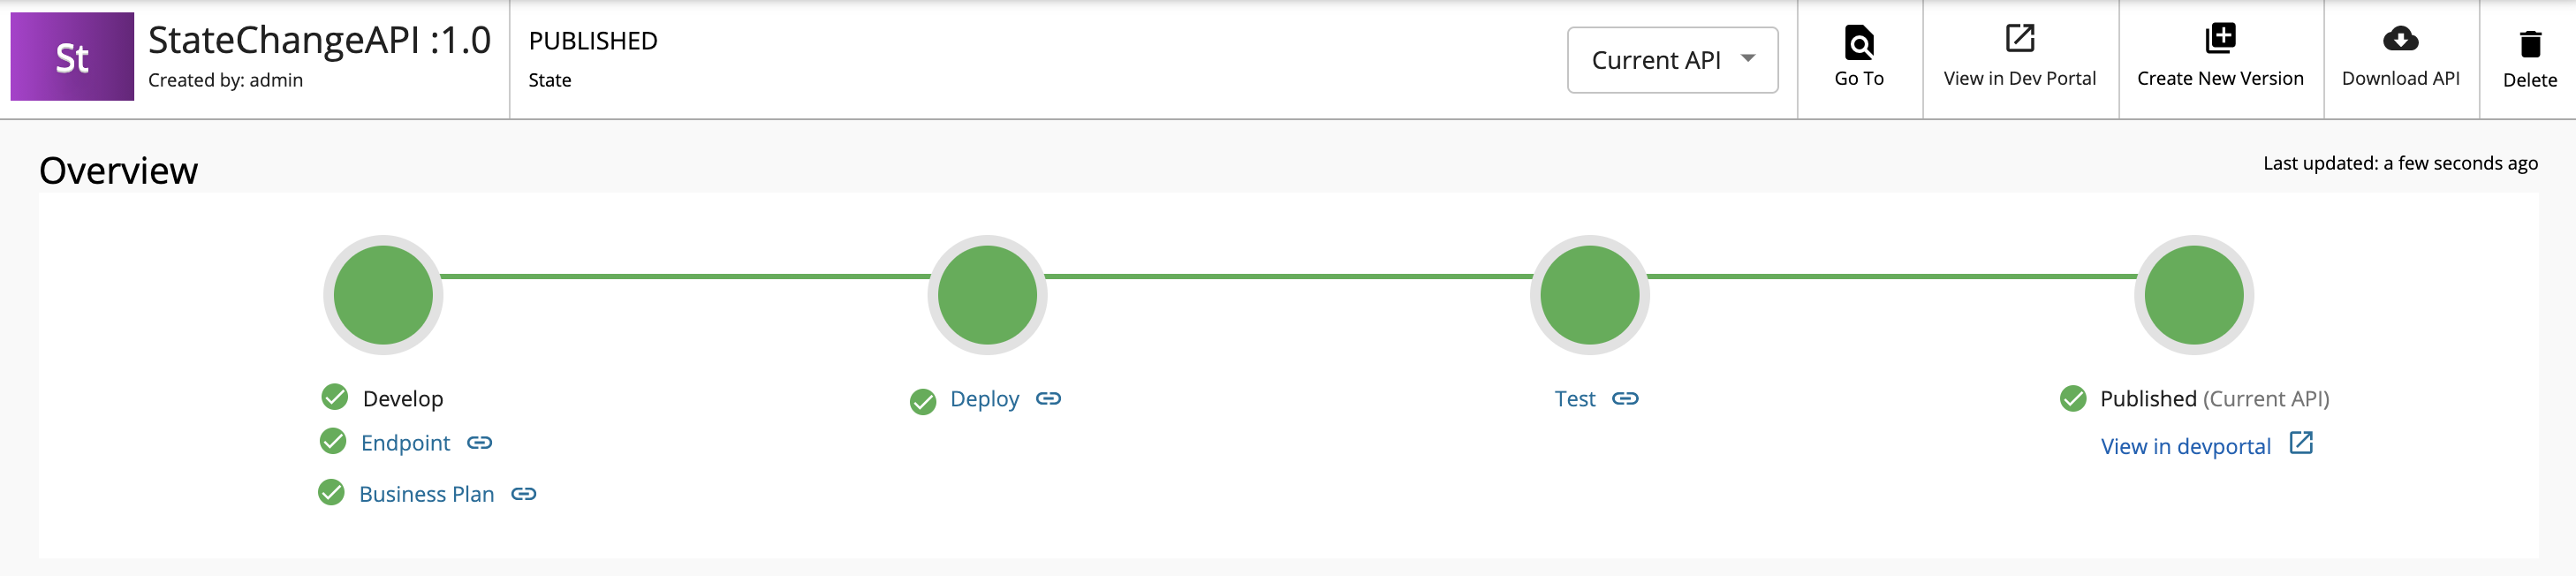
Navigate to the API Publisher (
https://<Server-Host>:9443/publisher). -
Click Lifecycle.
Notice that the API state is updated.
- If the request was approved, it will update the API state to the new state.
- If the request was rejected, the status will stay unchanged.
Info
Changes that correspond to the API state can be easily viewed through the Lifecycle page.
-
Advanced Configurations
The elements of the above configuration are explained below.
| Element Name | Mandatory/Optional | Description |
|---|---|---|
processDefinitionKey |
Mandatory | Business Process Modeling Notation (BPMN) process definition ID. BPMN process provided with AM as default has APIStateChangeApprovalProcess as the ID. |
stateList |
Mandatory | This is a comma-separated list of the current state and intended action. For example, Created:Publish,Published:Block |
serviceEndpoint |
Optional | The URL of the BPMN process engine. This overrides the global <ServerUrl> value from the api-manager.xml file. This can be used to connect a separate workflow engine for a tenant. |
username |
Optional | Username for the external BPMN process engine. This overrides the value of the <ServerUser> element that is defined in the api-manager.xml file of the tenant. |
password |
Optional | Password for the external BPMN process engine. This overrides the value of the <ServerPassword> element that is defined in the api-manager.xml file of the tenant. |