Using Okta as an External IDP with OIDC
Follow the instructions below to connect Okta as a third-party Identity Provider to WSO2 API Manager.
Prerequisites
Before you begin, make sure you do the following.
- Create an account in https://developer.okta.com/
- Download the WSO2 API Manager distribution from https://wso2.com/api-management/.
-
Enable the email domain on WSO2 API Manager.
You need to enable this because Okta uses the email as the username by default. As the email domain is not enabled by default, you have to enable it to use the email as the username in WSO2 API Manager. Once enabled, you can use your email or a normal username as your username.
Follow the instructions below:
- Unzip the WSO2 API Manager distribution.
- Open the
deployment.tomlfile, which is located in the<API-M_HOME>/repository/conf/directory. -
Add the following configuration.
-
Start the WSO2 API Manager server.
Step 1 - Configure Okta
Note
For more information on working with the Okta Admin Portal, see the official Okta documentation.
-
Navigate to the Okta Admin Portal.
-
Add an application in Okta.
Select Web as the platform type of the application and create an application based on the following application settings.
Field Value Name oidc_appBase URIs Let's not add a new base URI Login Redirect URIs https://localhost:9443/commonauthLogout Redirect URIs https://localhost:9443/commonauthGroup Assignments EveryoneGrant type allowed Authorization Code -
Add an attribute to the default user profile.
Add a new attribute, with the following details, to the default user profile of Okta to represent the user role.
Field Value Data Type StringDisplay Name Role Variable Name roleDescription Attribute Length Betweenmin max -
Add the claims that need to be returned from the ID Token in Okta.
These claims will be used to map the user details with WSO2 API Manager for authentication and authorization purposes.
Let's add two claims that have the following details.
Claim 1
Field Value Name wso2userInclude in token type ID TokenAlwaysValue Type ExpressionValue user.loginInclude in The following scopes:openidClaim 2
Field Value Name rolesInclude in token type ID TokenAlwaysValue Type ExpressionValue user.loginInclude in The following scopes:openid -
Add a role to the provisioned user in Okta.
This will enable WSO2 API Manager to map an internal role to the provisioned user. Edit the provisioned user's profile and add
anyas the Role.
Step 2 - Configure API Manager
-
Sign in to the WSO2 API-M Management Console.
https://localhost:9443/carbon. -
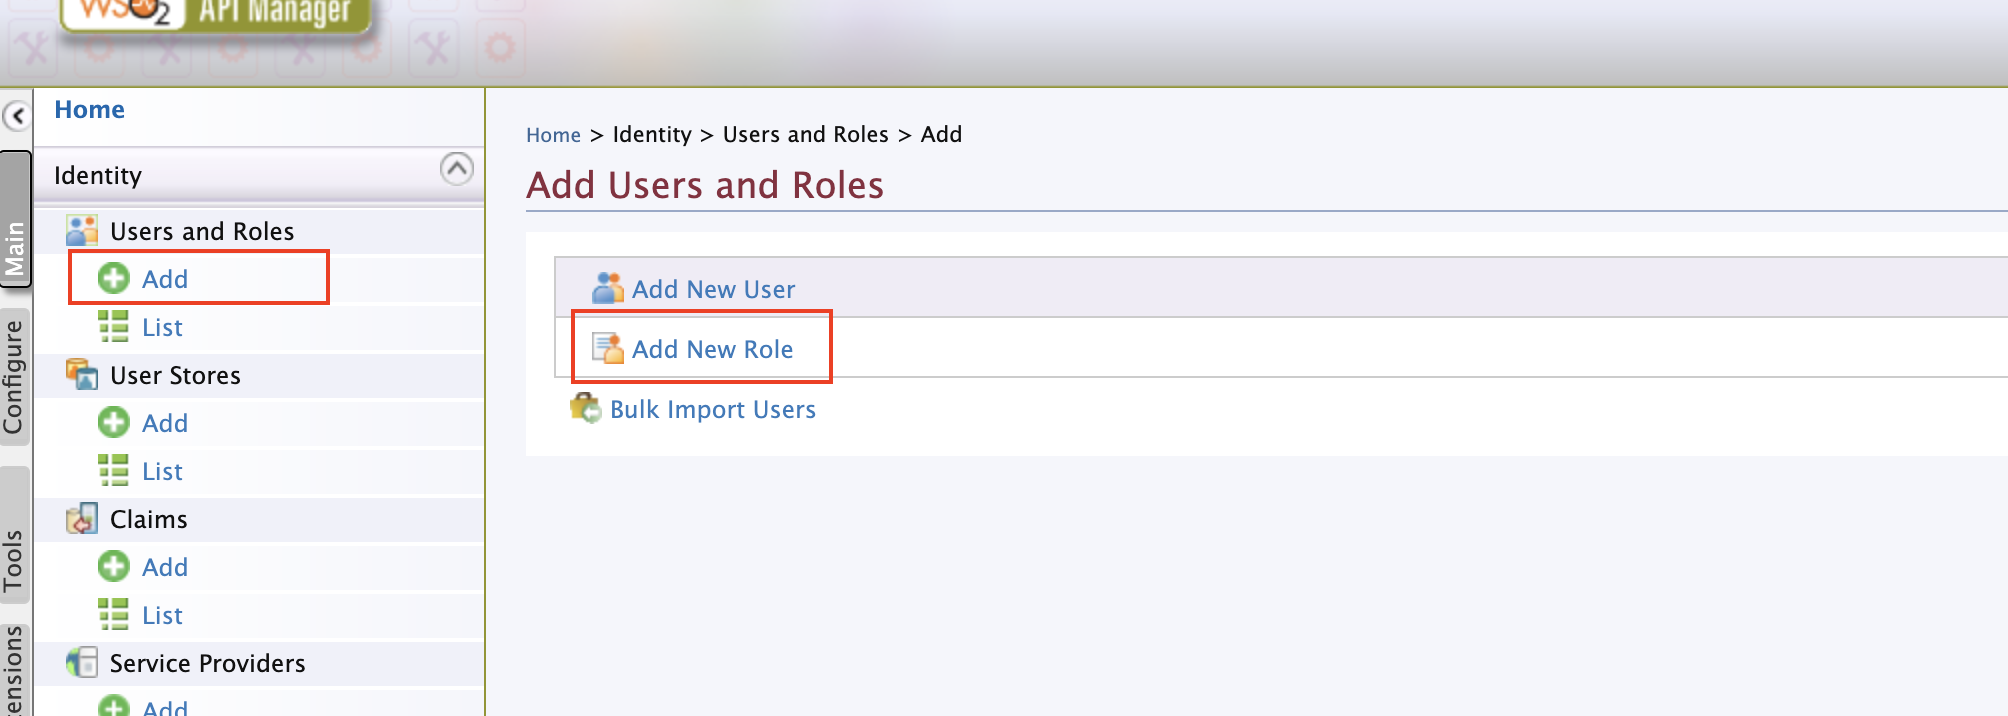
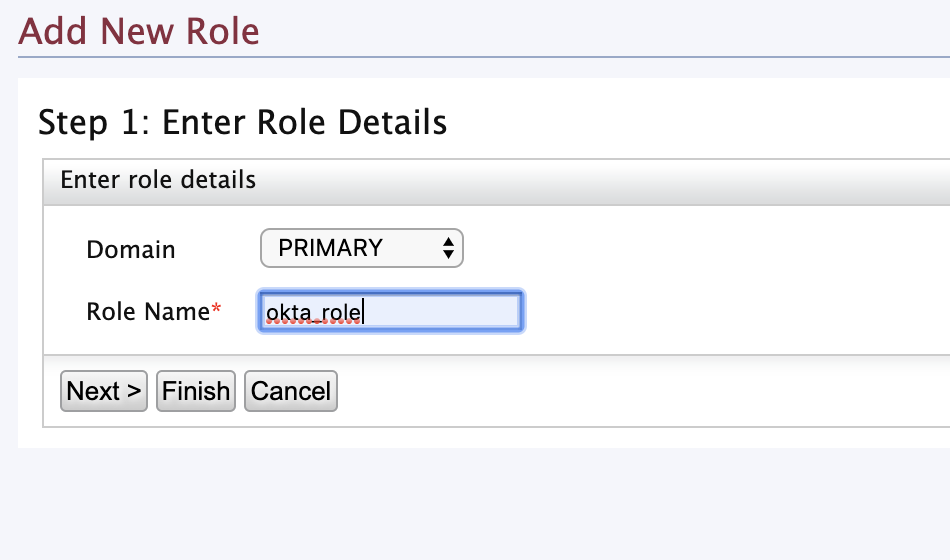
Create a role that needs to be assigned to users that will be provisioned from Okta.
-
Add scope mapping via the WSO2 API Manager Admin Portal.
-
Sign in to the WSO2 API Manager Admin Portal.
https://localhost:9443/admin -
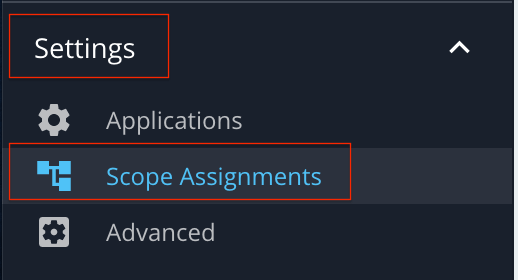
Click Settings and then click Scope Assignments.
-
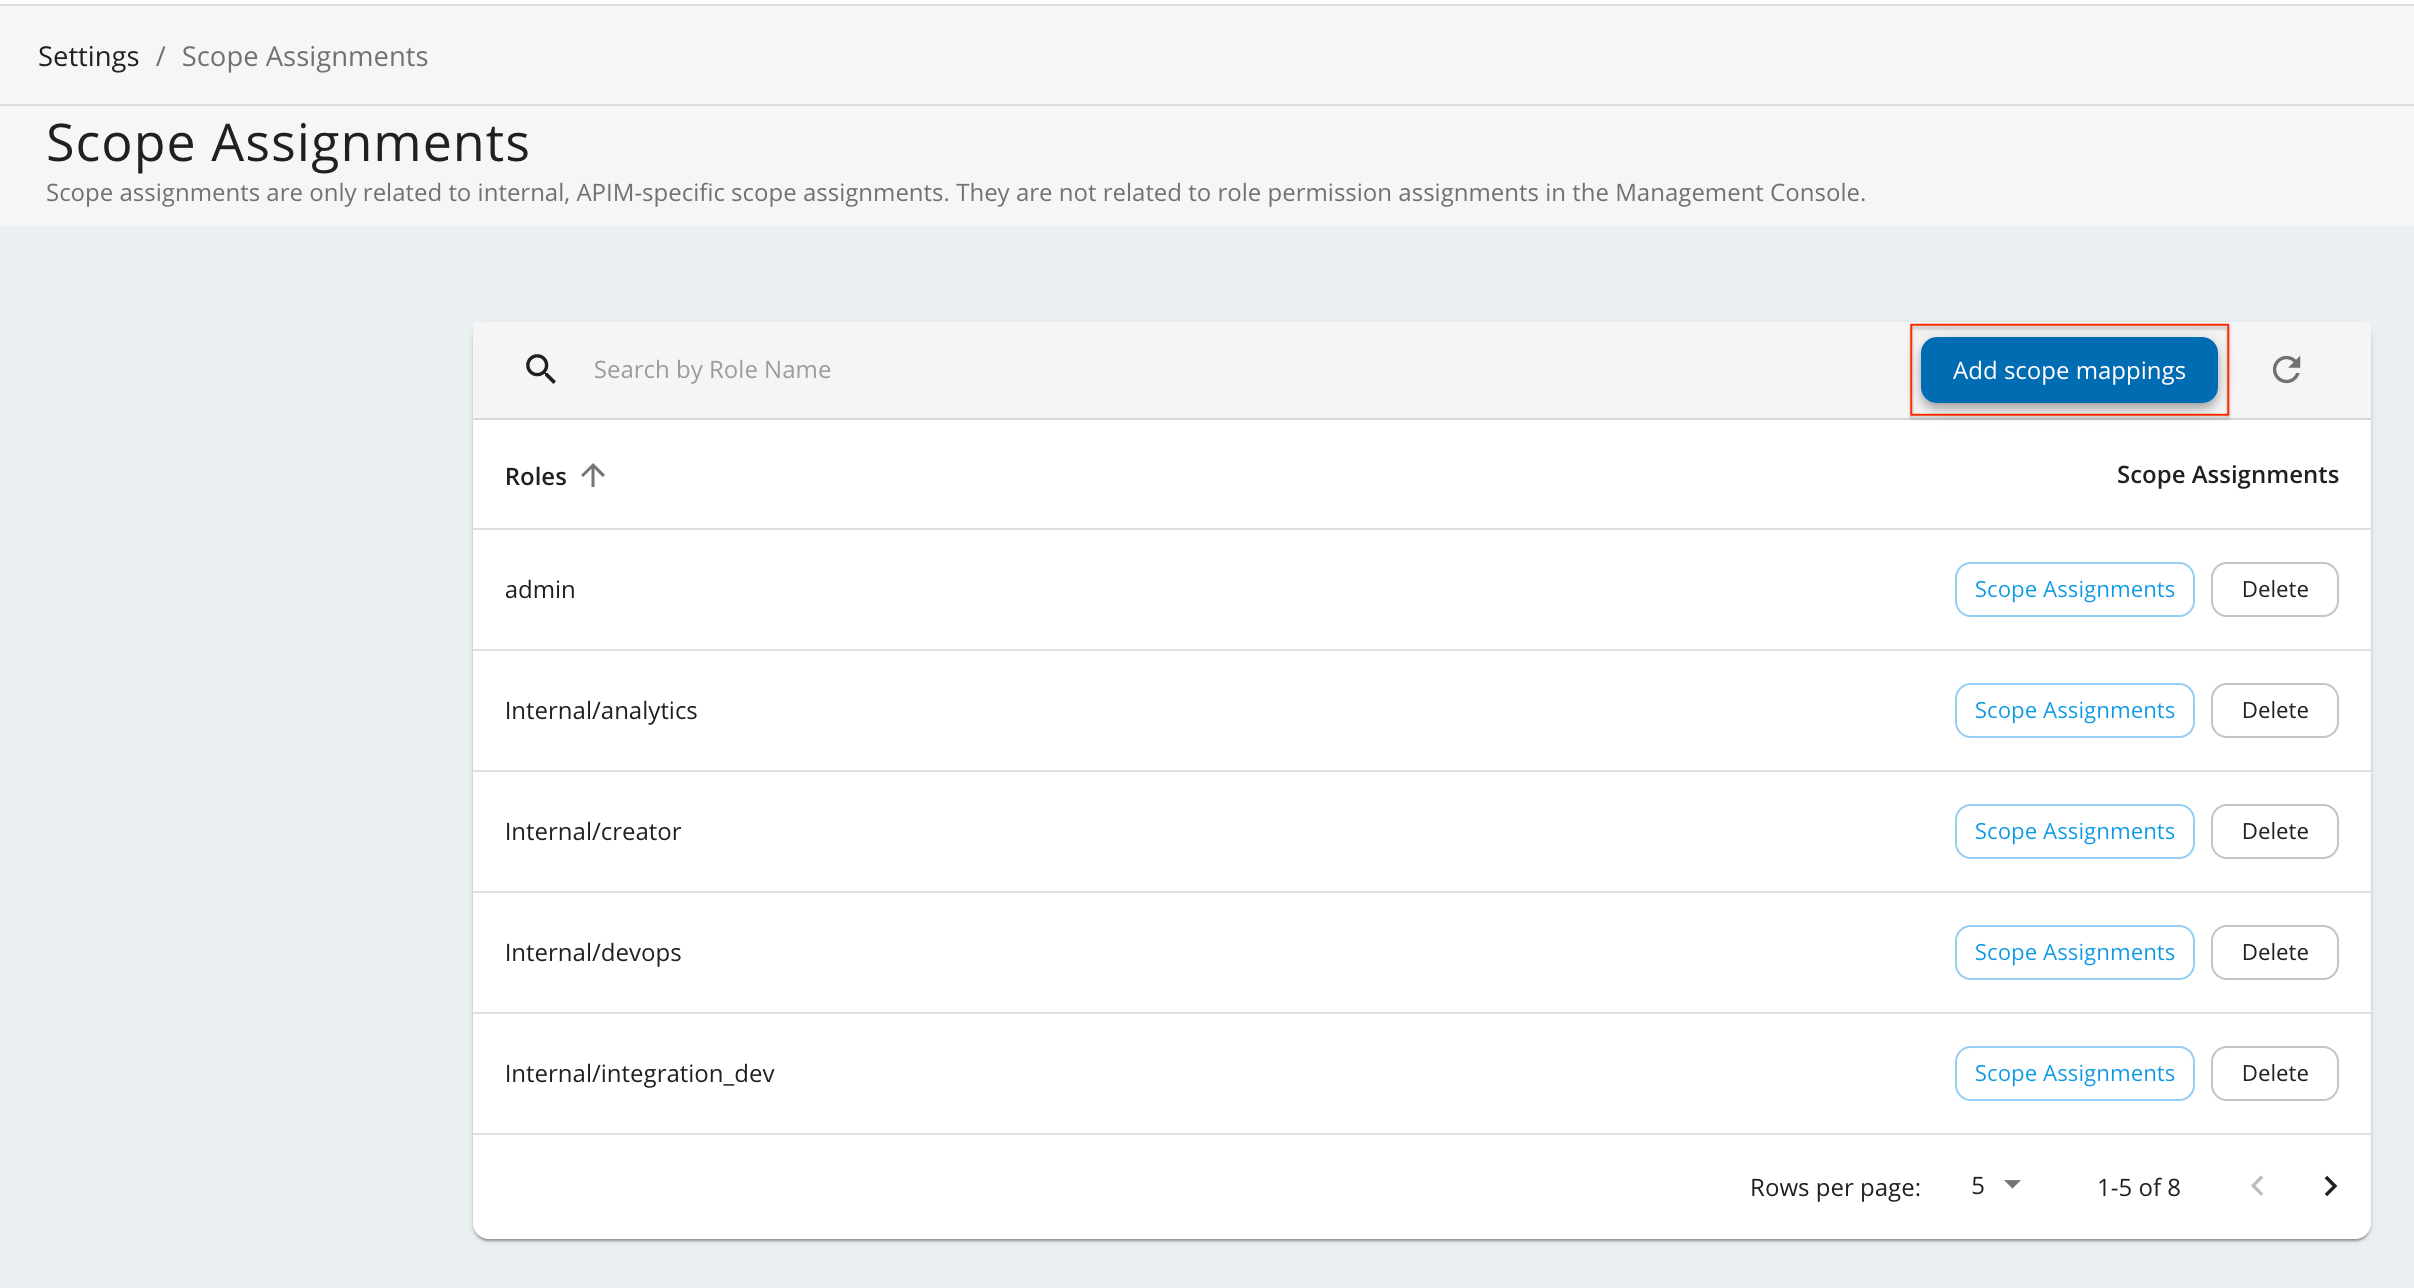
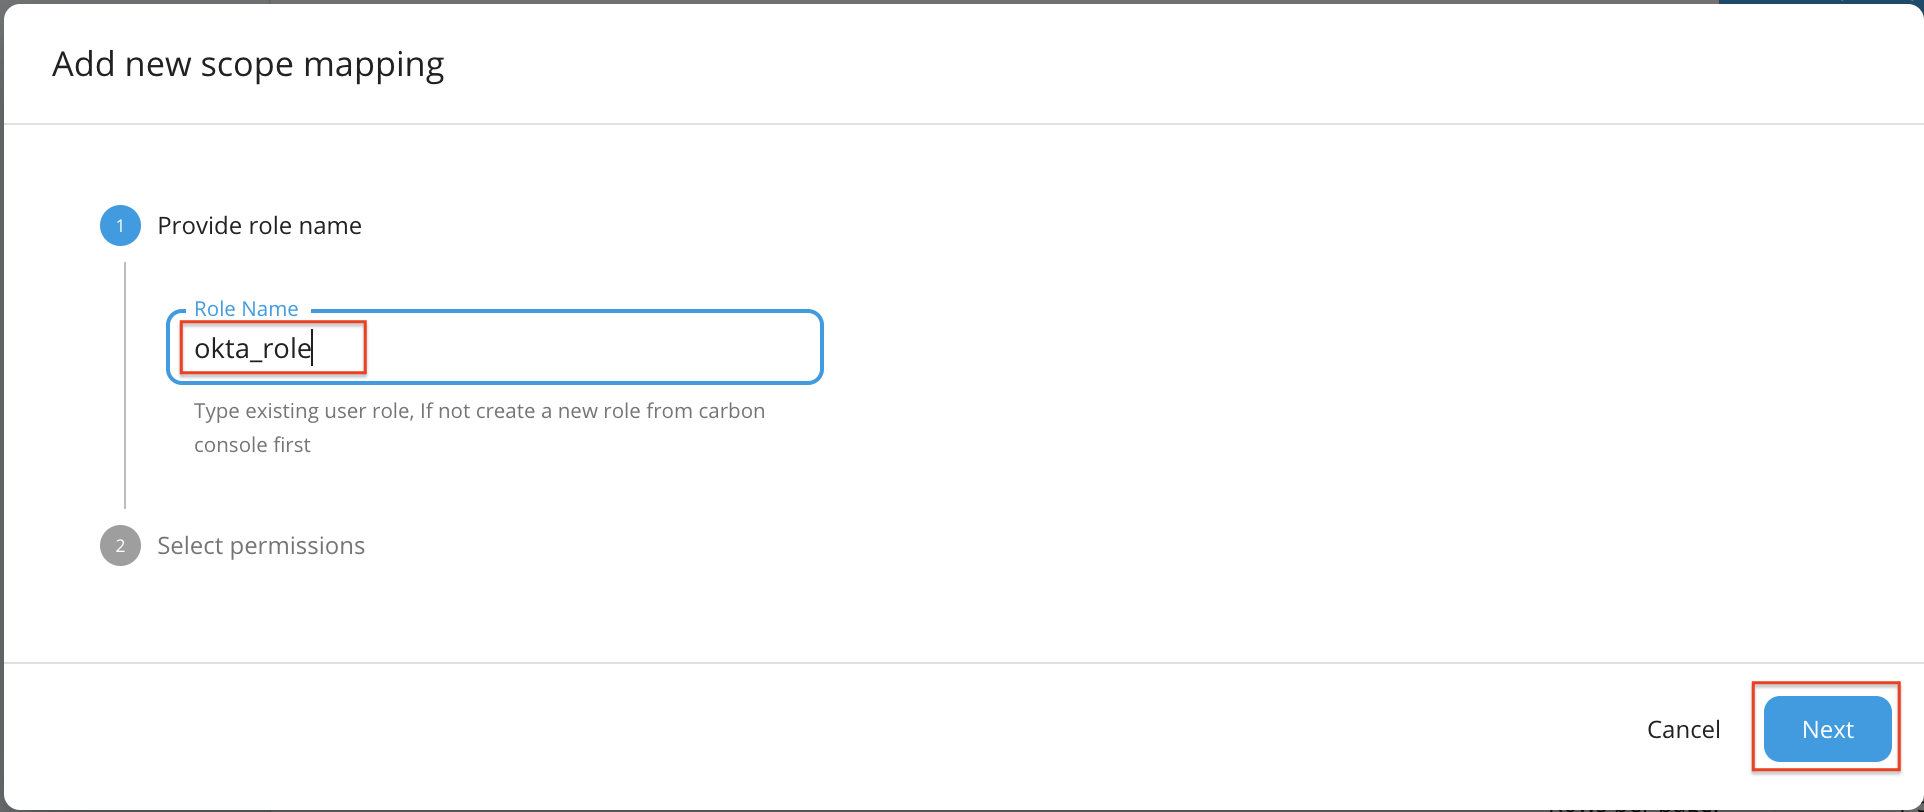
Click Add Scope Mappings.
-
Enter
okta_roleas the role name and click Next. -
Go to Select permissions, click Custom permissions, and start assigning the permissions as shown below.
These permissions will allow a user having the
okta_roleto log in to the Publisher and the Developer Portal.Hiererchy Permissions admin -
Retrieve and publish Monetization related usage records
apim:monetization_usage_publish
publisher -
Manage all API related operations
apim:api_manage -
View common operation policies
apim:common_operation_policy_view -
Manage all Subscription related operations
apim:subscription_manage -
View, Retrieve API list
apim:api_list_view -
Add, Update and Delete common operation policies
apim:common_operation_policy_manage -
Create threat protection policies
apim:threat_protection_policy_create -
Update and delete mediation policies
apim:mediation_policy_manage -
Update and delete backend endpoint certificates
apim:ep_certificates_update -
View backend endpoint certificates
apim:ep_certificates_view -
Publish API
apim:api_publish -
Update and delete client certificates
apim:client_certificates_update -
View, Retrieve API definition
apim:api_definition_view -
Generate Internal Key
apim:api_generate_key -
View API
apim:api_view -
Create mediation policies
apim:mediation_policy_create -
Get/ subscribe/ configure publisher alerts
apim:pub_alert_manage -
Create, update and delete API documents
apim:document_manage -
View, create, update and remove endpoint certificates
apim:ep_certificates_manage -
Read permission to comments
apim:comment_view -
Write permission to comments
apim:comment_write -
View, update and delete throttling policies
apim:tier_manage -
Read and Write comments
apim:comment_manage -
View throttling policies
apim:tier_view -
Create API documents
apim:document_create -
Update and delete threat protection policies
apim:threat_protection_policy_manage -
View Subscription
apim:subscription_view -
Create API
apim:api_create -
Add client certificates
apim:client_certificates_add -
Delete API
apim:api_delete -
View client certificates
apim:client_certificates_view -
Retrieve store settings
apim:publisher_settings -
Block Subscription
apim:subscription_block -
View mediation policies
apim:mediation_policy_view -
View, create, update and remove client certificates
apim:client_certificates_manage -
Add backend endpoint certificates
apim:ep_certificates_add -
View, create, update and remove API specific mediation policies
apim:api_mediation_policy_manage
devportal -
Retrieve, Manage and Import, Export applications
apim:app_manage -
Retrieve Developer Portal settings
apim:store_settings -
Retrieve, subscribe and configure Developer Portal alert types
apim:sub_alert_manage -
Generate API Keys
apim:api_key -
Retrieve, Manage subscriptions
apim:sub_manage -
Subscribe API
apim:subscribe
-
Retrieve and publish Monetization related usage records
-
Click Save to save your changes.
-
-
Add an Identity Provider.
-
Sign in to the WSO2 API-M Management Console.
https://localhost:9443/carbon. -
Click Main and then click Add under Identity Providers.
-
Enter the Identity Provider's Name.
-
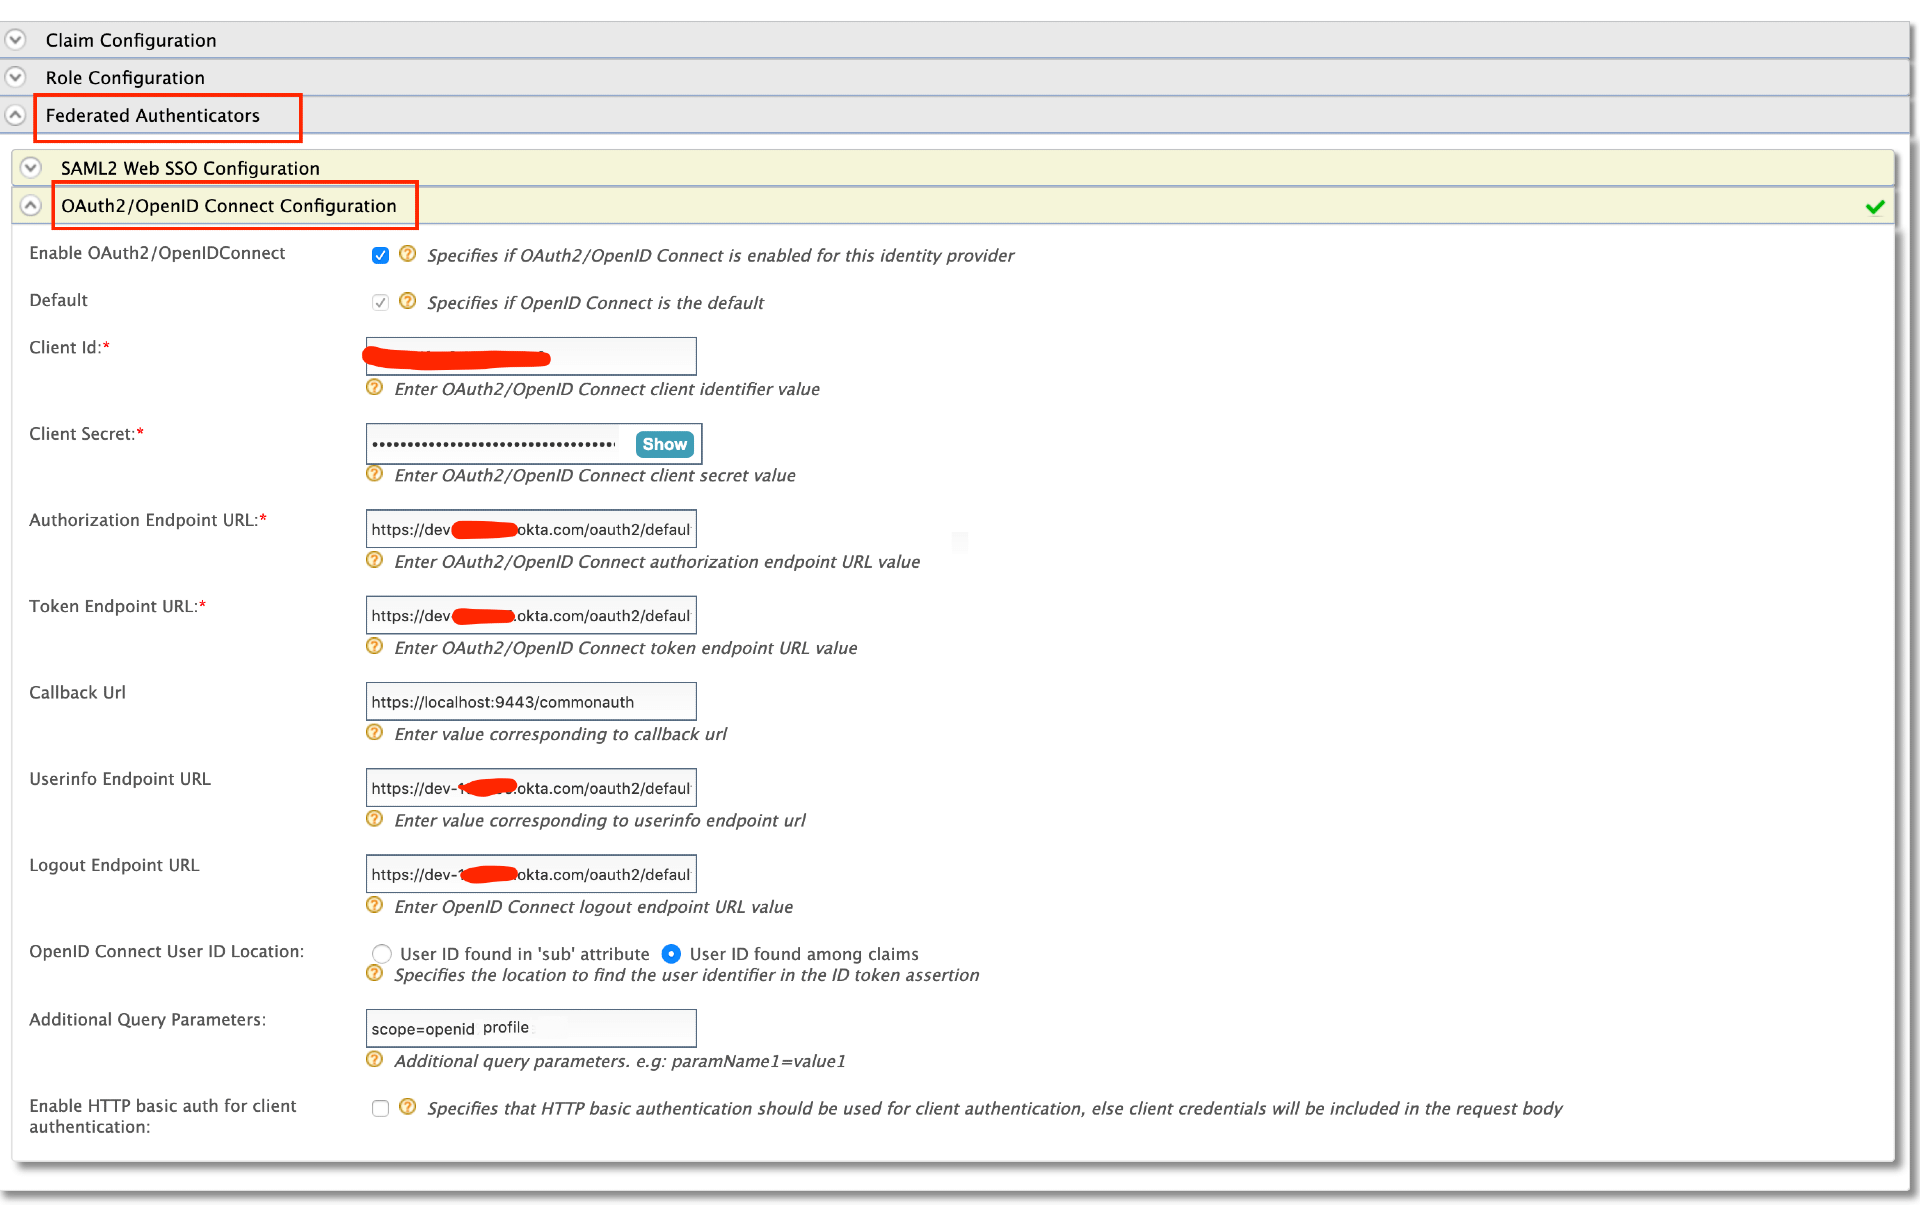
Expand Federated Authenticators -> OAuth2/OpenID Connect Configuration and add the following details.
Field Sample value Enable OAuth2/OpenIDConnect True Client ID You can find this value from the Okta application that you created. Client Secret You can find this value from the Okta application that you created. Authorization Endpoint URL https://your_okta_url/oauth2/default/v1/authorizeToken Endpoint URL https://your_okta_url/oauth2/default/v1/tokenCallback URL https://localhost:9443/commonauthUserinfo Endpoint URL https://your_okta_url/oauth2/default/v1/userinfoLogout Endpoint URL https://your_okta_url/oauth2/default/v1/logoutcode>Additional Query Parameters scope=openid profile -
Expand Claim Configuration -> Basic Claim Configuration.
Add the claim configurations as shown in the image below.
-
Expand Role configuration and add
okta_roleas shown below.You can check if the user logged in has the role
anyand assign the localokta_role. -
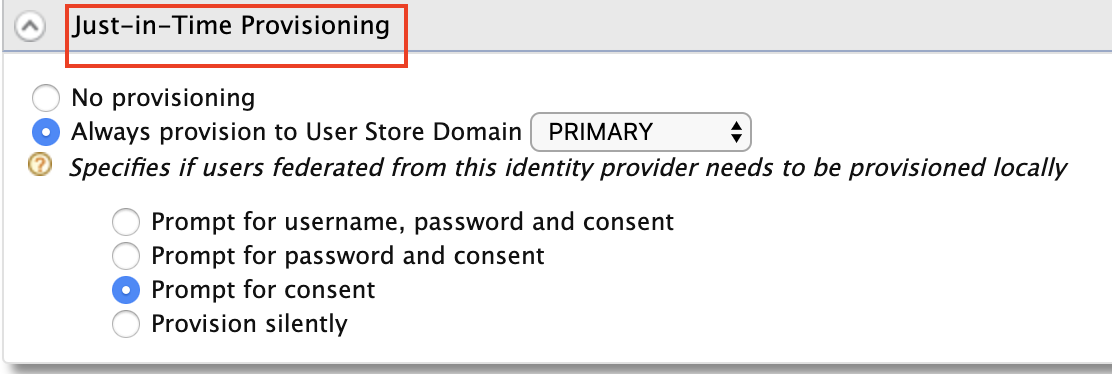
Enable Just-in-Time Provisioning for the user to be saved in the API Manager user store.
Info
When Just-In-Time Provisioning is enabled, the user details will be saved in the API Manager user store. User profile details will be updated via the federation following each login event. To preserve the user profile details without any changes, you need to enable
SystemRolesRetainedProvisionHandler.Add the following to the
<API-M_HOME>/repository/conf/deployment.tomlfile and restart the server. -
-
Update the Service Providers.
-
Click Service Providers -> List in the WSO2 API-M Management Console.
There are two service providers available by default;
apim_publisherandapim_devportal. -
Click Edit to edit
apim_publisher.Warning
You need to have signed in to the Developer Portal and Publisher at least once for the two service providers to appear, as it is created during the first sign in.
-
Expand Local & Outbound Authentication Configuration under Federated Authentication and select the identity provider you created.
-
Repeat the latter mentioned two steps for
apim_devportal.Now you will be able to Sign in to the Publisher and Developer Portal using Okta.
-
