Attaching Policies
Follow the instructions below to attach one or more default policies that are shipped with WSO2 API Manager to an existing API.
-
Sign in to the WSO2 API Publisher.
https://<hostname>:9443/publisher -
Click on the API for which you want to attach policies to (e.g.,
PizzaShackAPI 1.0.0). Navigate to API Configurations → Policies. -
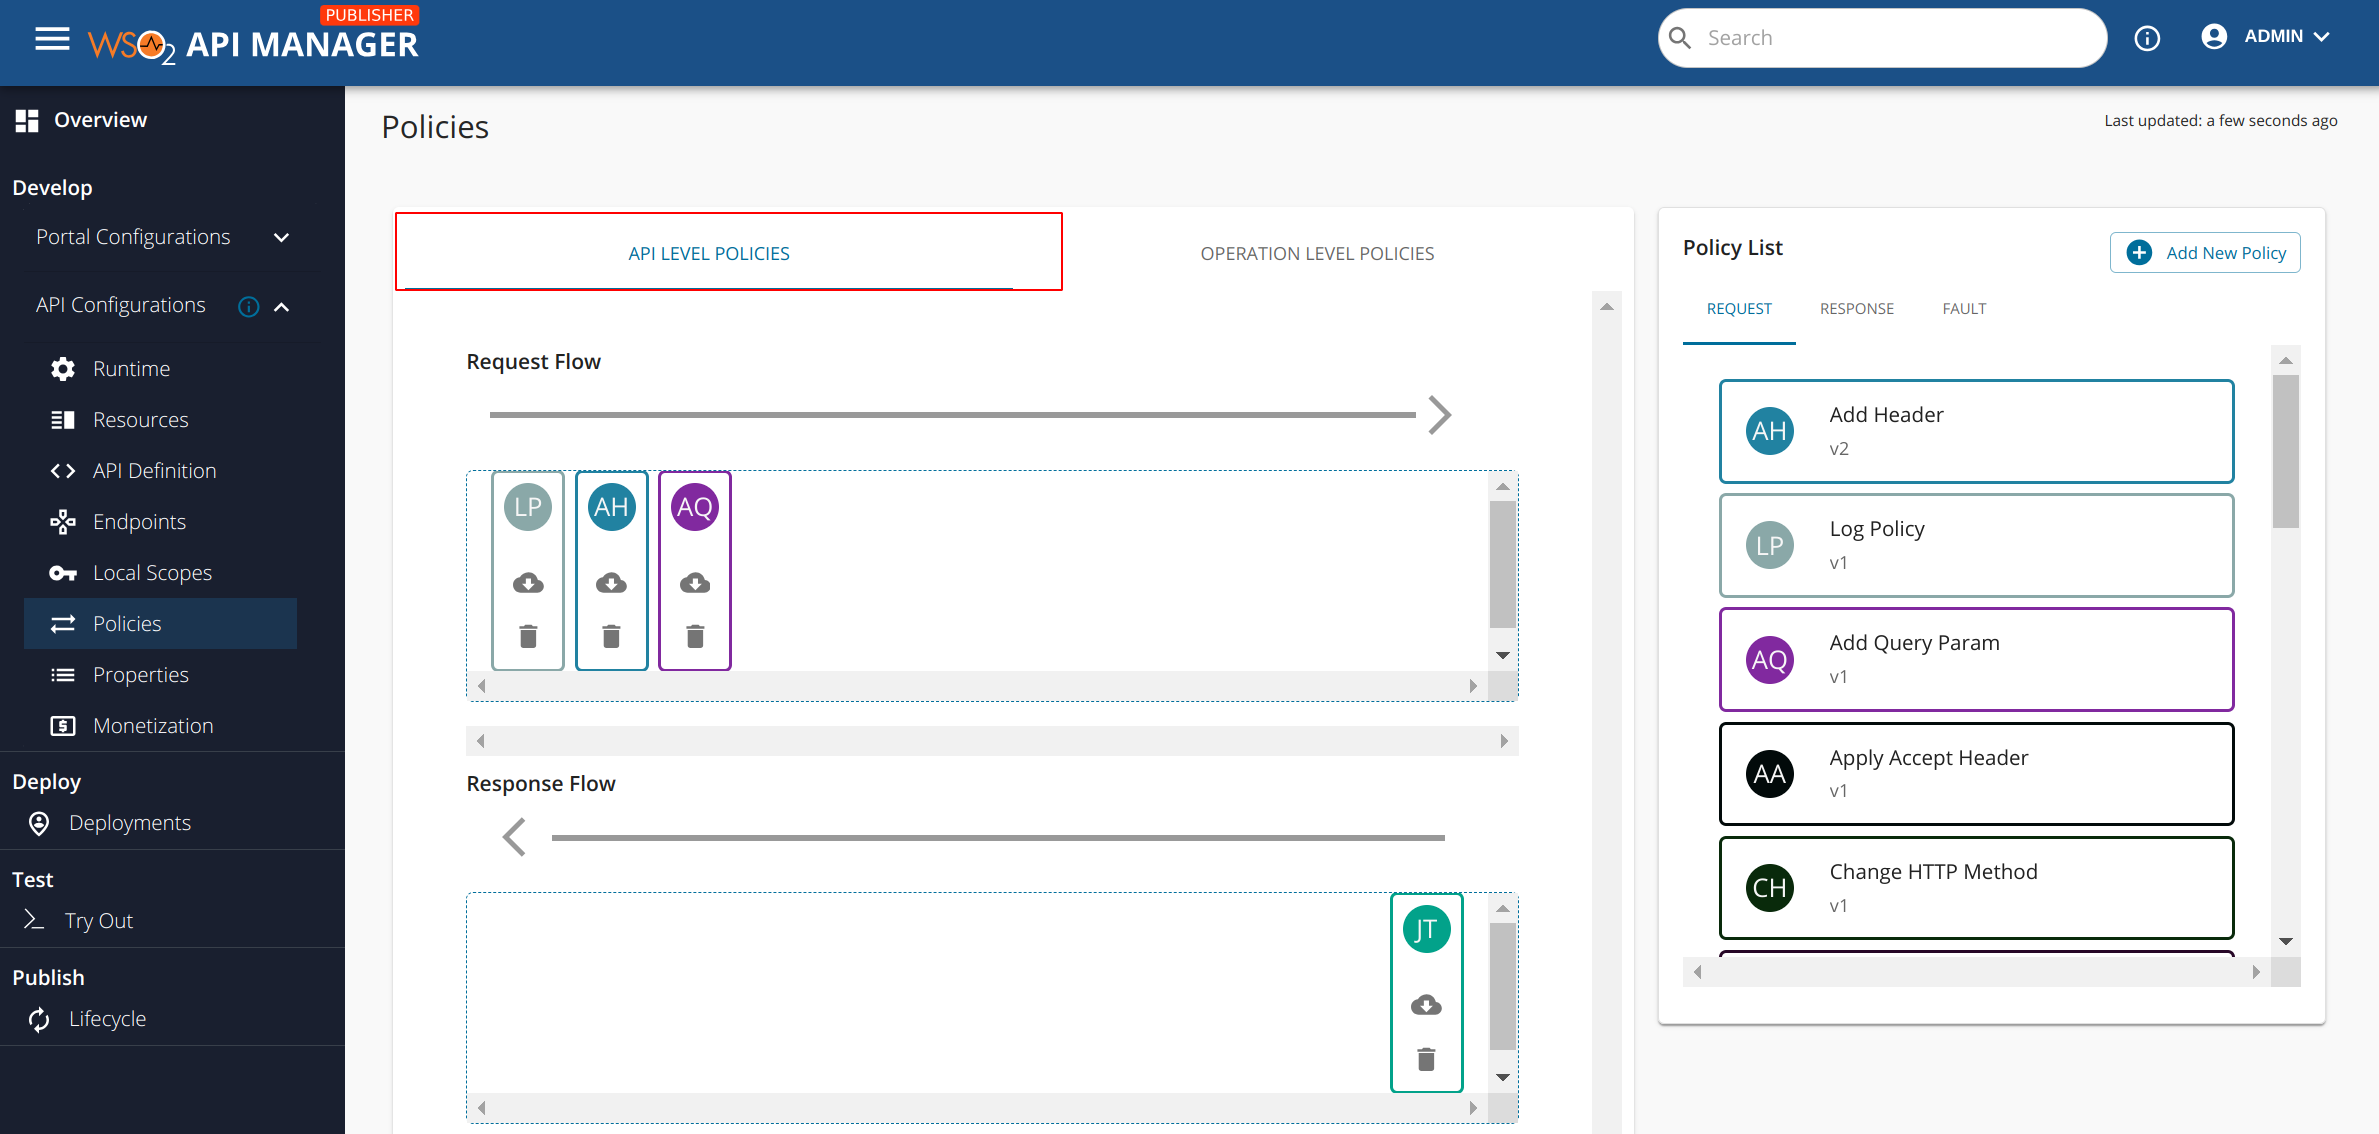
First let us consider the API Level Policies tab. You can attach any number of policies by dragging and dropping from the policy list to the dropzone appearing under the desired flow (i.e. request, response or fault). Since these policies are attached to the API level, upon API invocation these policies are engaged regardless of the resource that was invoked.
Note
API level policies will execute before operation level policies
-
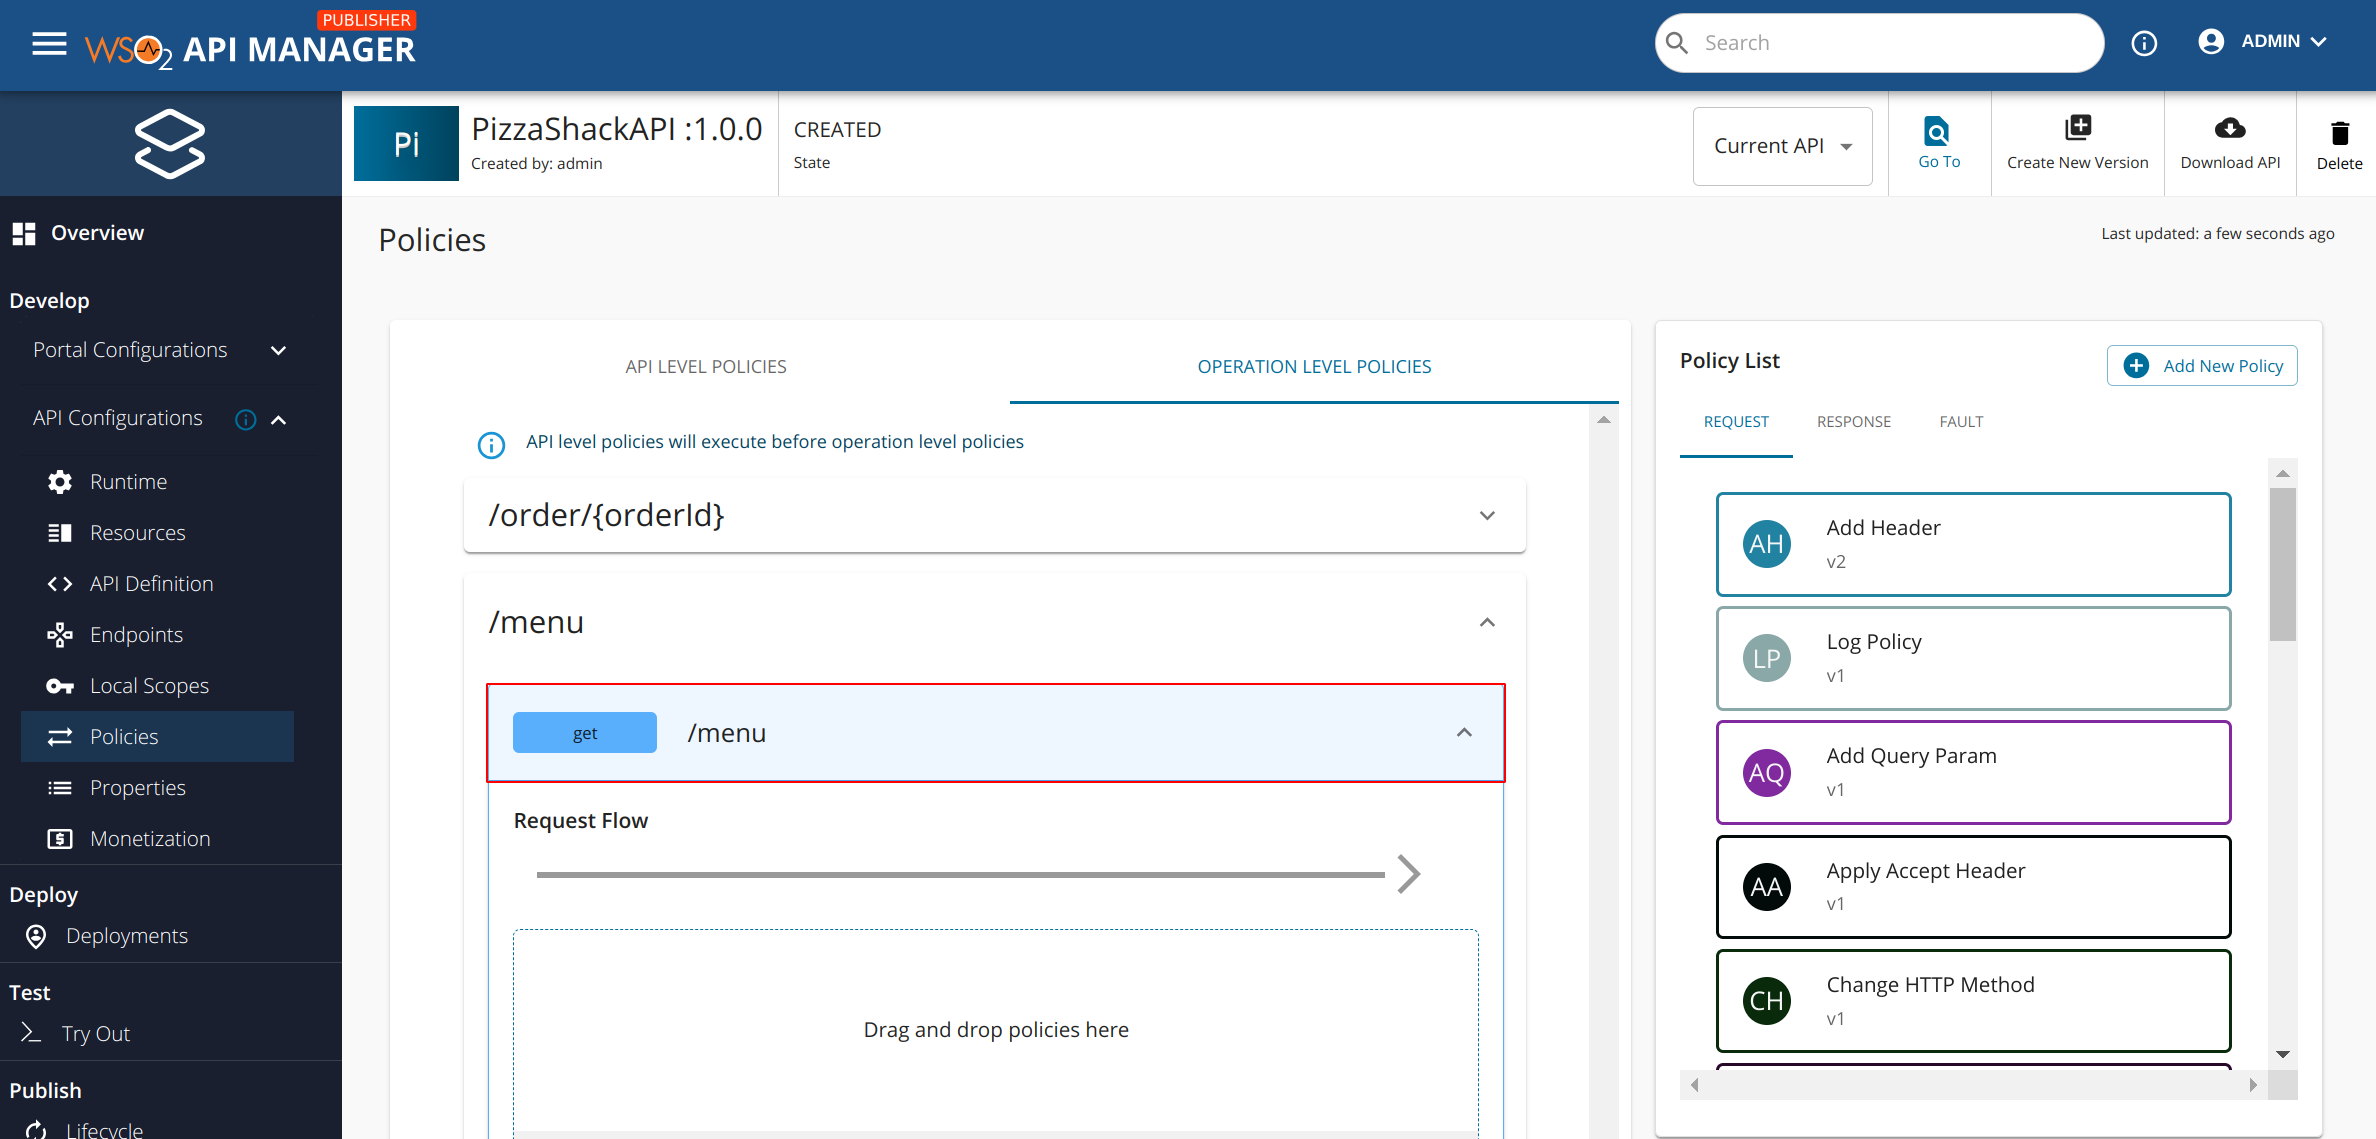
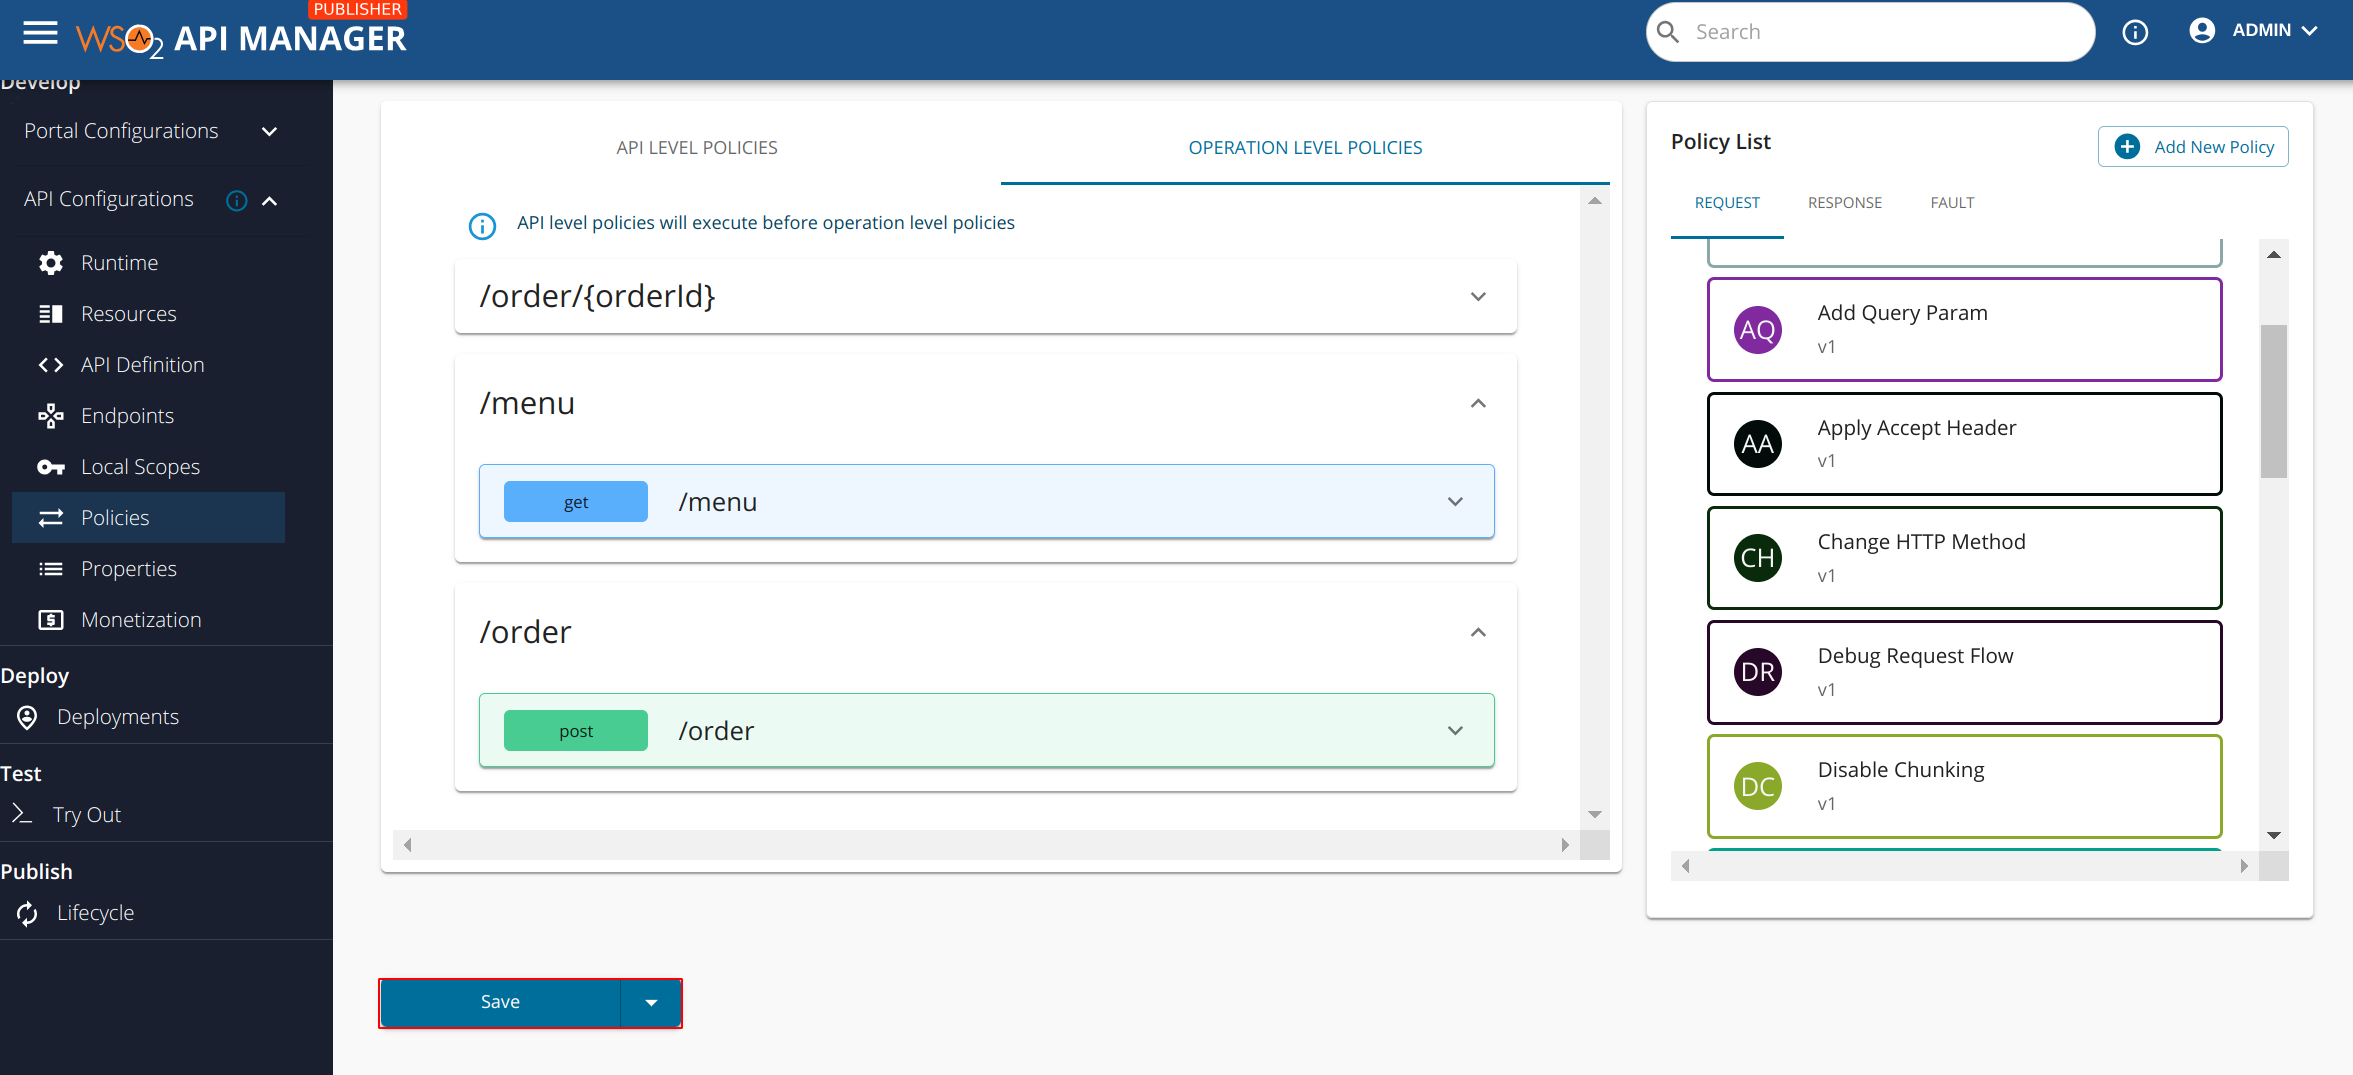
Now let us consider the Operation Level Policies tab. Pick out the desired operation and flow to which you want to attach policies. Once that is decided, you can expand that API operation. At this point you will notice that by default the UI will open up the first API operation on initial page visit (for PizzaShack API,
/order POSTis expanded by default). -
Let’s attach a policy to the
/menu GEToperation. Scroll down through the left side column of the UI and click on/menu GETAPI operation. You should be able to see the below screen when the API operation is expanded. -
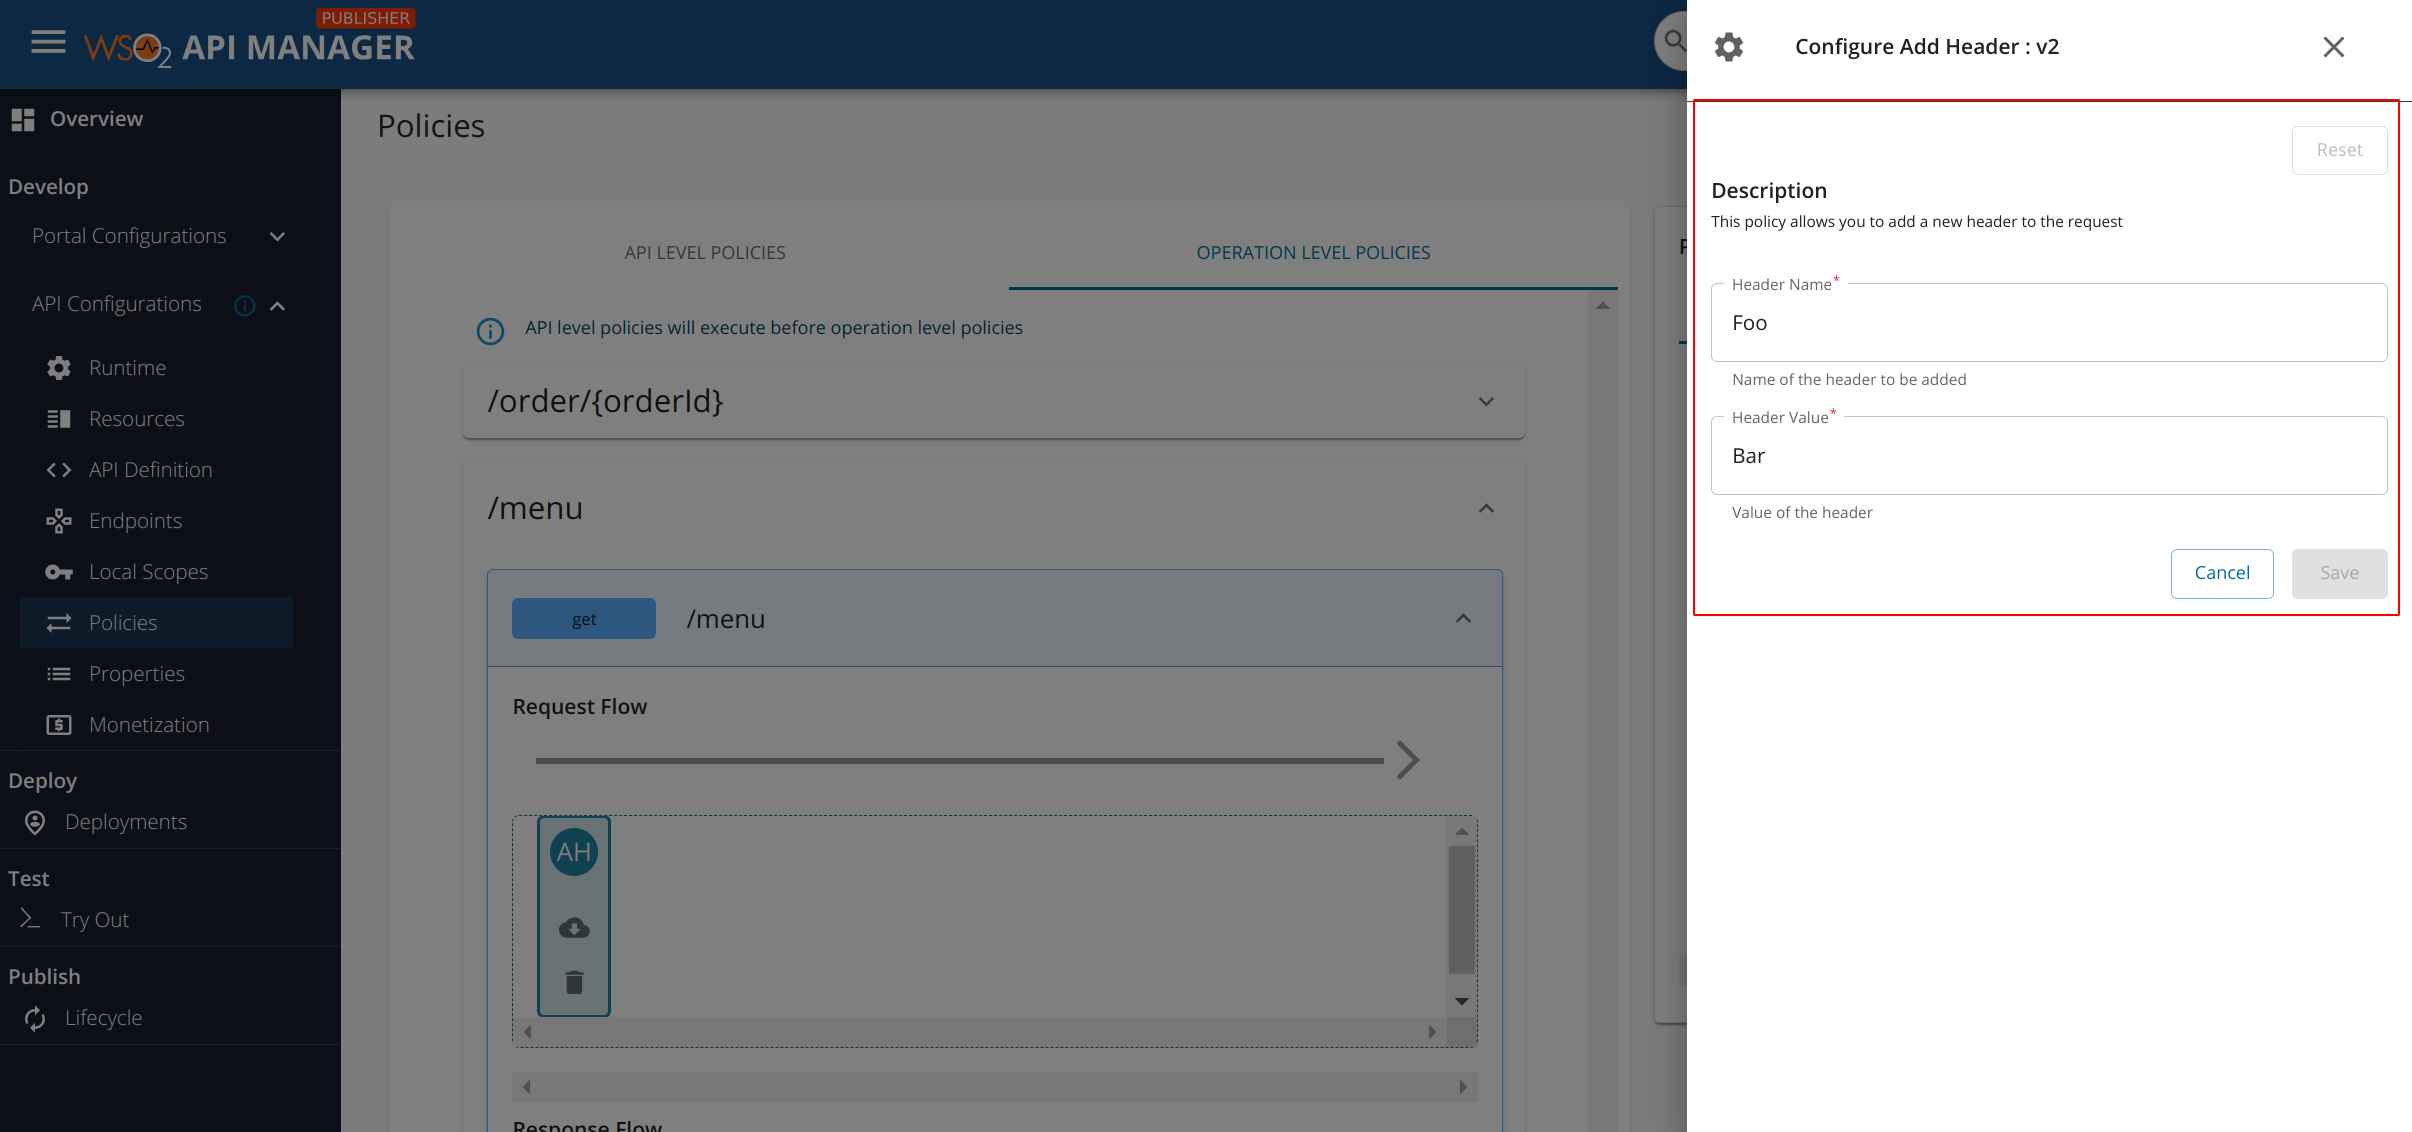
Drag the Add Header policy from the Request tab of the Policy List and drop that to the Request Flow dropzone of
/menu GEToperation. You will notice a side panel appearing from the right hand side. Fill the required details using the values provided below. Then, click Save.Field Sample Value Header Name Foo Header Value Bar Note
You can optionally use the Apply to all resources option to attach the same policy to all the resources. This will attach the same policy to all the API operations along with the values you entered to configure the policy (if any). It is important to note that if the policy was applied to the
Request Flow, it will only be applied to all the request flows of all operations. -
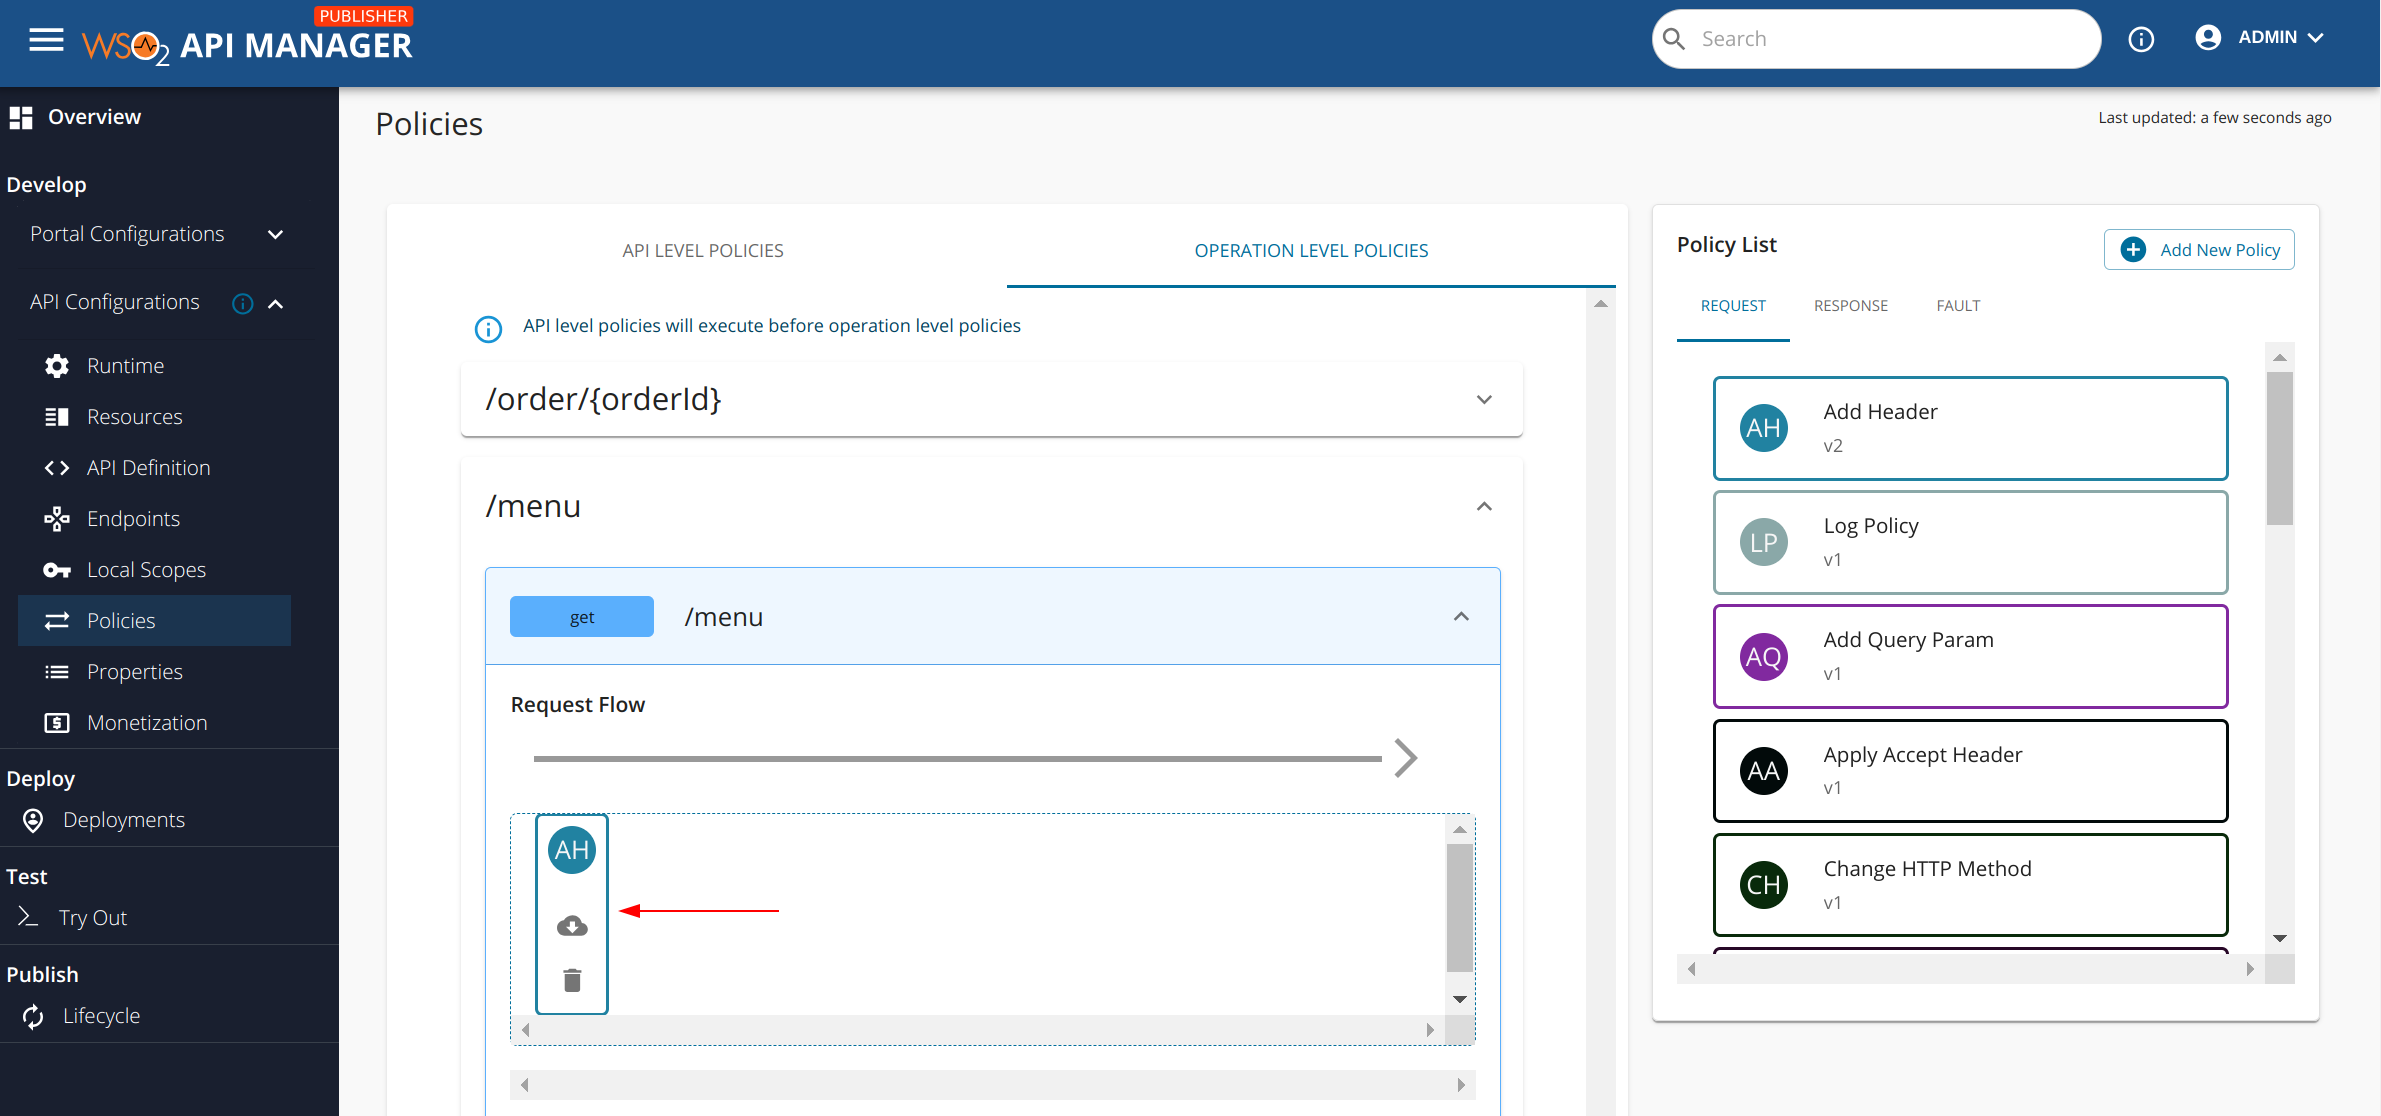
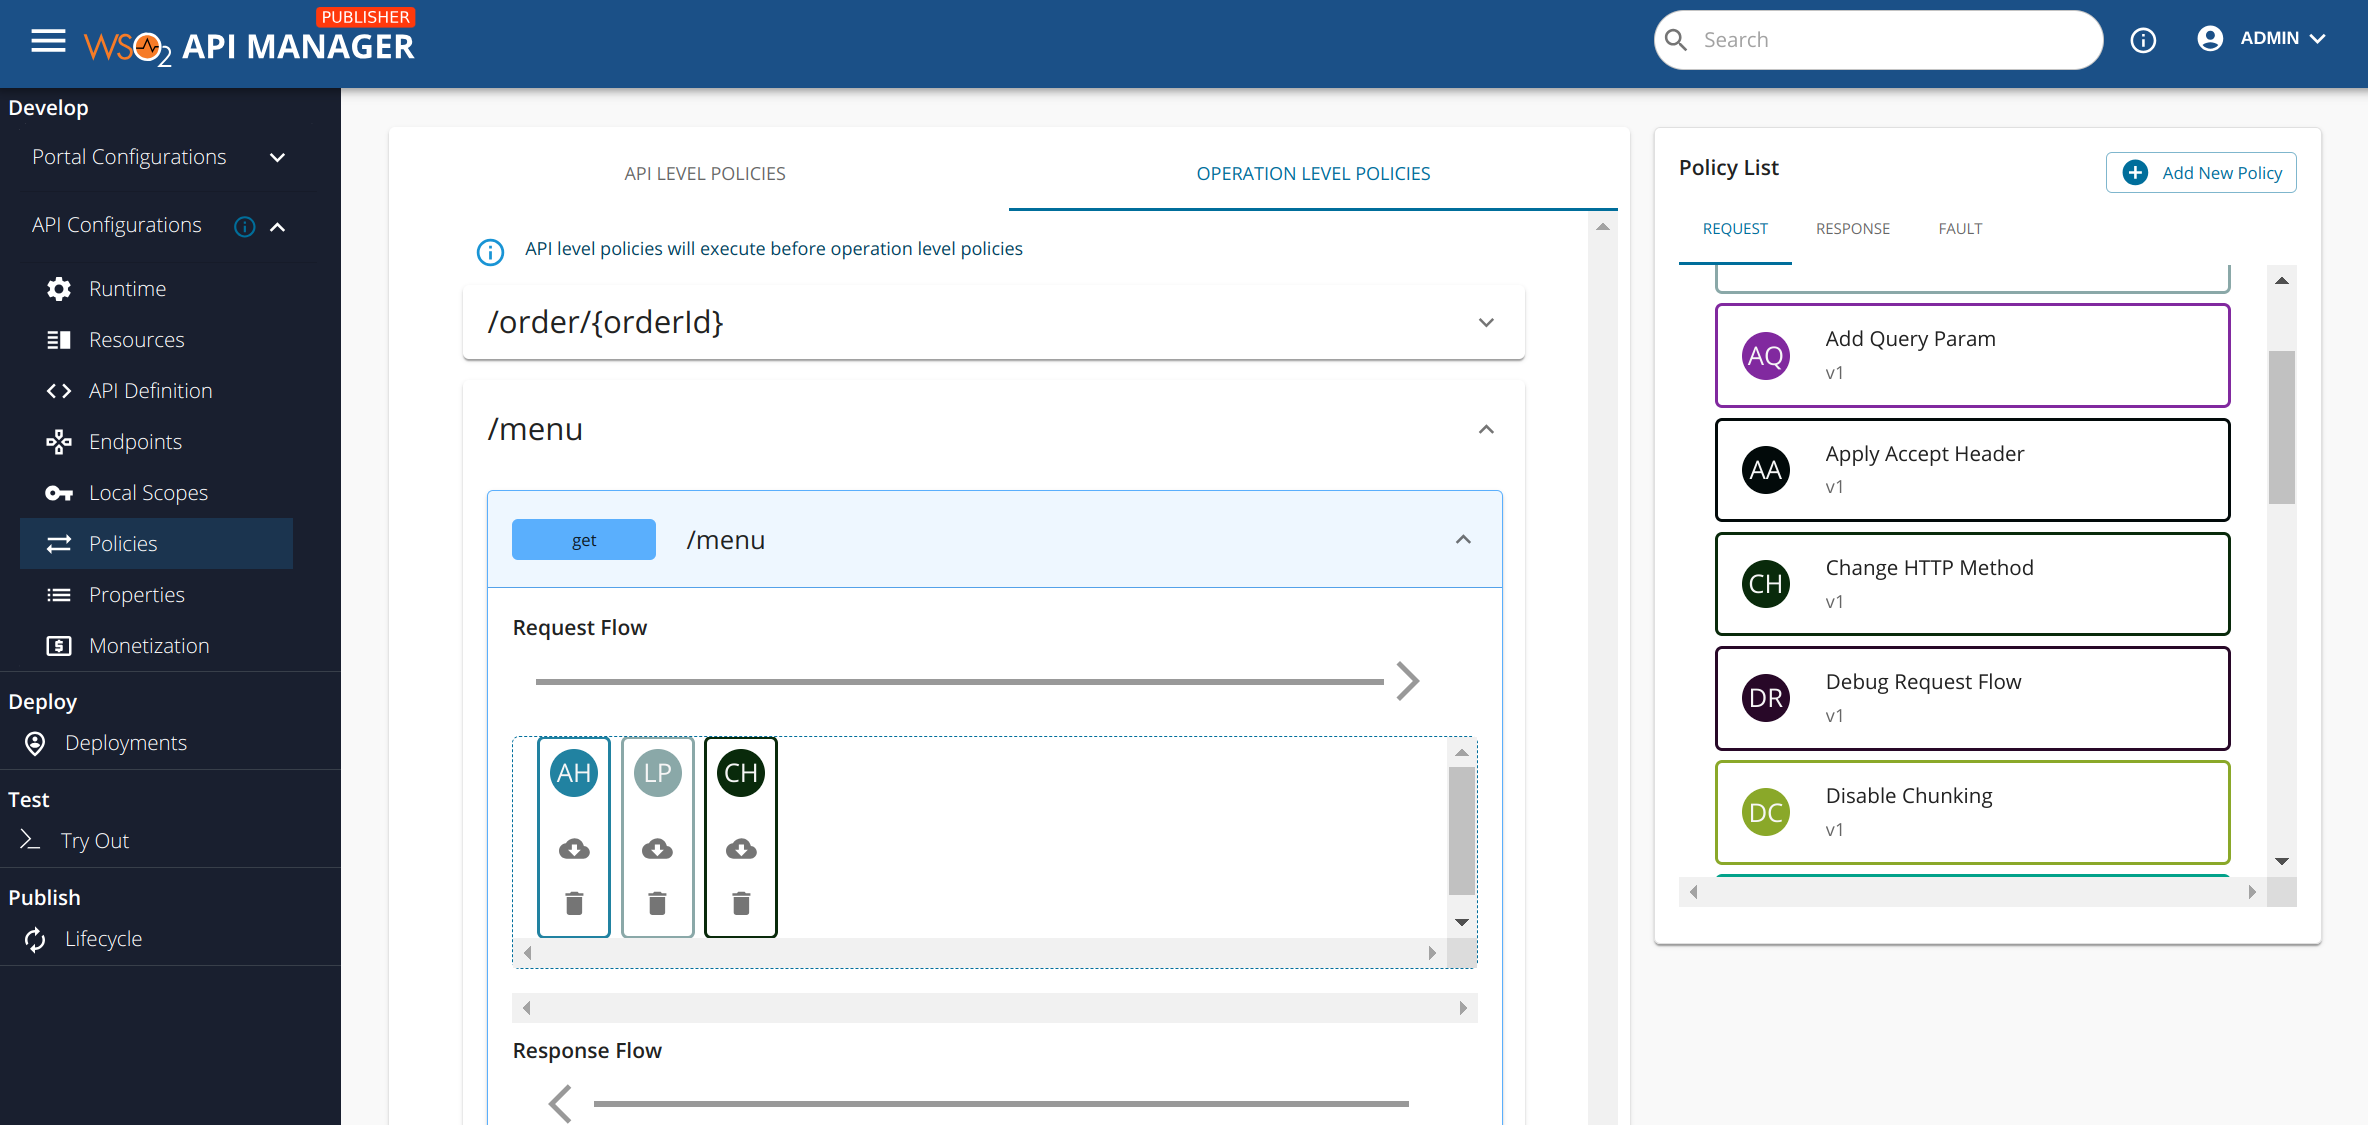
Now that we have saved the dropped policy, you should be able to see the attached Add Header policy (depicted with the initials
AH). -
If you click on this newly attached AH (i.e. Add Header) policy, you should still be able to view/edit values that you entered initially.
-
Let’s go ahead and attach a few more policies to the same Request Flow. Pick any amount of policies from the Request tab of the Policy List.
Note
-
You can rearrange the dropped policies that are attached to the Request Flow of
/menu GET -
You can download the policy source as a
.zipfile by clicking the cloud download icon -
If you click on the delete icon, the dropped policy is cancelled
-
-
Finally, when you are satisfied with the dragged and dropped policies, you can go ahead and click on the Save button at the bottom of the page. Note that if you do not click on save, none of the dropped policies will be saved to the API.
Once you drag and drop a default policy (Common policy that is accessible to all APIs) and save, to maintain the consistency of API object, the attached policy will be revisioned specific to the API. In case you delete the Common Policy from the publisher portal from the policies tab, this revision will be preserved as an API specific policy and once the policy is detached from the API, this revision will be cleared from the data storage. If you have created a different policy with the same name after deleting the original policy, you have to detach and reattach the policy to the resources if you need to apply the new policy.
