Quick Start Guide
New to WSO2 API Manager? This guide will walk you through the basics.
In this step-by-step guide, you’ll learn how to create, publish, and invoke an API using the Publisher Portal and Developer Portal.
Before you begin...
Choose a deployment option to start the WSO2 API Manager All-in-one package. This package contains all core components in a single JVM for simplified deployment.
Here's how you can download and run WSO2 API Manager All-in-one package locally on a VM:
-
Install Java SE Development Kit (JDK) version 21 and set the
JAVA_HOMEenvironment variable.Tip
For more information on setting the
JAVA_HOMEenvironment variable for different operating systems, see Setup and Install -
Download WSO2 API-Manager All-in-one package.
-
Extract the downloaded zip file.
-
Navigate to the
<API-M_HOME>/binfolder from your command line. -
To start WSO2 API Manager, execute the relevant command:
sh api-manager.shapi-manager.bat --run
To use Kubernetes (K8s) and Helm resources for container-based deployments of WSO2 API Manager (API-M), follow the steps in Deploying API-M on Kubernetes using Helm Resources.
What you'll build
In this sample scenario, you'll implement the full lifecycle of an API using WSO2 API Manager.
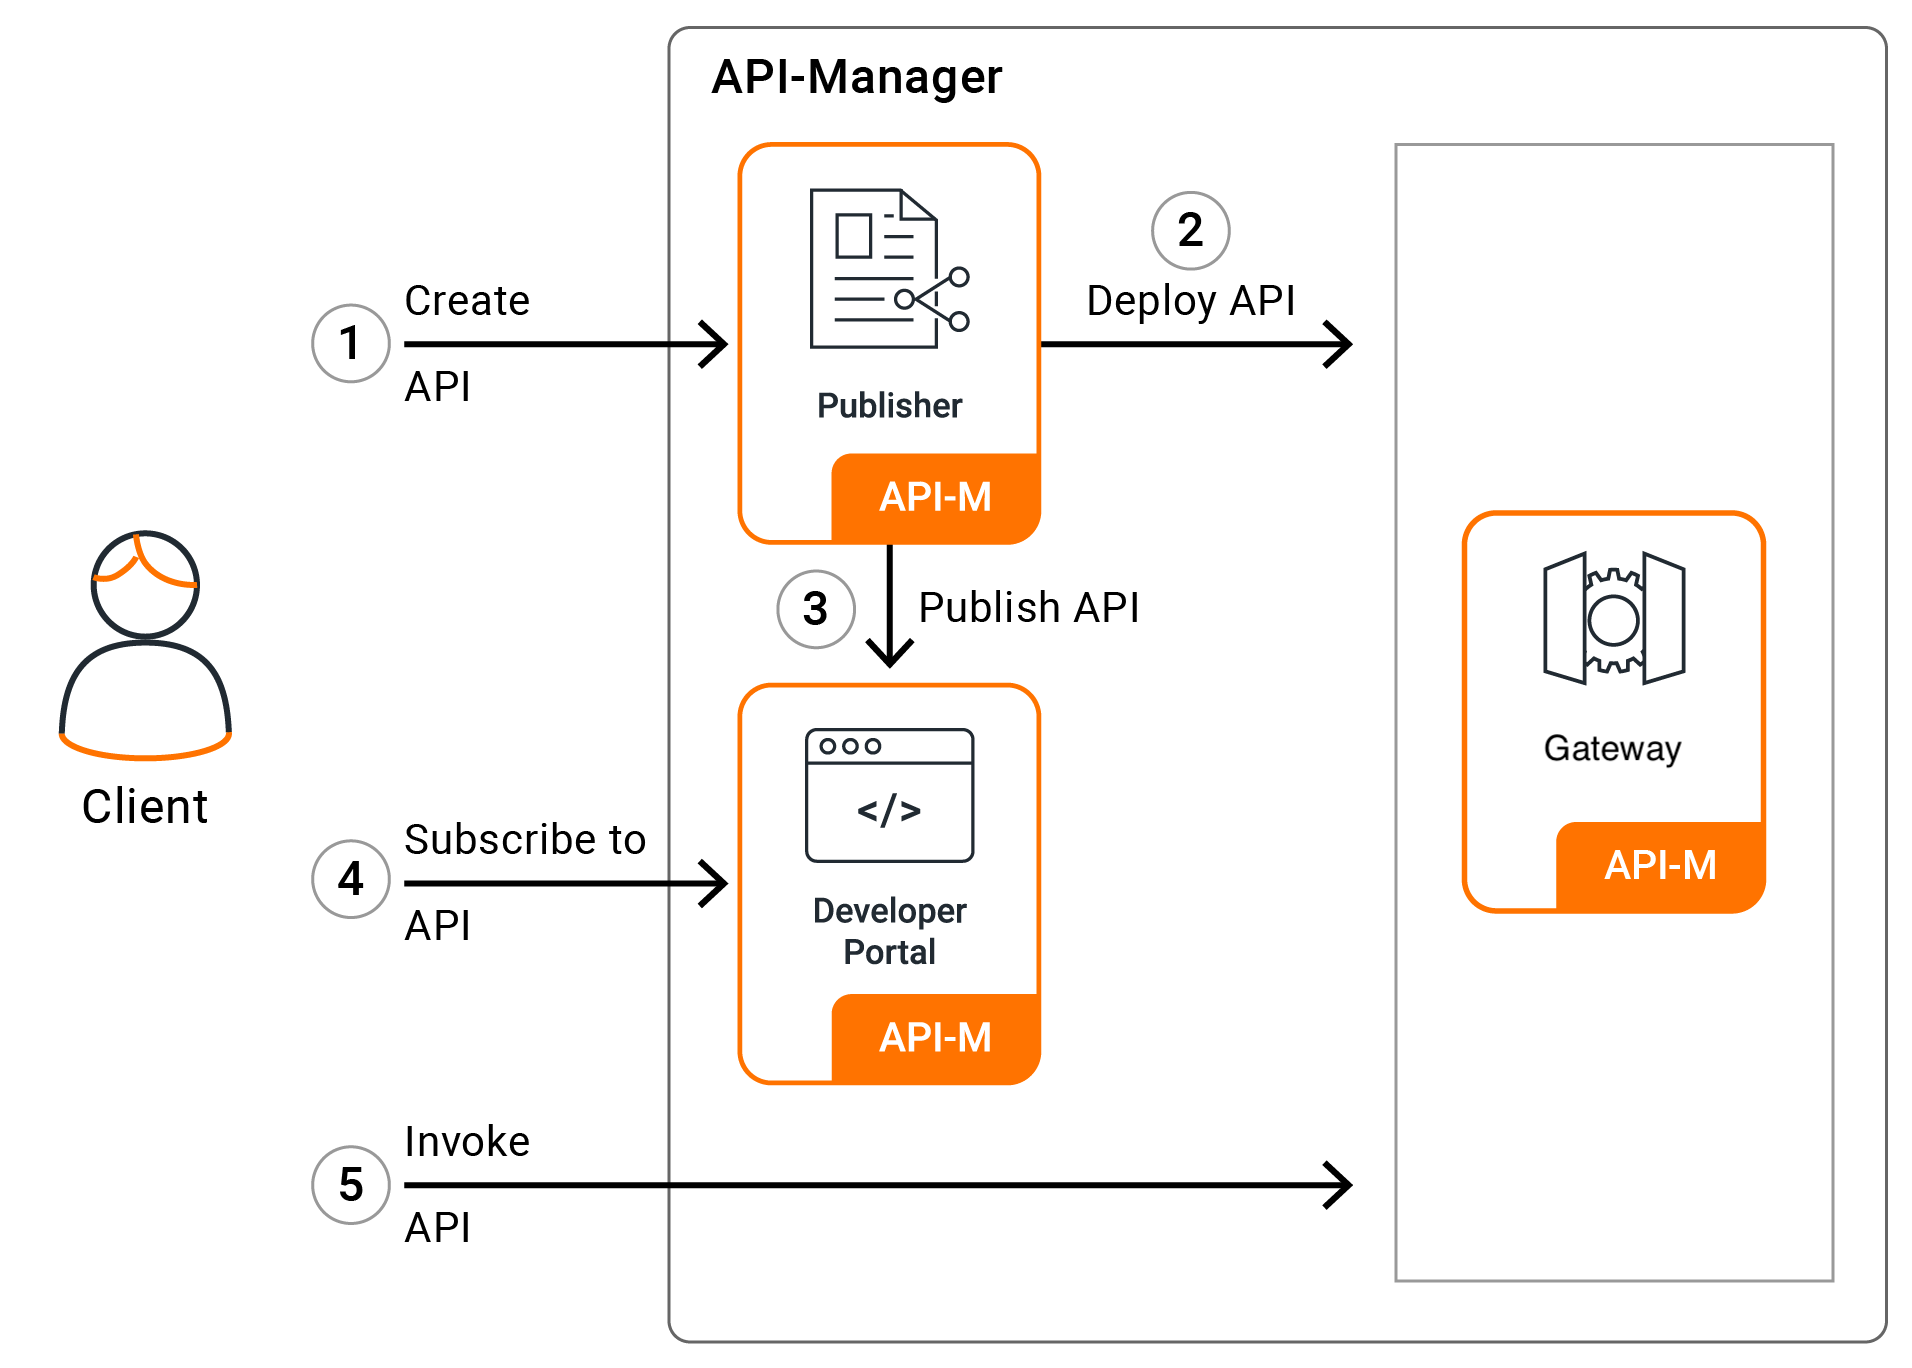
Here are the steps that we are going to follow:
Let's get started...
Step 1: Create, Deploy and Publish an API
Follow the instructions below to create, deploy and publish an API via the Publisher Portal of WSO2 API-M.
-
Navigate to the Publisher Portal.
-
Sign in with
admin/adminas the credentials.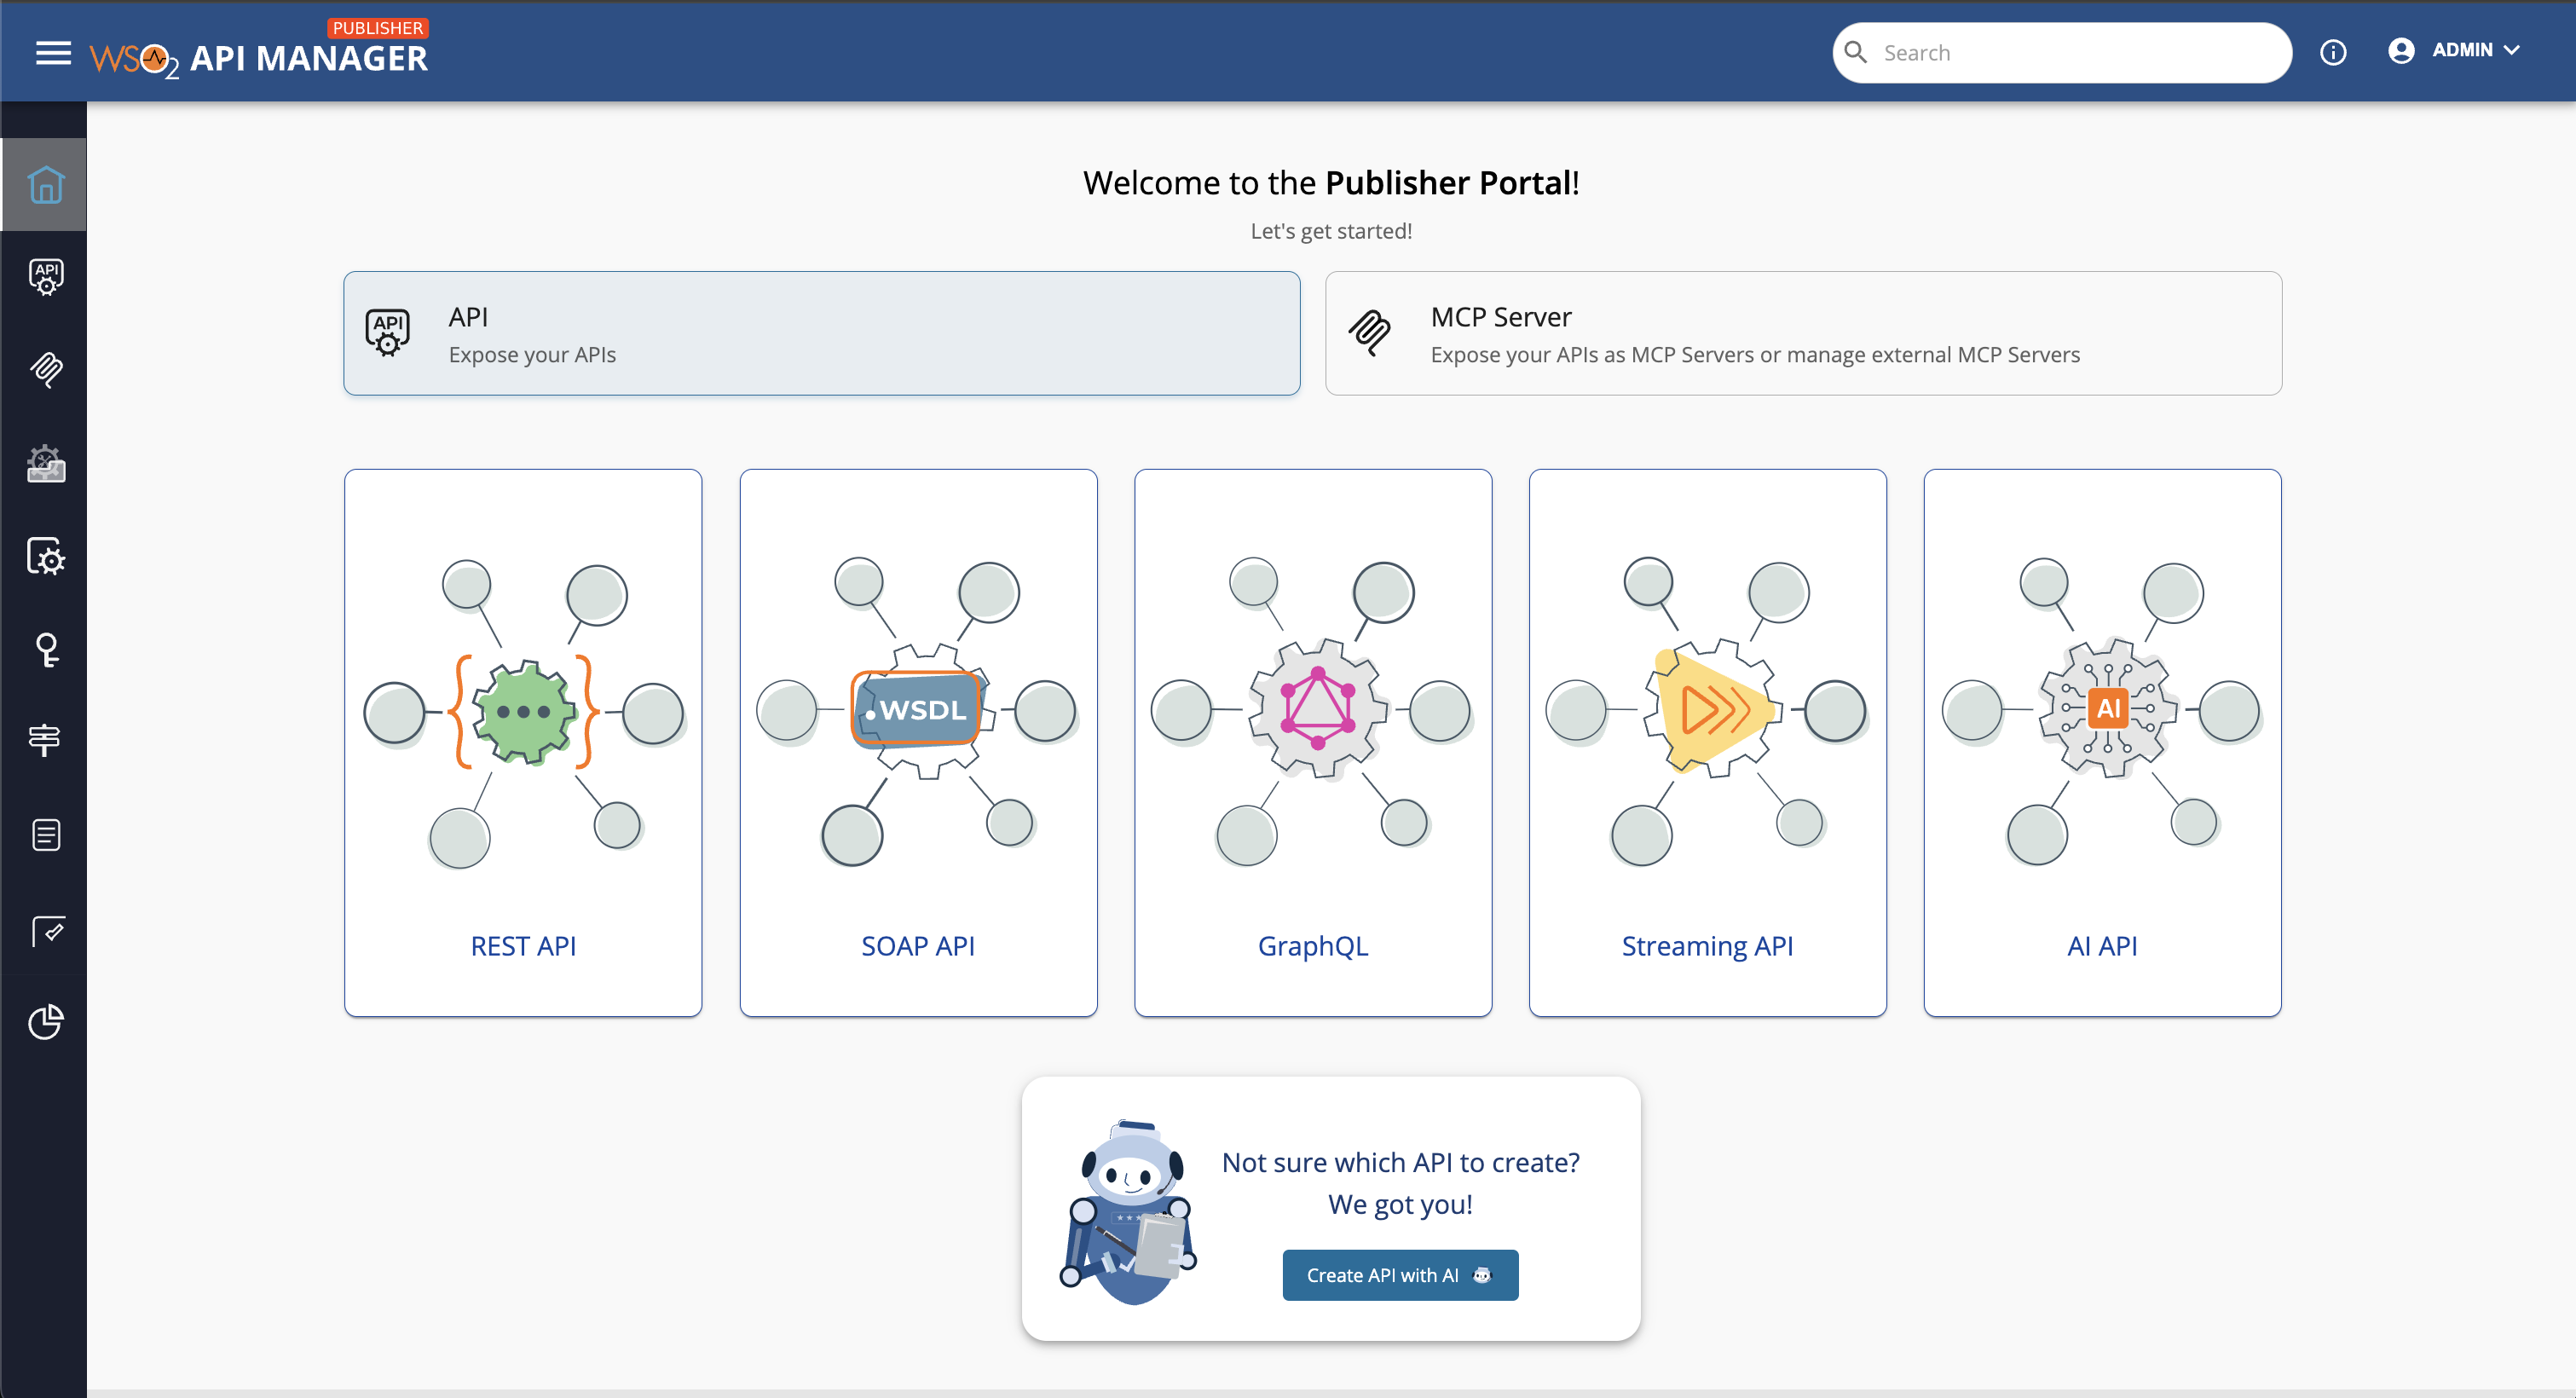
-
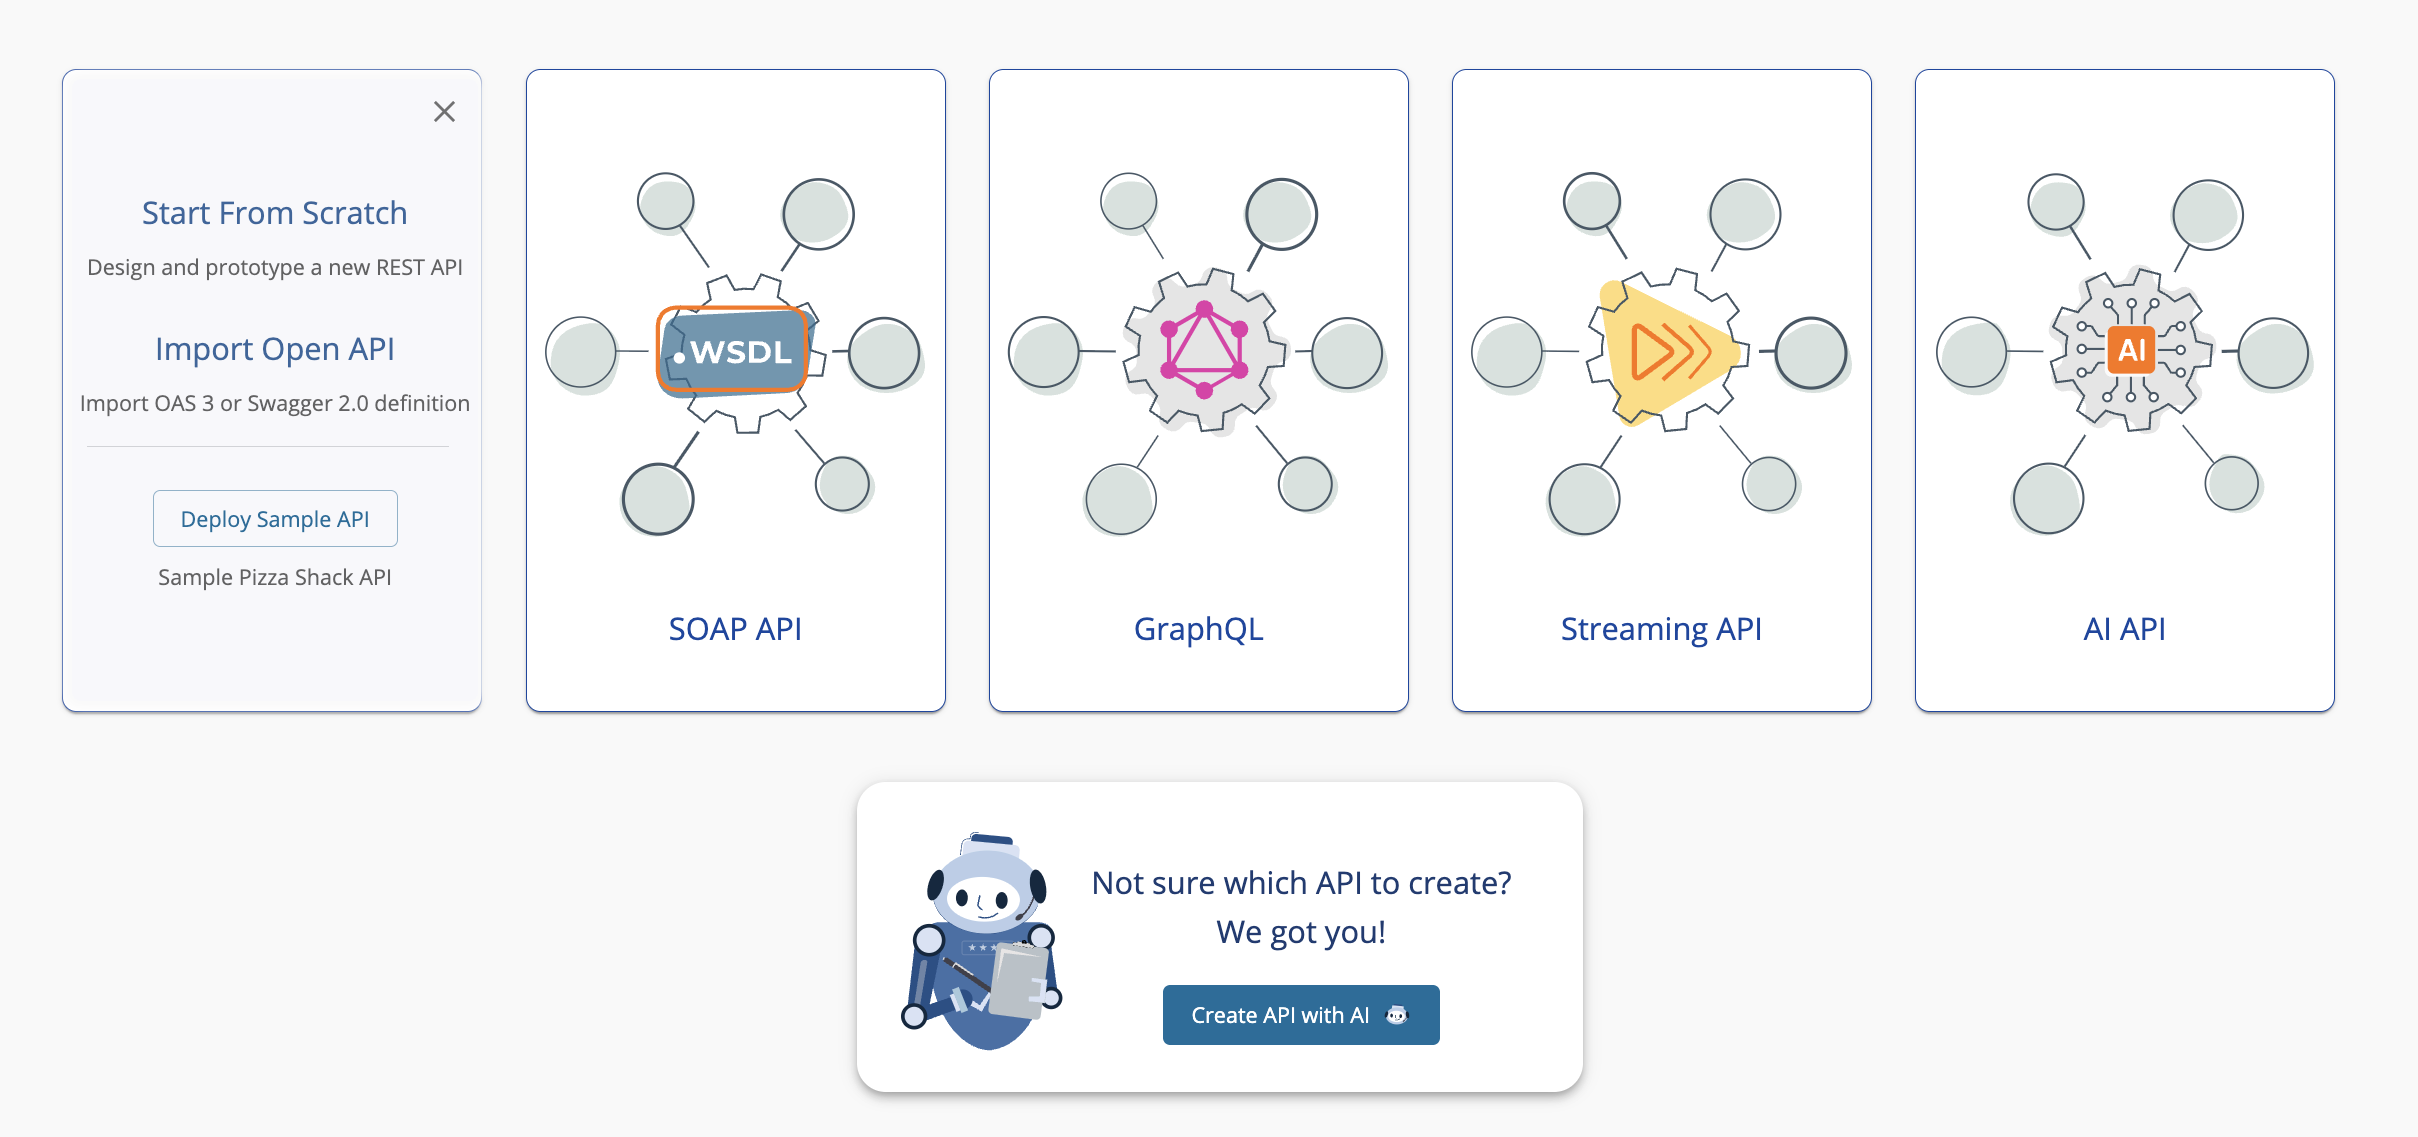
Next, let's create a REST API in the API Manager to proxy an existing REST service by selecting REST API from the home screen and then click Start From Scratch.
-
Fill the following API details in the relevant fields.
Name RandomUUID Context /uuidVersion 1.0.0 Endpoint https://dev-tools.wso2.com/gs/helpers/v1.0/uuid -
Click Create & Publish.
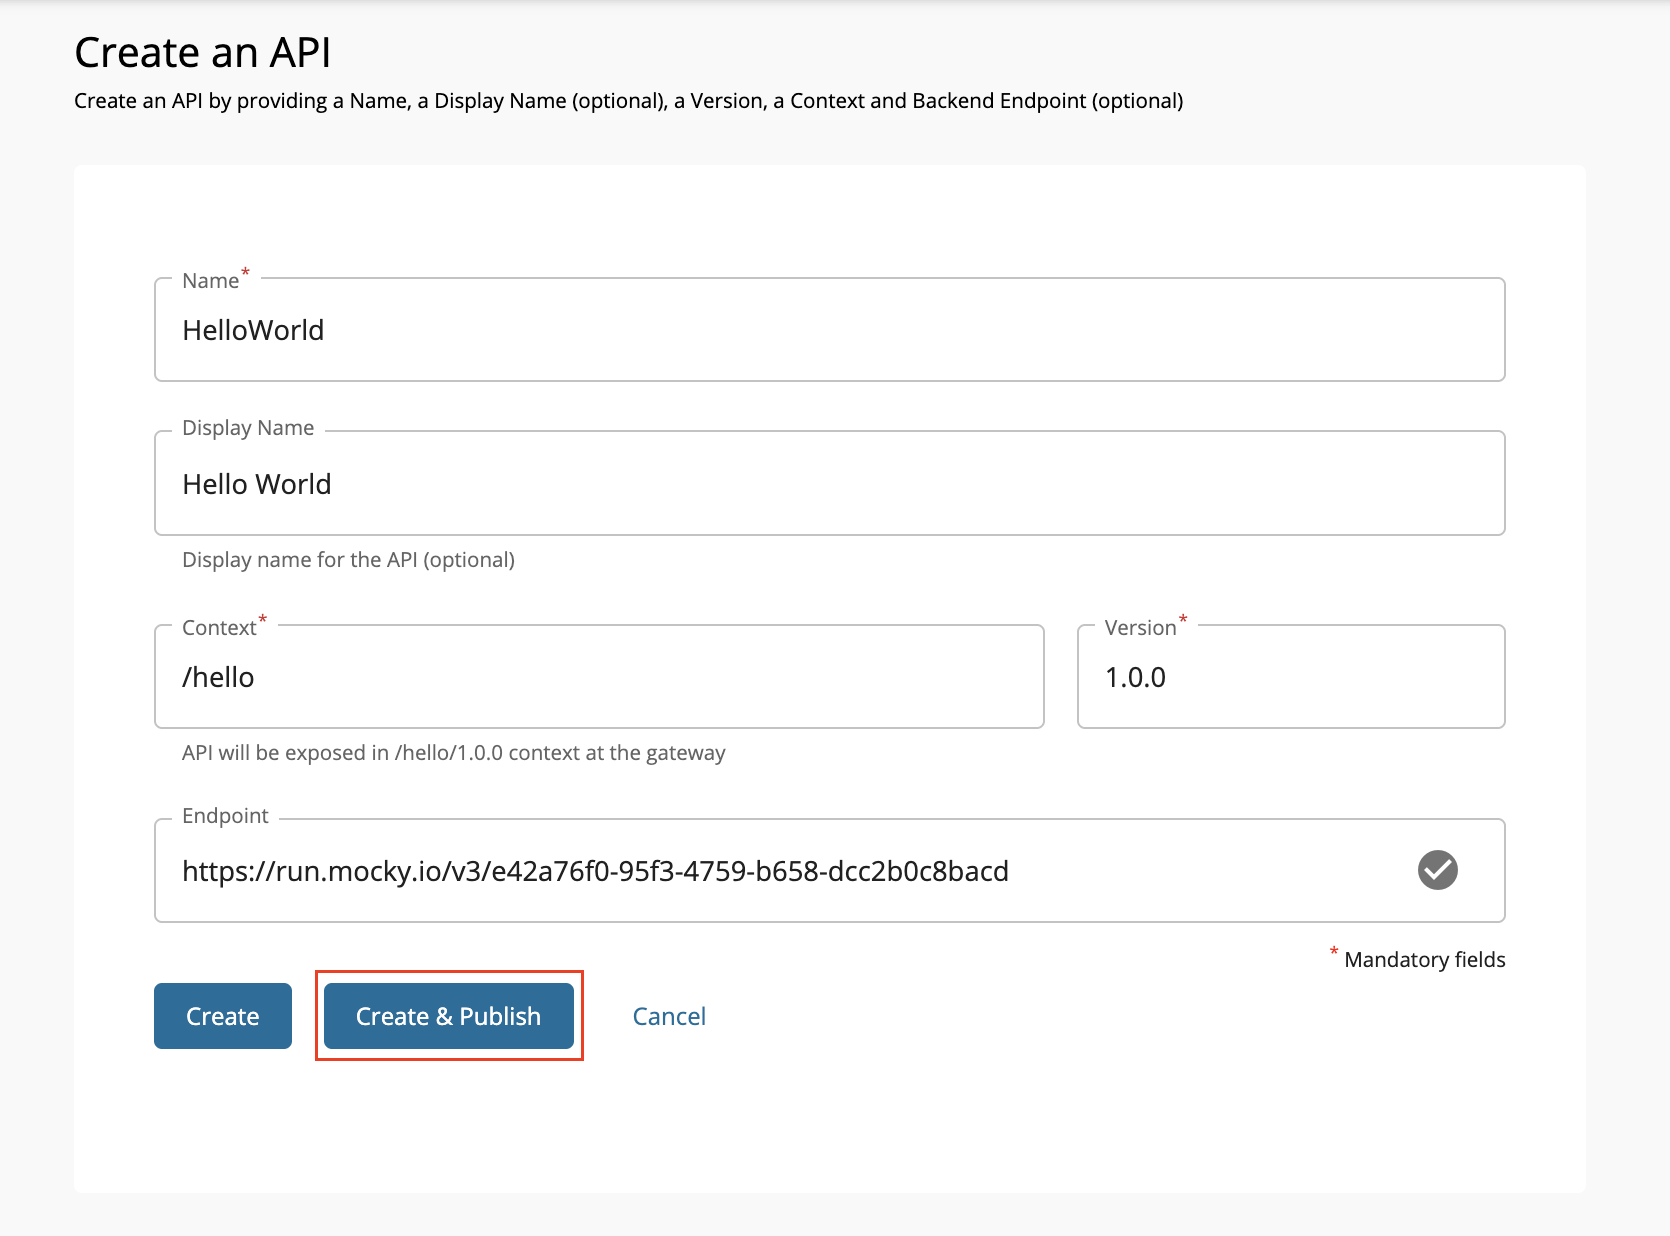
This will publish your first API on the Developer Portal as well as deploy it on the gateway. You now have an OAuth 2.0 secured REST API that is ready to be consumed.
Step 2: Subscribe to the API
Follow the instructions below to subscribe to the API via the Developer Portal of WSO2 API-M.
-
Navigate to the Developer Portal.
https://localhost:9443/devportal
The published
RandomUUIDAPI is listed in the Developer Portal as shown below.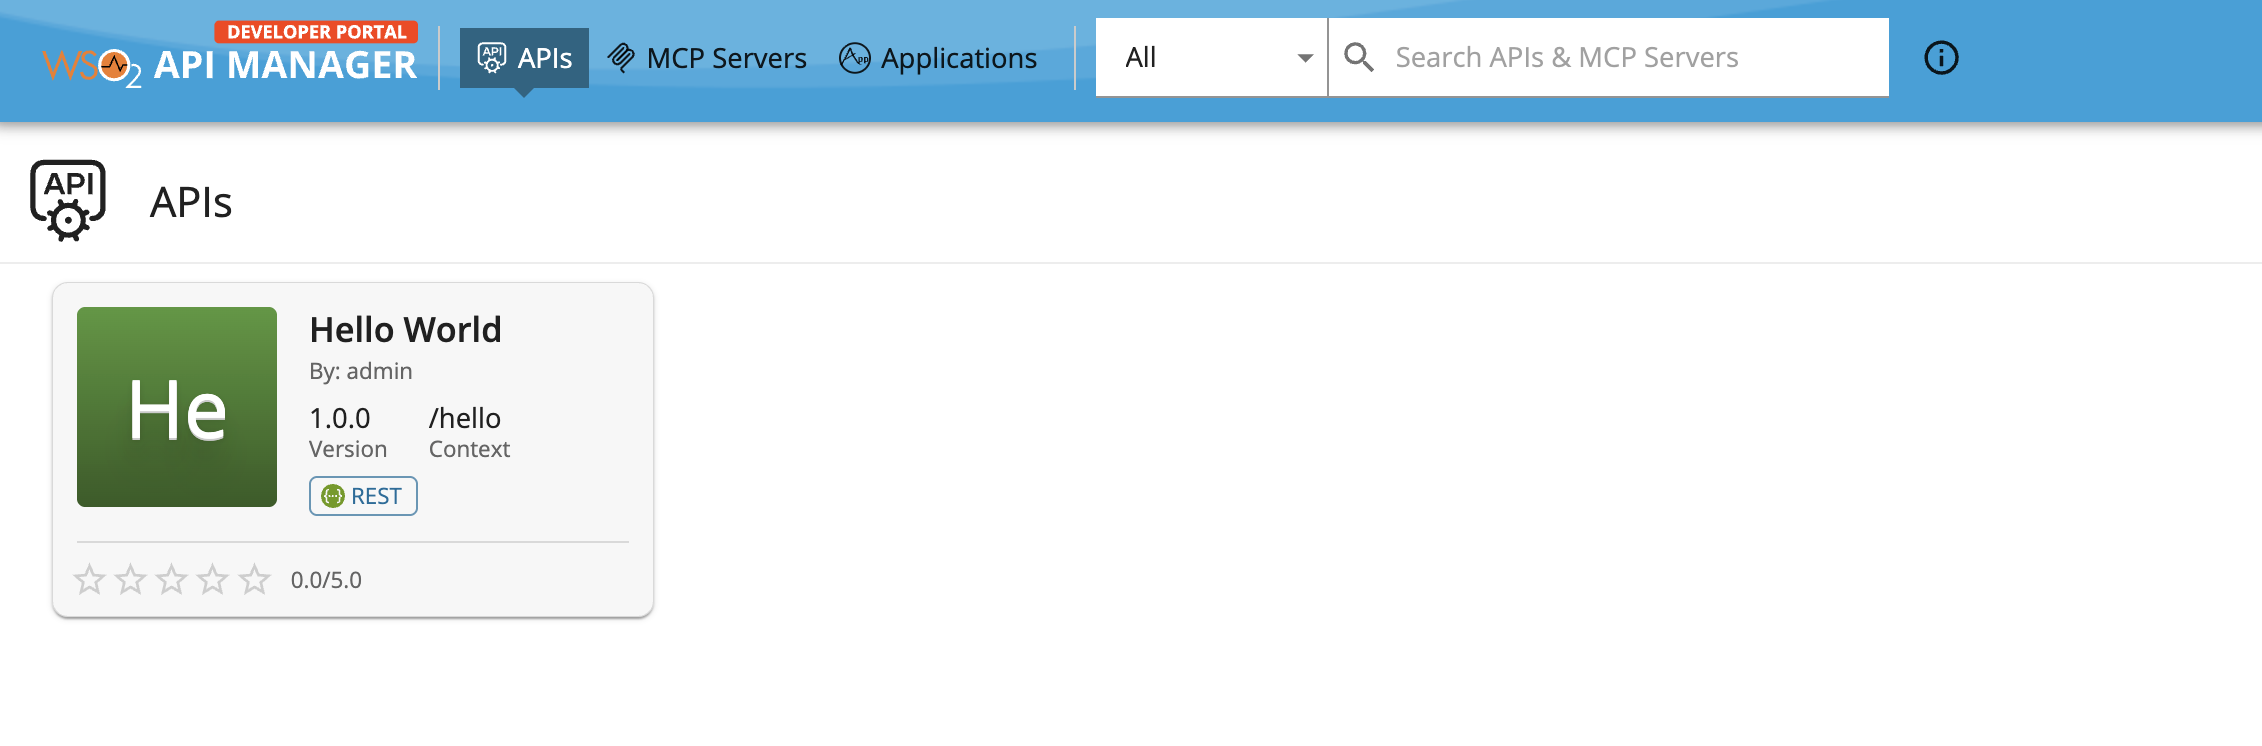
-
Click Sign-In and enter
admin/adminas your credentials to sign in to the Developer Portal. -
Once you click on the RandomUUID API, you will be redirected to the API overview page. Then, go ahead and click on the TRY OUT button.
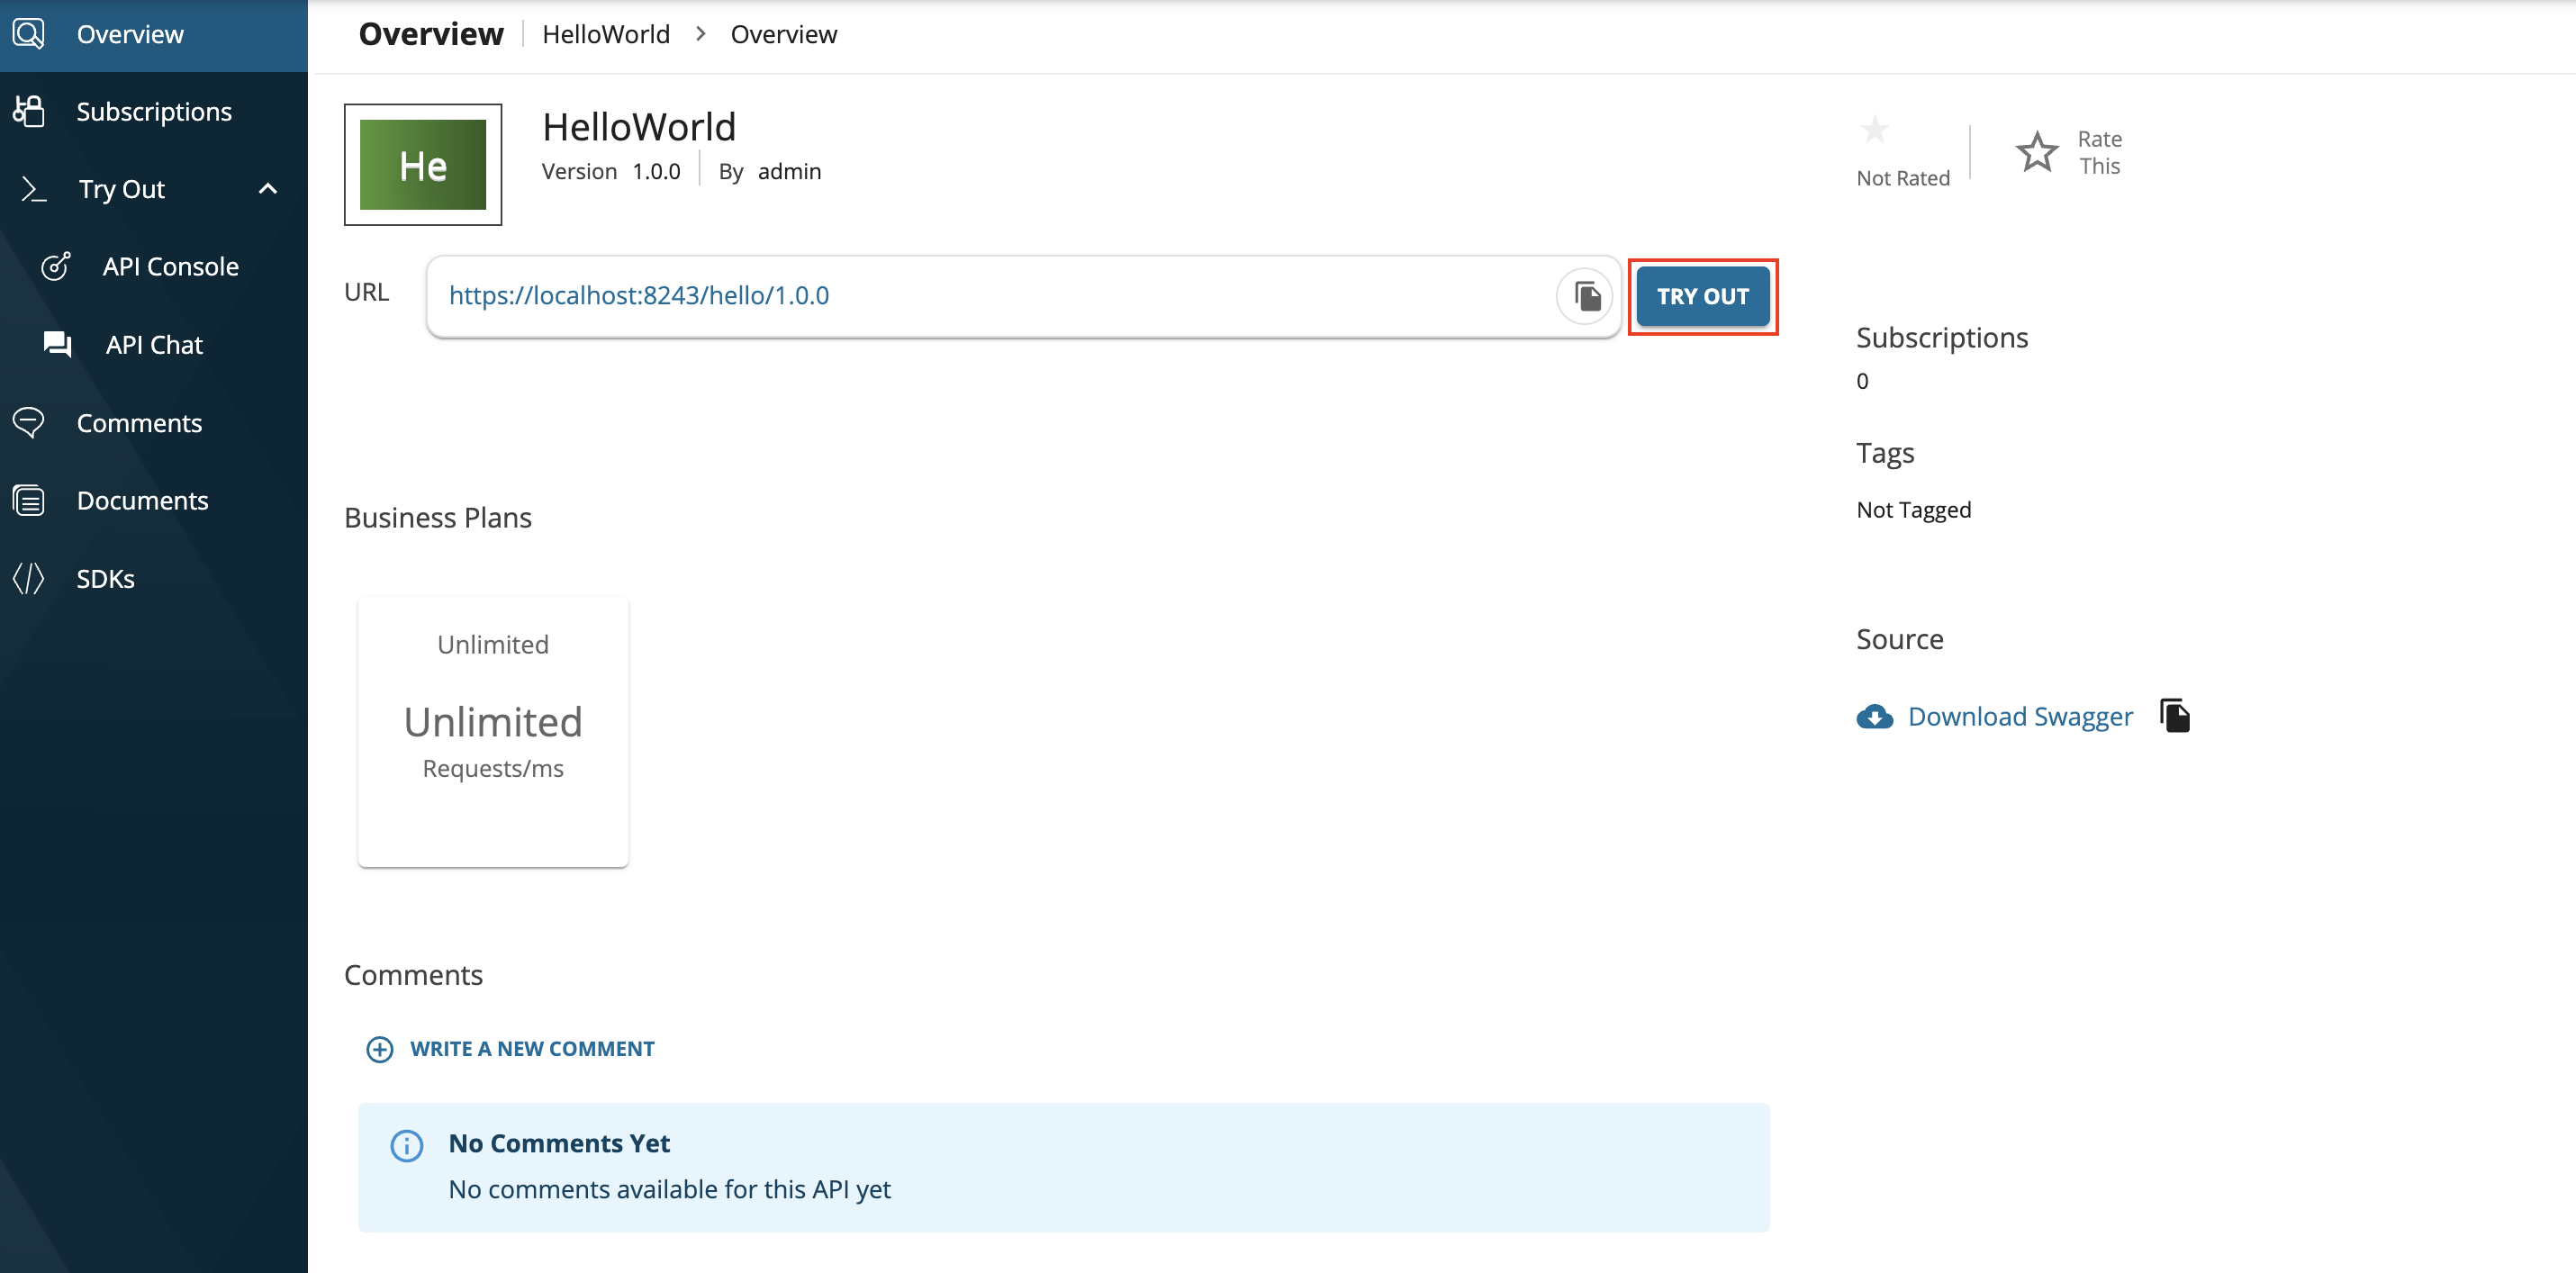
And with that, we have subscribed to the API using the
DefaultApplication.
Step 3: Invoke the API
Follow the instructions below to invoke the created API.
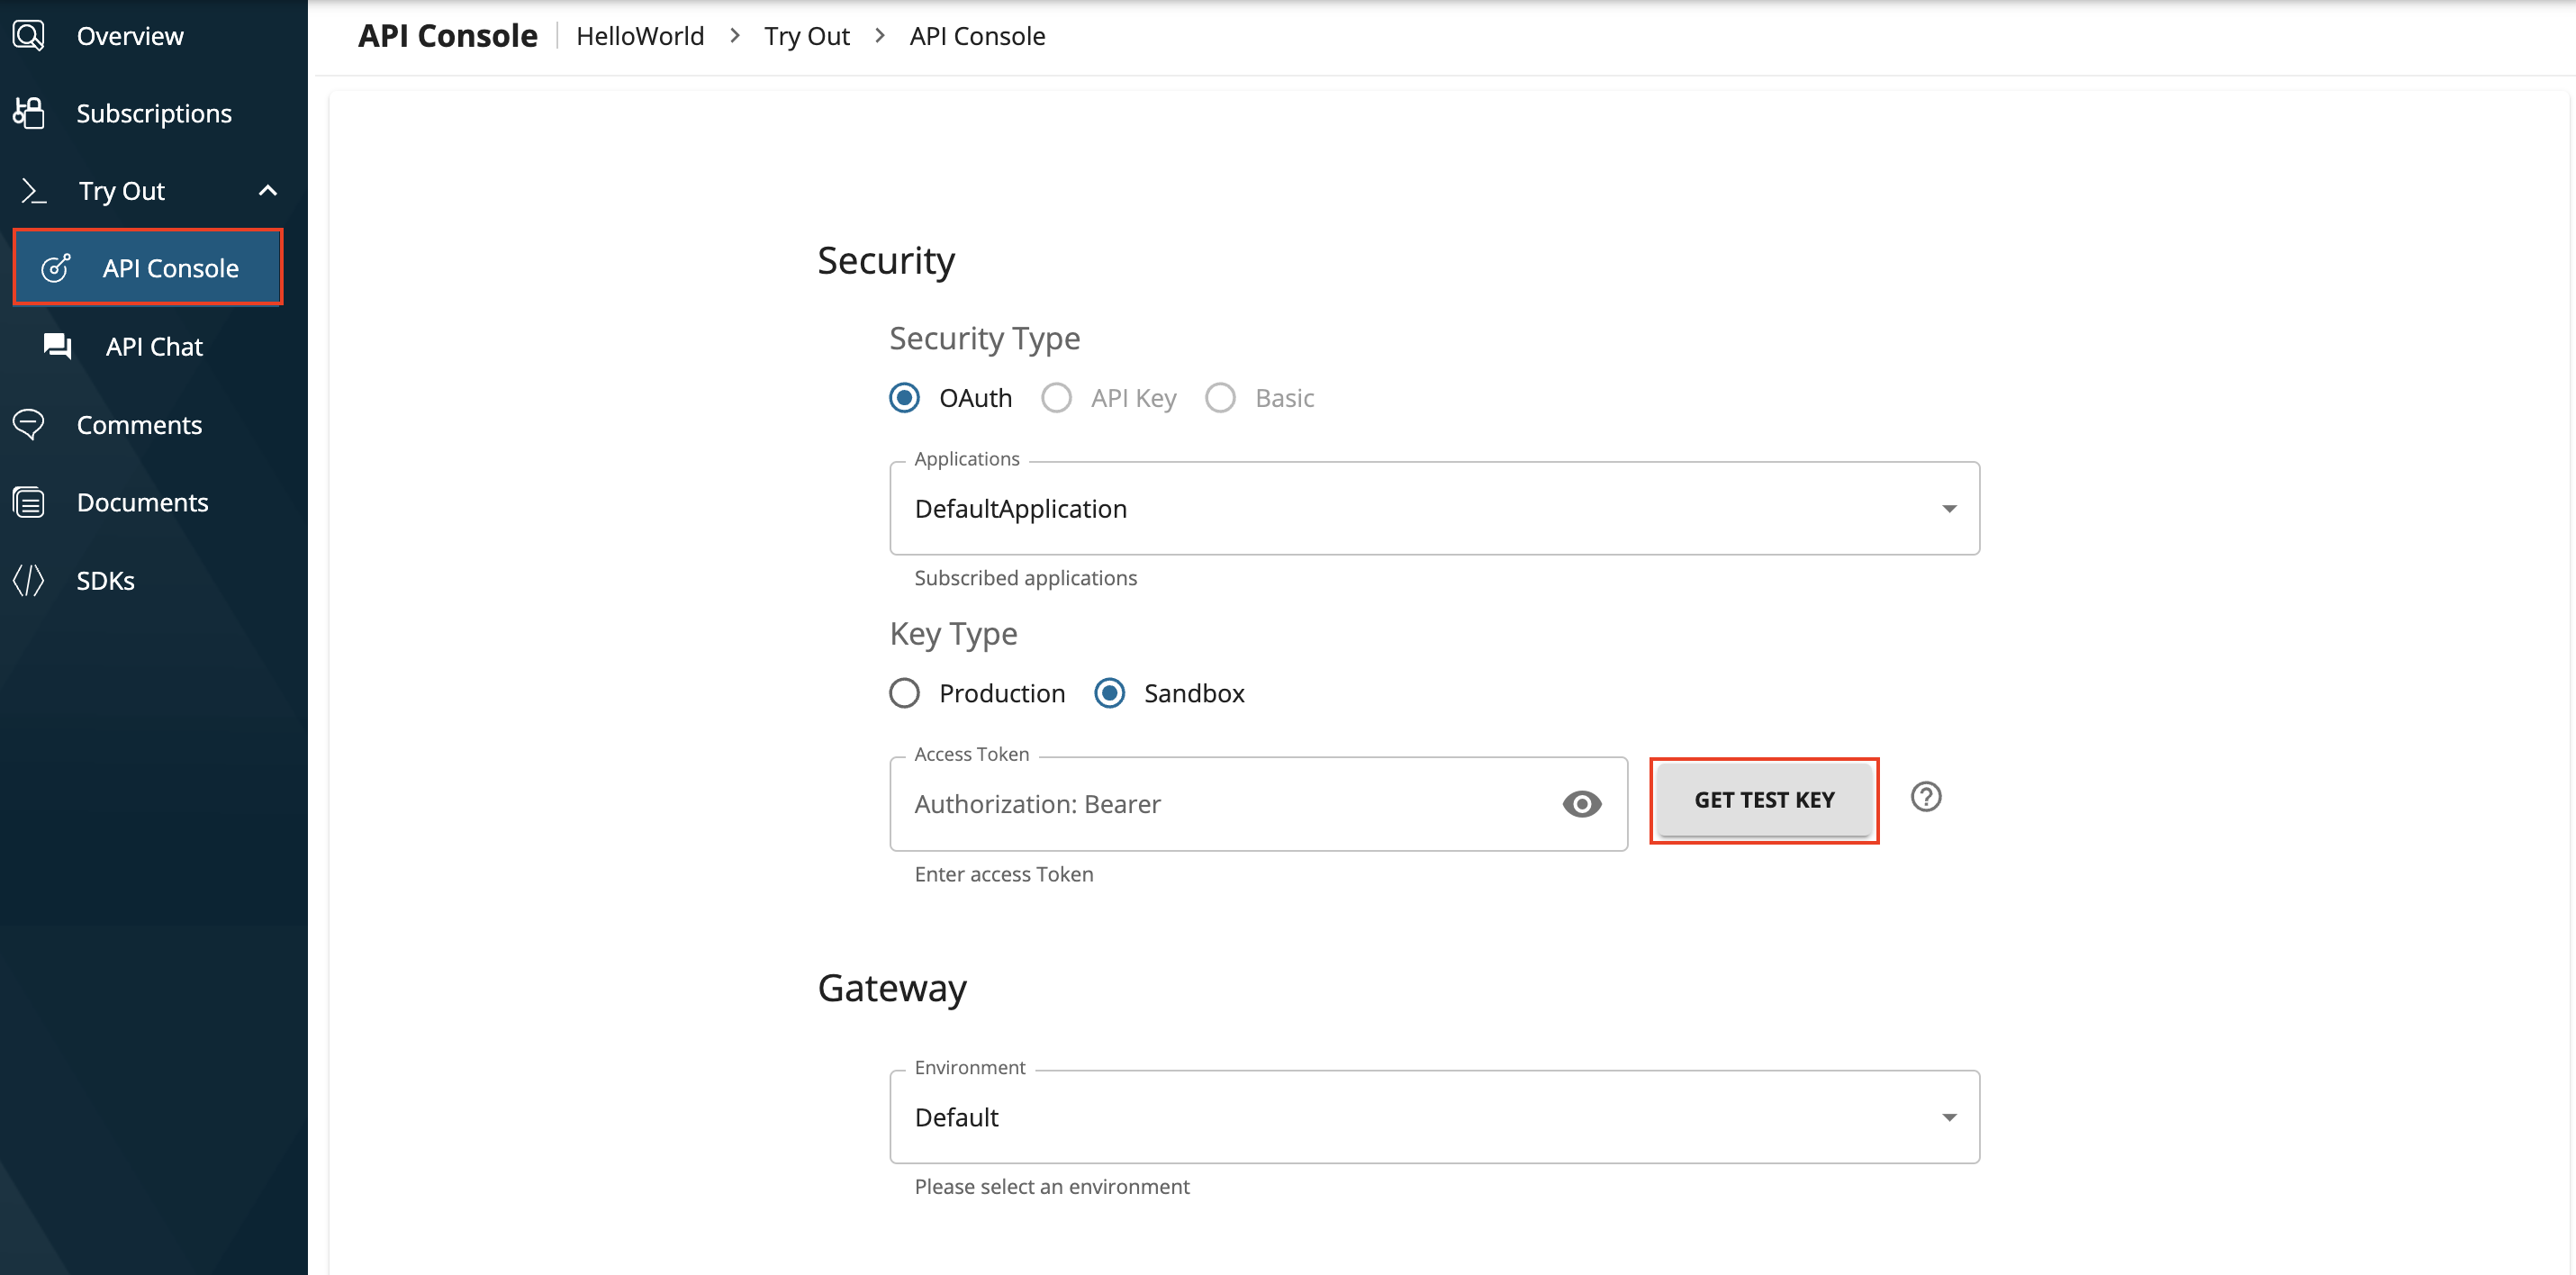
-
Click on Try Out → API Console from the left menu. Then, click on GET TEST KEY to generate an access token.
Note
If this is the first time you are using the API console from your browser, open a new tab and navigate to the https://localhost:8243/ URL.
This will prompt your browser to accept the certificate used by the gateway. This is required because by default the gateway uses a self-signed certificate that is not trusted by web browsers.
When running in production, since a trusted certificate is used, you won't have to do this step.
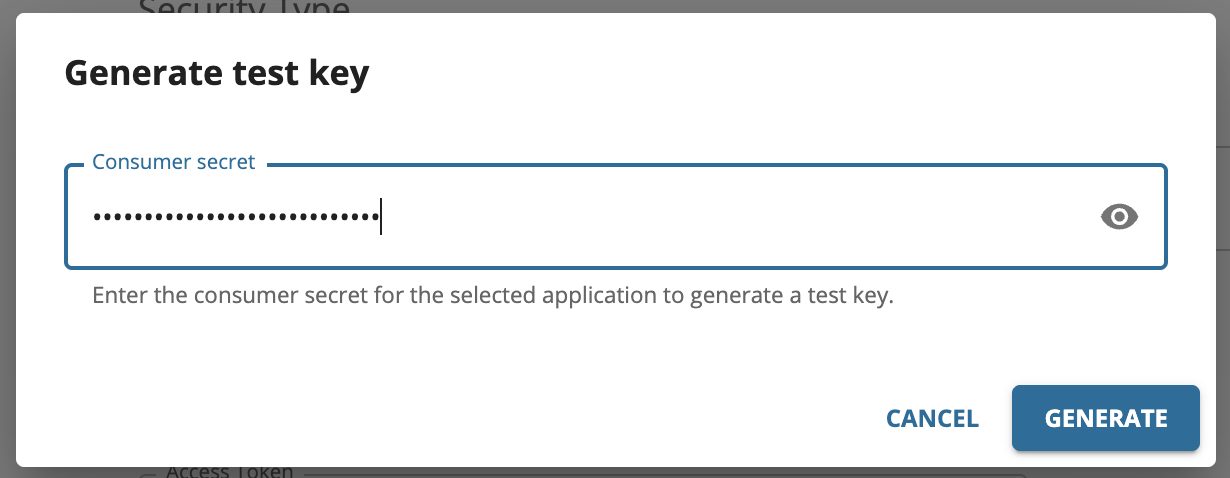
This will prompt you for the customer secret created at the startup to generate the access token.
-
Click on the
GETresource of the API to expand the resource and click Try It Out.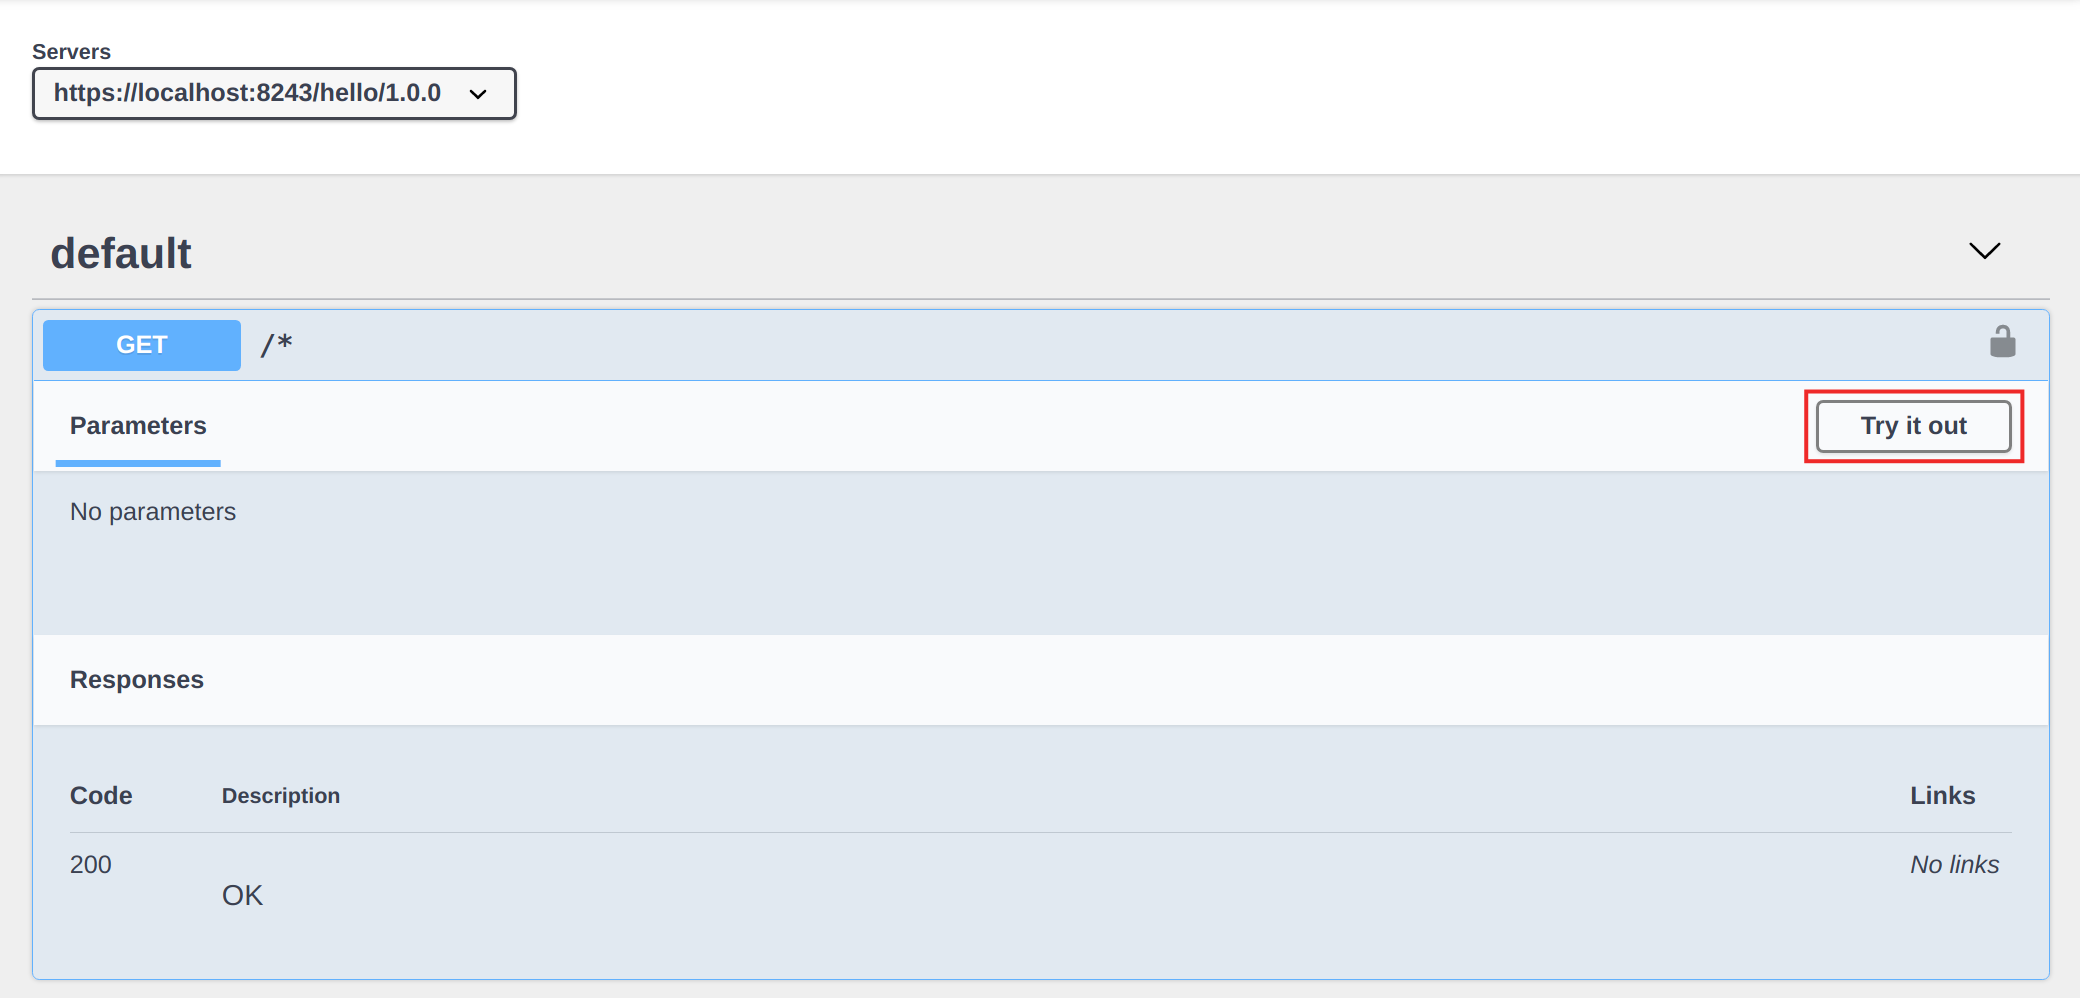
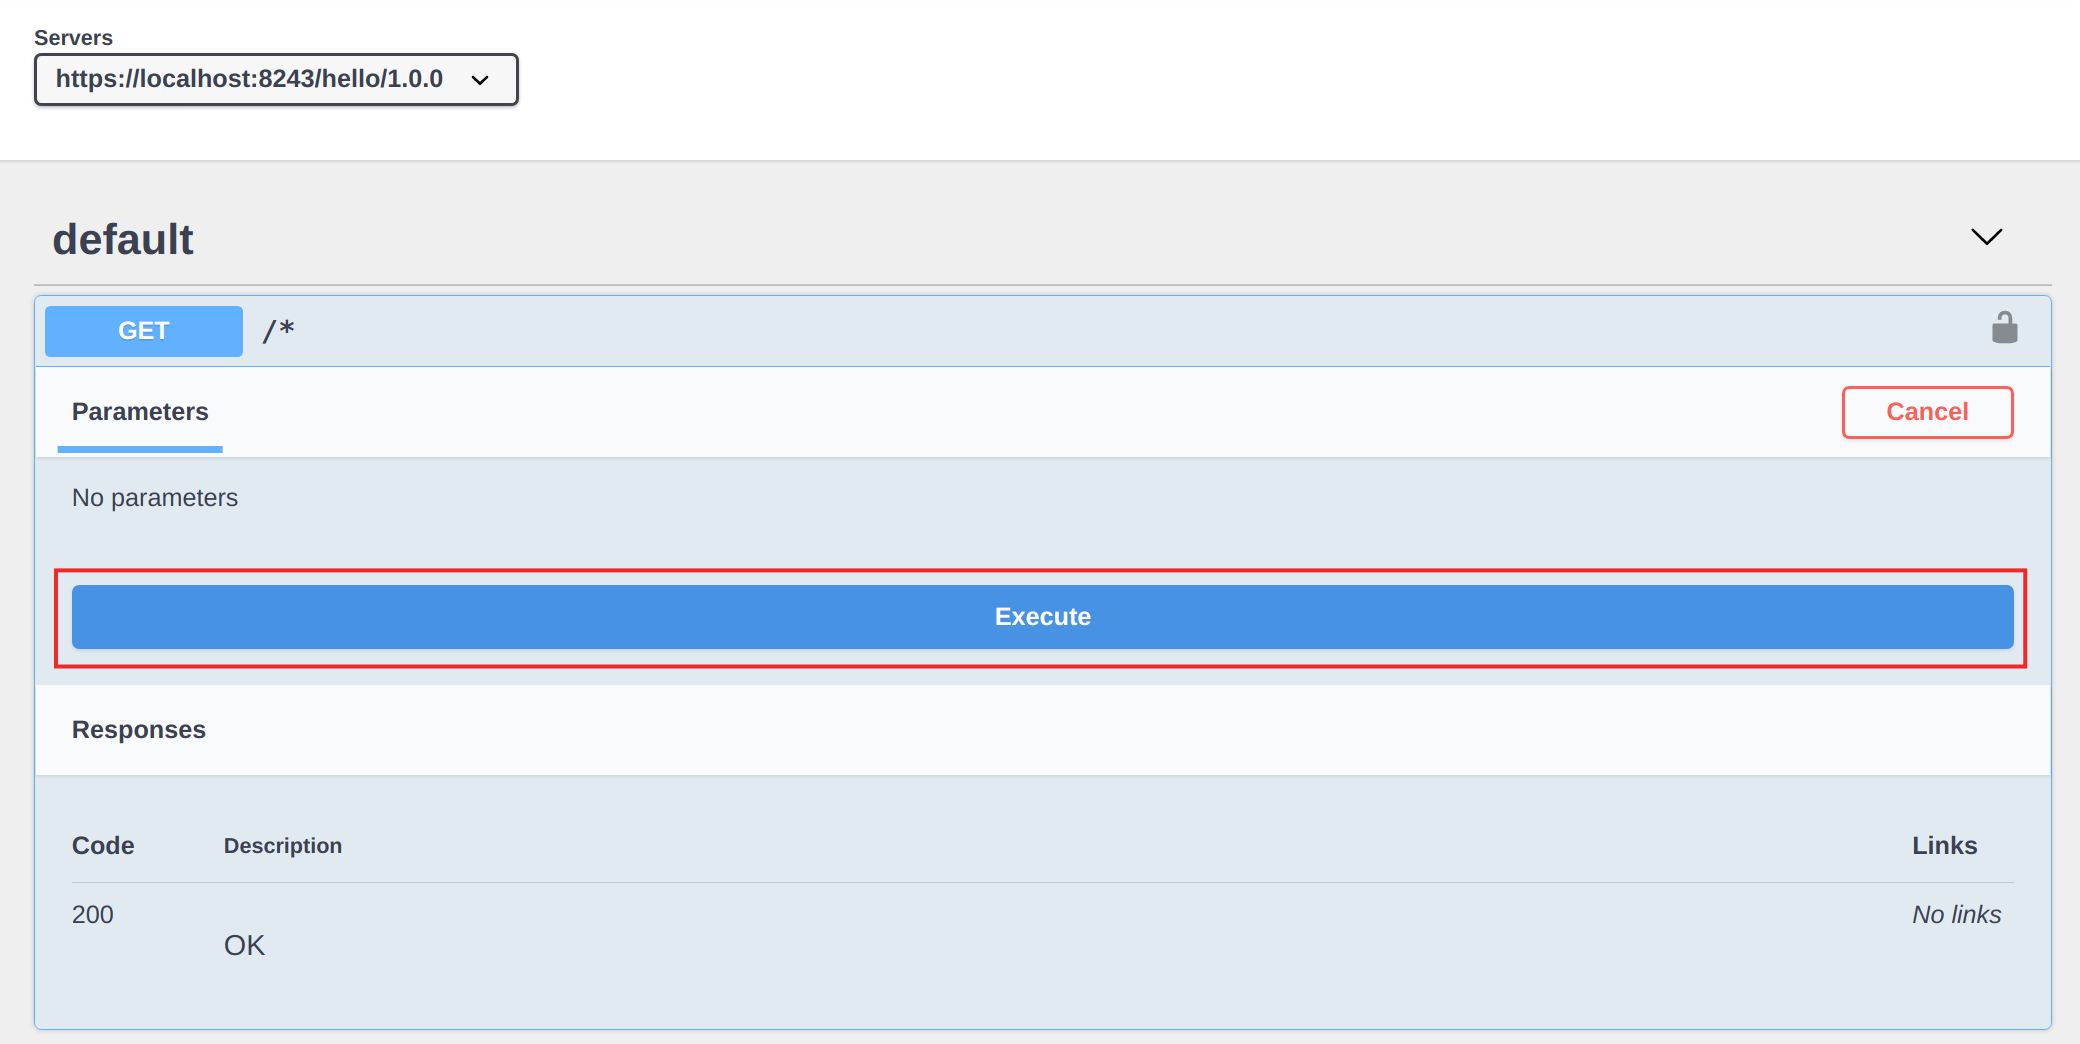
-
Click Execute.
You should see the
{"uuid": "<random-generated-uuid>"}response from the API.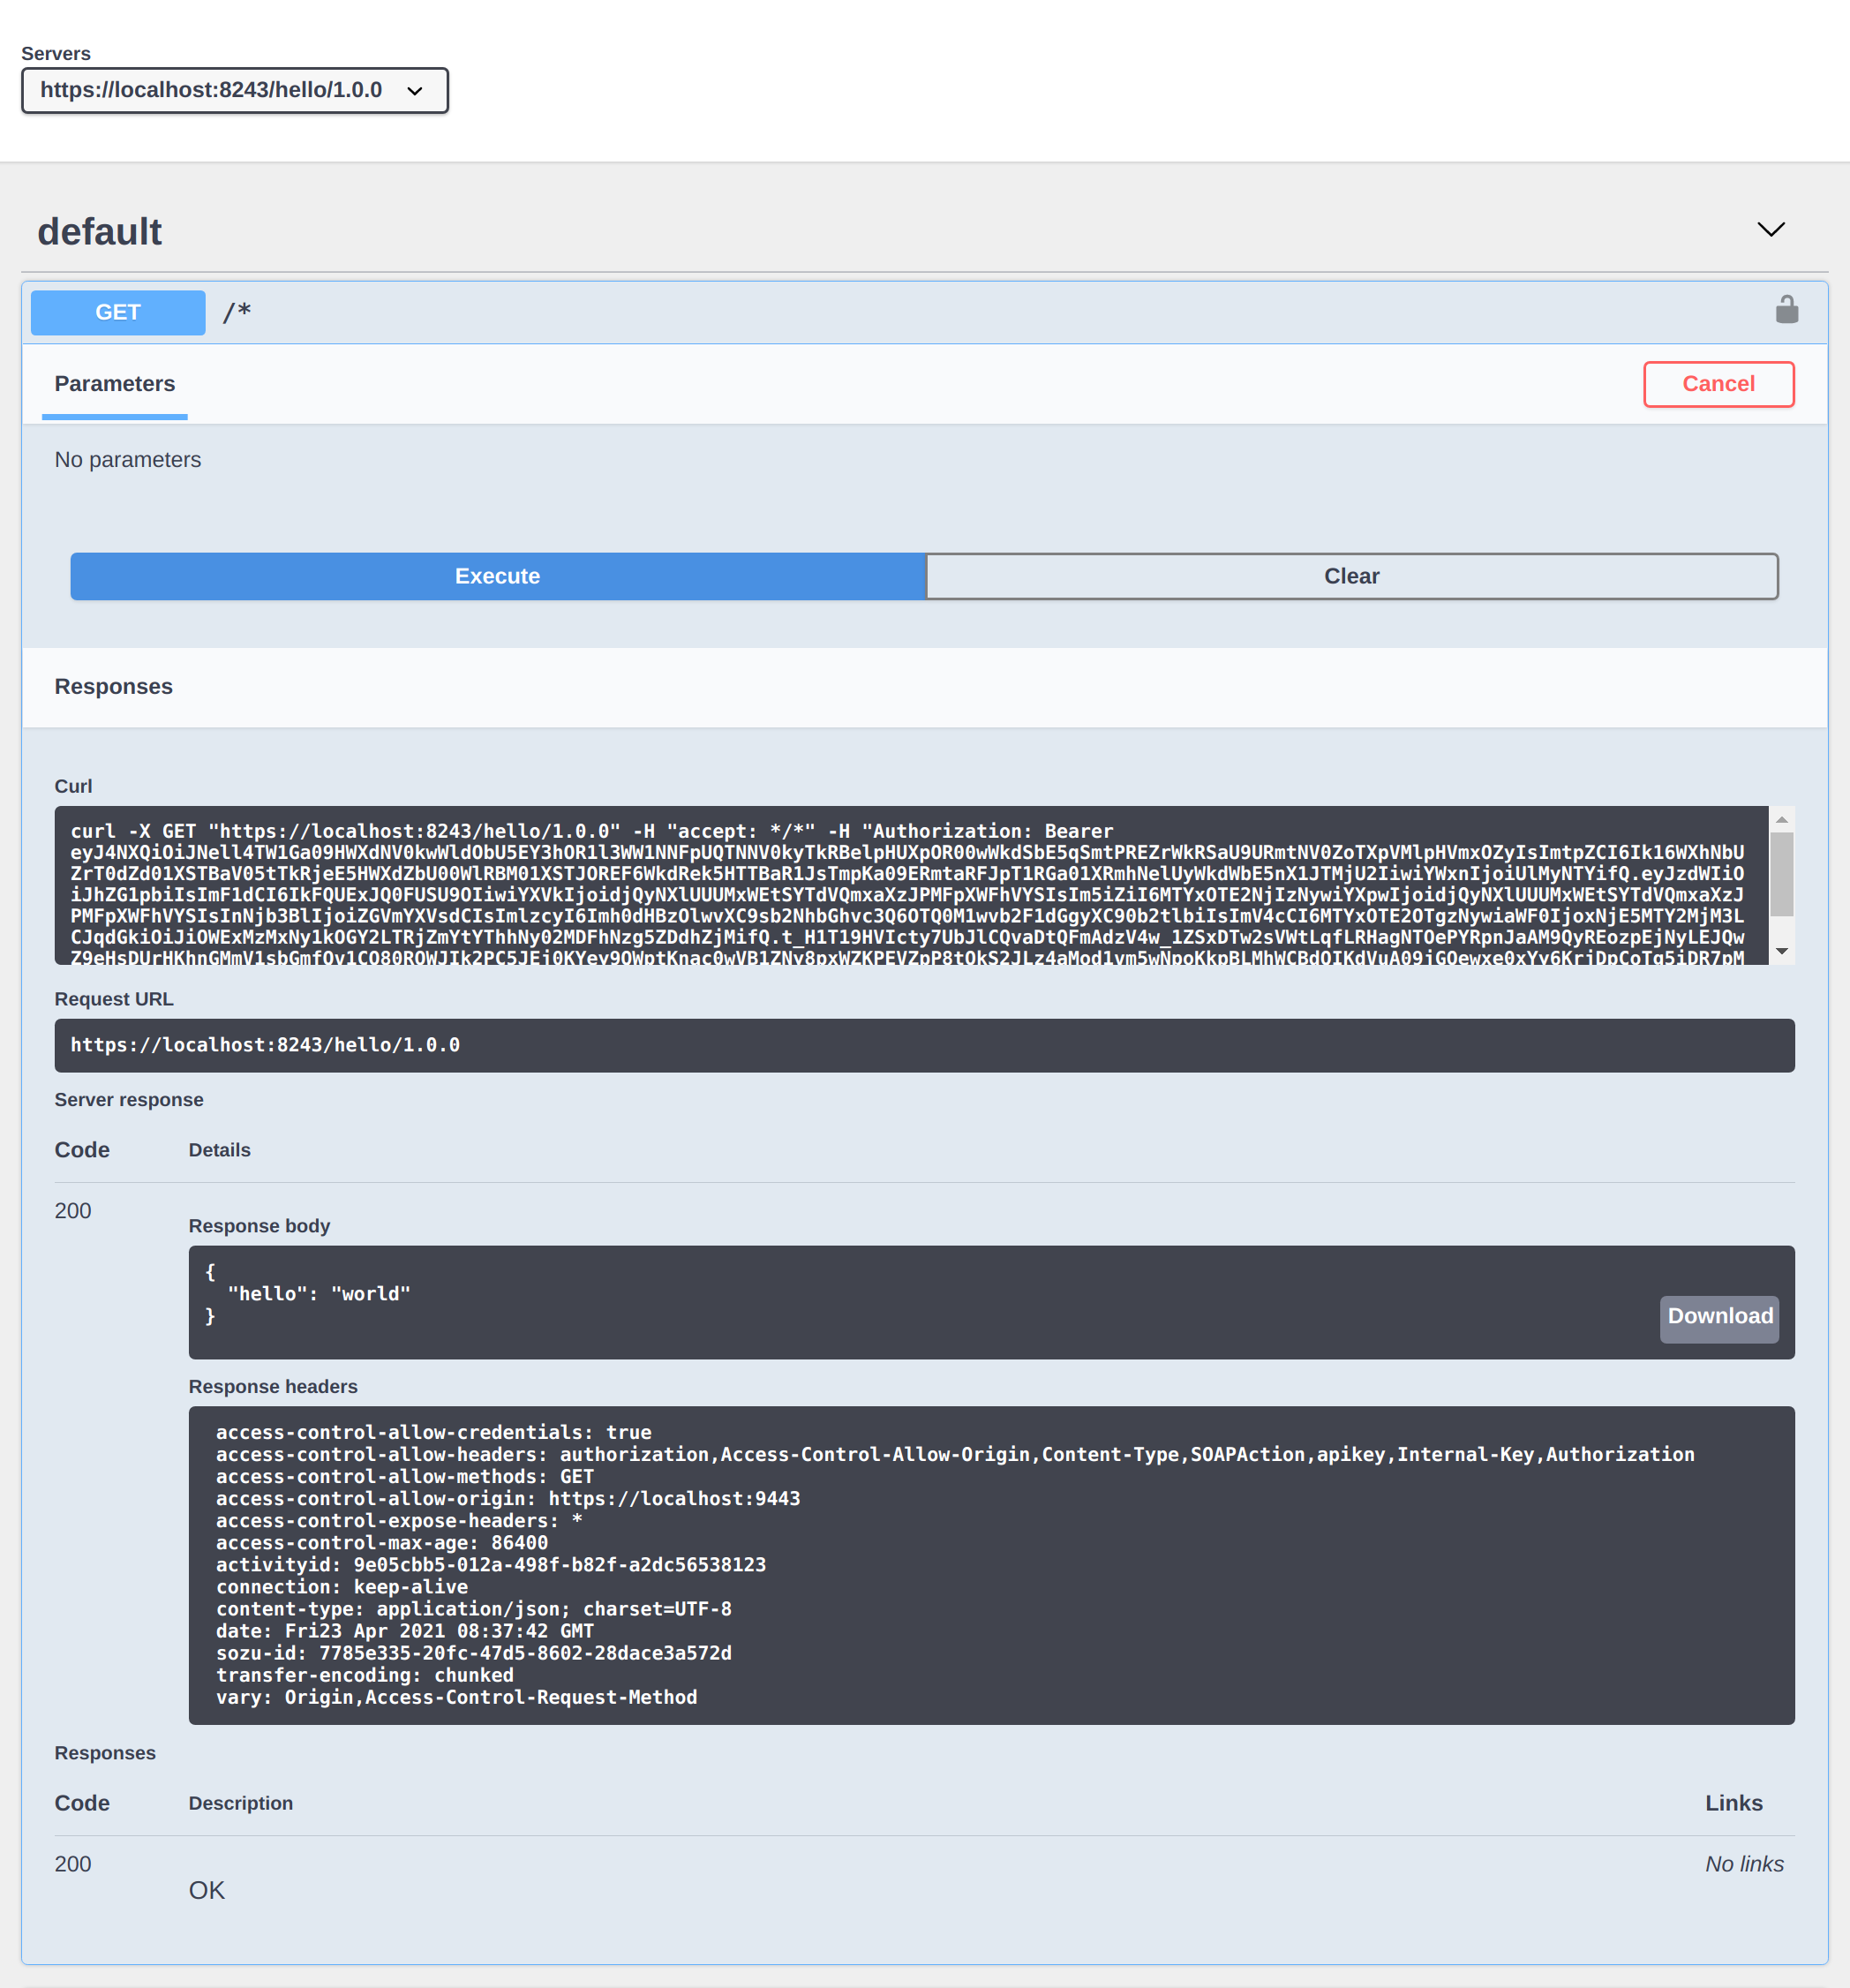
Congratulations! With that, you've created, deployed, and published your first API. Next, you subscribed to it and put it to the test. Your journey with WSO2 API Manager has officially begun!