Managing Tenants
Adding a new tenant
You can add a new tenant in the management console and then view it by following the procedure below. In order to add a new tenant, you should be logged in as a super user.
-
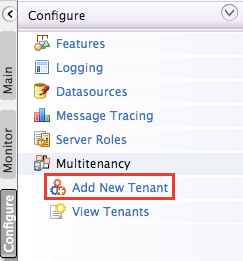
Click Add New Tenant in the Configure tab of the management console.

-
Enter the tenant information in Register A New Organization screen as follows, and click Save .
Parameter Name Description Required Domain The domain name for the organization, which should be unique (e.g., abc.com). This is used as a unique identifier for your domain. You can use it to log into the admin console to be redirected to your specific tenant. The domain is also used in URLs to distinguish one tenant from another. yes Select Usage Plan for Tenant The usage plan defines limitations (such as number of users, bandwidth, etc.) for the tenant. For on-premises deployment, there is only one default plan, i.e., Demo. yes First Name / Last Name The name of the tenant admin. yes Admin Username The login username of the tenant admin. The username always ends with the domain name (e.g., [email protected]) yes Admin Password The password used to log in using the admin username specified. yes Admin Password (Repeat) Repeat the password to confirm. yes Email The email address of the admin. yes -
After saving, the newly added tenant appears in the Tenants List page as shown below. Click View Tenants in the Configure tab of the management console to see information of all the tenants that currently exist in the system. Enter the domain name in the Enter the Tenant Domain parameter and click Find to find the newly added tenant in the list.
Tenant Developer Portals
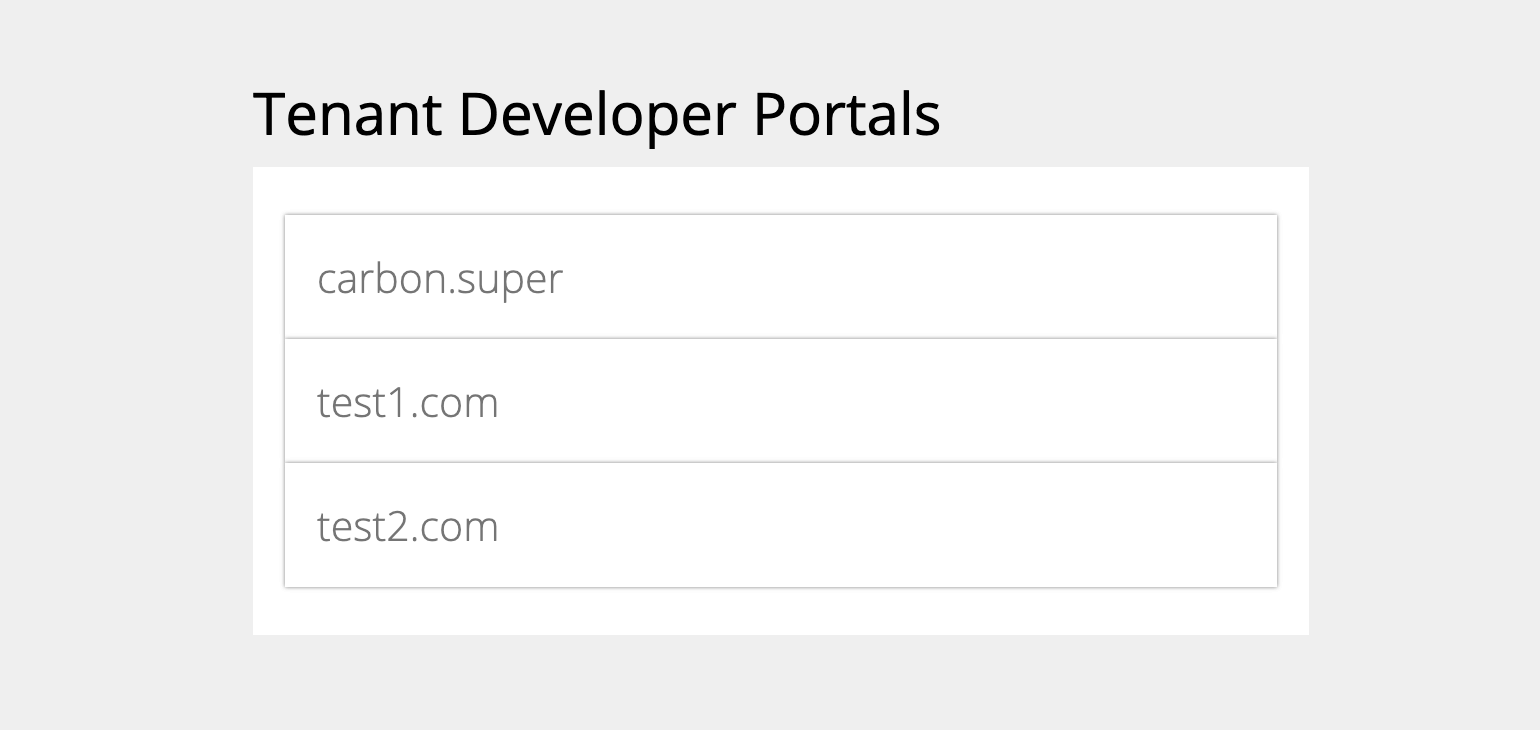
When you create multiple tenants in an API Manager deployment, the API developer portals of each tenant are displayed in a multi-tenanted view for all users to browse and for permitted users to subscribe to as shown below:
-
Access the API Developer Portal URL (
https://<hostname>:9443/devportal) using a Web browser. The Developer Portal fronts of all the registered tenant domains are listed on the landing page. For example,This is called the public developer portal. Each icon here is linked to the API developer portal of a registered tenant, including the super tenant, which is
carbon.super. That is, the super tenant is also considered a tenant. -
Click the domain associated with a given developer portal to open it.
-
Anonymous users can browse all developer portals and all public APIs that are published to them. However, in order to subscribe to an API, the user must log in.
For example, if you are a user in the
domain1.comtenant domain,-
Click the Go To Public Developer Portal option available in the Navigation bar, go to the
domain1.comdeveloper portal, log in to it and subscribe to its APIs. -
You can also browse the other tenant developer portals listed in the public developer portal. But, within other tenant developer portals, you can only subscribe to the APIs to which your tenant domain is permitted to subscribe to. At the time an API is created, the API creator can specify which tenants are allowed to subscribe to the API. For information, see API Subscriptions.
Info
A tenant can be deleted through the
TenantMgtAdminService. Admin service operations can be invoked using a SOAP client such as SOAP UI. Follow the below steps to configure theTenantMgtAdminServiceusing SOAP UI.- By default tenant deletion is disabled. To enable the functionality, add the below configurations to the
<APIM-HOME>/repository/conf/deployment.tomlfile
- Open the
/repository/conf/deployment.toml file and add the following configuration to enable the Admin Services.
-
After configuring these changes, Restart the Server.
-
To delete the tenant, you must use TenantMgtAdminService (
https://localhost:9443/services/TenantMgtAdminService?wsdl). The following would be the sample SOAP payload.
<?xml version="1.0" encoding="UTF-8"?> <soapenv:Envelope xmlns:soapenv="http://schemas.xmlsoap.org/soap/envelope/" xmlns:ser="http://services.mgt.tenant.carbon.wso2.org" xmlns:xsd="http://beans.common.stratos.carbon.wso2.org/xsd"> <soapenv:Header /> <soapenv:Body> <ser:deleteTenant> <ser:tenantDomain>abc.com</ser:tenantDomain> </ser:deleteTenant> </soapenv:Body> </soapenv:Envelope> -
Warning
If you perform operations such as tenant deletion, even though the tenant details are removed, any data stored in registry, file system, other databases, etc. will not be removed. Such data will need to be removed manually.


