Configuring reCaptcha for Single Sign On
This section guides you through configuring reCaptcha for the Single Sign on(SSO) flow. You can mitigate or block brute force attacks, by configuring reCaptcha.
Info
- For more information on configuring single sign on, see Configuring Single Sign-On With SAML2.
- For more information on brute force attacks, see Mitigating Brute Force Attacks.
- Set up reCaptcha with the WSO2 API Manager. For instructions on how to do this and more information about reCaptcha, see Setting Up ReCaptcha.
- Start the API Manager. Sign in to the Management Console (
https://<APIM_Host>:<APIM_Port>/carbon). - Click List under Identity Providers in the Main tab.
- Click Resident Identity Provider and expand the Login Attempts Security tab. Expand the reCaptcha for SSO Login tab.
-
Select the relevant option according to your requirement:
-
Always prompt reCaptcha:
Select this option to prompt users for reCaptcha with every SSO login attempt.
-
Prompt reCaptcha after max failed attempts:
Select this option to prompt reCaptcha only after the number of maximum failed attempts has been exceeded.
If this option is selected, enter a value for the Max failed attempts for reCaptcha field as well. For example, if you enter 3, reCaptcha will be re-enabled after 3 failed attempts.

Note the following when selecting this option:
-
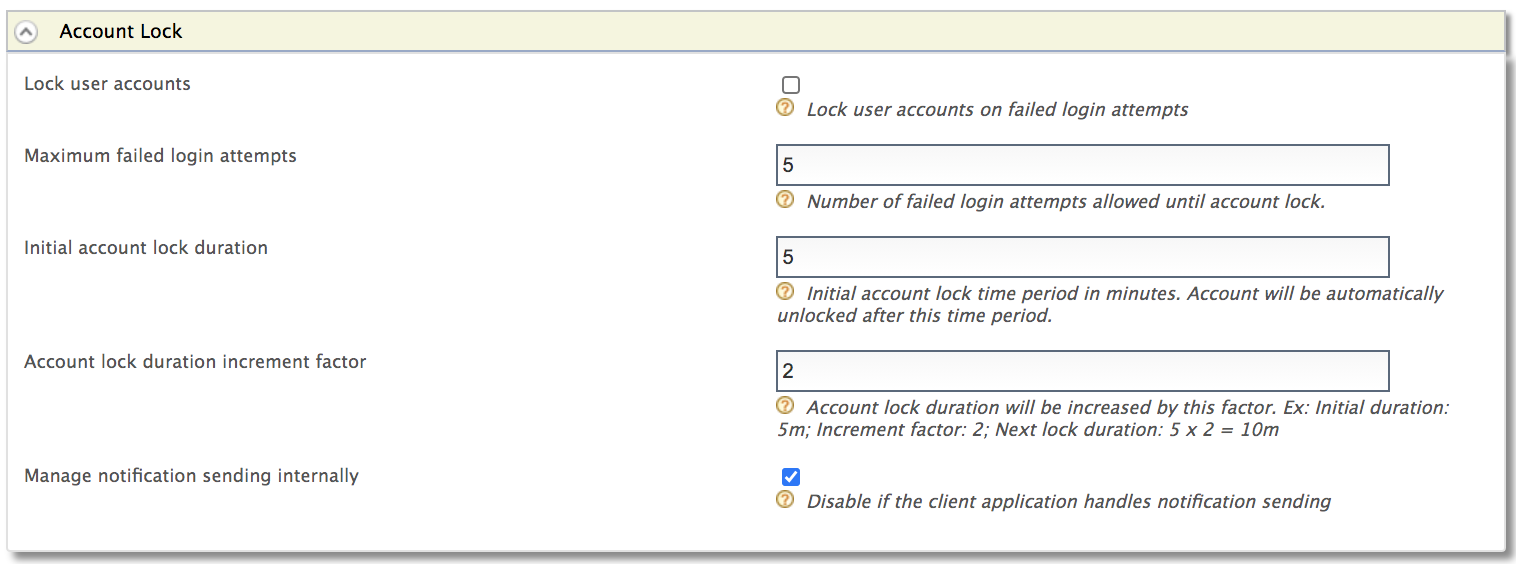
Account locking must be enabled to enable Prompt reCaptcha after max failed attempts.
-
The Max failed attempts for reCaptcha value must be lower than the Maximum failed login attempts value configured under the Account Lock tab.

-
-
-
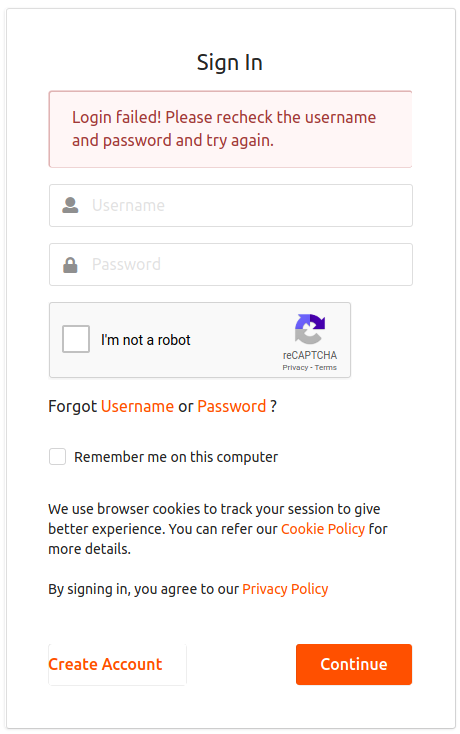
You have now successfully configured reCaptcha for the SSO flow. If the number of failed attempts reaches the maximum configured value, the following reCaptcha window appears.
