Test APIs with API Chat
Testing APIs is an essential step in the API development lifecycle. API Manager simplifies the testing task by allowing you to engage with your APIs using natural language through API Chat. It eliminates manual test scenario creation, payload mocking, etc. It enables easy API communication using human language and requires no coding for handling sequences with multiple resource calls. This makes your API testing efficient and user-friendly.
Info
This feature is currently in the experimental stage and is exclusively accessible for REST APIs with OpenAPI V3.0.x definitions. If your APIs are defined using Swagger or OpenAPI V3.1.x specifications, regrettably, this feature is not available for use at this moment.
Follow the steps below to test your API with API Chat:
Tip
If you've previously registered your environment for the Marketplace Assistant, you can skip Step 1 by utilizing the same credentials for the API Chat. Otherwise, complete Step 1 to register your on-premise environment.
Step 1 - Sign in to Choreo
-
Navigate to Choreo using the URL: https://console.choreo.dev.
-
Sign in to Choreo.
Step 2 - Register your environment
Follow the instructions below to register your on-premise environment:
-
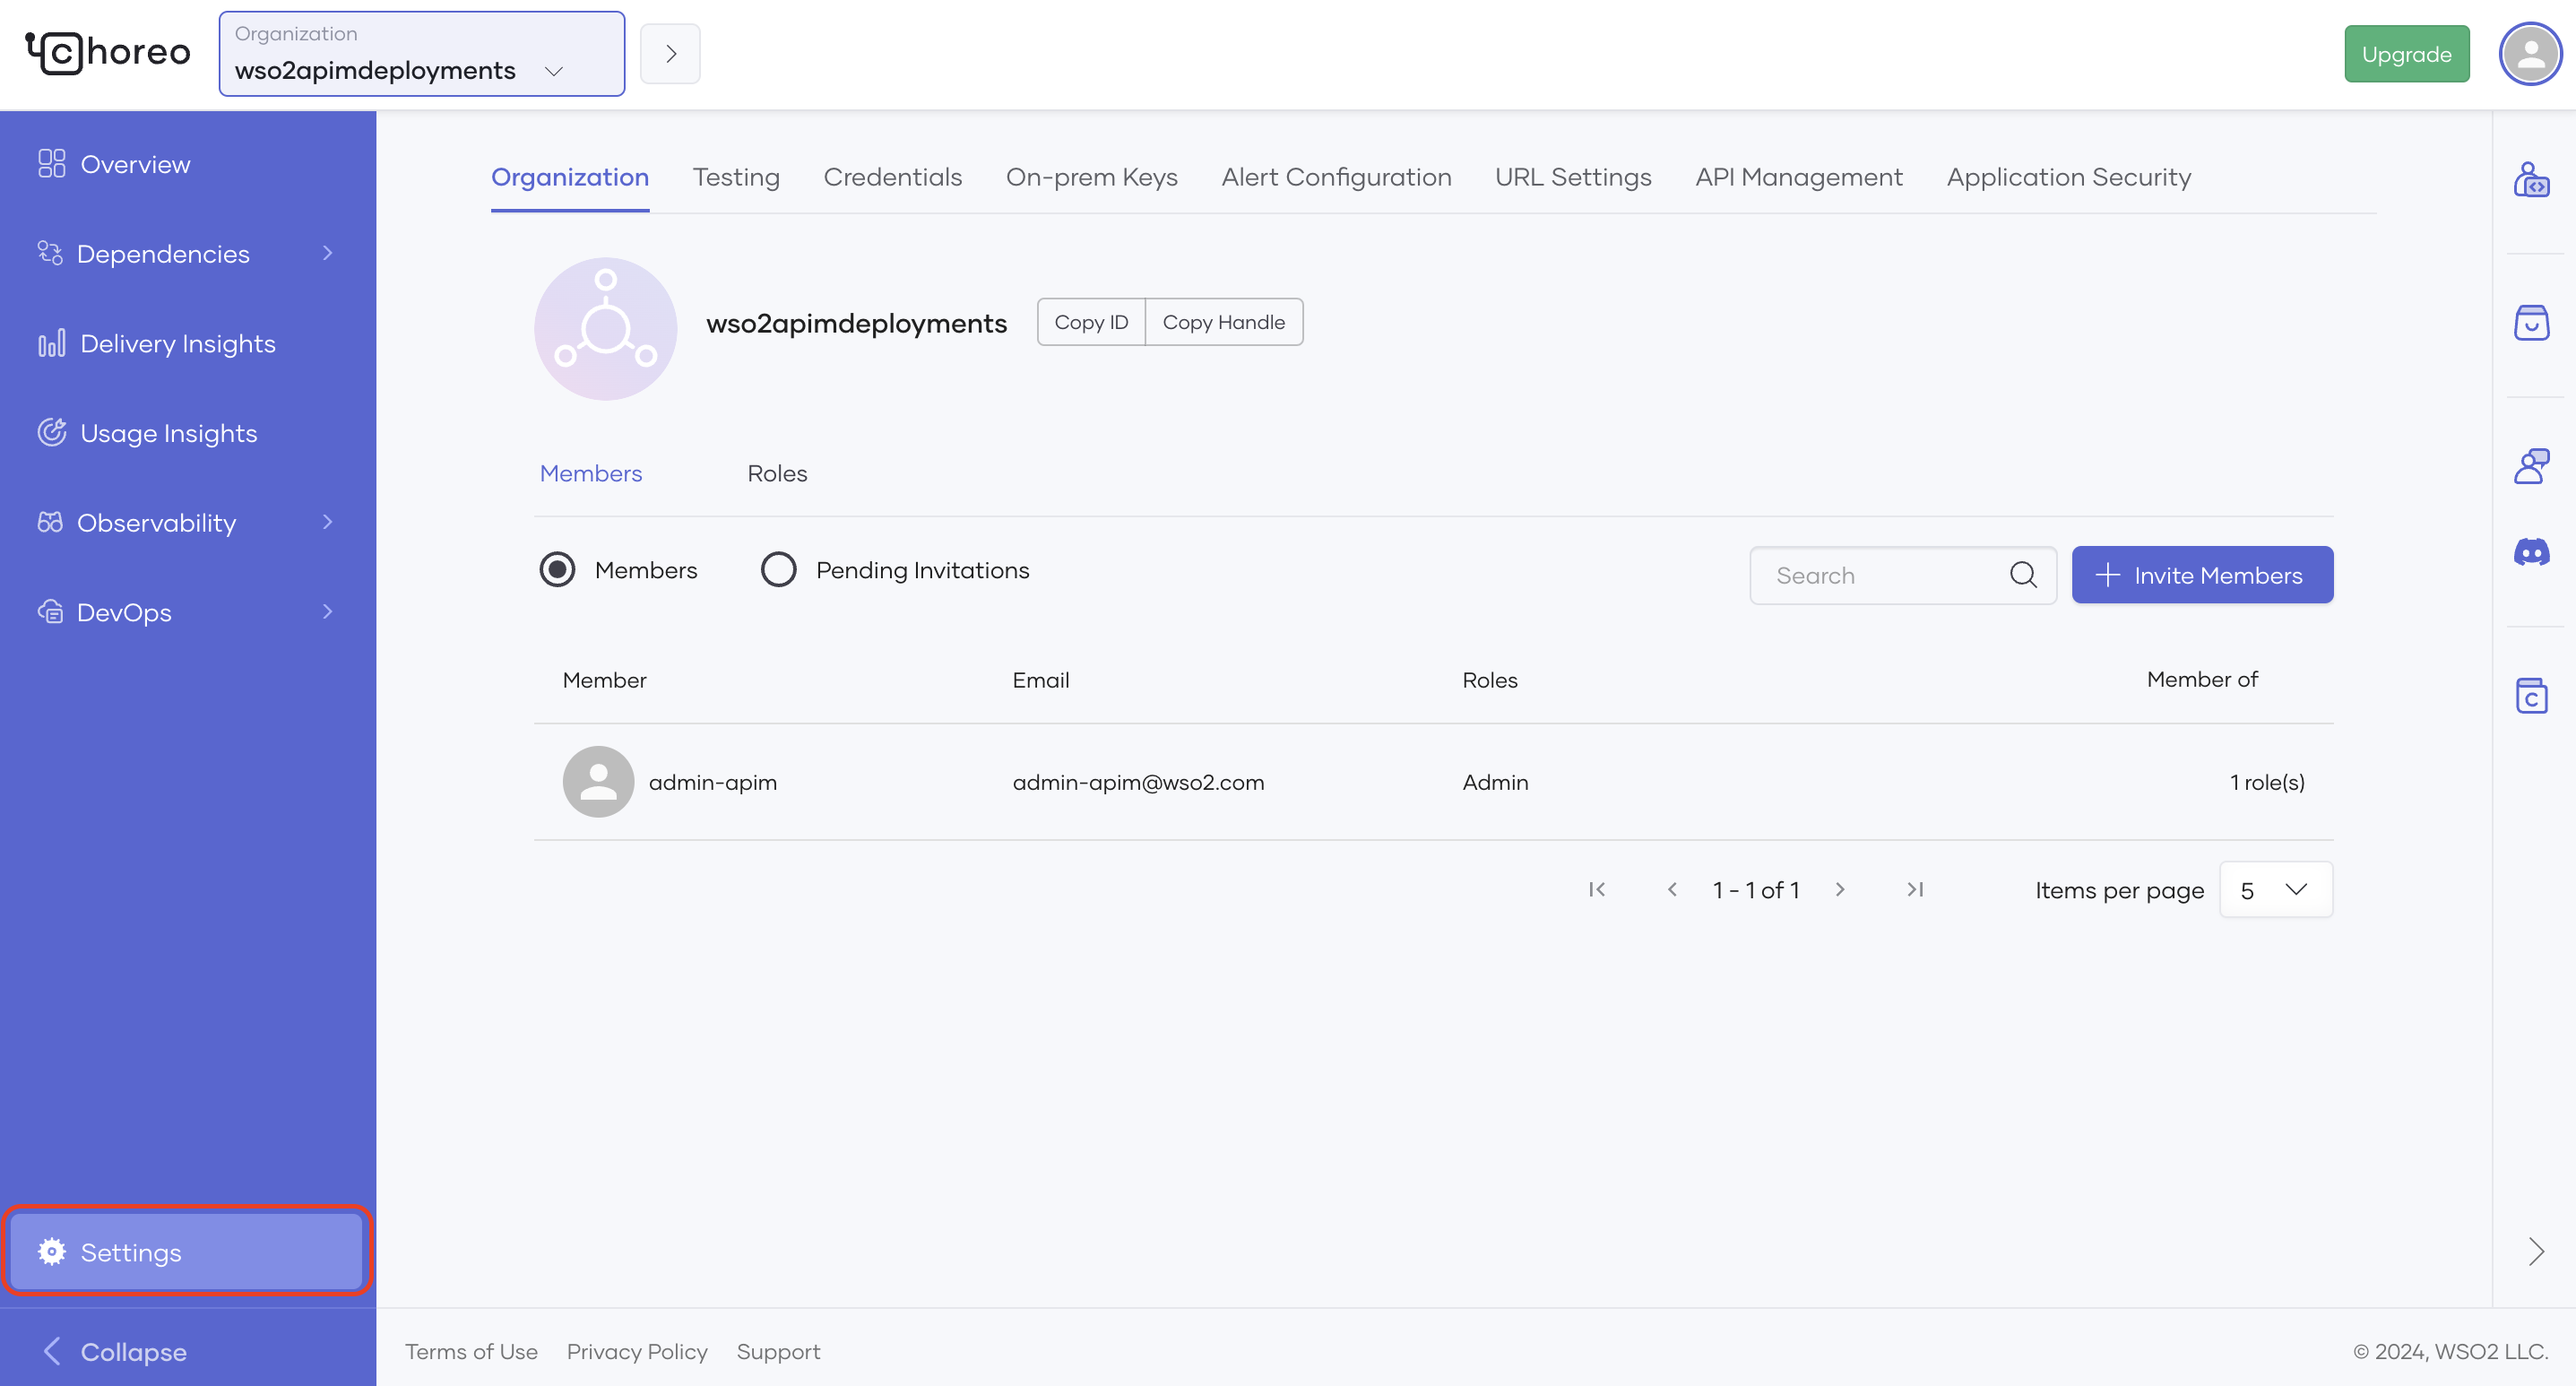
Click the Settings on the bottom left corner.
-
If you are a member of multiple organizations, select the appropriate organization from the top left-hand corner.
-
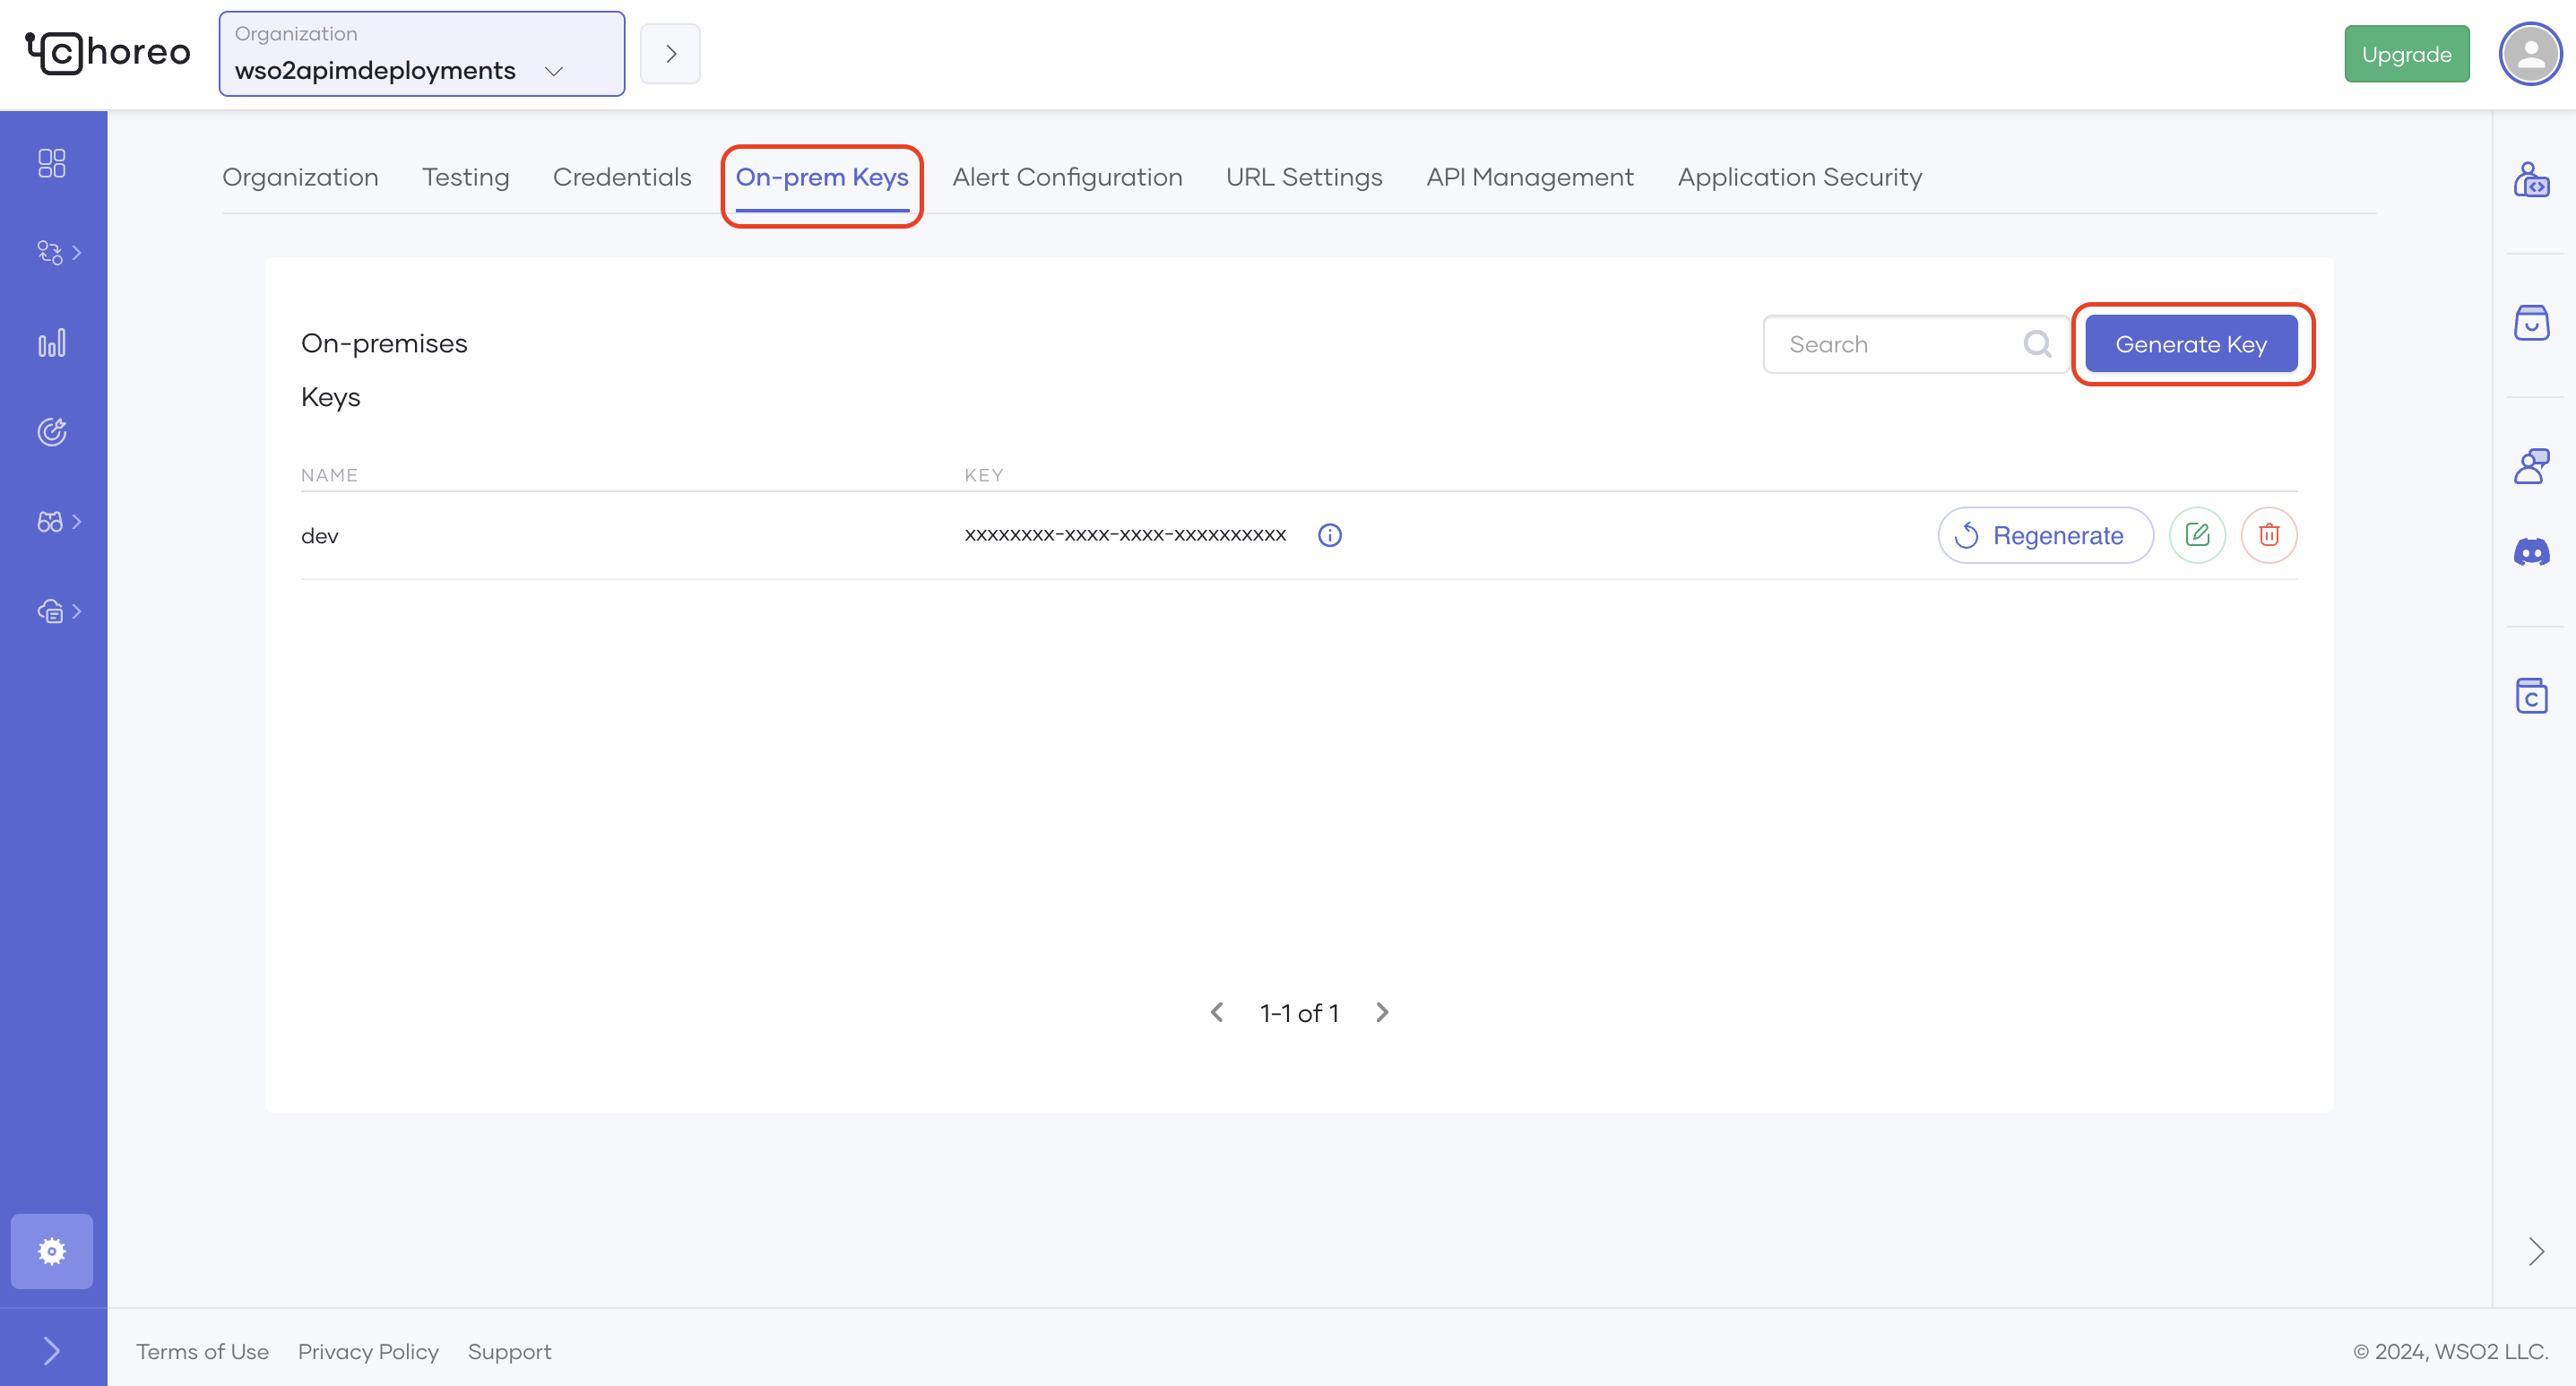
Select the On-prem Keys tab and click Generate Key.
-
Enter a suitable name for your environment (e.g., dev).
-
Click Generate.
- Copy the key that was generated before closing the dialog box.
Step 3 - Configure API Manager
-
The following configuration change must be done in the
<API-M_HOME>/repository/conf/deployment.tomlfile. Update the[apim.ai]config by providing the on-premise token obtained from Step 2. Also, be sure to update the endpoint field as below. -
Restart the API Manager.
Step 4 - Test your APIs
Now we can begin testing APIs. Note that this guide covers the API Chat capabilties using the PizzaShack REST API, which was created in Create a REST API.
-
Sign in to the WSO2 Developer Portal (
https://<hostname>:9443/devportal) and click on the API that you need to test (e.g.,PizzaShack). -
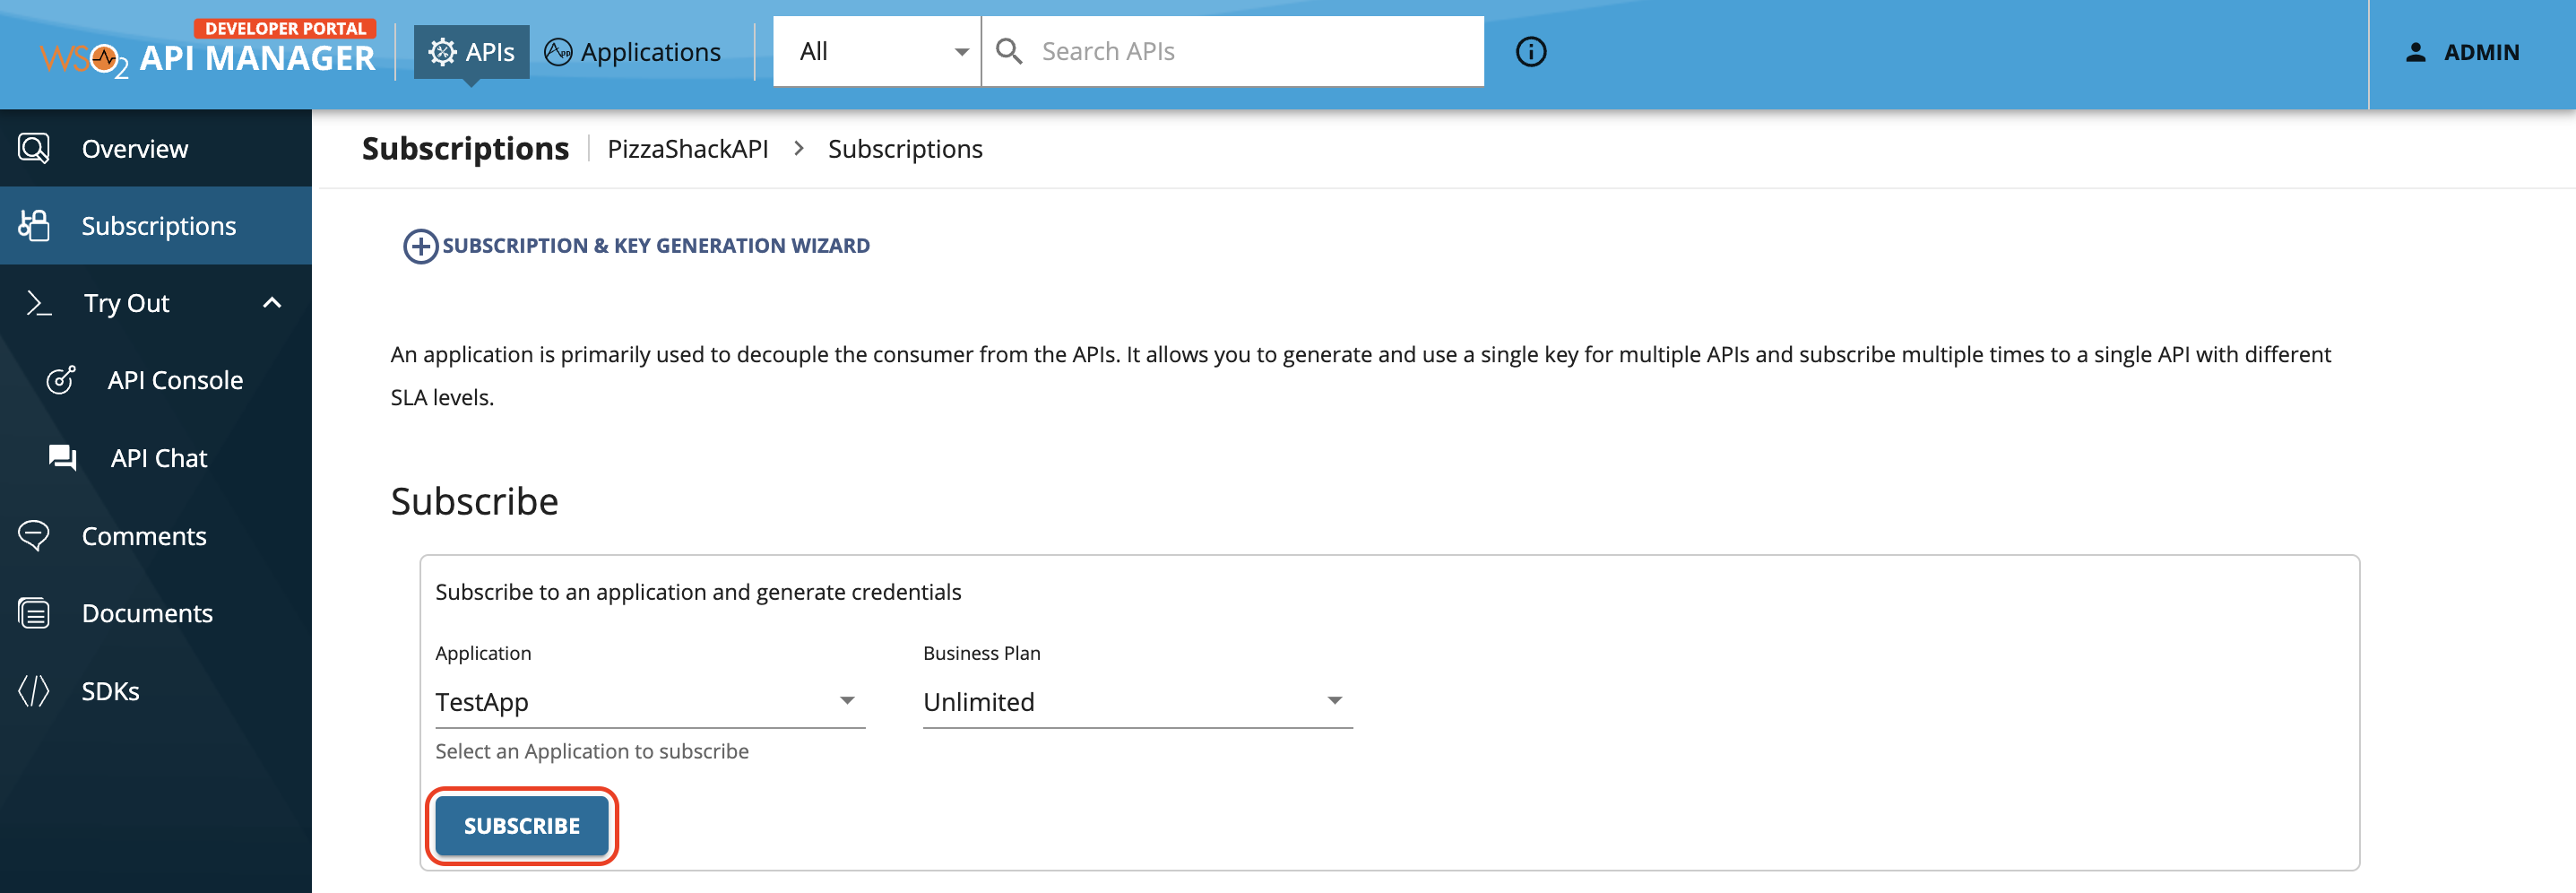
Subscribe to the API (e.g.,
PizzaShackAPI1.0.0) using an application and an available throttling policy. -
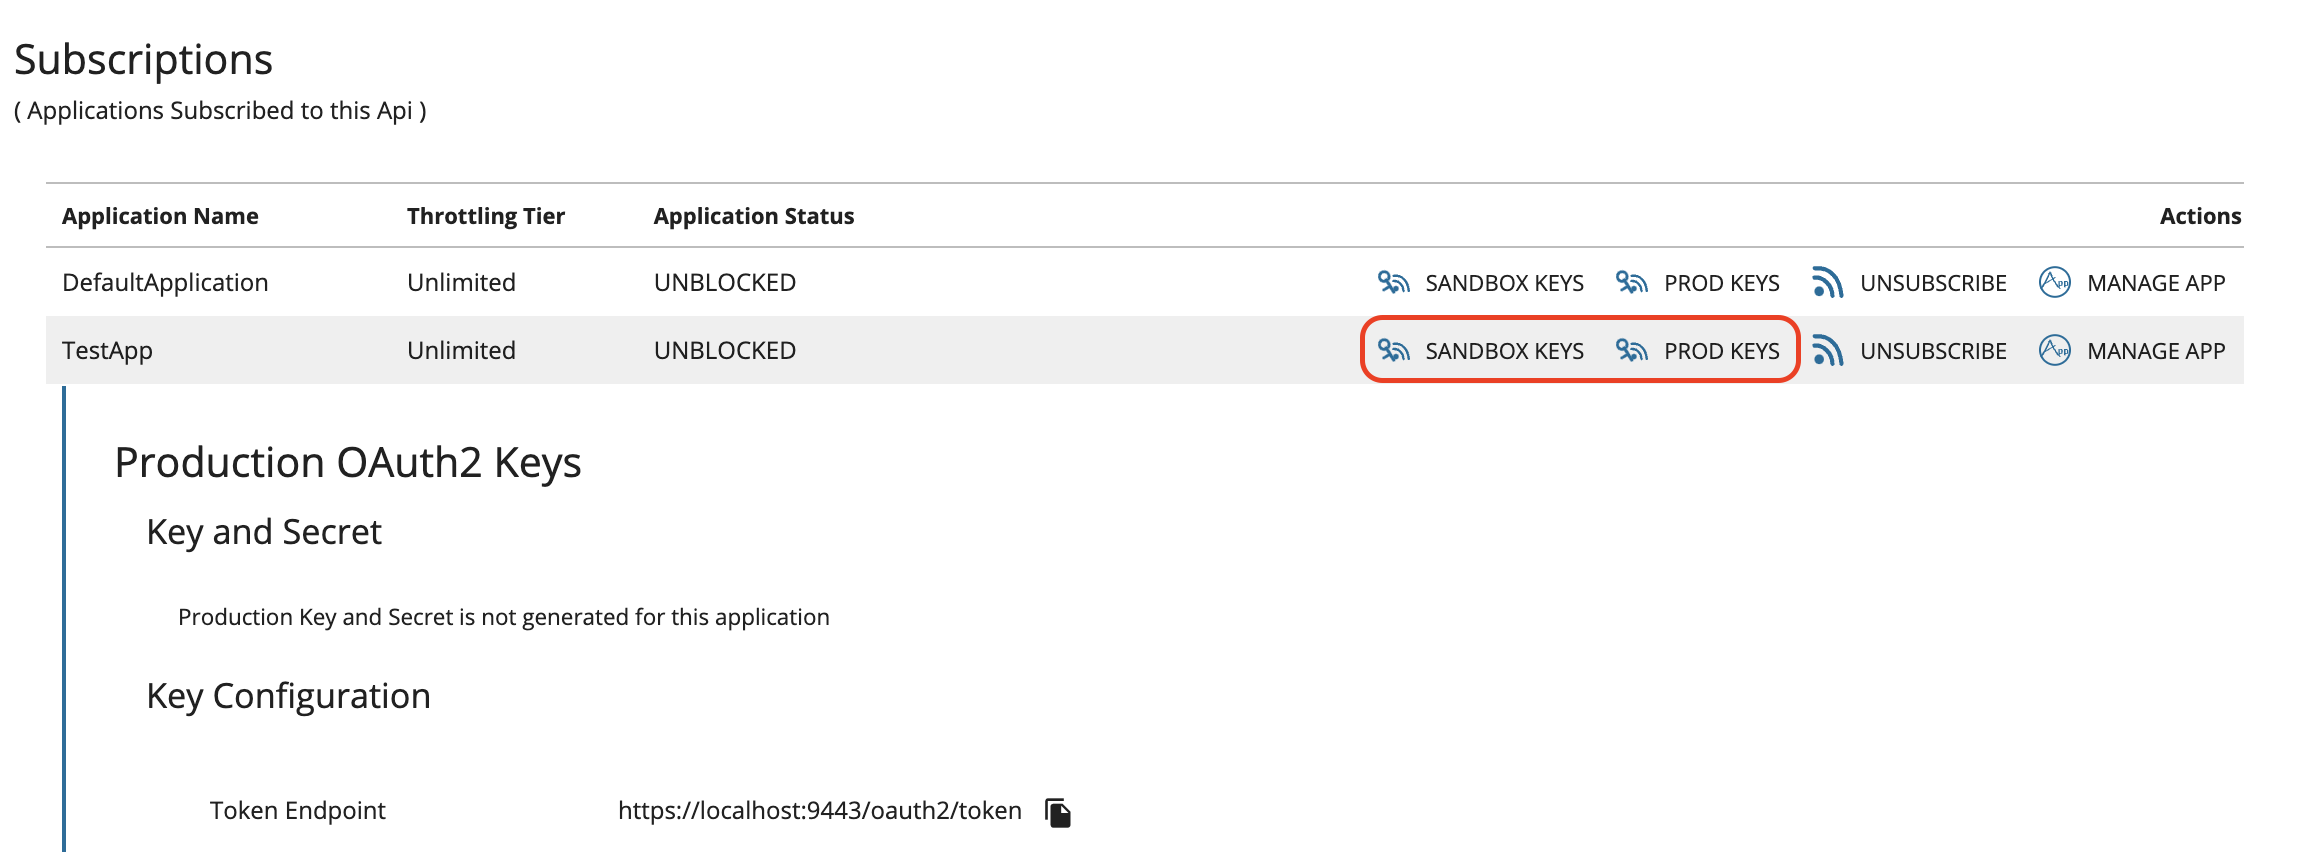
Next, generate either a production key or a sandbox key using one of the following actions. You have to scroll down and click Generate Keys.
-
Optionally, click on Generate Access Token and copy the generated token.
-
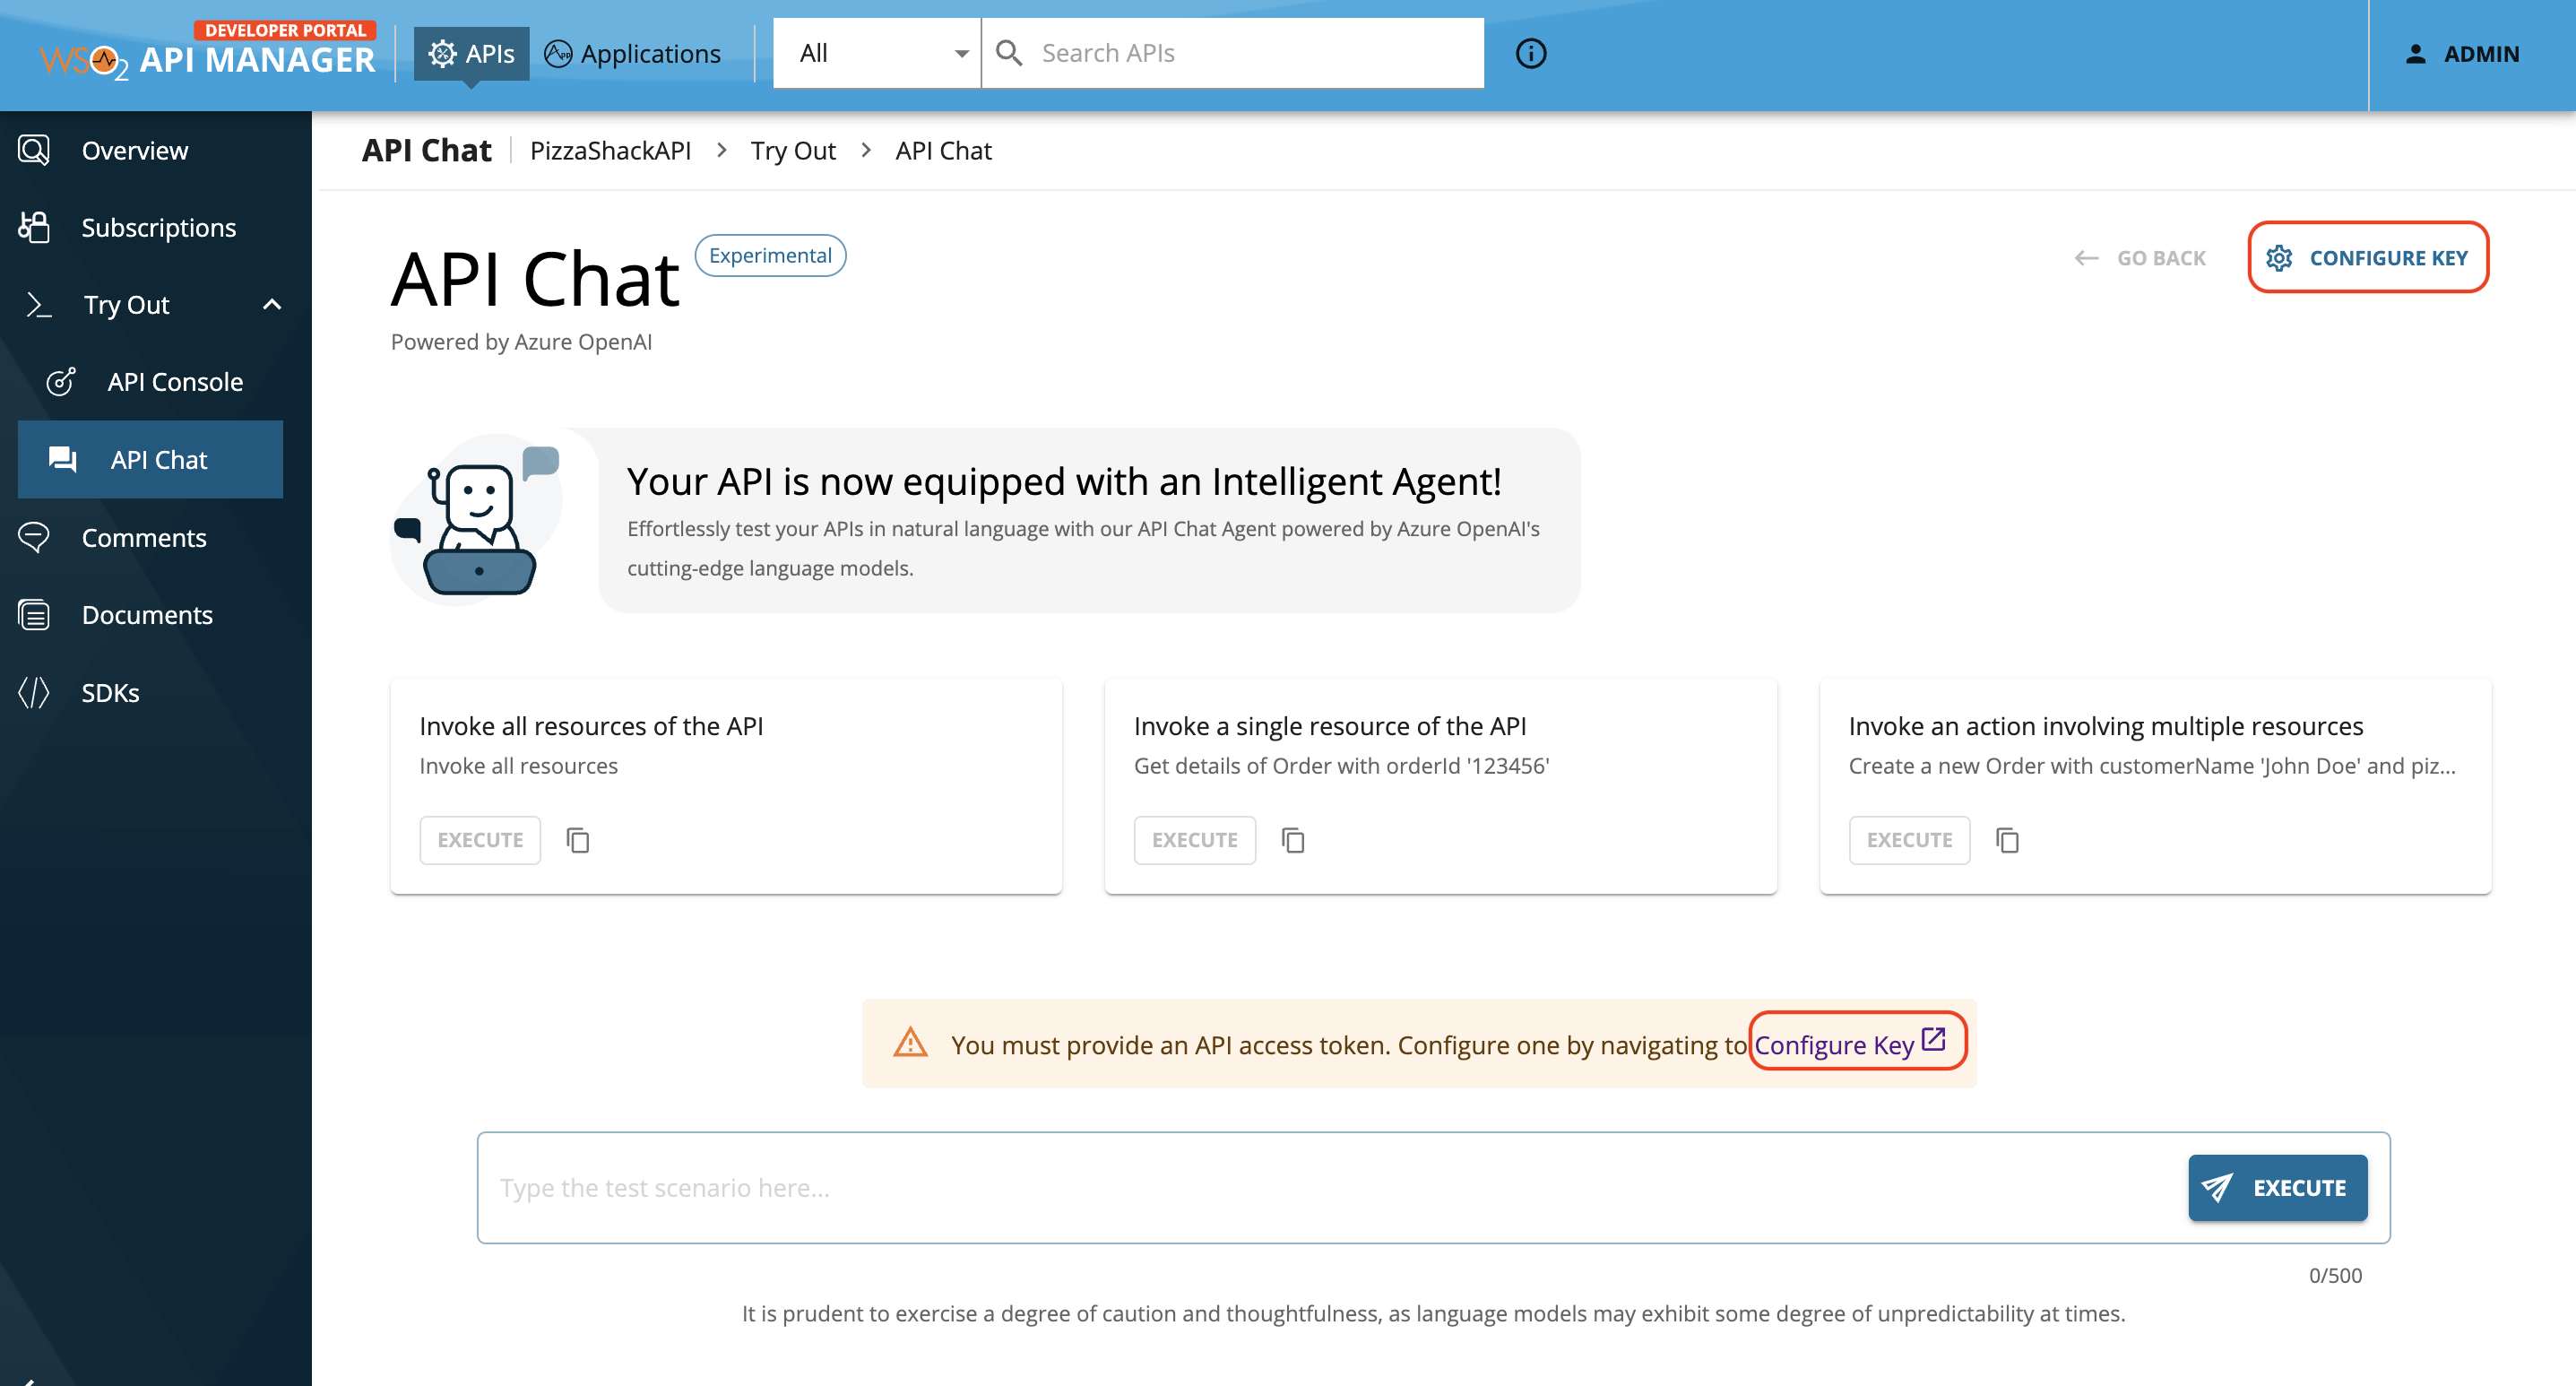
Now visit the API Chat tab under the Try Out section. Since the API Chat will test your API based on your natural language query, it needs access to the API. As per the warning shown below, we need to provide an API access token. Either click on the link given in the banner or click CONFIGURE KEY to generate one.
-
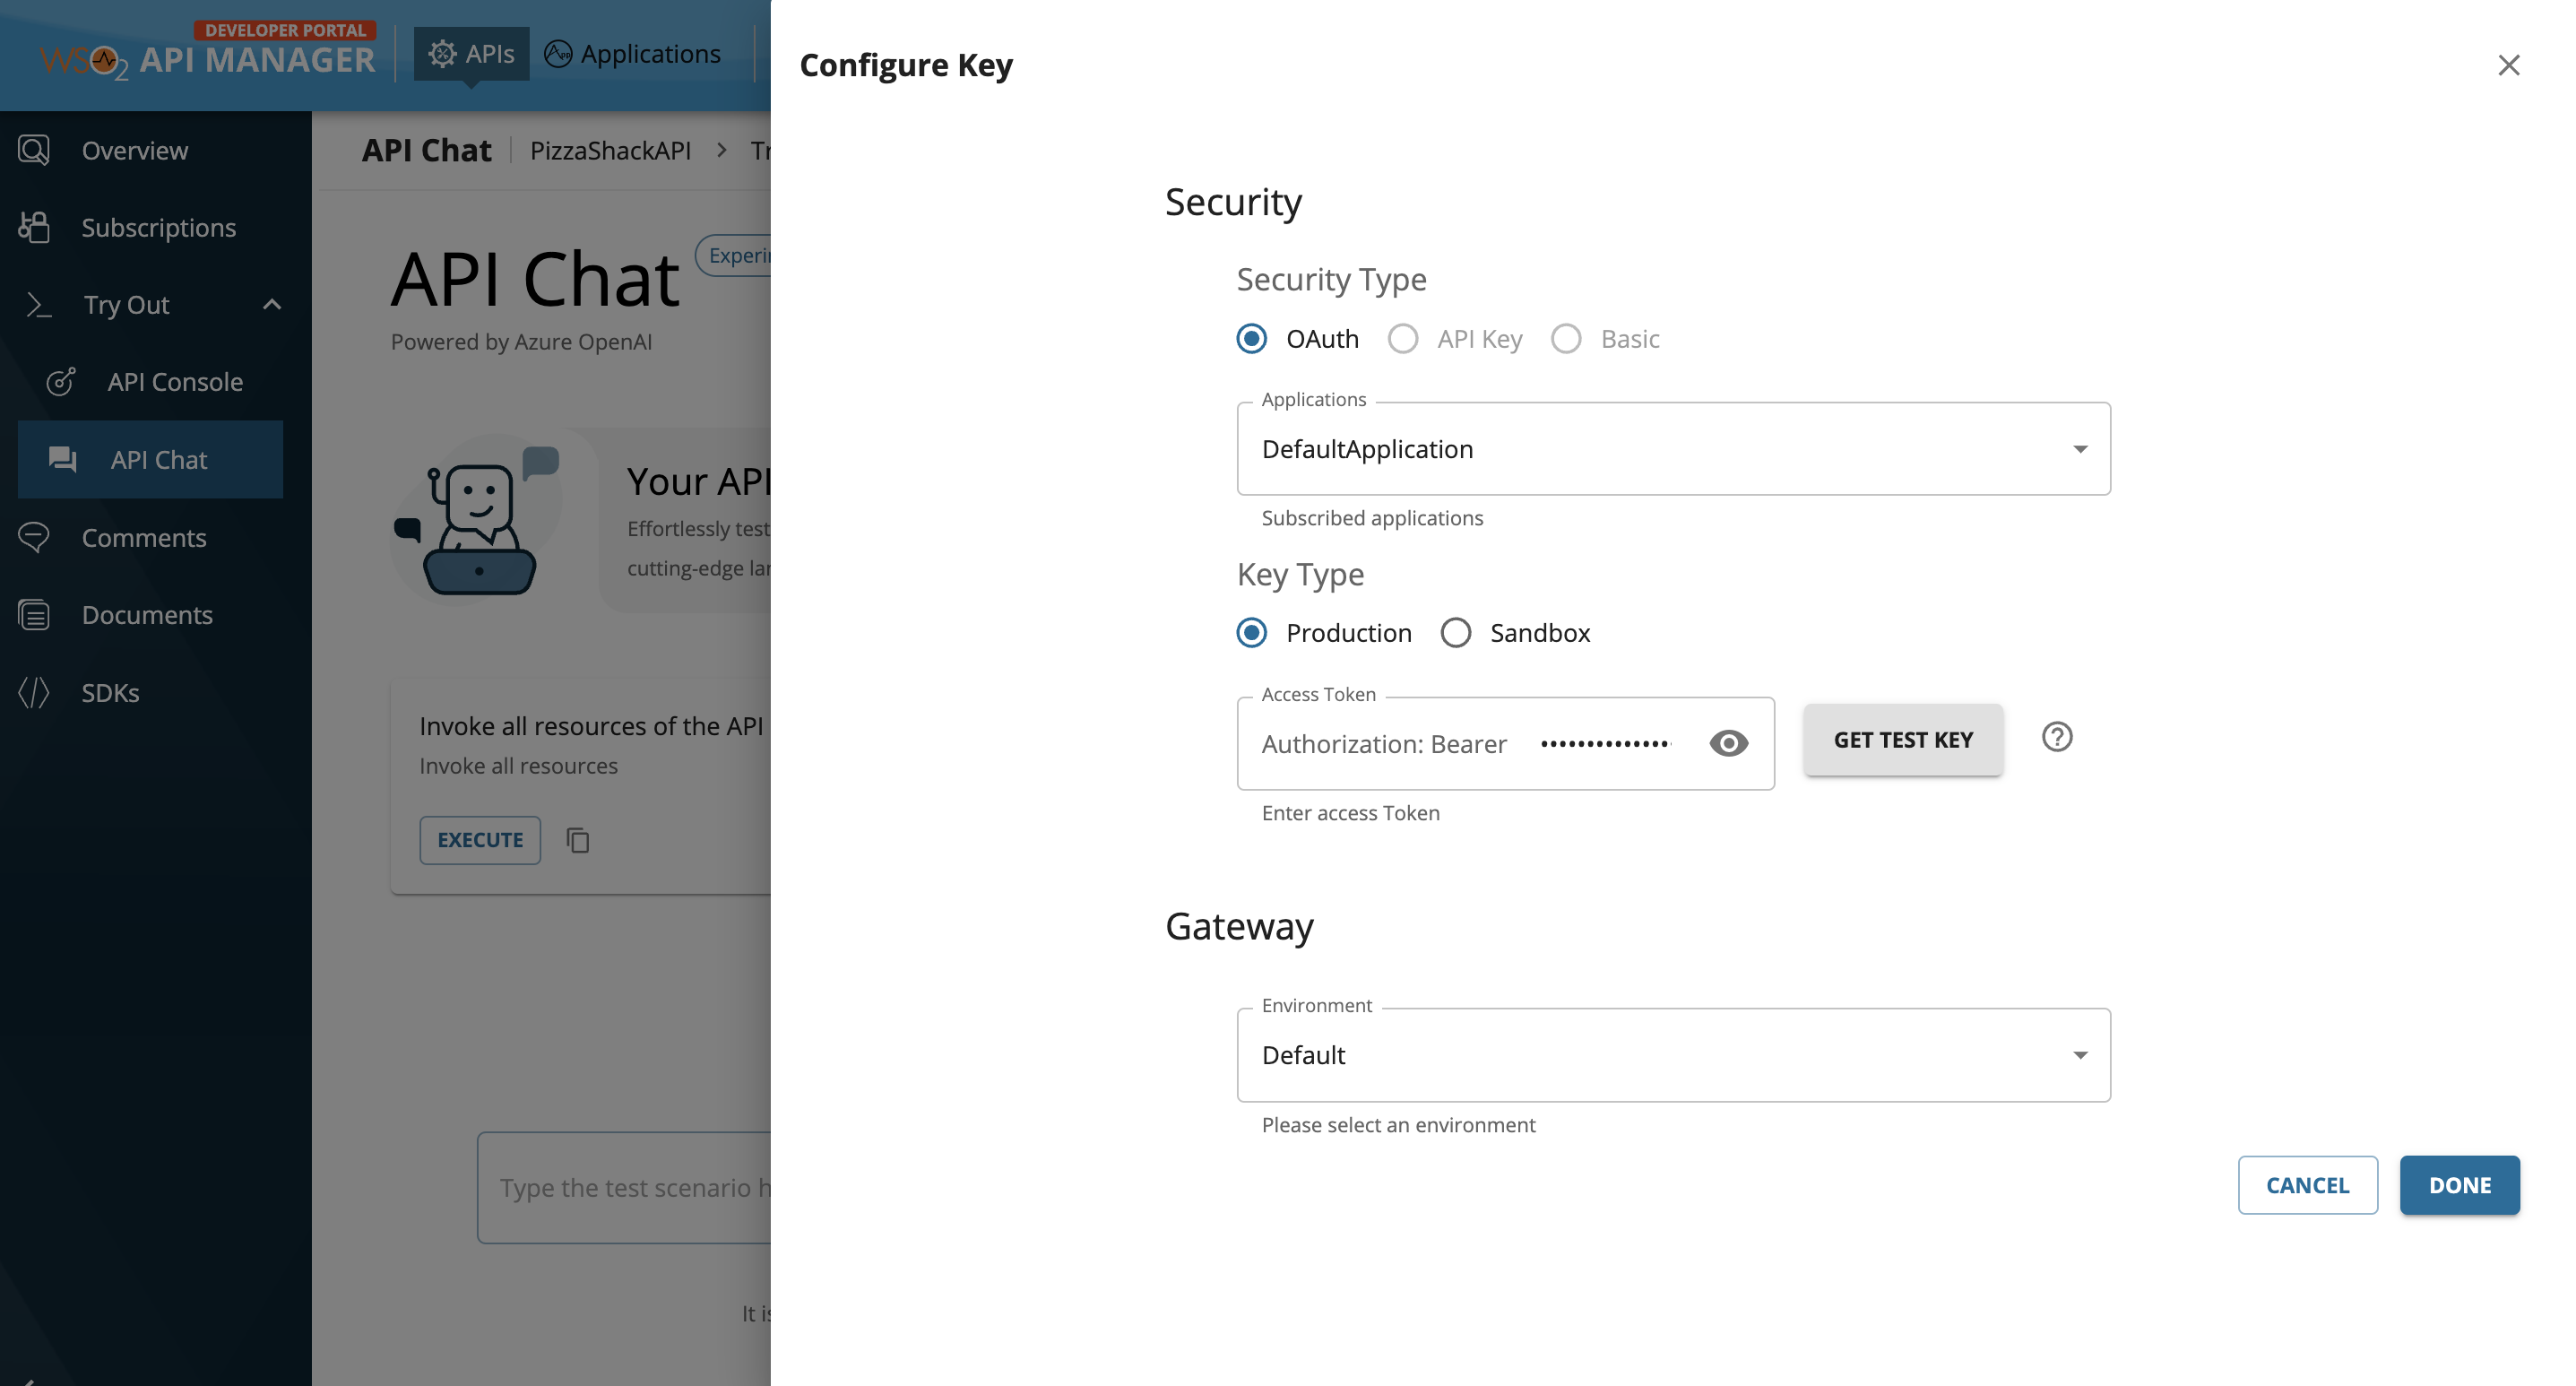
Enter the copied access token in the Authorization field or click on GET TEST KEY.
Tip
TEST KEY will be generated with default scopes. If you need to generate a token with specific scopes, go to the application view and generate a token.
-
Now you can enter your query in natural language and execute it.
Note that we provide some samples that you can try. They cover the following 3 scenarios:
I. Invoke all resources of the API
II. Invoke a single resource of the API
III. Invoke an action involving multiple resources
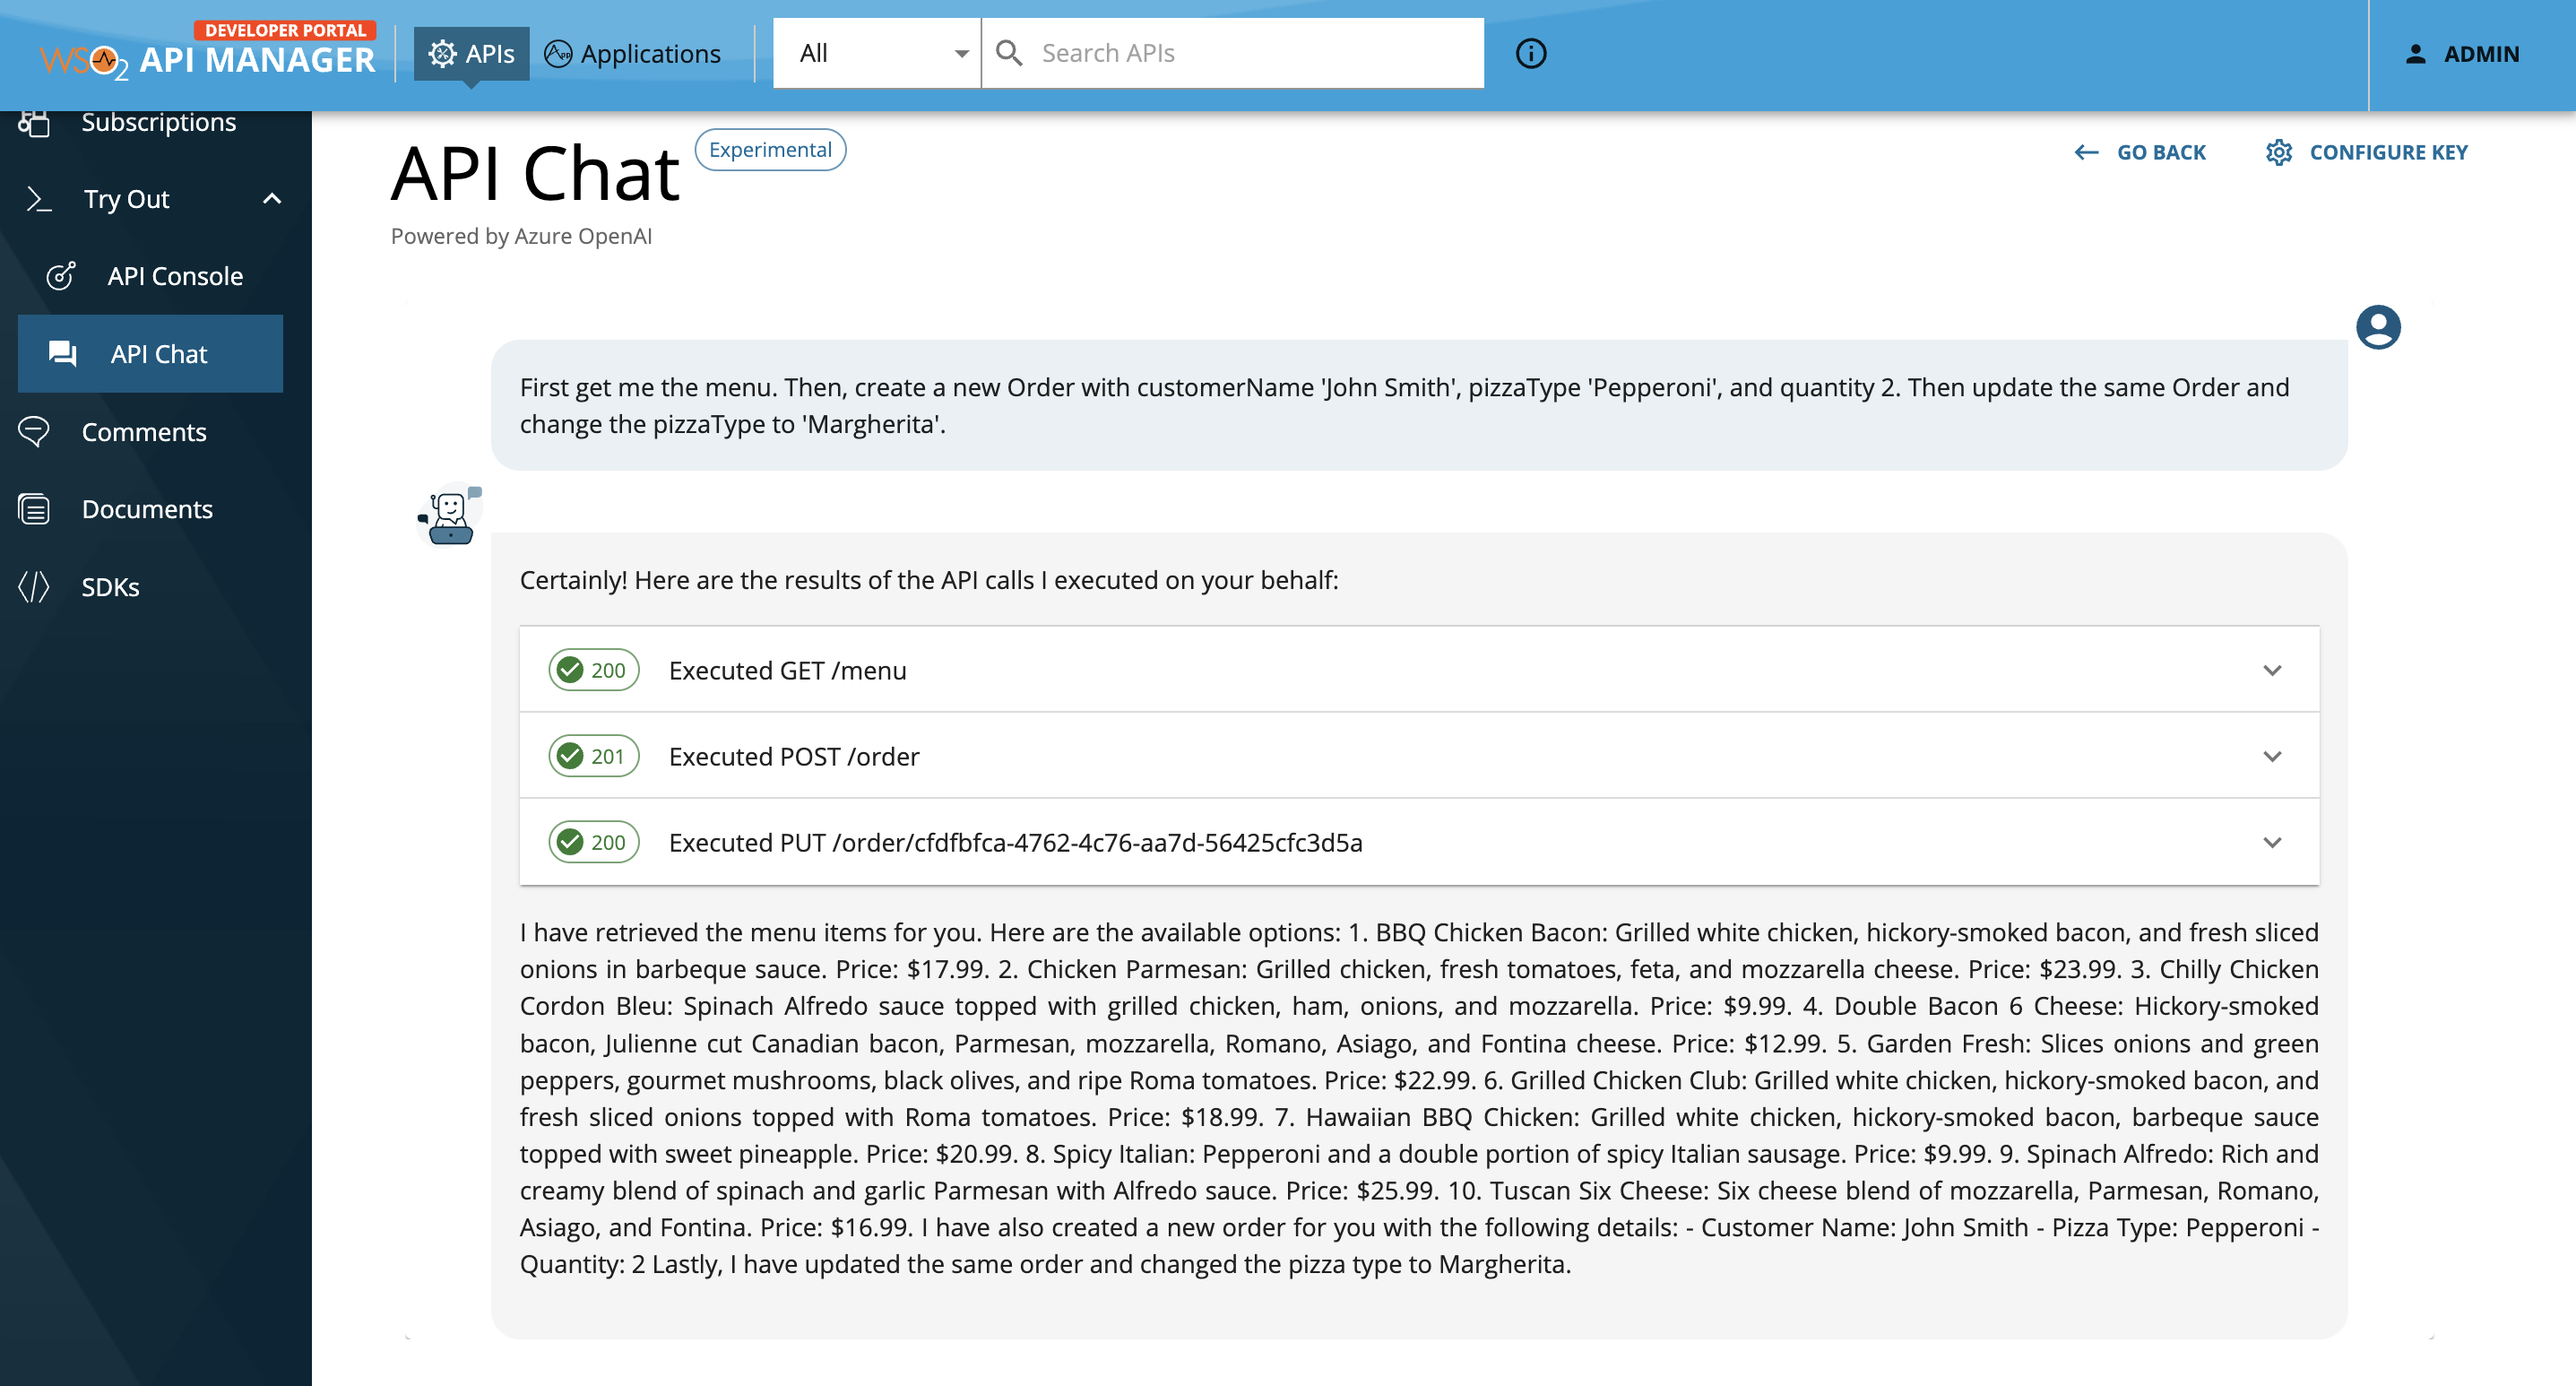
Let's provide our own query for this guide: First get me the menu. Then, create a new Order with customerName 'John Smith', pizzaType 'Pepperoni', and quantity 2. Then update the same Order and change the pizzaType to 'Margherita'.
-
Let's analyse the result from API Chat. As shown below, 3 resources were invoked sequentially. Namely:
GET → Retrieval of the menu
POST → Placing a new order
PUT → Updating the order
