Setting up the SMPP Connector
SMPP (Short Message Peer-to-Peer Protocol) Connector allows you to send an SMS from an integration sequence. You need to set up the environment and SMSC simulator before using this.
Setting up the environment
Before you start configuring the SMPP connector, you also need WSO2 MI, and we refer to that location as
To configure the SMPP connector, copy the following client libraries from the given locations to the <PRODUCT_HOME>/repository/components/lib directory.
Configure the SMSC (Short Message Service Center) simulator
For testing purposes, it is not practical always to connect with a real SMSC. SMSC Simulator is an application that can act like an SMSC. Using a simulator we can test our scenario without having access to a real SMSC. For the real production servers we have to use a real SMSC. In this example scenario we will be using logica-smpp-sim simulator.
JSMPP is a Java implementation of SMPP protocol. The SMPP server in SMSC have all ESME (External Short Messaging Entity) addresses. ESME is an external application that connects to a SMSC and the active connection. It provides an API to communicate with a SMSC simulator as well.
-
Navigate to logica-smpp-sim and clone or download the repository.
-
Make sure that Java is installed and set up in your machine.
-
Navigate to cloned logica-smpp-sim -> users.txt and edit
usernameandpasswordas you wish. -
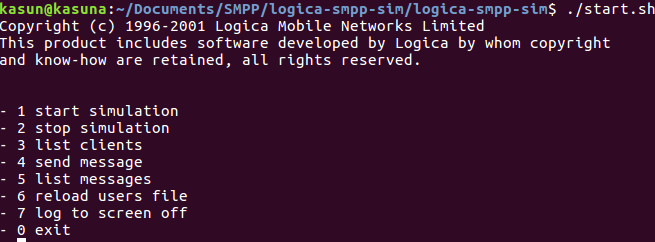
After setting up the users.txt you can start the simulator. Execute ./start.sh script.
-
In the terminal you will see the following list of options. Enter 1 to start simulation.

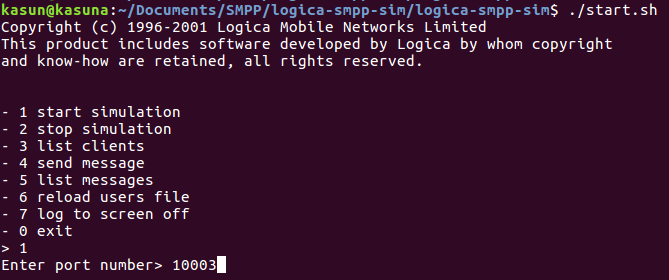
- After you enter 1 for simulation it will ask for a port number. In this example we added port number as 2775.

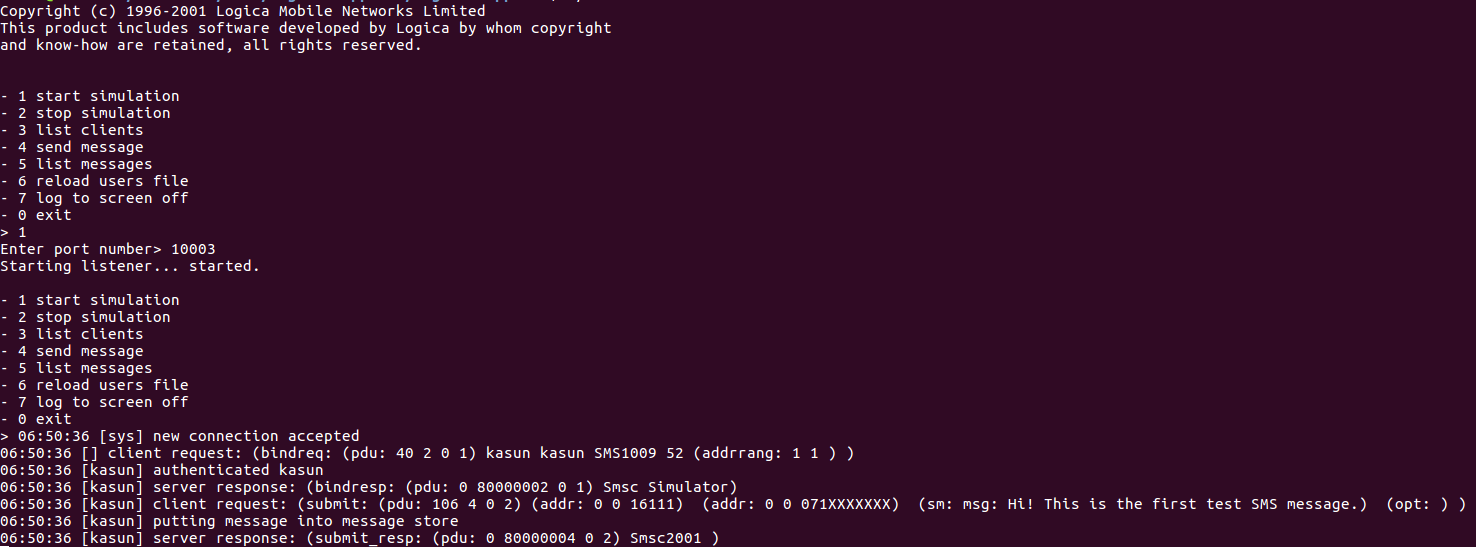
- Once you setup WSO2 MI and invoke the
SmppTestApiAPI, you will able to see logs in you simulator as shown below.
