Creating and Uploading Custom Mediation Policies using WSO2 Integration Studio
You can design all custom mediation policies using a tool such as WSO2 Integration Studio and then store the policy in the registry which can be later deployed to the Gateway.
Let's see how to create a custom mediation policy using the WSO2 Integration Studio and then deploy and use it in your APIs. This custom policy adds a full trace log that gets printed when you invoke a particular API deployed in the Gateway.
-
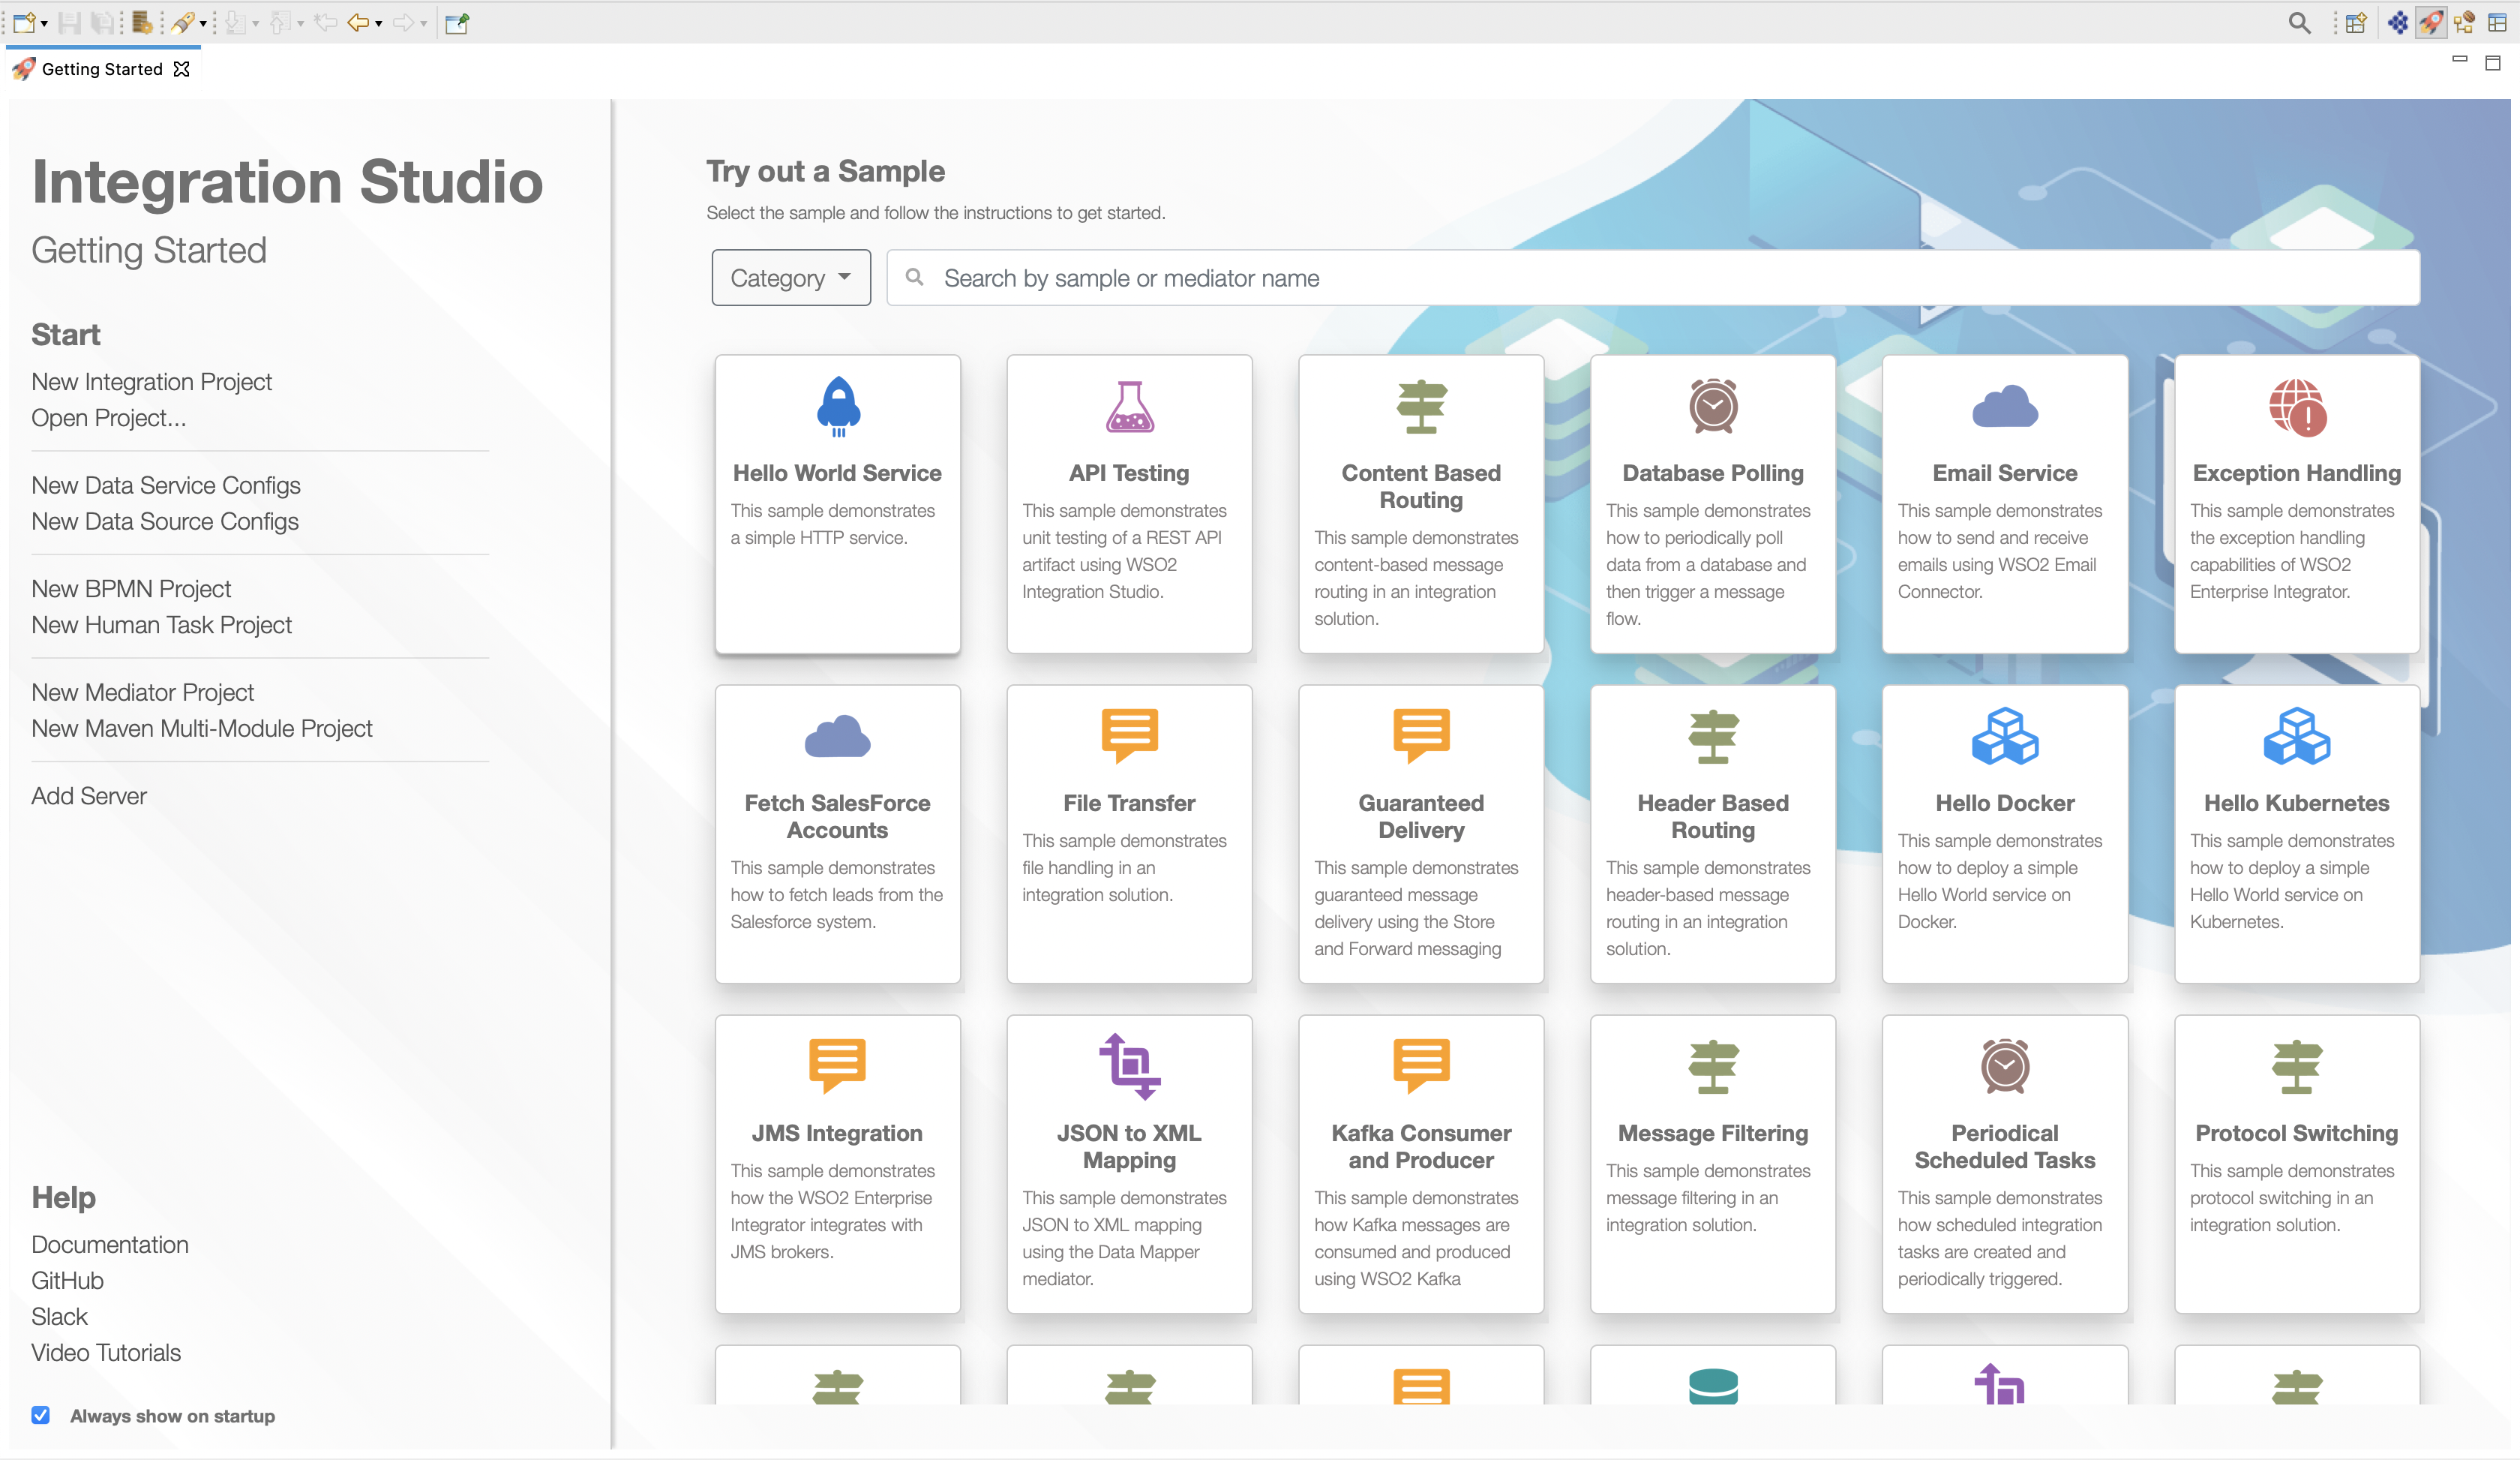
Navigate to the Integration Studio page - https://wso2.com/integration/integration-studio/
-
Click Download to download the WSO2 Integration Studio based on your preferred platform (i.e., Mac, Windows, Linux).
For example, if you are using a Ubuntu 64-bit computer you need to download, WSO2-Integration-Studio-8.1.0-linux-gtk-x86_64.tar.gz.
-
Extract the downloaded archive of the Integration Studio to the desired location and run the IntegrationStudio application to start the tool.
Tip
To learn more about using WSO2 Integration Studio, see the WSO2 Integration Studio documentation.
-
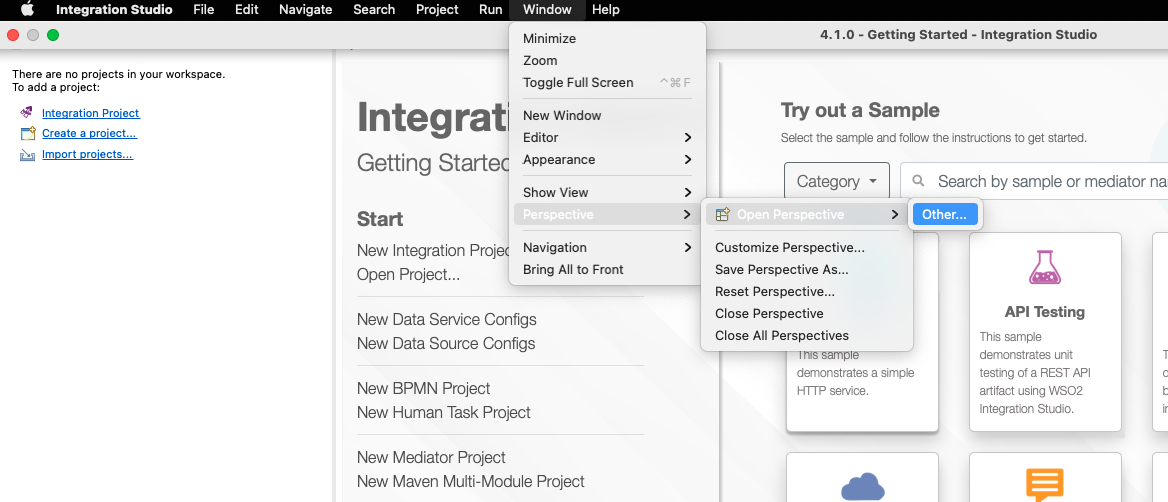
Click Window -> Perspective -> Open Perspective -> Other to get the Perspective options.
-
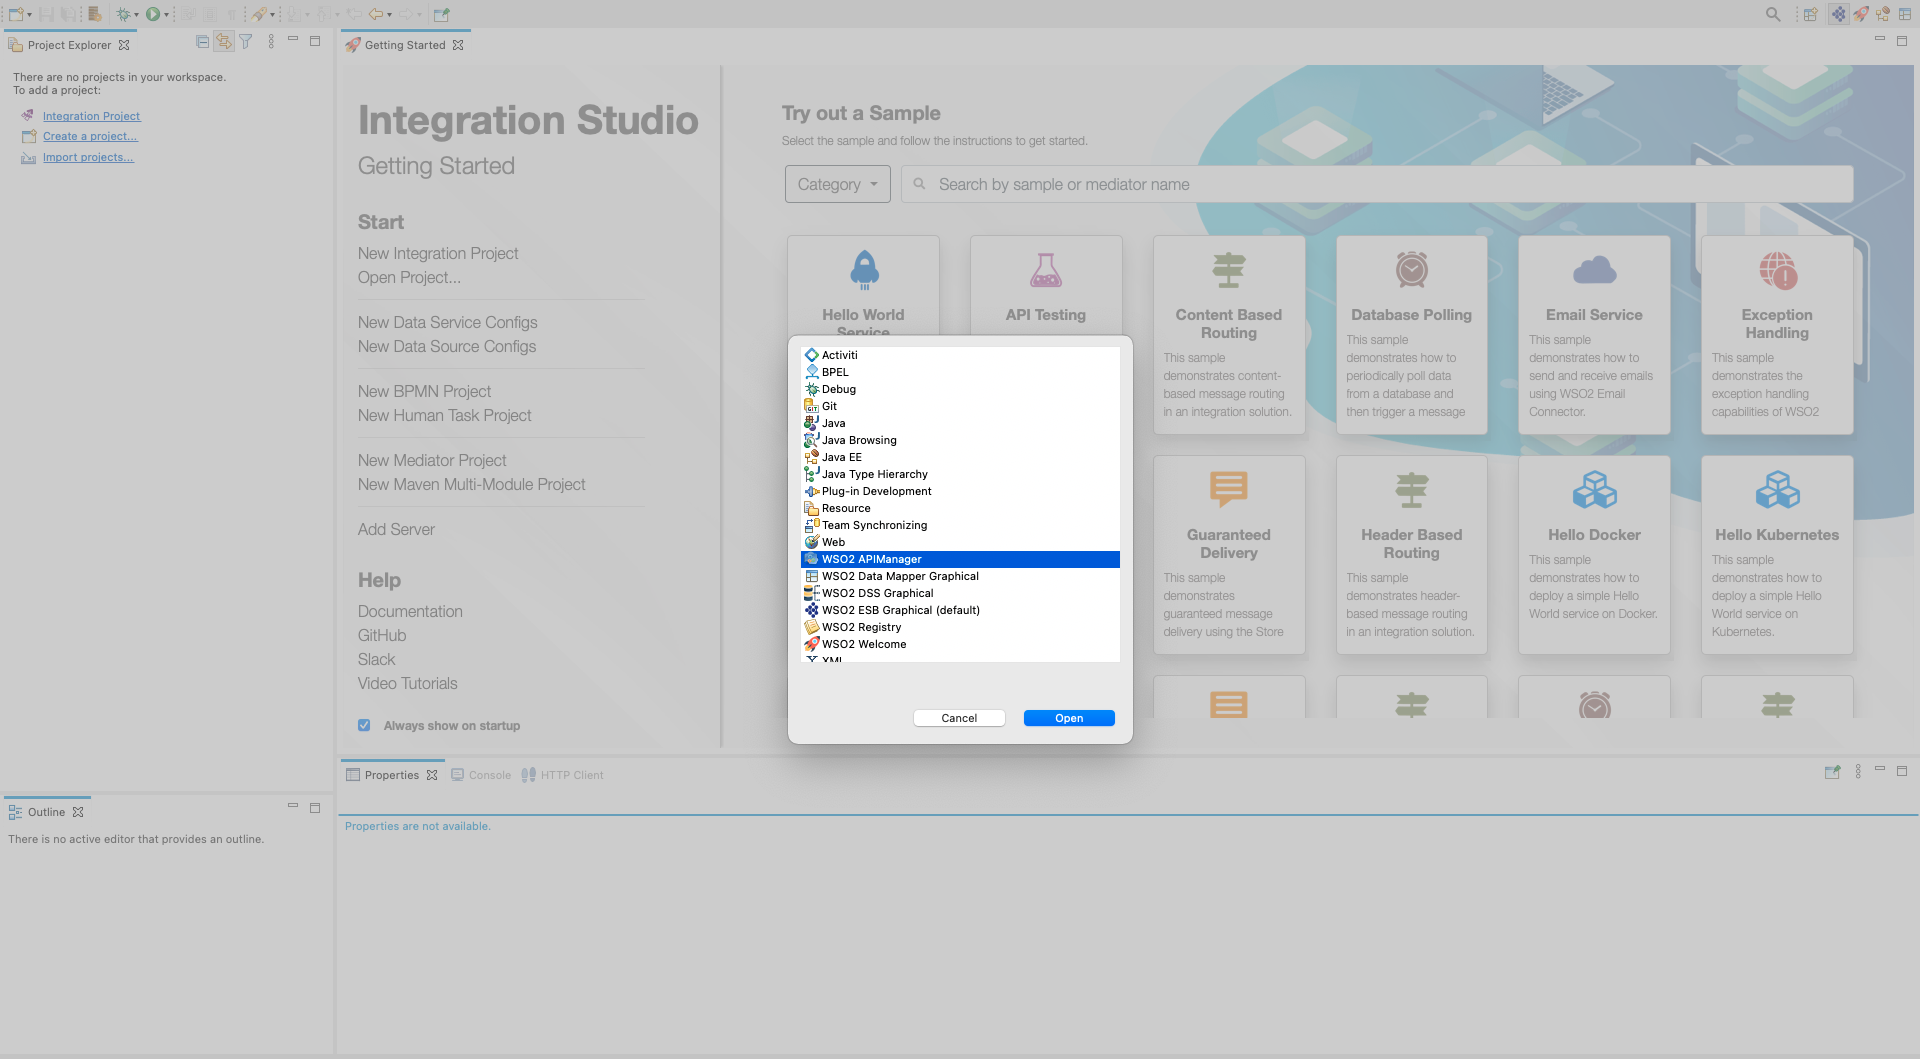
Select WSO2 APIManager from the perspective list and click Open.
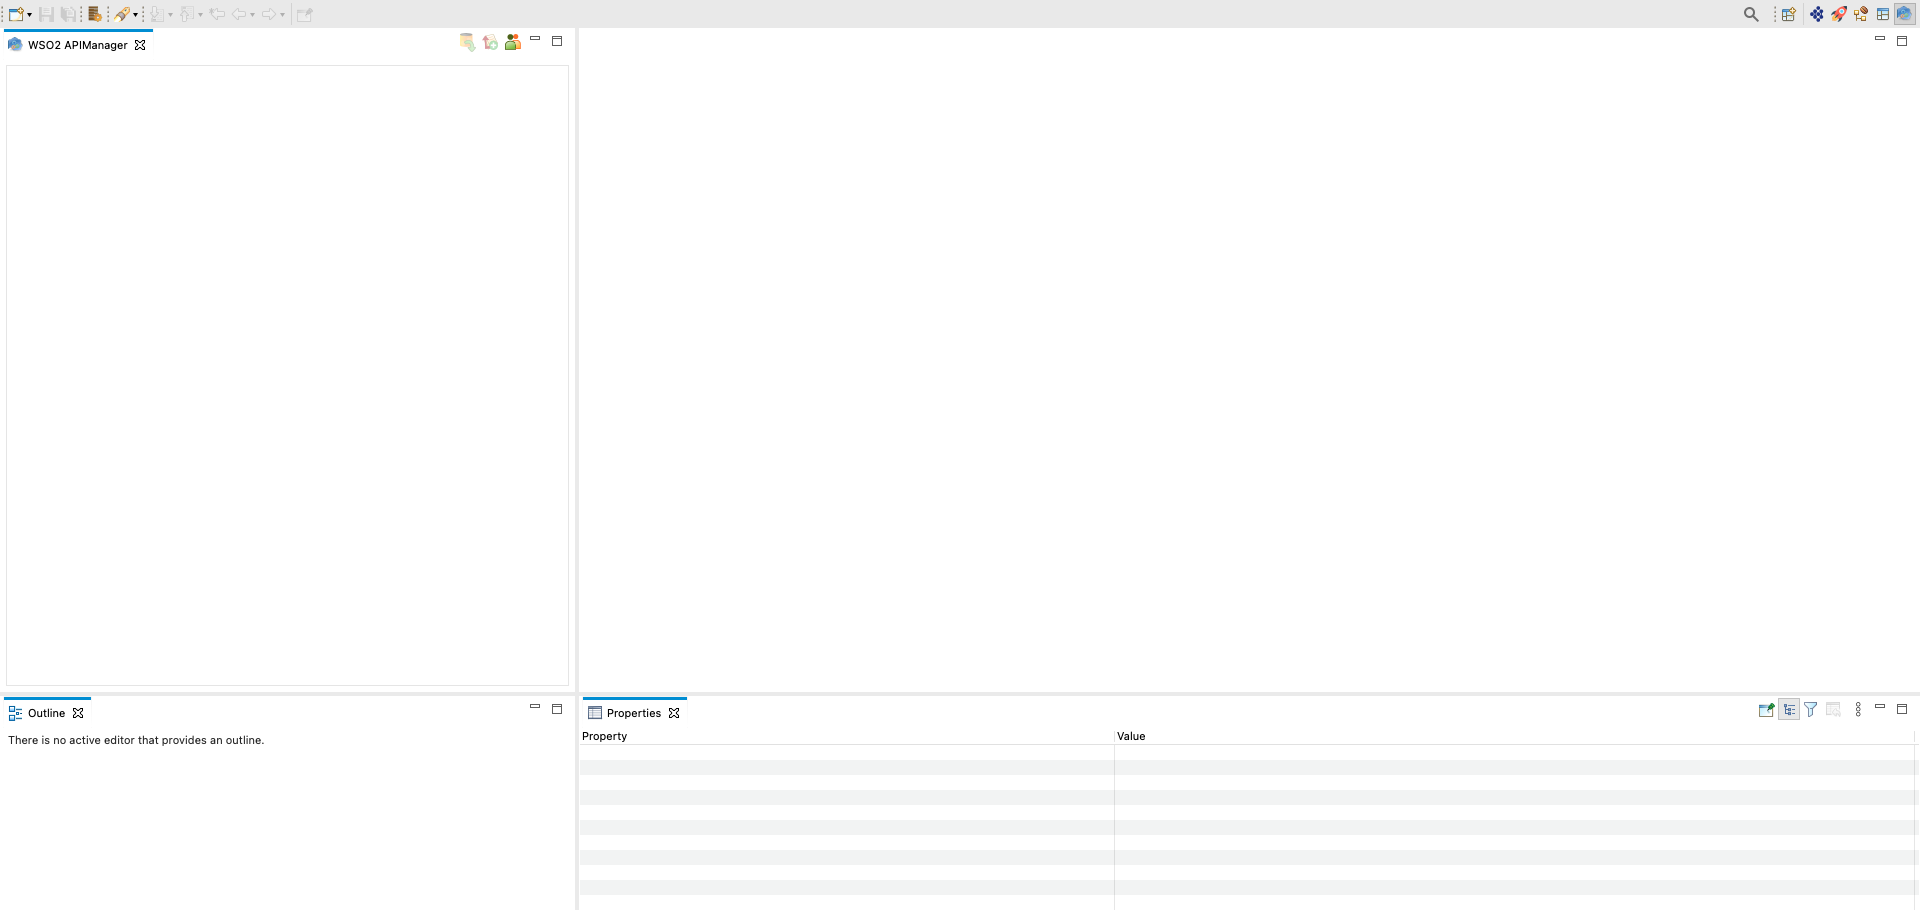
You will be redirected to the following page.
-
Click on the Login icon.
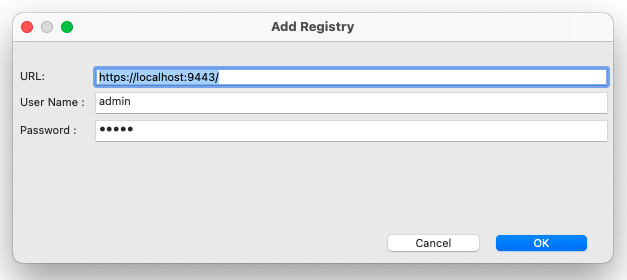
The Add Registry dialog box appears.

-
Enter the URL of the Publisher, Username and Password and click OK.
-
Locate the path where the sequence needs to be added
(IN/OUT/FAULT)from the Registry Tree Browser.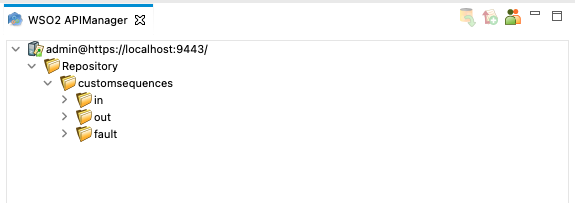
-
Click Create and create a new sequence, provide the sequence name as
newSequence, and click Finish.
Your sequence now appears on the Integration Studio Editor.
-
Drag and drop a Log Mediator from the Mediators section, to your sequence and Save the
newSequence.xmlfile.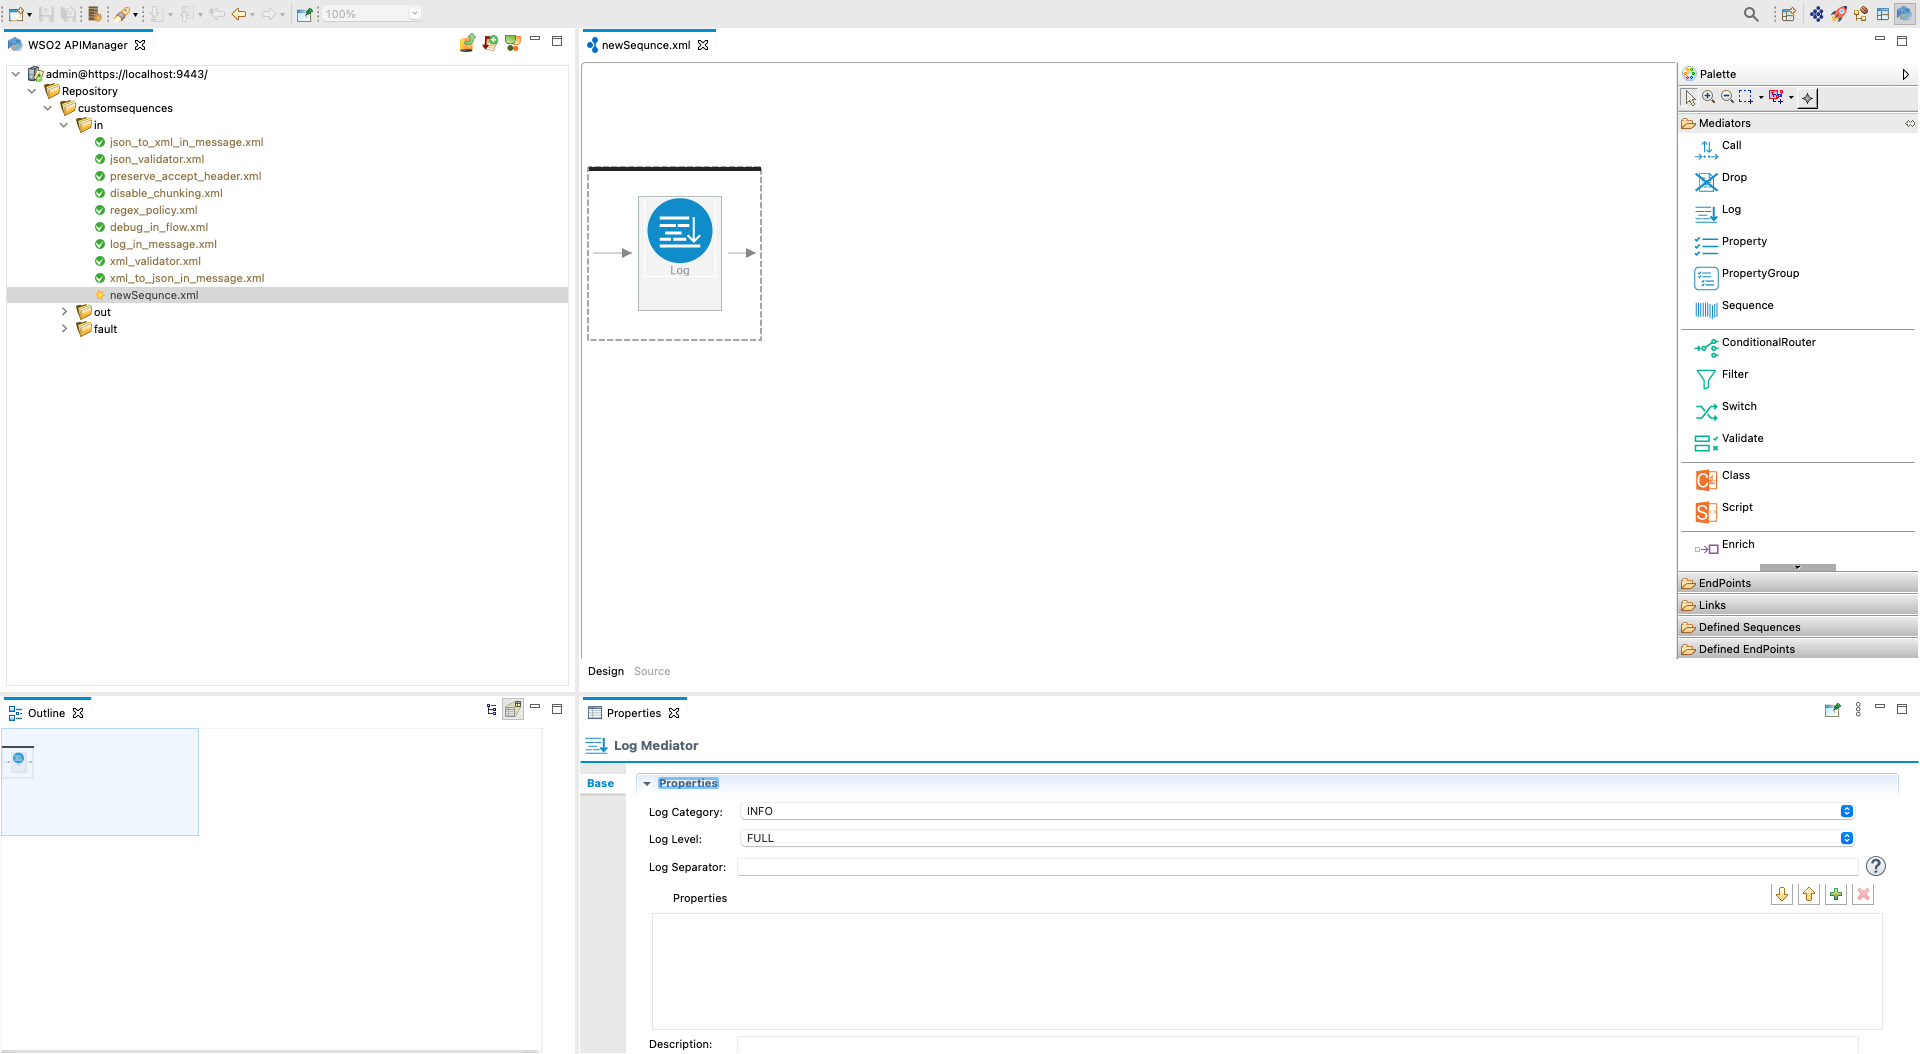
-
Right-click on the created mediator, click Show Properties View, and enter the following values in the Log Mediator.
Log Level: Full -
Right-click on the sequence file (
newSequence.xml), and click Commit file.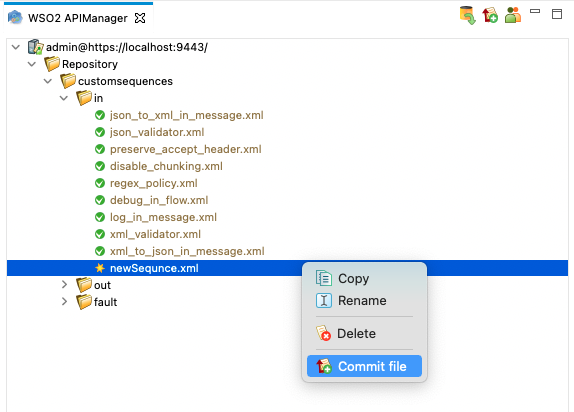
-
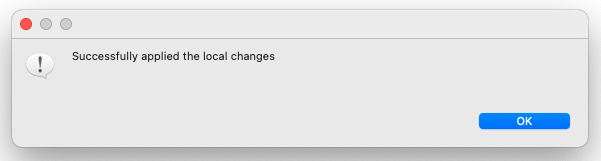
Click Yes and push the changes into the remote registry.
-
Click Ok and acknowledge the successful message popped up.
-
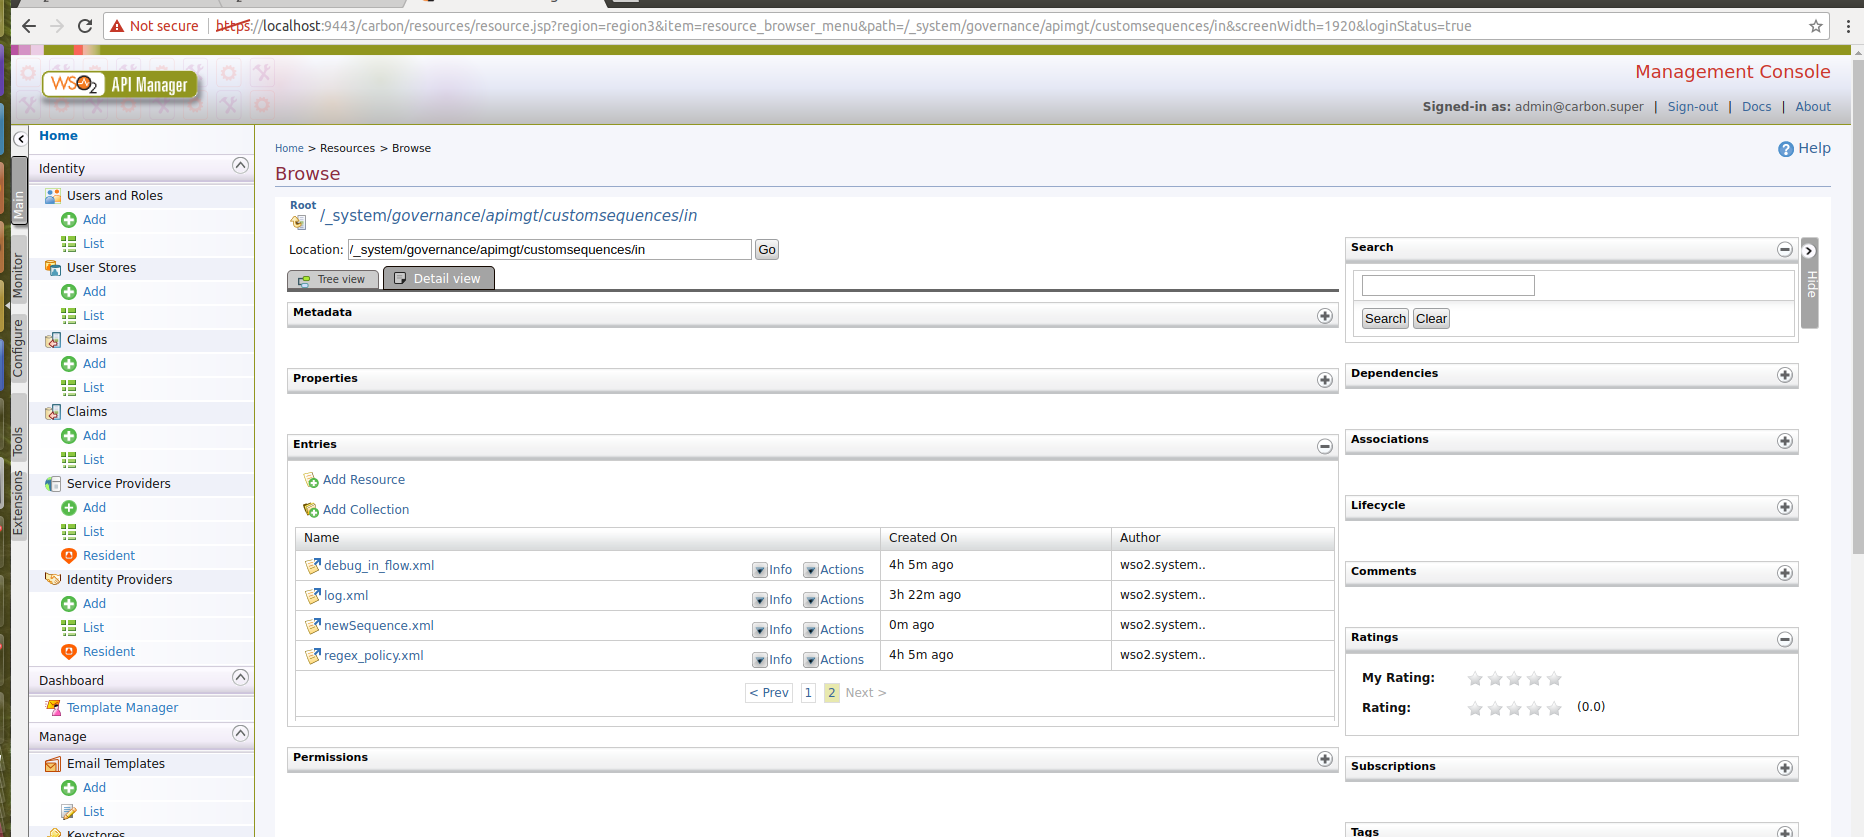
Navigate to the API Manager Management Console and click Resources > Browser, under the Main section to access the Registry Browser and to verify whether the sequence was added successfully.
-
Sign in to the API Publisher.
-
Click Create API and then create a new REST type API.
For more information, see Create a REST API.
-
Click on the created API and click Runtime Configurations.
-
Click the Edit icon
 in the Message Mediation section under the Request sub-menu.
 -
In the Select a Mediation Policy pop-up, select Common Policies, and then select the newly added sequence (
newSequence) from the sequence list. Finally, click Select.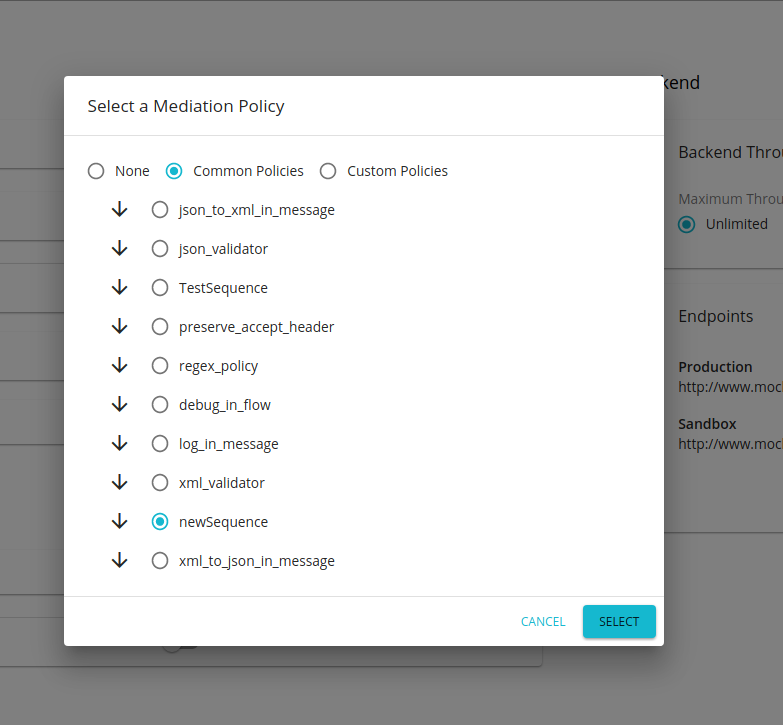
-
If the API is not in
PUBLISHEDstate, go to the Lifecycle tab, and clickREDEPLOYto re-publish the API. -
Invoke the API using a valid subscription.
You will see the following trace log in the server logs.
[2021-09-28 15:27:30,770] INFO - LogMediator To: /test/1.0, MessageID: urn:uuid:042a64ab-590a-4128-bd99-ef6974893610, Direction: request, Envelope: <?xml version='1.0' encoding='utf-8'?><soapenv:Envelope xmlns:soapenv="http://www.w3.org/2003/05/soap-envelope"><soapenv:Body/></soapenv:Envelope