Connector Usage Guidelines
This document provides a set of guidelines on how to use connectors throughout their lifecycle.
Using connectors in your integration project
Connectors can be added and used as part of the integration logic of your integration solution. This helps you configure inbound and outbound connections to third-party applications or to systems that support popular B2B protocols.
New connector versions
From time to time there are new connector versions released. These new versions may have new operations and changes to existing operations. When moving to a new connector version from an older version, it is recommended to reconfigure your connector from scratch.
Importing connectors
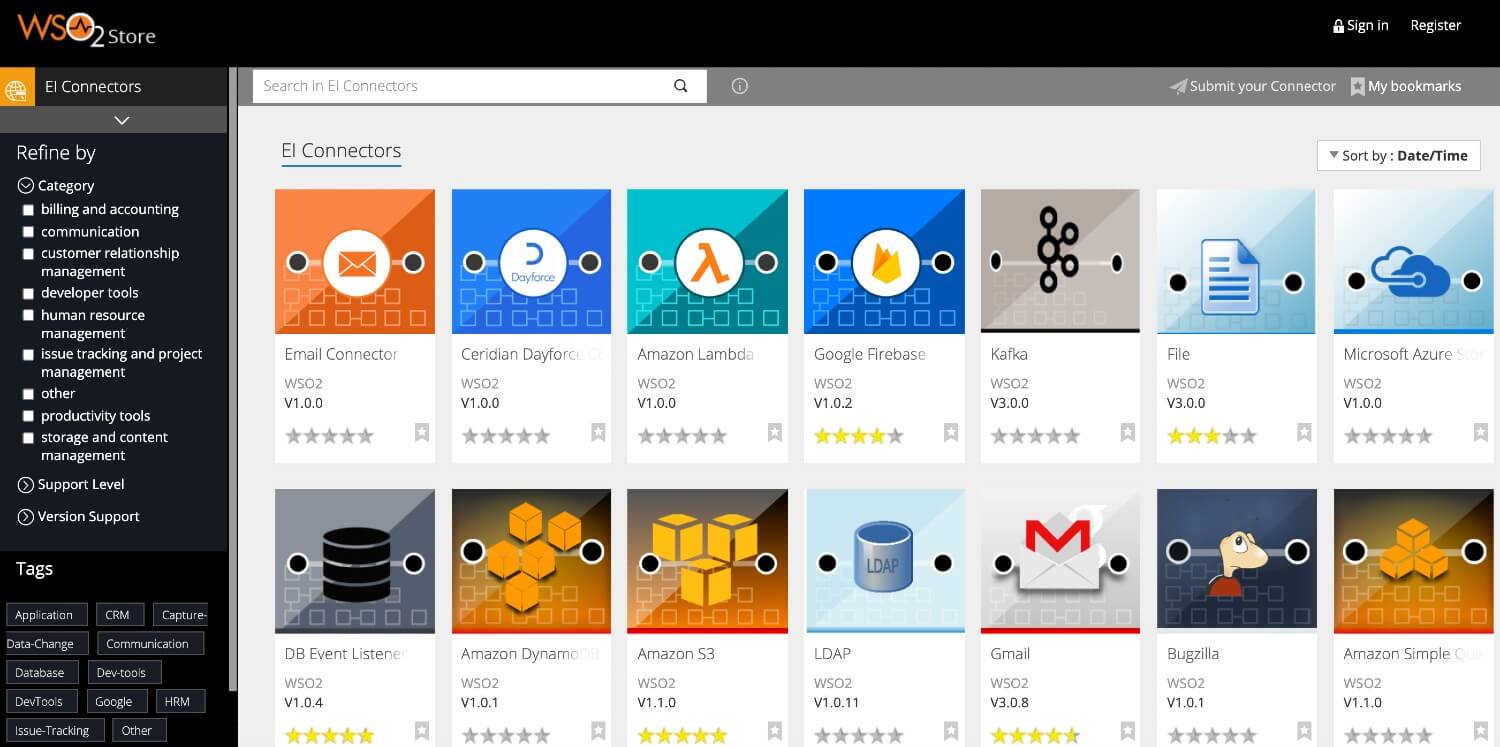
All the connectors are hosted in the Integration Connector Store. You can download the connector from the store as a .zip file.

The source code for connectors can also be found in the specific WSO2 extensions GitHub repository.
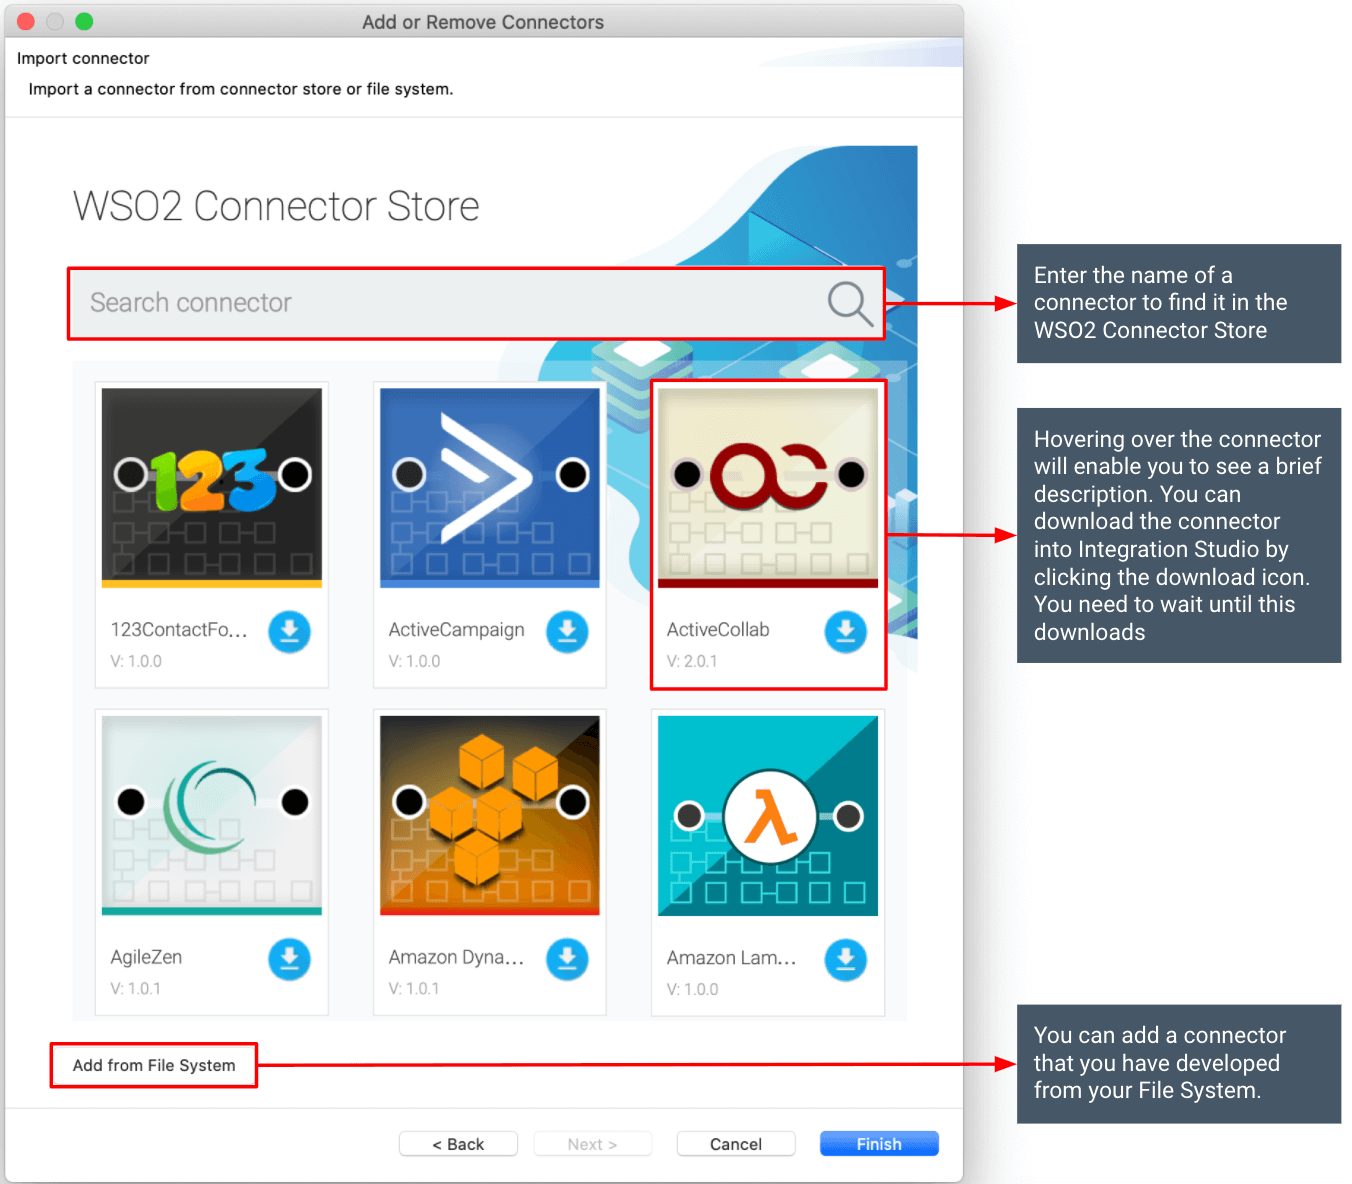
However, the recommended approach to use connectors for integration logic development is through WSO2 Integration Studio. Developers can browse and import connectors to the workplace using WSO2 Integration Studio itself. As a result, there is no need to go and download the connector from the store separately or obtain it from the source code.
To import a connector:
-
Open WSO2 Integration Studio.
-
Right-click the ESB Configs folder and select New -> Add/Remove Connector. Search for the connector and follow the steps in the wizard to import the connector.

Providing values for operation parameters
After importing the connector, you can drag and drop operations to the design palette and use them. When providing values for operation parameters, you can provide static values or dynamic values. Dynamic values can be provided in one of the following ways.
- As an XPATH expression.
- As a JSON expression.
- As a property.
- Most of the time, this will be a custom property you set earlier in the mediation flow using the property mediator. Any property set with the default scope exists throughout the message flow and you can read it anywhere in the message flow after it is set. The property exists throughout the mediation flow.
- You can also provide properties of other scopes as well (i.e., a header value). However, they may not exist throughout the message flow. Please read the property mediator documentation to understand more.
Transform message as operation needs
Some connectors use message content in the $body to execute the operation. In such situations, you may need to transform the current message in the way the connector operation needs before using that with the connector operation. Following are some of the mediators you can use to transform the message.
- PayloadFactory mediator - This replaces the current message with a message in the format we specify. We can use the information of the current message to construct this new message.
- Enrich mediator - Enrich the current message modifying or adding new elements. This is also useful to save the current message as a property and to place a message in a property as the current message.
- Datamapper mediator - Transform JSON, XML, CSV messages between formats.
- Script mediator - Use JavaScript, Groovy or Ruby scripting languages to transform message in a custom manner.
- Custom class mediator - Use Java to transform message in a custom manner (use Axiom, Jackson, or Gson libraries).
- Mediator Modules (new) - Import module and use operations to transform message (currently CSV related transformations only).
The above mediators are useful to transform the message anywhere in the mediation flow. Hence, the same mediators can be used to transform the result of a certain connector operation in the way the next connector operation needs.
Result of the operation invocation
Unless specified otherwise, the result of the connector operation (response from the connector application) will be available in the message context after using the connector operation. You can do any further mediation with the result or send it back to the invoker using Respond mediator.
Export and run a project with connectors
The recommended way to run any integration logic is using Carbon applications. CApp is the deployable artifact for the integration runtime. The recommendation is the same even when the integration logic is using an integration connector.
In order to include a connector into a CApp and export, a ConnectorExporter project needs to be created and the connector needs to be added to that. Then you can add the ConnectorExporter project to the exporting artifact list when exporting CApp.
The exported CApp needs to be copied to the deployment folder of the integration server (
Configuring connectors
Configurations required for initializing the connectors must be provided in one of the following ways depending on the connector.
For recently updated connector versions
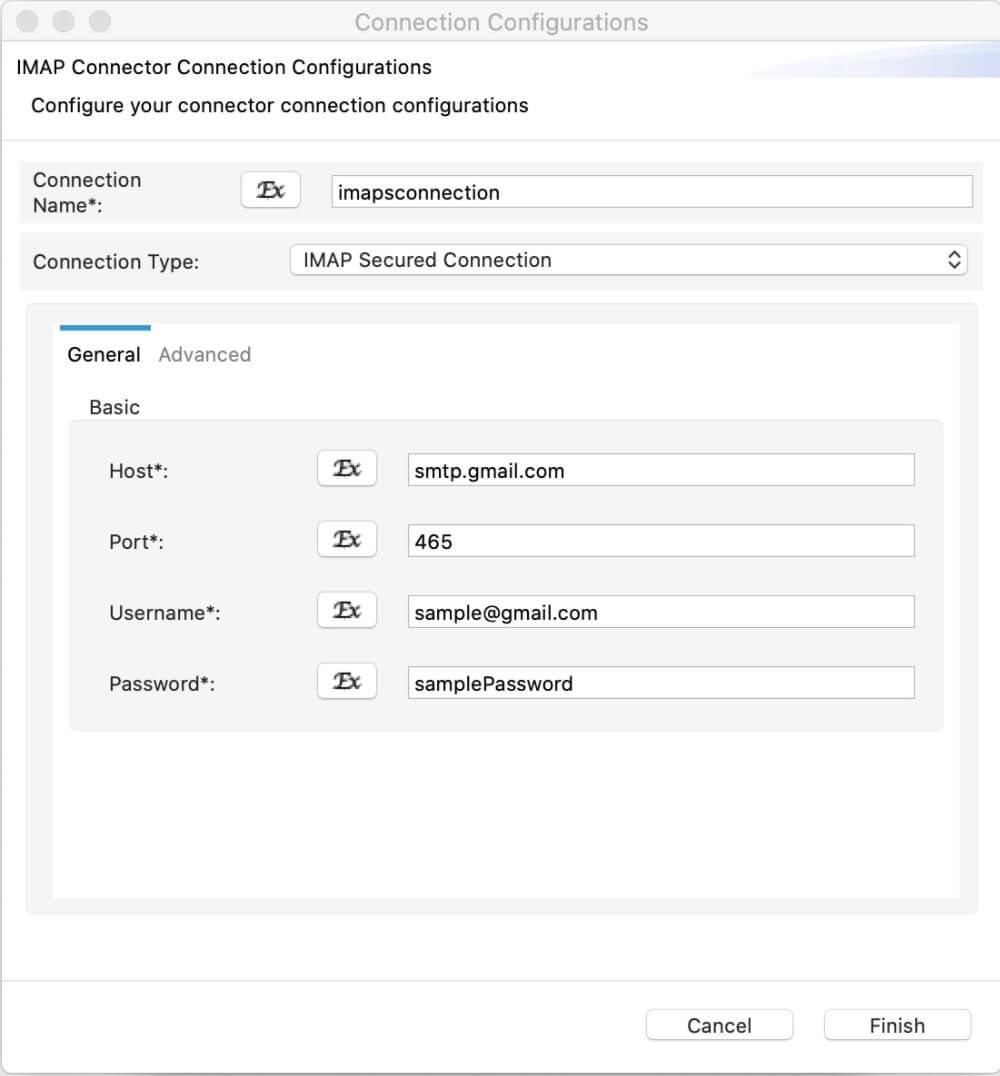
For recently updated connector versions, you need to create a connection, add configurations, and associate your connection with operations.
For recently updated connector versions, this is available from WSO2 Integration Studio 7.1.0 onwards. When creating a connection you can provide configuration values and they will get saved as a local-entry internally.

For connector versions that were not updated recently
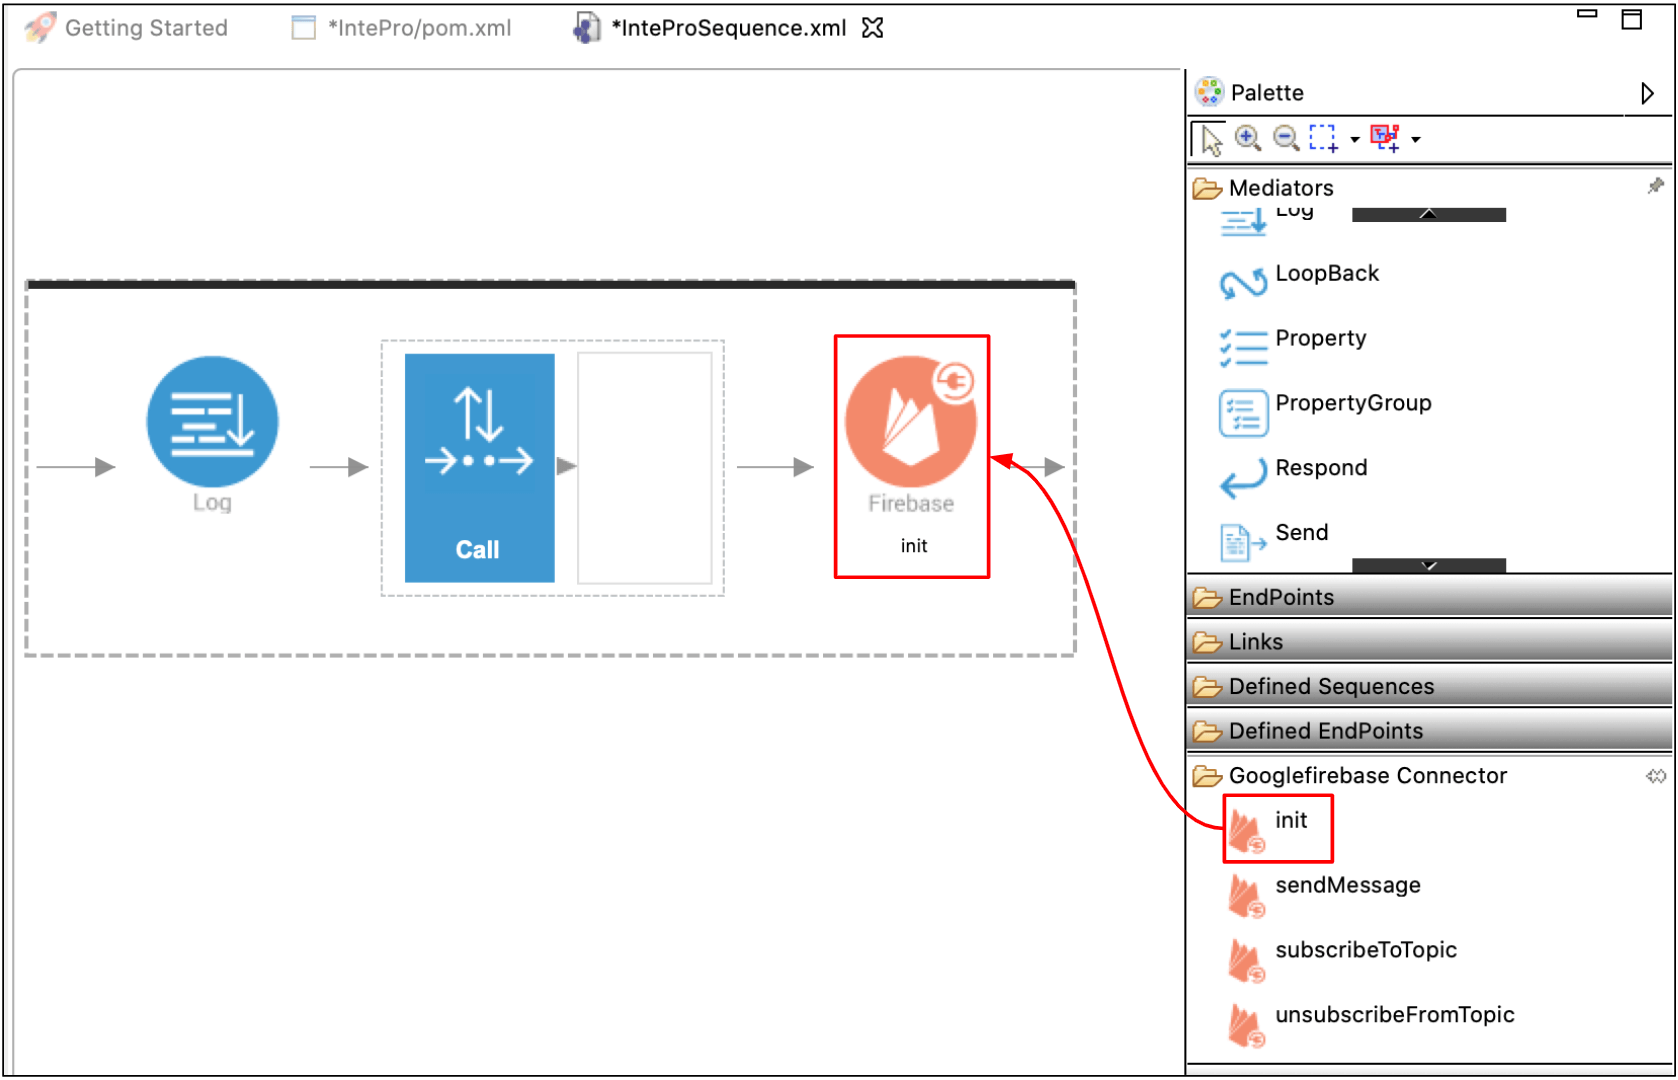
For connector versions that were not updated recently, you need to use the init operation
You can refer to the documentation of the relevant connector and configure the init operation of it. This operation needs to be applied before any other operation of the same connector when you design mediation logic. The init operation is visible only for older connector versions in WSO2 Integration Studio.

Instead of having the init operation before each connector operation, you can create an inline XML local-entry with the XML configuration of the init operation configuration and refer to it at the beginning of each connector operation.
Externalizing connector initialization parameters
Externalizing connection init parameters is important because it enables you to inject environment specific parameters without modifying the integration logic you deploy. The recommended approach to perform this is using environment specific CAR applications.
No matter whether you create a new connection or create a local entry manually with init operation configuration, at the end you will have connector initialization configurations as local entries. Connector operations will refer them by their names. This enables us to group local entries related to connector configurations as a separate CApp.
Keeping local entry names unchanged, you can create configurations specific to different environments and export them into different CApps. Upon deployment, it is possible to deploy this CApp along with other CApps containing integration logic
The following are some other ways to externalize connection initialization parameters. This is specific to connector init operation parameters (for previous connector versions) or for connection parameters when creating new connector connections (newer connector versions).
-
Specify an expression to read them as system variables (i.e.,
get-property('System','email.hostName')). Then you can pass the values for system variables in the<PRODUCT_HOME>/bin/integrator.shscript. You can do this specific to the environment. -
Specify an expression to read them as registry variables (i.e.,
get-property(get-property('registry','conf:<path to resource from config>'))). Then you can provide values in the registry specific to the environment at the registry path specified. Make sure you share the registry between the nodes if setting up a server cluster.
Deployment
There are no special requirements when deploying the integration runtime with artifacts that has connectors. However, the following facts need to be considered.
To seamlessly refresh tokens, use a registry location that is visible to all cluster members (for example, config registry mounted). Here the refresh token value should be passed as a connector parameter. For detailed information on how this can be done for the relevant connectors, see the relevant documentation.
Performance tuning and monitoring
SaaS connectors use HTTP/HTTPS protocol to communicate. They use the WSO2 mediation engine itself. Hence HTTP protocol related tunings are applied.
Technology connectors use protocols that are custom. Thus their tuning needs to be done at the connector itself. All connection related tunings are present in the form you get when you create a new connection for the connector. For the older connectors, configurations will be present in the init operation.
Please refer to the reference documentation of the connector for details.
Troubleshooting
Enable detailed logging
Connector implementations will have DEBUG and TRACE level logs. You can enable them to see in detail what is going on with the connector.
-
See Configuring Log4j2 Properties section of the documentation on how to enable DEBUG logs specifically for a Java package and on how to view the logs.
-
To get the package name of the connector implementation, refer the How to contribute section of the overview page of connector documentation.
Note
Add fault sequences to the enclosing entities of connector operations (e.g., API resource) to gracefully handle the errors.
Enable wire logging
For SaaS connectors that use the HTTP transport of the integration runtime, developers can enable wire logs to see details of the messages that are sent from the runtime to the back-end service and the response sent back. This is useful to check the exact message that is sent out by the connector to the back-end service. See documentation on monitoring wire logs for instructions on how to enable wire logs.
Mediation debug
WSO2 Integration Studio provides debugging capabilities. You cannot use mediation debugging to debug templates packaged inside a connector. However, you can use it to check the following.
- Whether you are passing the correct message into the connector operation.
- Whether your input parameters for connector operations contain the expected values.
- What is the response message after using connector cooperation.
Please refer to the Debugging Mediation documentation for instructions on how to use mediation debugging.
Debugging connector code
You can get the source code of the connector and remotely debug it with your scenario to find out issues. Refer to the "How to contribute” section of the connector overview page, get the GitHub repository, clone it, checkout the relevant version, and debug. It is open source!
Start the server with ./integrator.sh -debug <port> and connect to that port from your IDE (IntelliJ IDEA).
Report an Issue
Click on the Report Issue button on the connector store page for the connector. You will get diverted to the GitHub repository of the connector. Please report your issues there.
It is preferable to create another issue at WSO2 Micro Integrator project and link that issue. Specify the title of the issue as [Connector]<title>.