Applying Security to a Proxy Service
Follow the instructions below to apply security to a proxy service via WSO2 Integration Studio:
Prerequisites
Be sure to configure a user store for the Micro Integrator and add the required users and roles.
Step 1 - Create the security policy file
Follow the instructions given below to create a WS-Policy resource in your registry project. This will be your security policy file.
-
Create a registry resource project.
-
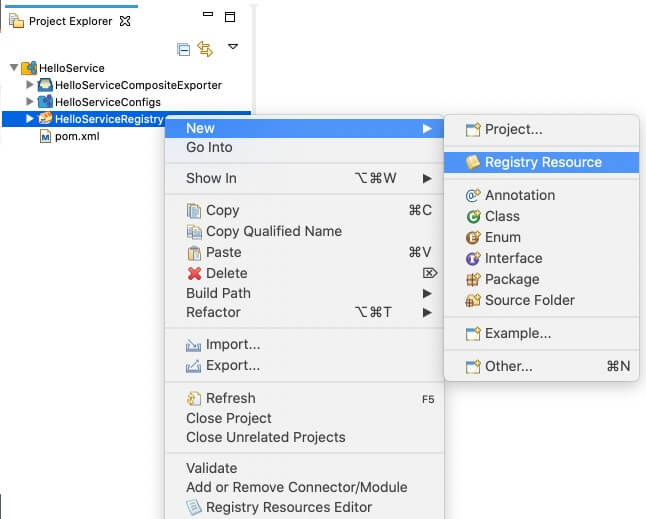
Right-click on the registry resource project in the left navigation panel, click New, and then click Registry Resource.
The New Registry Resource window appears.
-
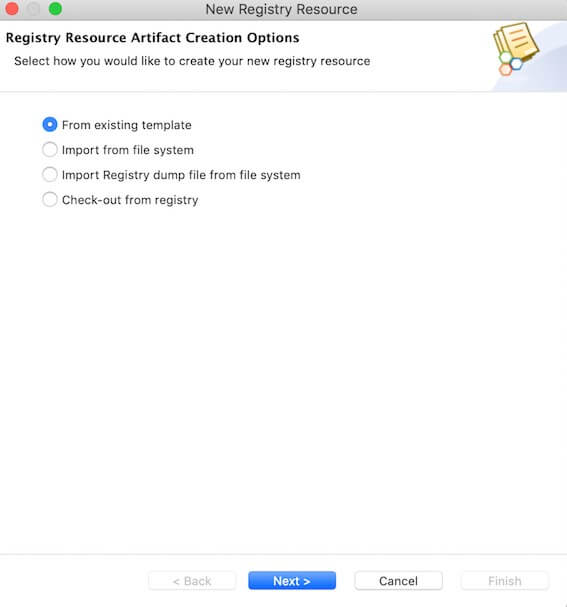
Select From existing template and click Next.
-
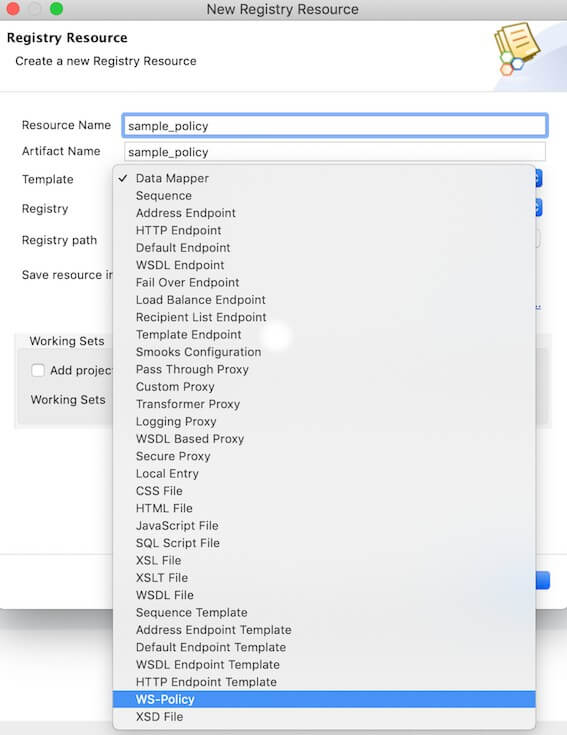
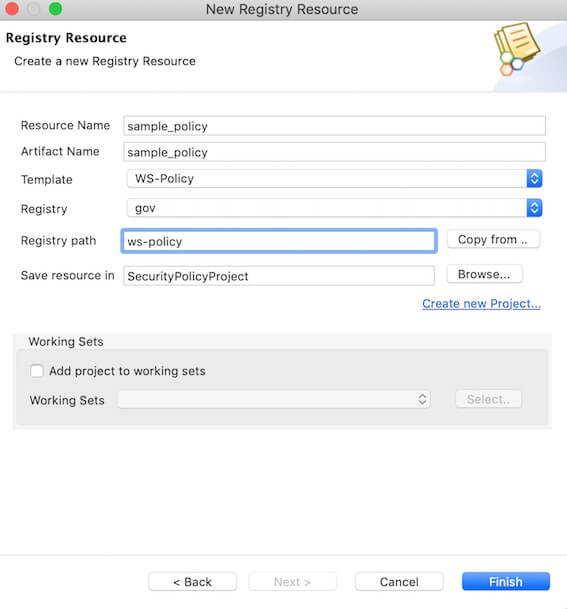
Enter a resource name and select the WS-Policy template along with the preferred registry path.
-
Click Finish.
The policy file is now listed in the project explorer as shown below.

-
Double-click on the policy file to open the file.
Note that you get a Design View and Source View of the policy.
-
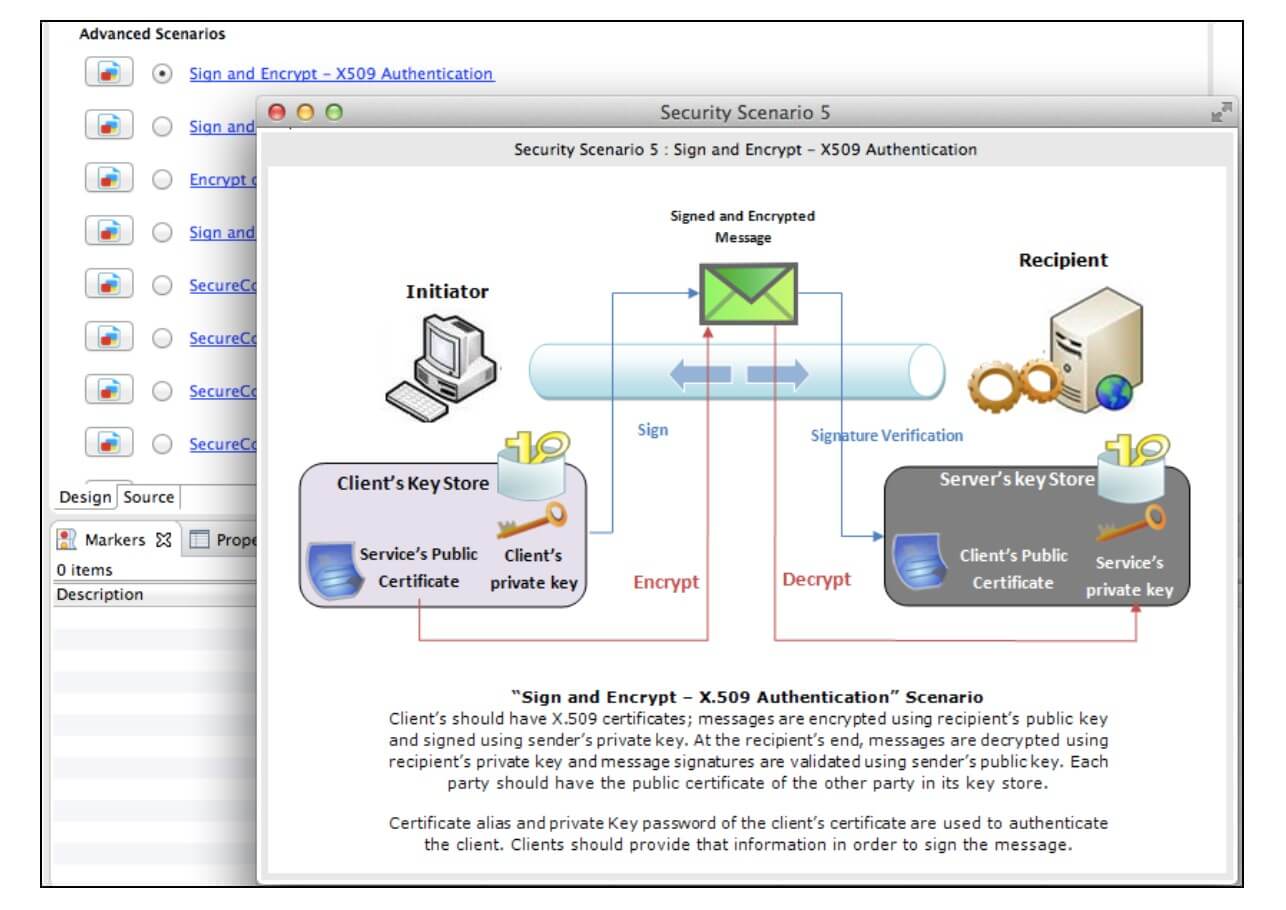
Let's use the Design View to enable the required security scenario.
For example, enable the Sign and Encrypt security scenario as shown below.
Tip
Click the icon next to the scenario to get details of the scenario.
-
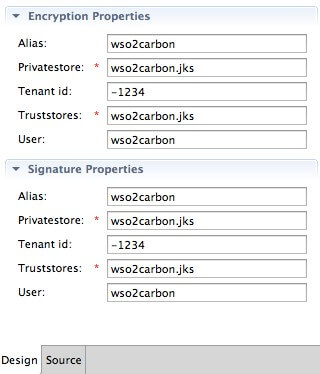
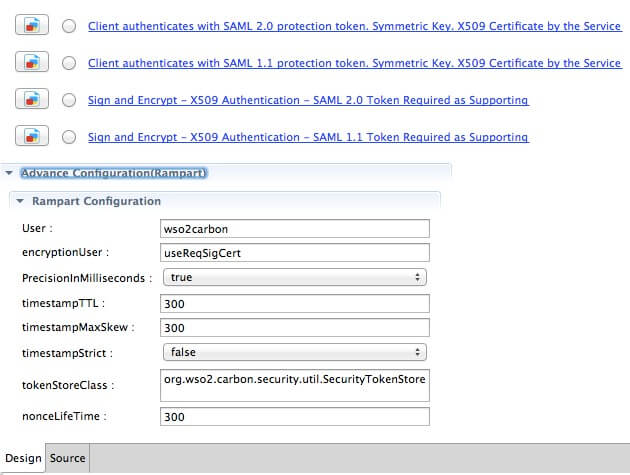
You can also provide encryption properties, signature properties, and advanced rampart configurations as shown below.
Encryption/Signature Properties
Rampart Properties
Info
-
Change the tokenStoreClass in the policy file to
org.wso2.micro.integrator.security.extensions.SecurityTokenStore -
Replace ServerCrypto class with
org.wso2.micro.integrator.security.util.ServerCryptoif present.
-
Step 2 - Add the security policy to the proxy service
-
Add a proxy service to your workspace.
You can do either one of the following actions for this purpose.
-
Double-click the proxy service on the project explorer to open the file and click on the service on design view.
-
Select the Security Enabled property in the Properties tab.

-
Select the Browse icon for the Service Policies field. In the dialog box that opens, create a new record and click the Browse icon to open the Resource Key dialog as shown below.
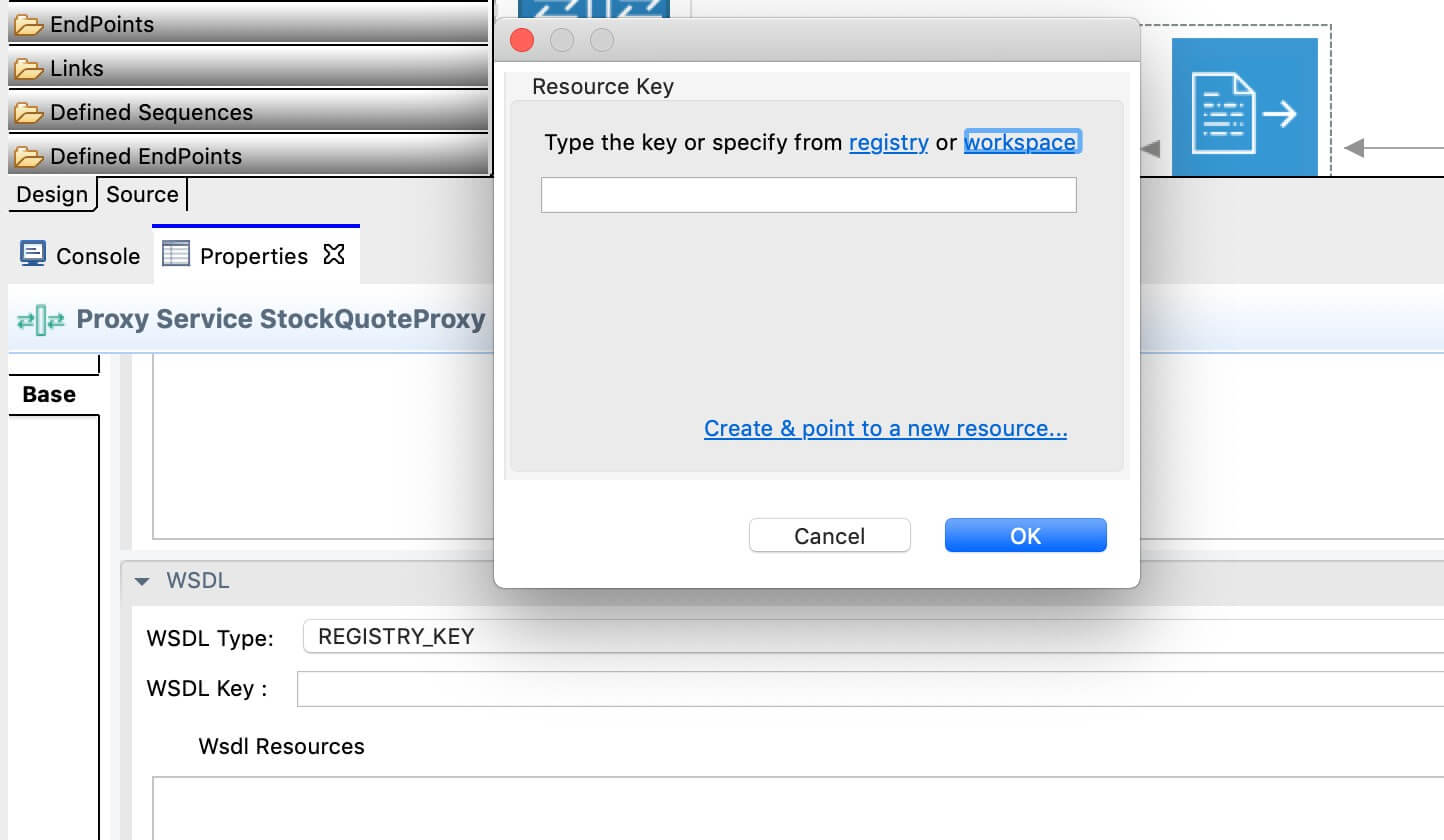
-
Click workspace, to add the security policy from the current workspace. You can select the path to the
sample_policy.xmlfile that you created in the previous steps.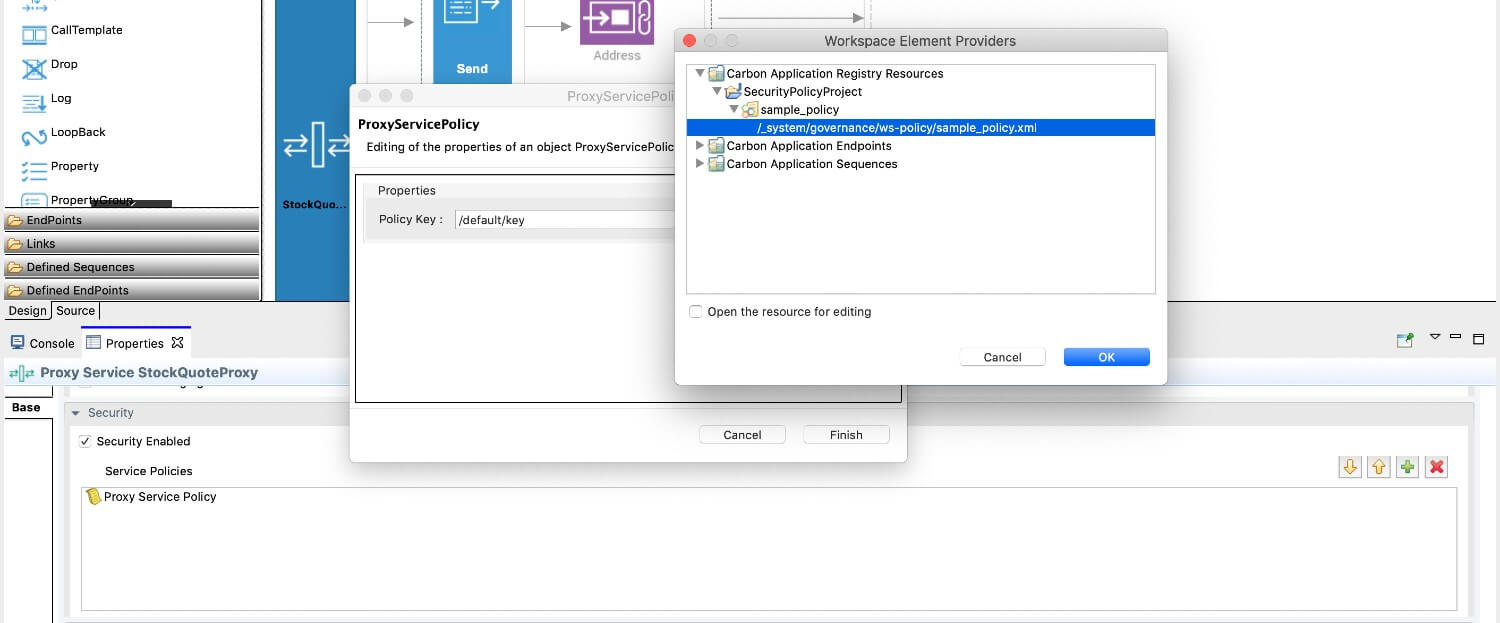
-
Save the proxy service file.
Step 3 - Package the artifacts
Package the artifacts into a composite application project.
Step 4 - Build and run the artifacts
Step 5 - Testing the service
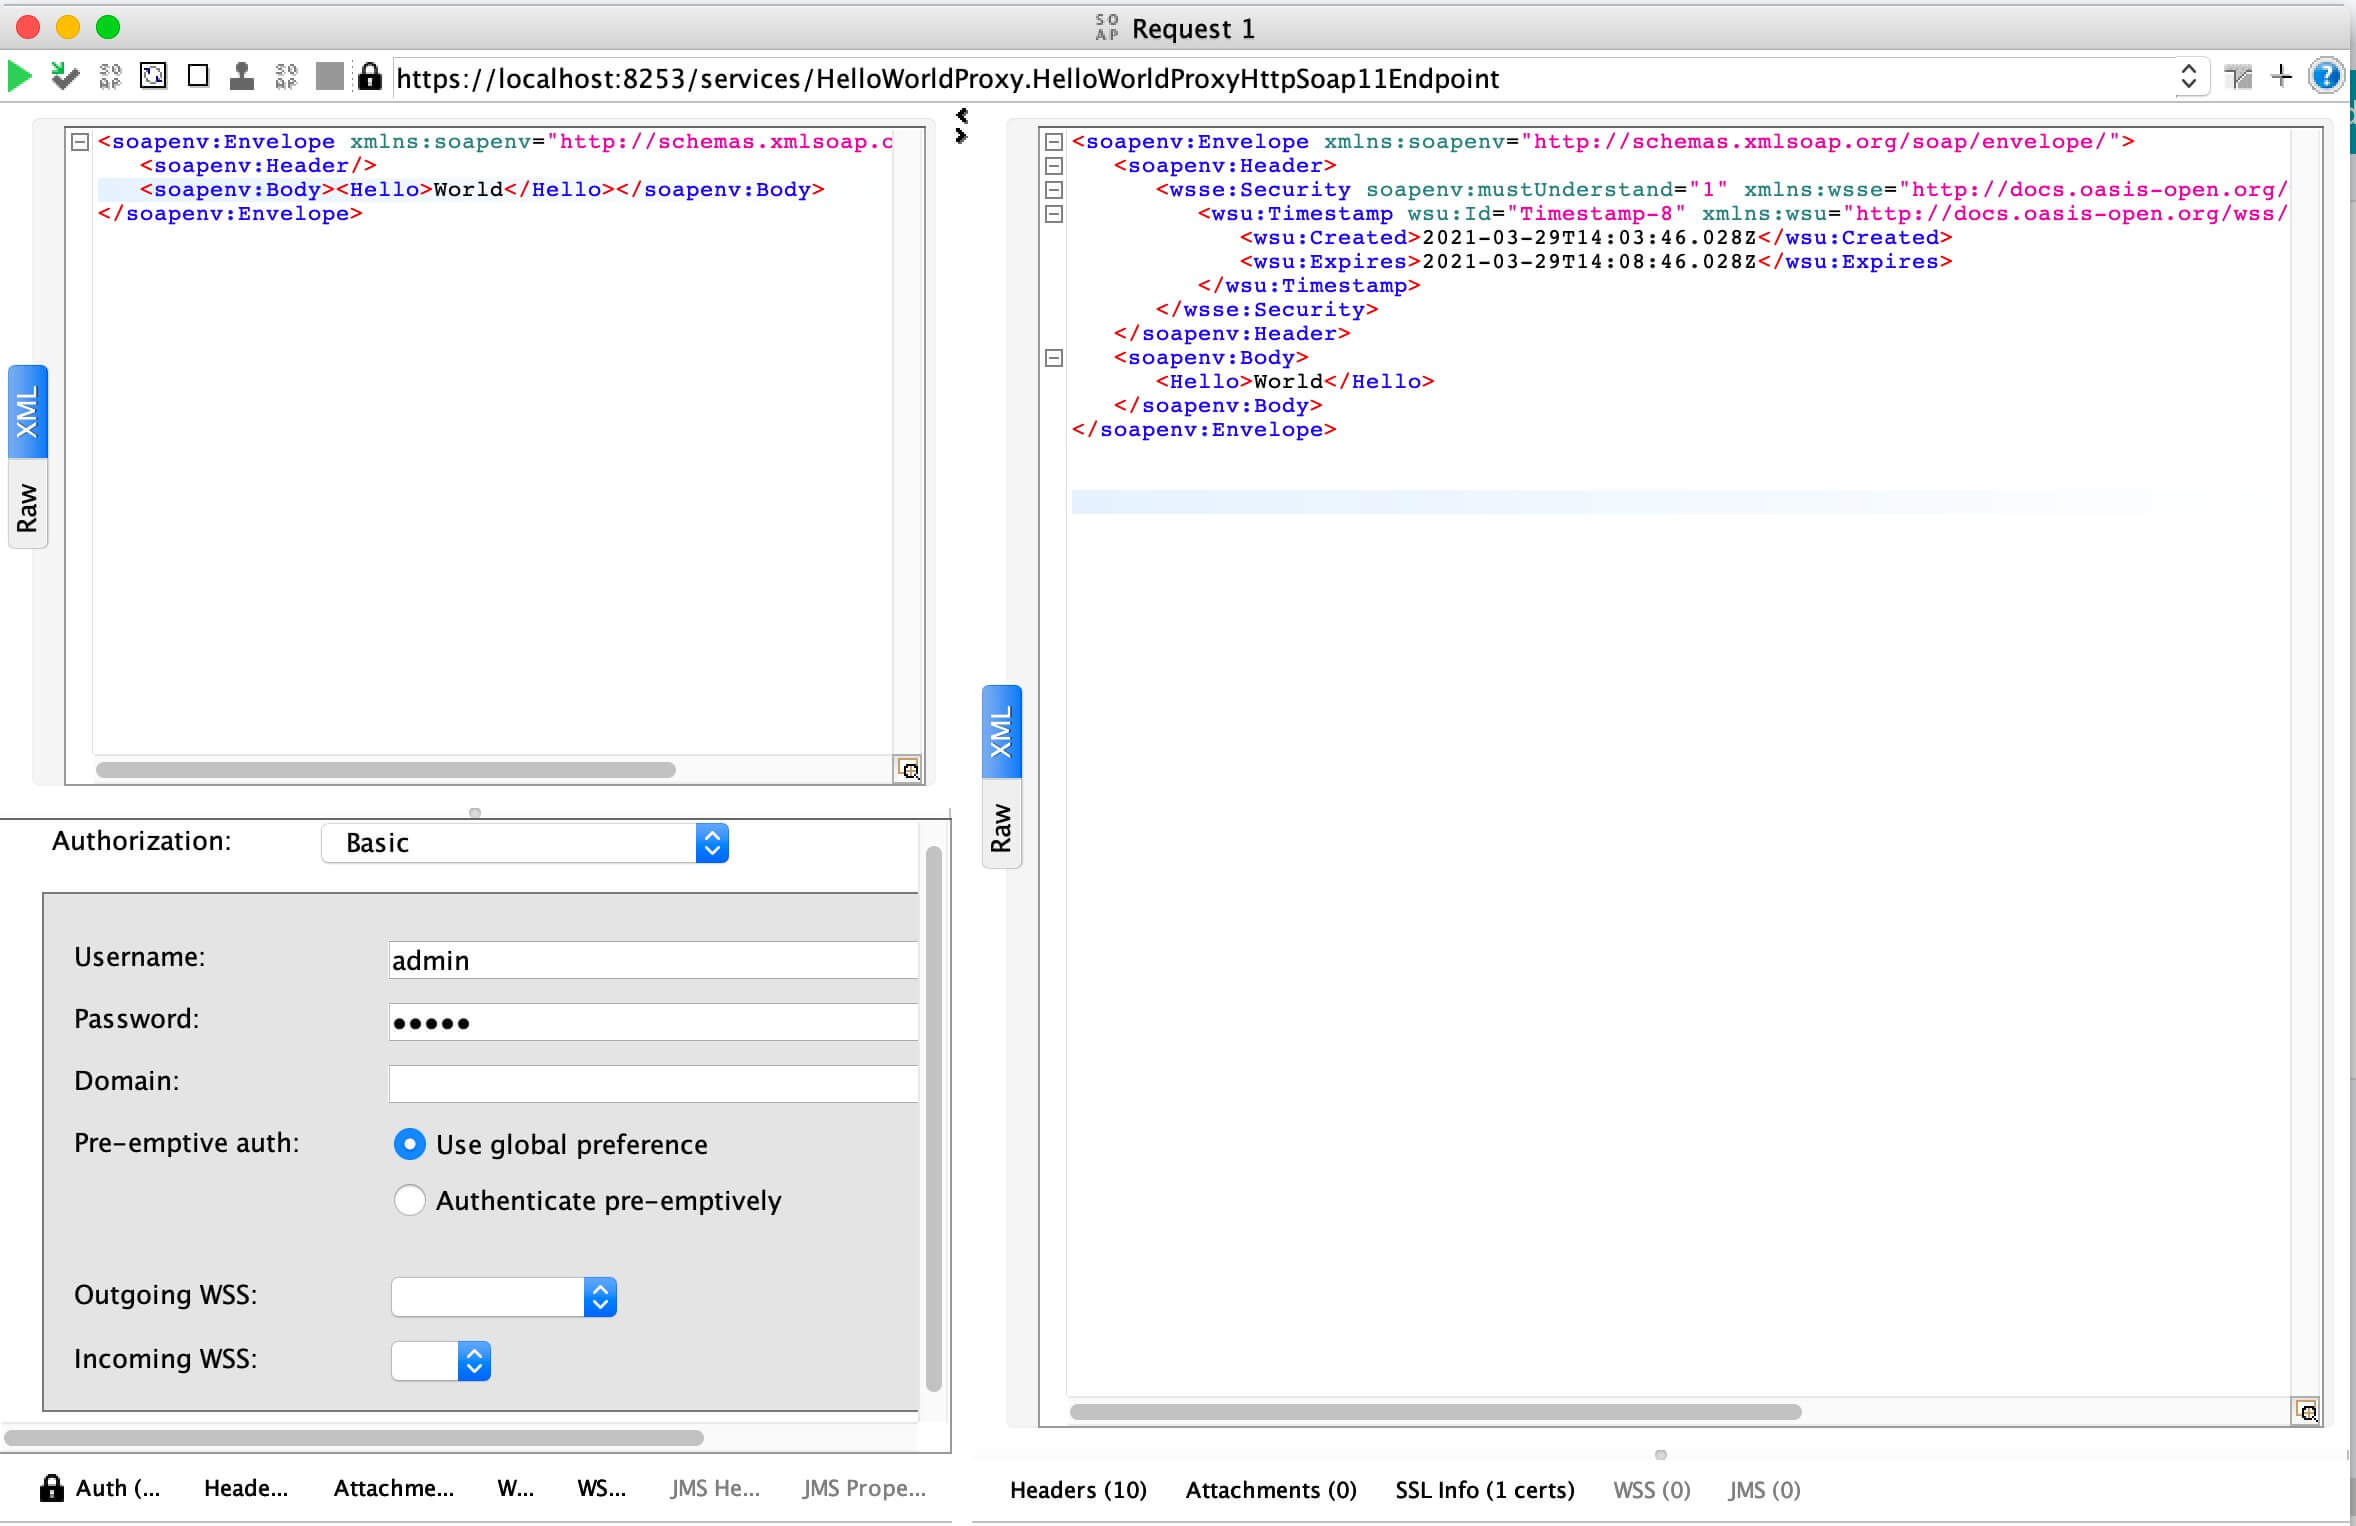
Create a Soap UI project with the relevant security settings and then send the request to the hosted service.
General guidelines on testing with SOAP UI
-
Create a "SOAP Project" in SOAP UI using the WSDL URL of the proxy service.
Example:
http://localhost:8280/services/SampleProxy?wsdl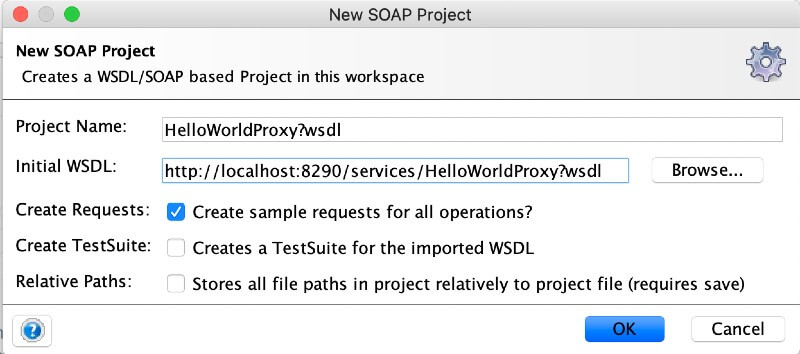
-
Double click on the created SOAP project, click on WS-Security-Configuration, Keystores, and add the WSO2 keystore.
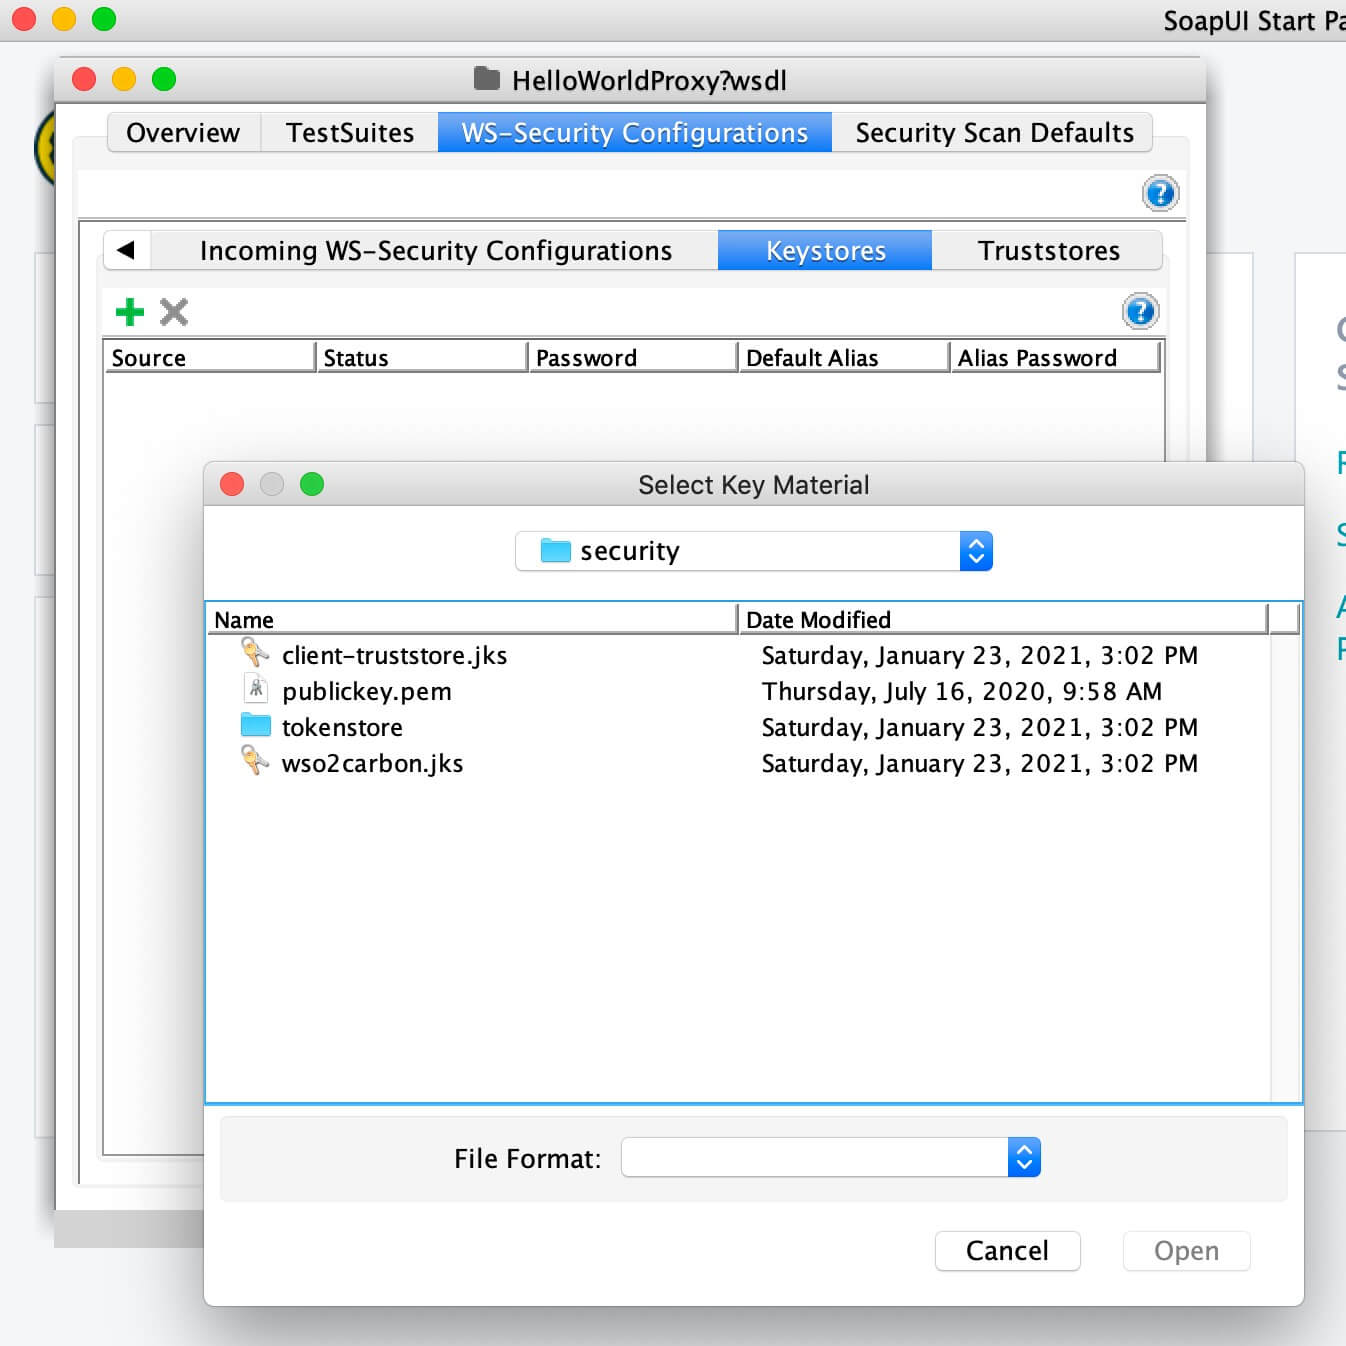
-
Enter the keystore password for the keystore configuration.
-
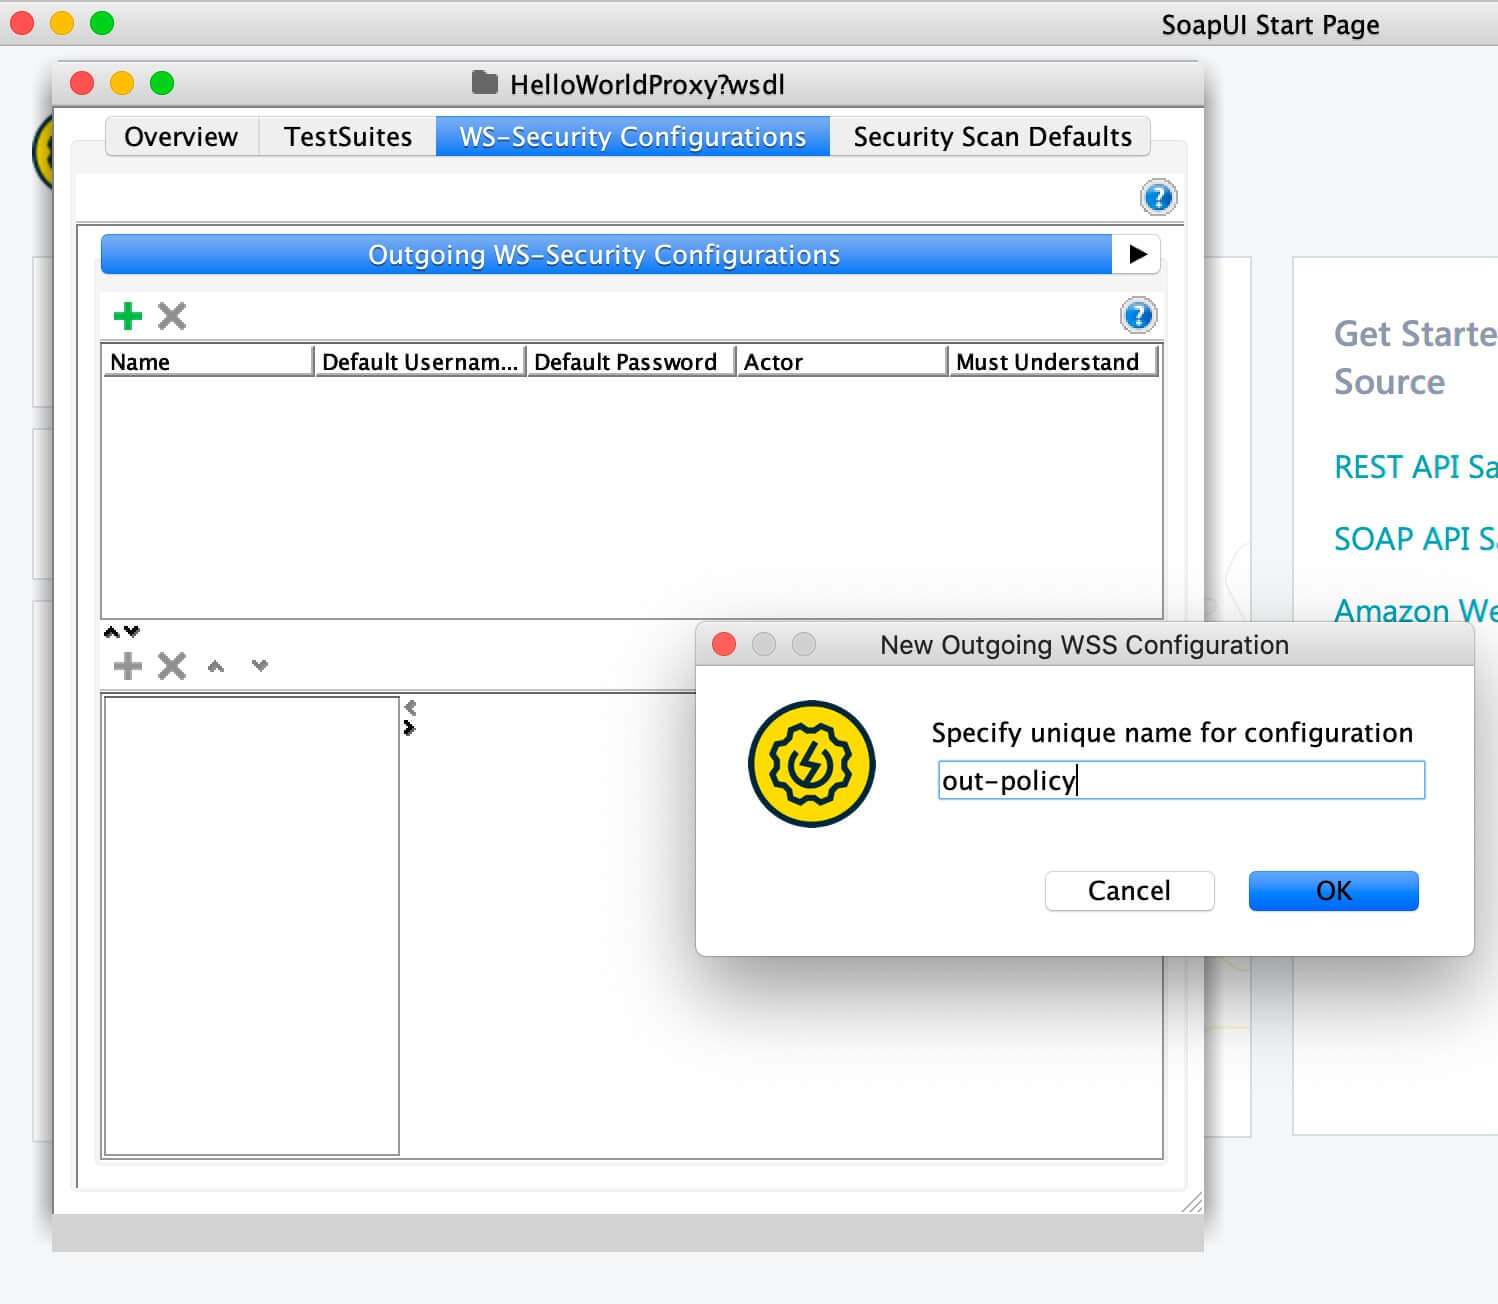
Click on Outgoing WS-Security Configuration, and add a new policy by specifying a name.
The name can be anything.
-
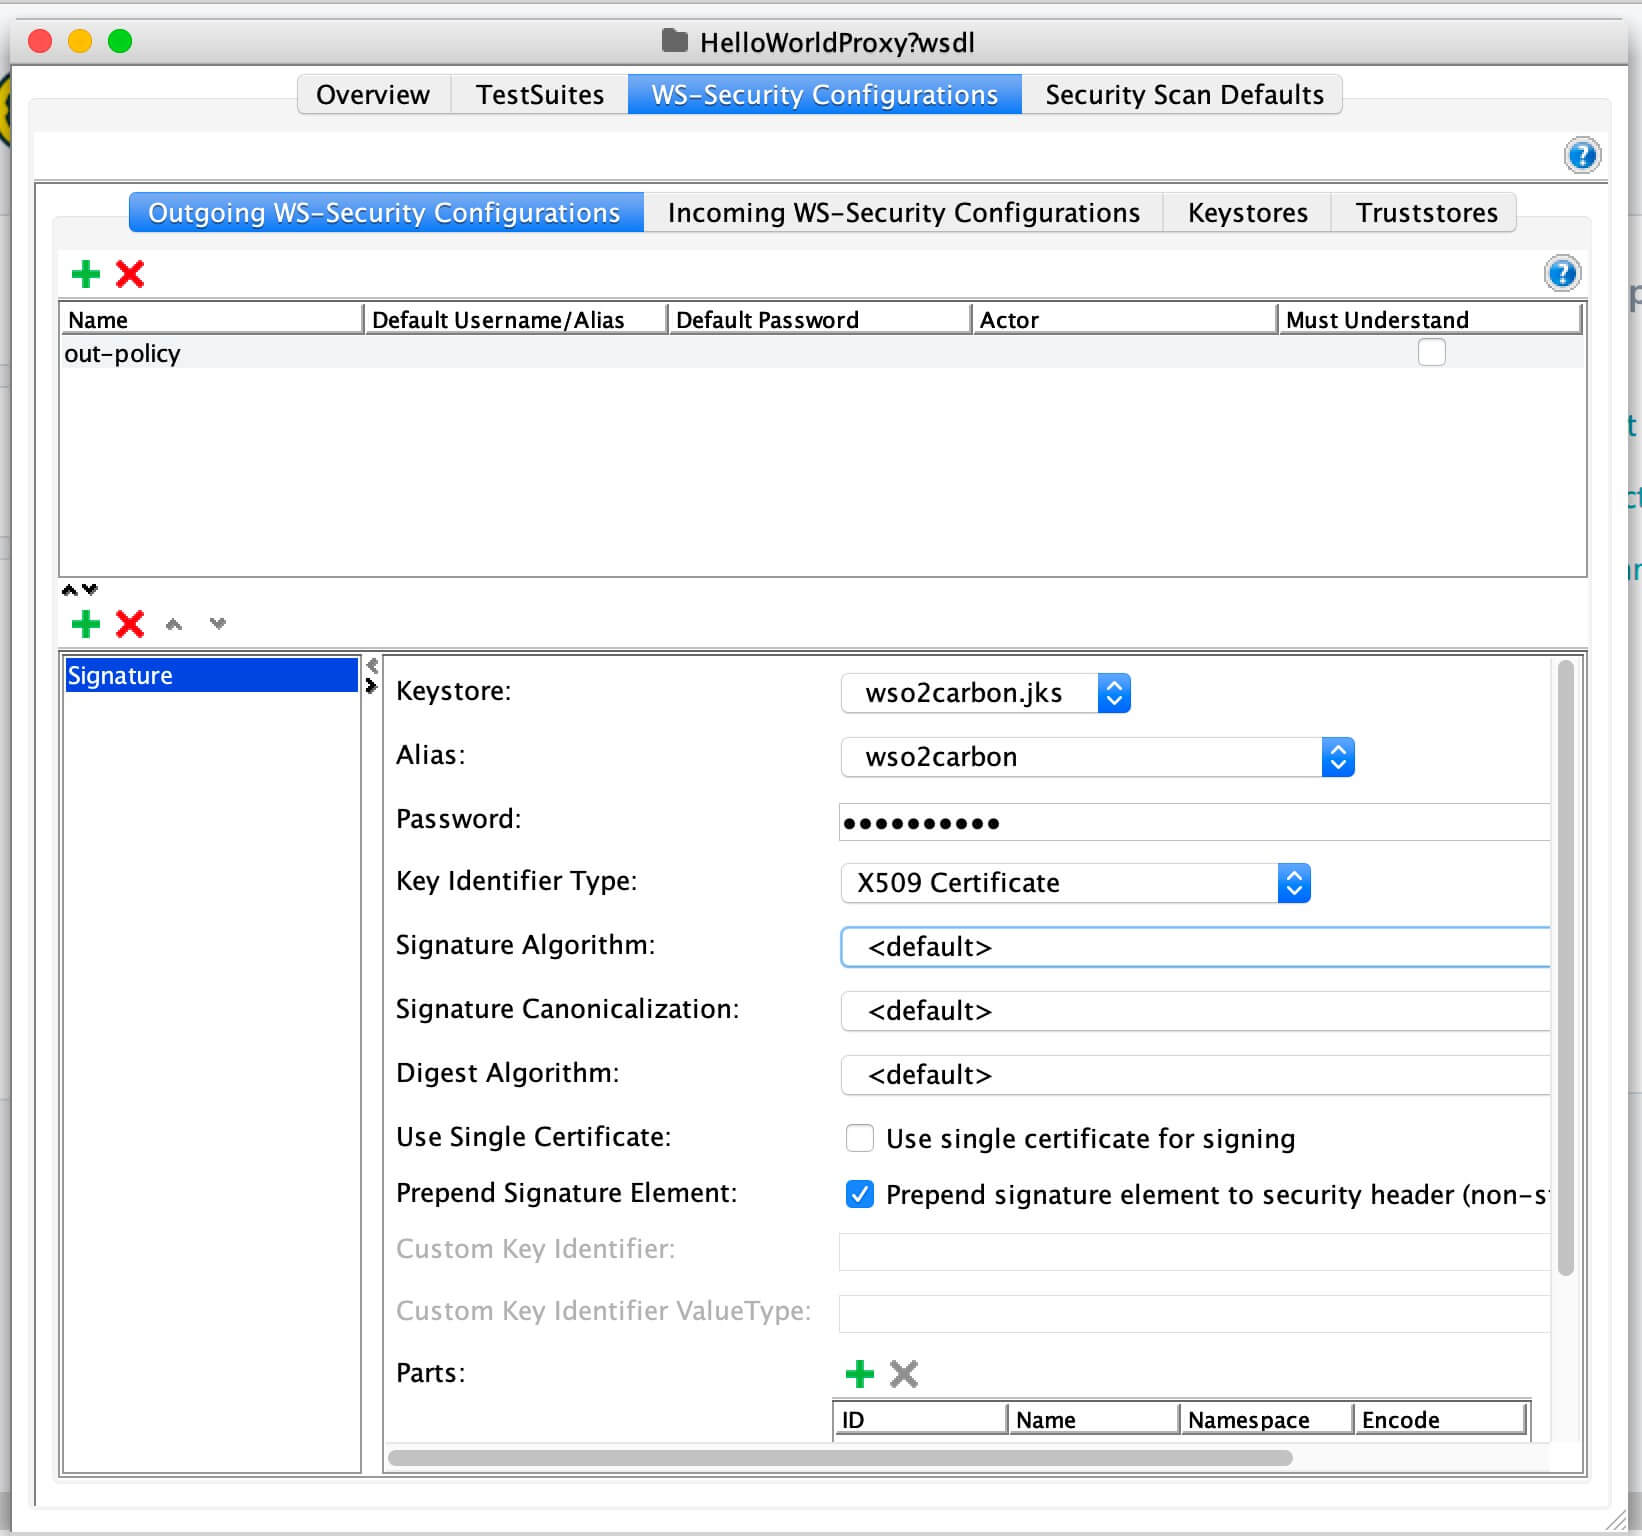
Add the required WSS entries for the created configuration.
What you need add will vary according to the policy you are using. The explanation about adding three main sections is given below.
-
Adding a Signature
-
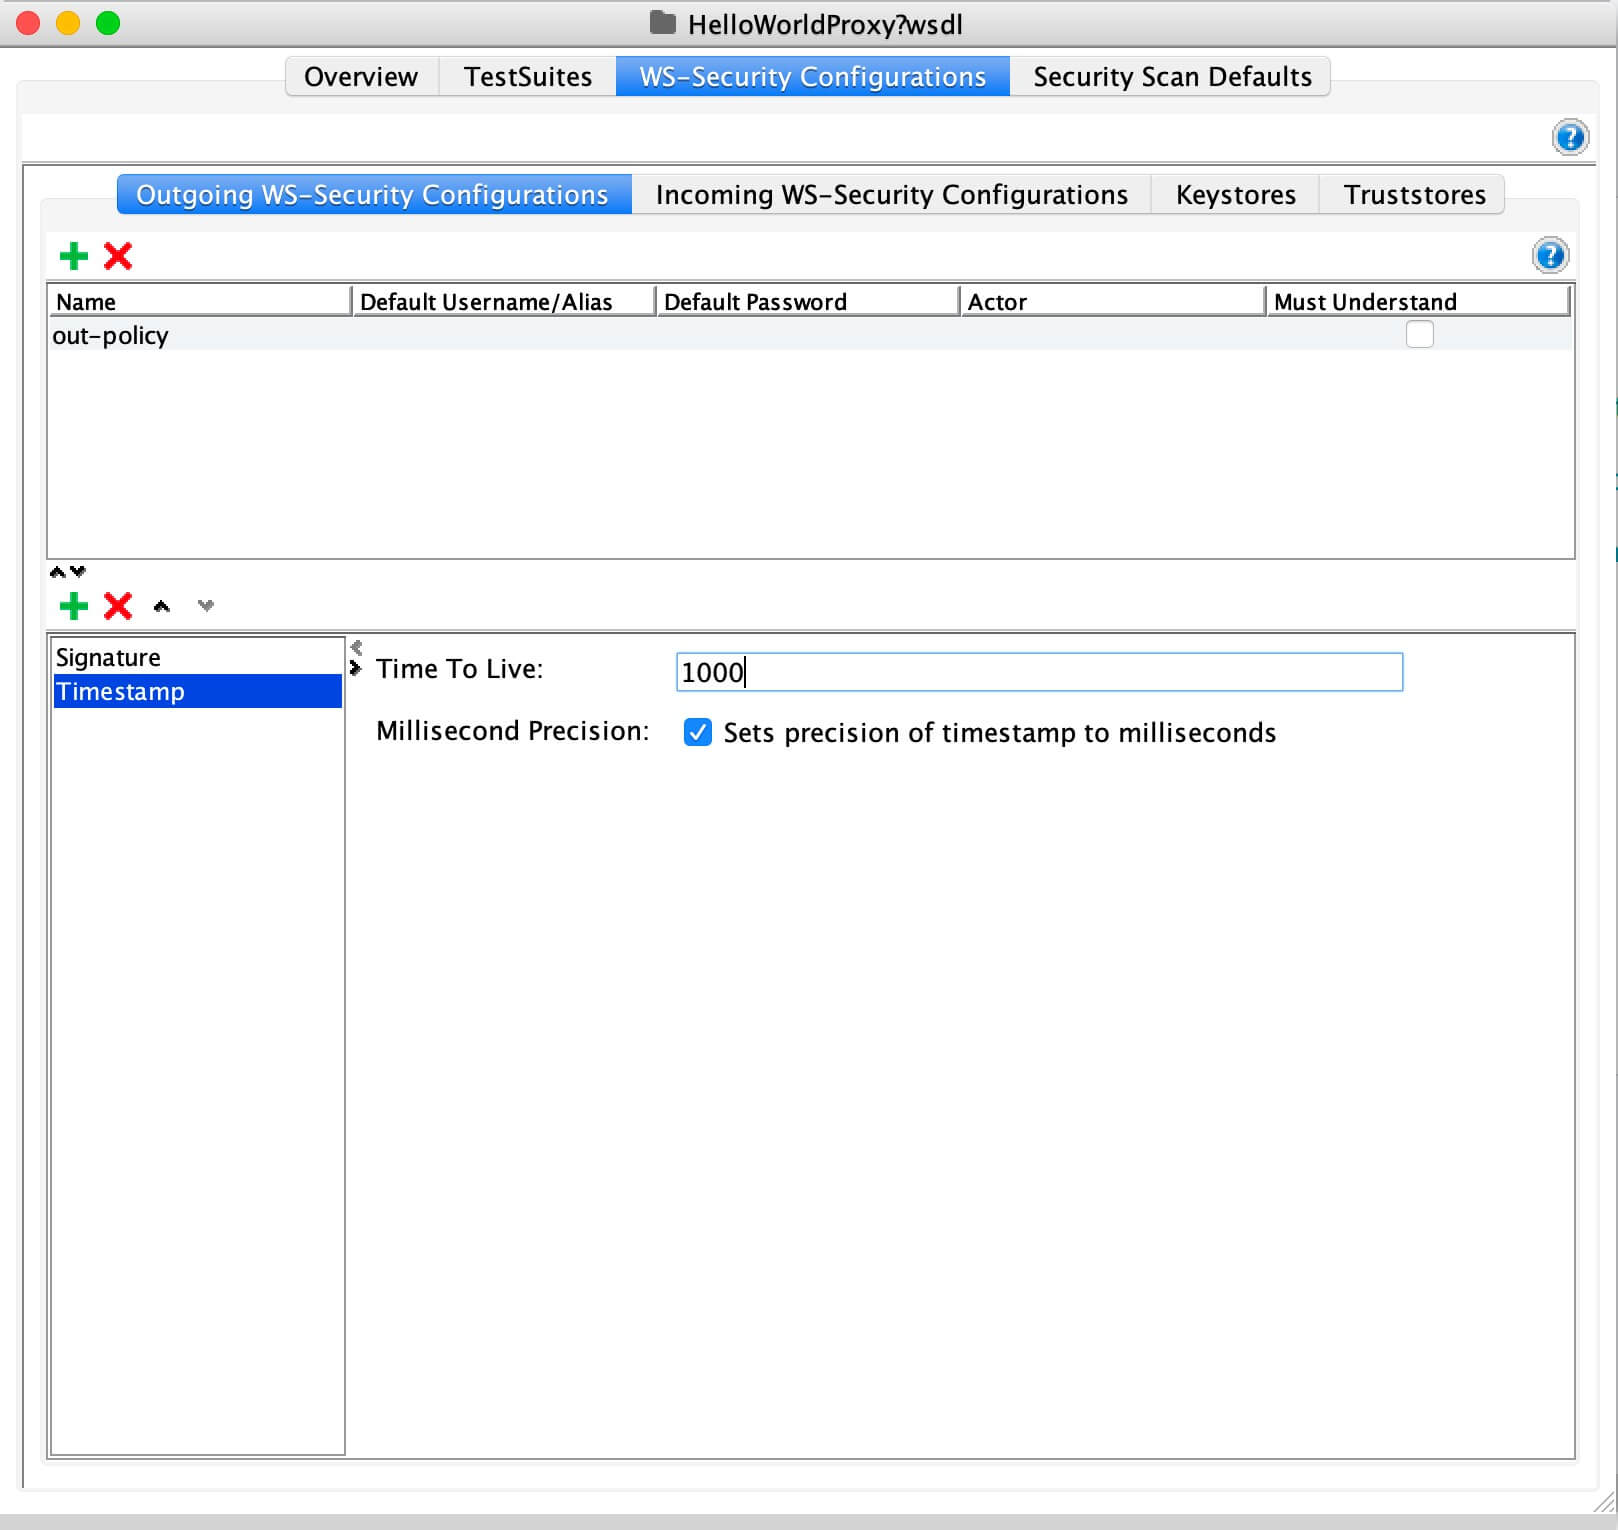
Adding a Timestamp
-
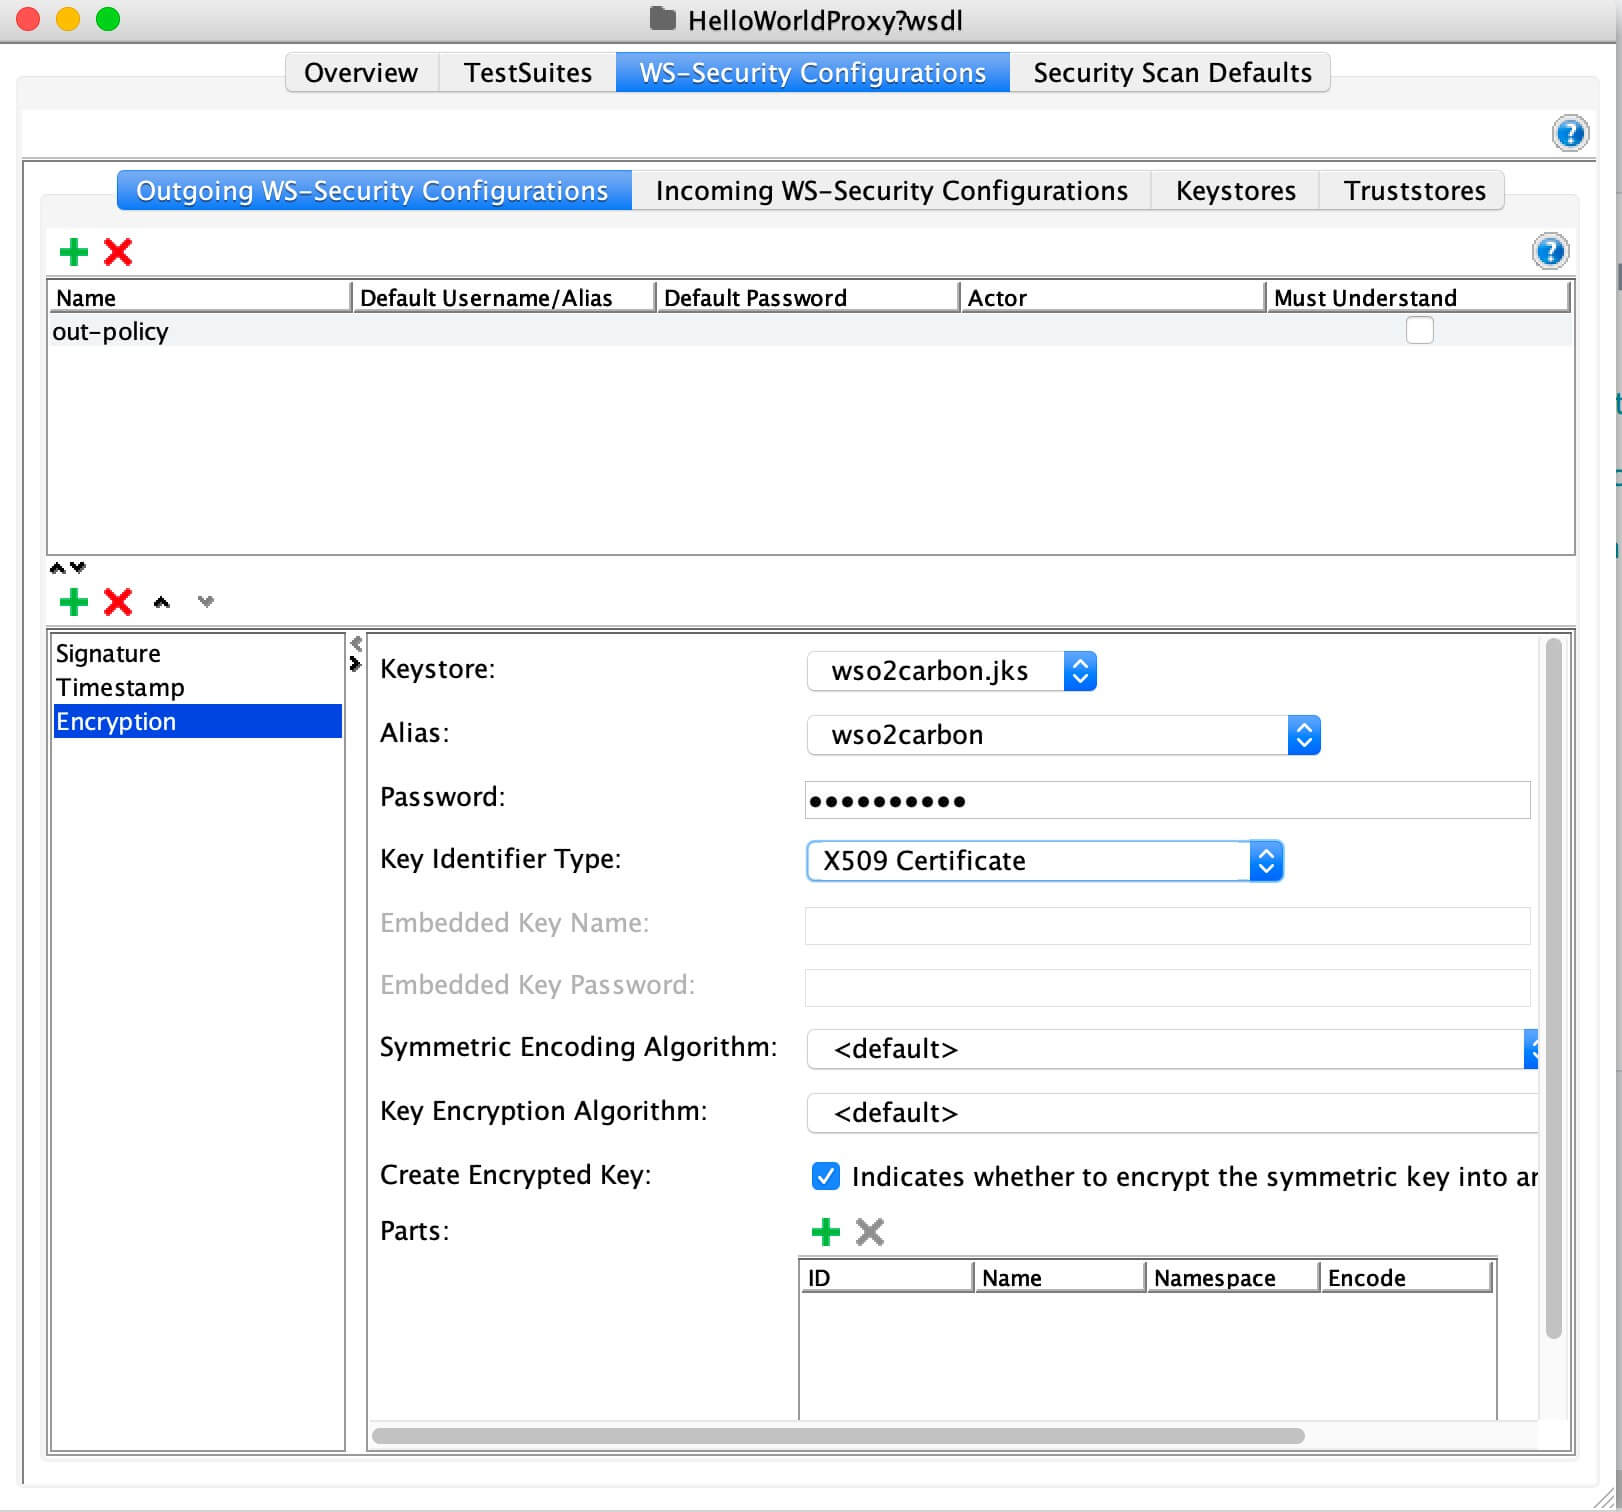
Adding an Encryption
Note
The order of the WS entries matters. So always add the above one after the other. If you are adding only two sections, you need to maintain the order.
-
-
Specify the created WS-policy under Outgoing WSS at the request Authorization.
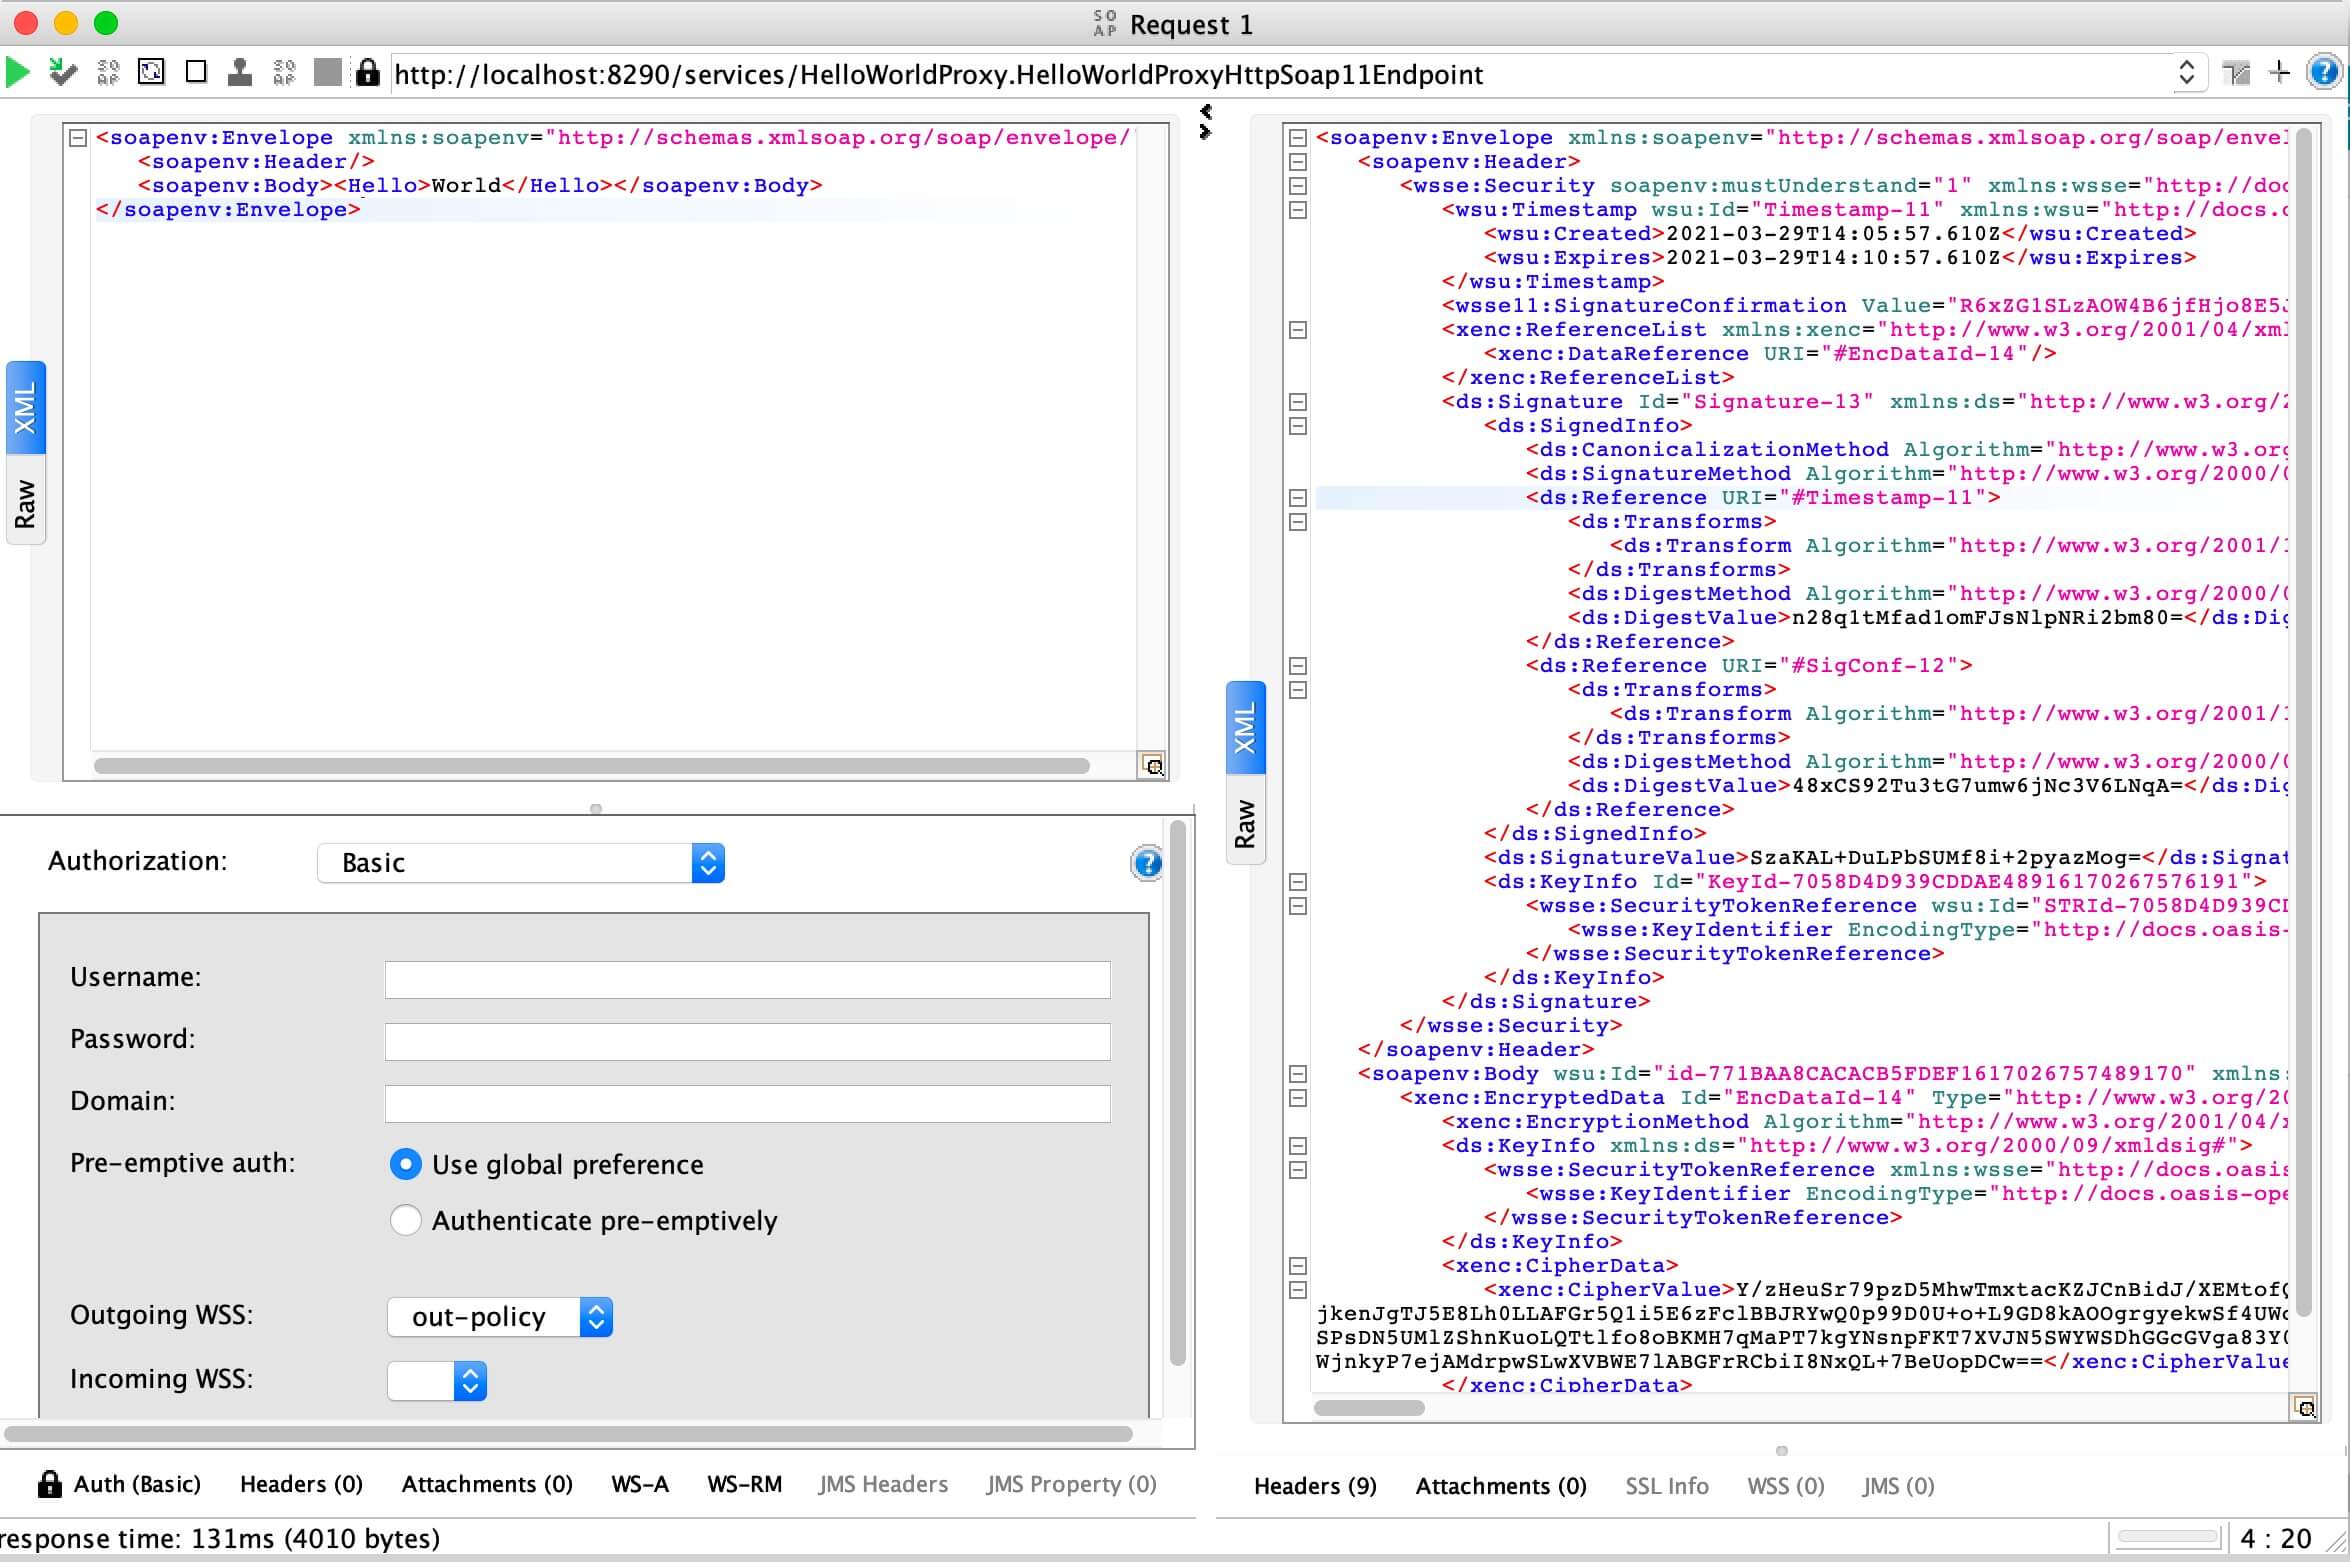
-
Invoke the Proxy Service.
Info
When defining the Outgoing WS-Security Configuration, you need to pick the WS entries based on your WS policy.
Eg:
- A Non Repudiation policy needs only Timestamp and Signature.
- A Confidentiality policy needs all three: Timestamp, Signature and Encryption.
-
You do not need to provide an Outgoing WS-Security Configuration for a Username Token policy. Providing the basic auth configuration is enough.