Create an API from an OpenAPI Definition
An OpenAPI definition is a format that describes REST APIs.
Follow the instructions below to create a REST API using an OpenAPI definition for an existing API.
Create an API using the basic flow
-
Sign in to the Publisher Portal of WSO2 API Manager.
https://<hostname>:9443/publisher(e.g.,https://localhost:9443/publisher).Note
The Create API button will only appear if you have the "creator" role permission.
-
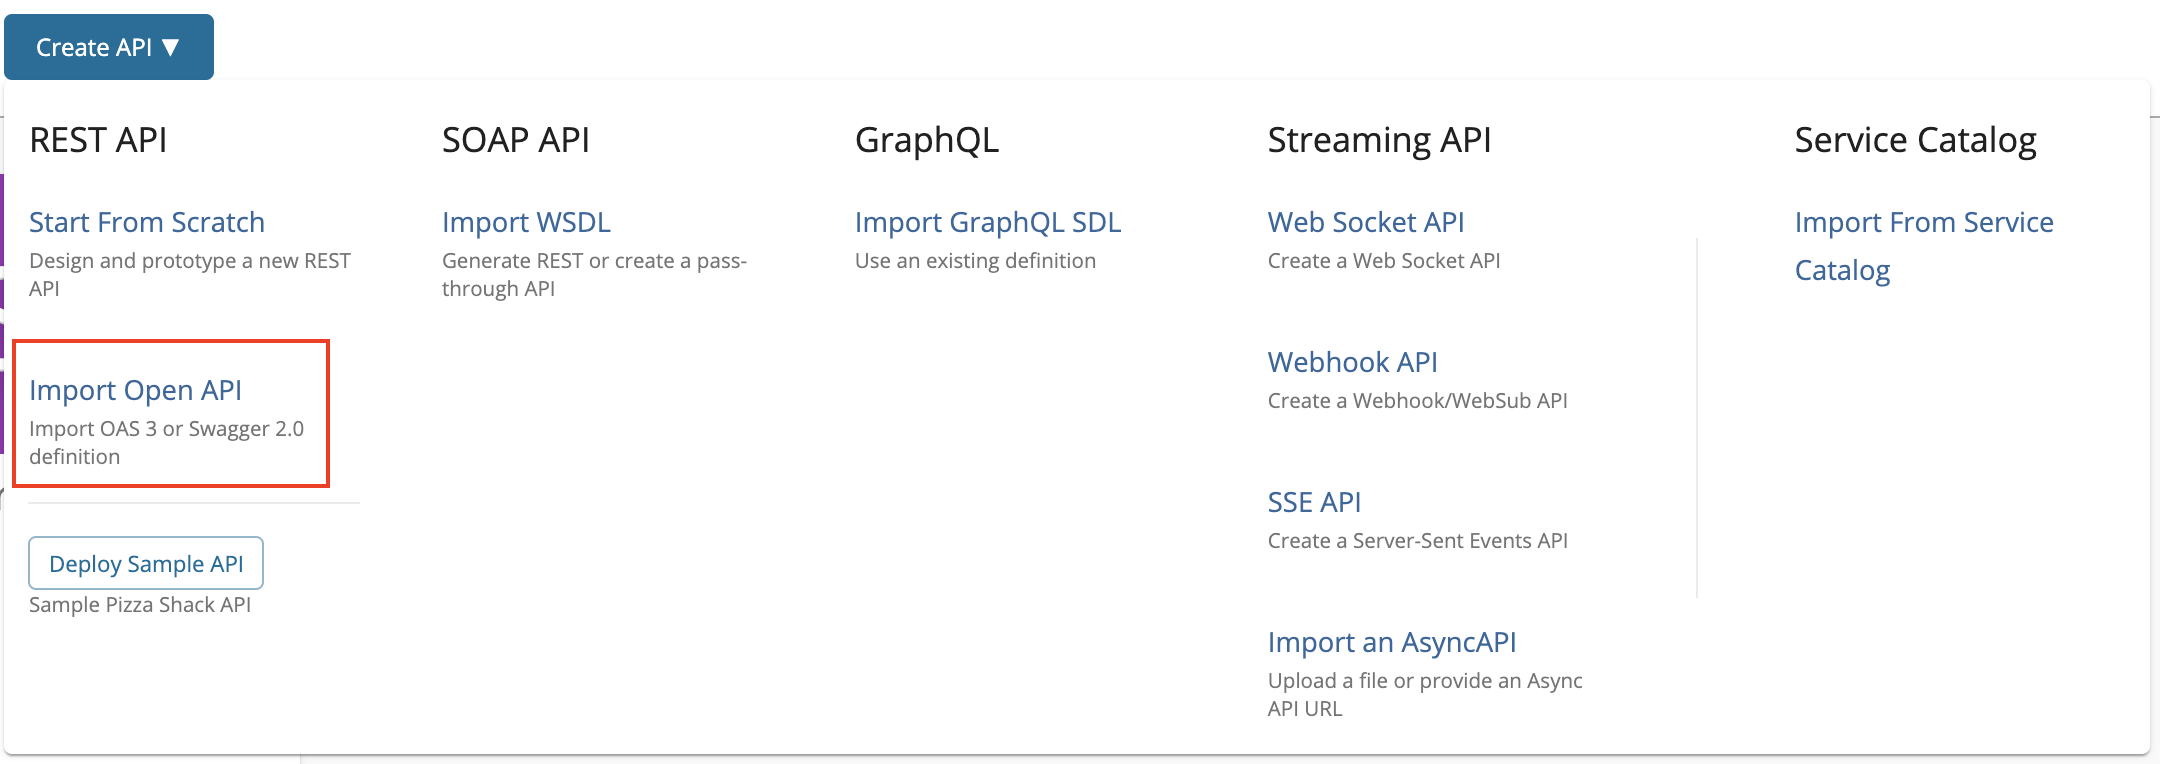
Click Create API and then click Import OpenAPI.
-
Select one of the following options:
- OpenAPI URL - If you select this option, you need to provide an endpoint URL.
- OpenAPI Archive/File - If you select this option, drag and drop or click Browse File to Upload to upload either an individual OpenAPI definition or an archive that has an OpenAPI definition with external file references.
Note
- You need to upload an archive if you have remote references in your API definition. - Sample OpenAPI archive
- If it is a single Swagger file without remote references, it can be imported directly, without zipping.
- When uploading an OpenAPI archive, the master Swagger file should be named as swagger.yaml/swagger.json. If not, the validation will fail at the point of API creation.
- Referenced files can be named independently.
- When archiving the Swagger files, make sure that it does not have any hidden folders (e.g.,
__MACOSX).
Tip
The Swagger definitions should be placed under one root folder and zipped.
Sample folder structures
    -masterFolder
      ---Swagger.json
      ---reference.json
      ---add.json
-masterFolder ---Swagger.json ---schemes ---pet.json ---add.jsonIn the above sample, every Swagger definition is placed inside one root folder namely
masterFolder. -
Select OpenAPI URL and provide
https://petstore3.swagger.io/api/v3/openapi.jsonas the URL. Click Next.If you want to work with the Swagger 2.0 definition instead of the OpenAPI 3.0 definition
If you want to work with a Swagger 2.0 definition, use
http://petstore.swagger.io/v2/swagger.jsonas the OpenAPI URL.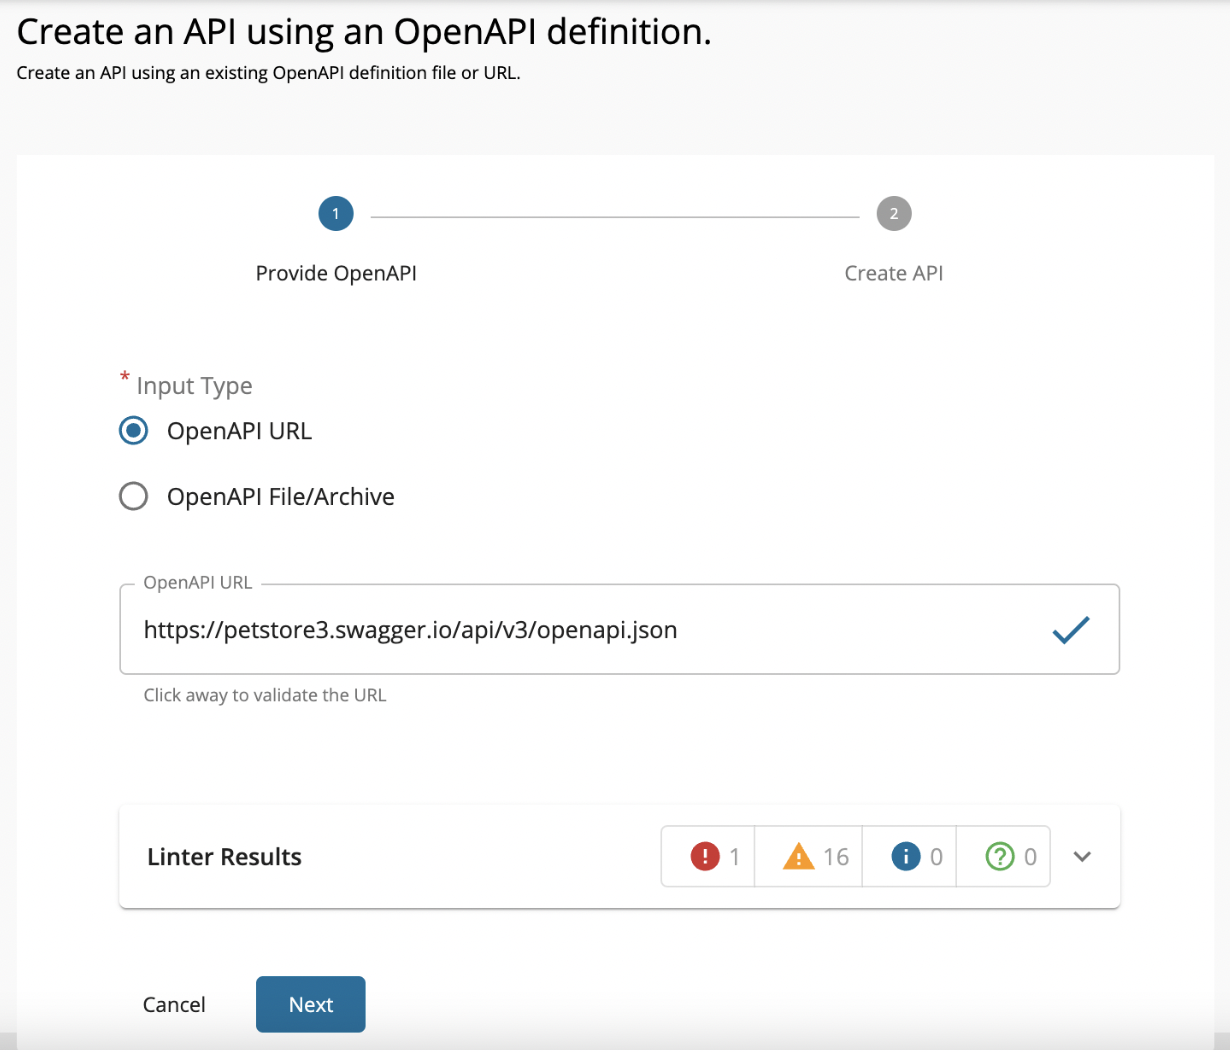
Tip
You can see the Linter results associated with the API here.
-
Edit the information as given below and click Create.
Note
Make sure to provide the correct endpoint at this step.
If you want to work with the Swagger 2.0 definition instead of the OpenAPI 3.0 definition
Field Sample value Name SwaggerPetstore Context /petstore Version 1.0.5 Endpoint https://petstore.swagger.io/v2 Field Sample value Name SwaggerPetstore Context /petstore Version 1.0.6 Endpoint https://petstore3.swagger.io/api/v3 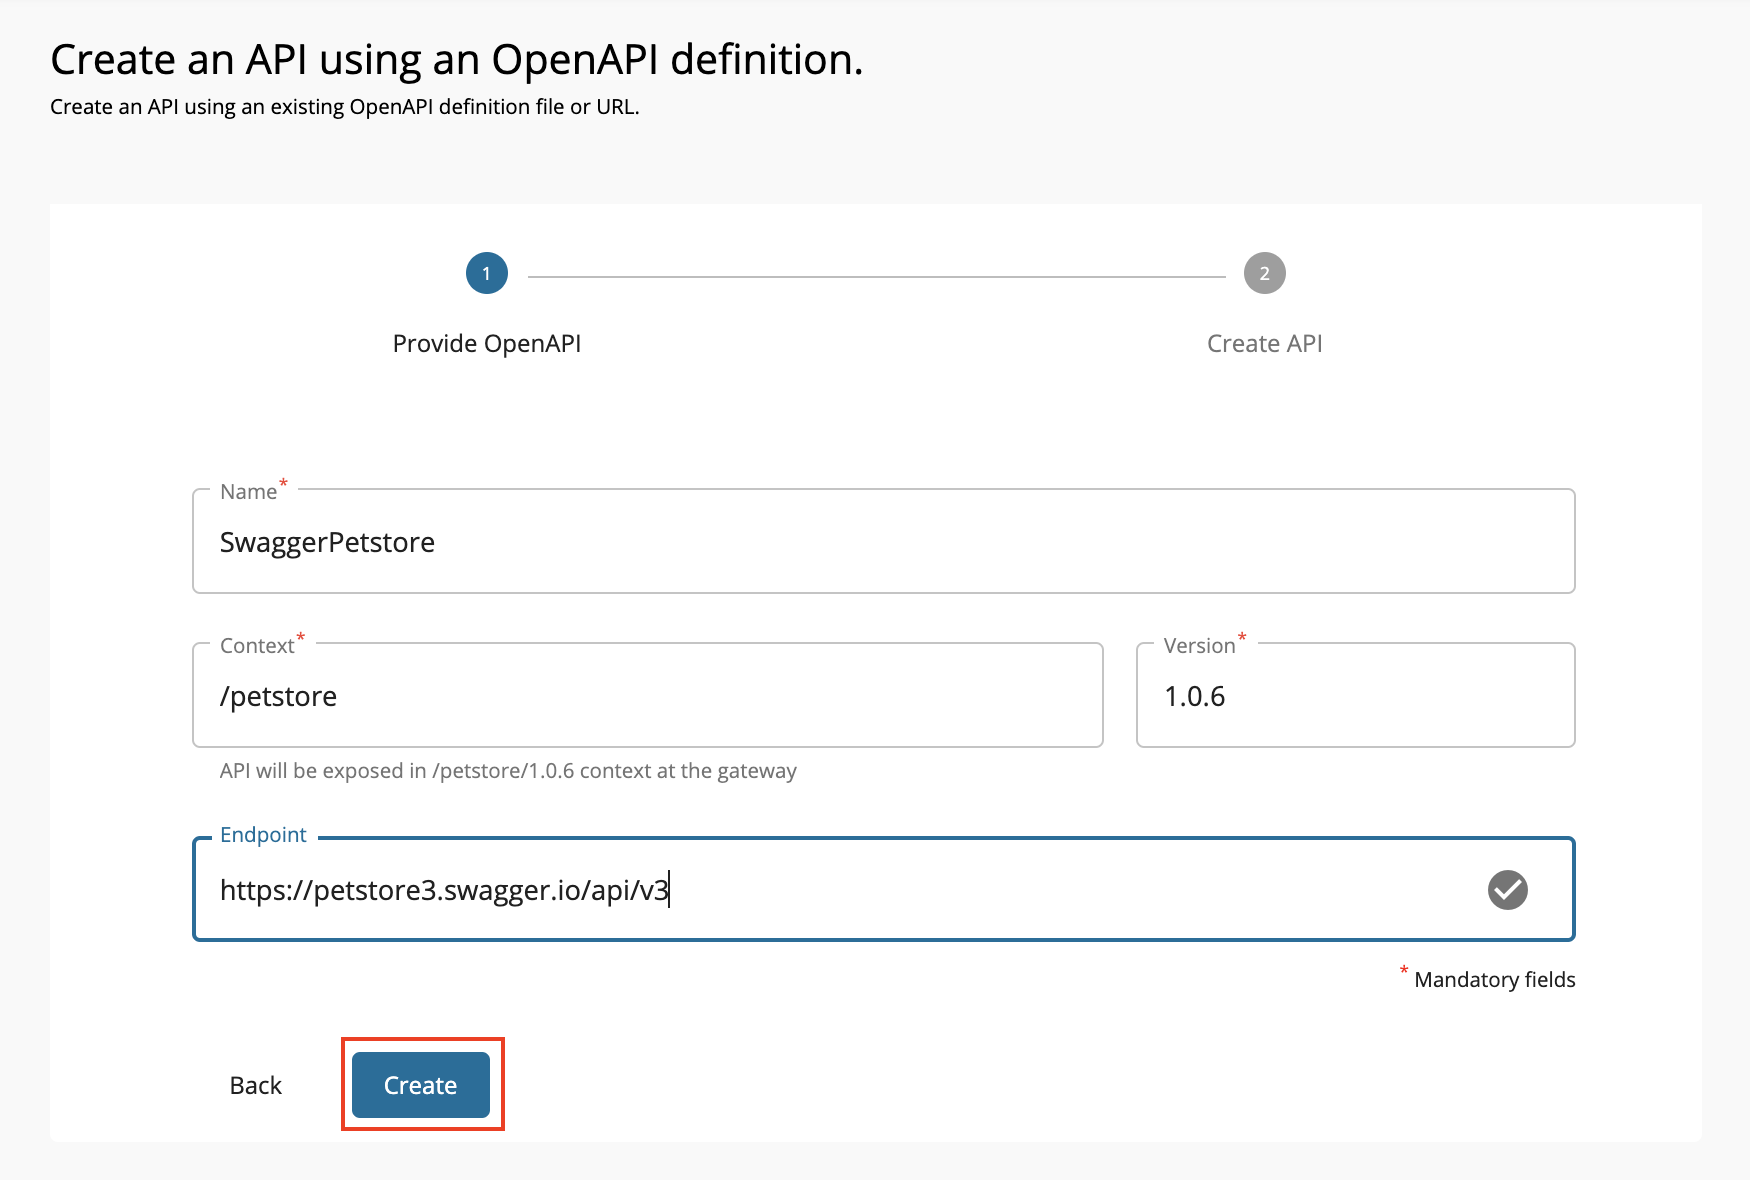
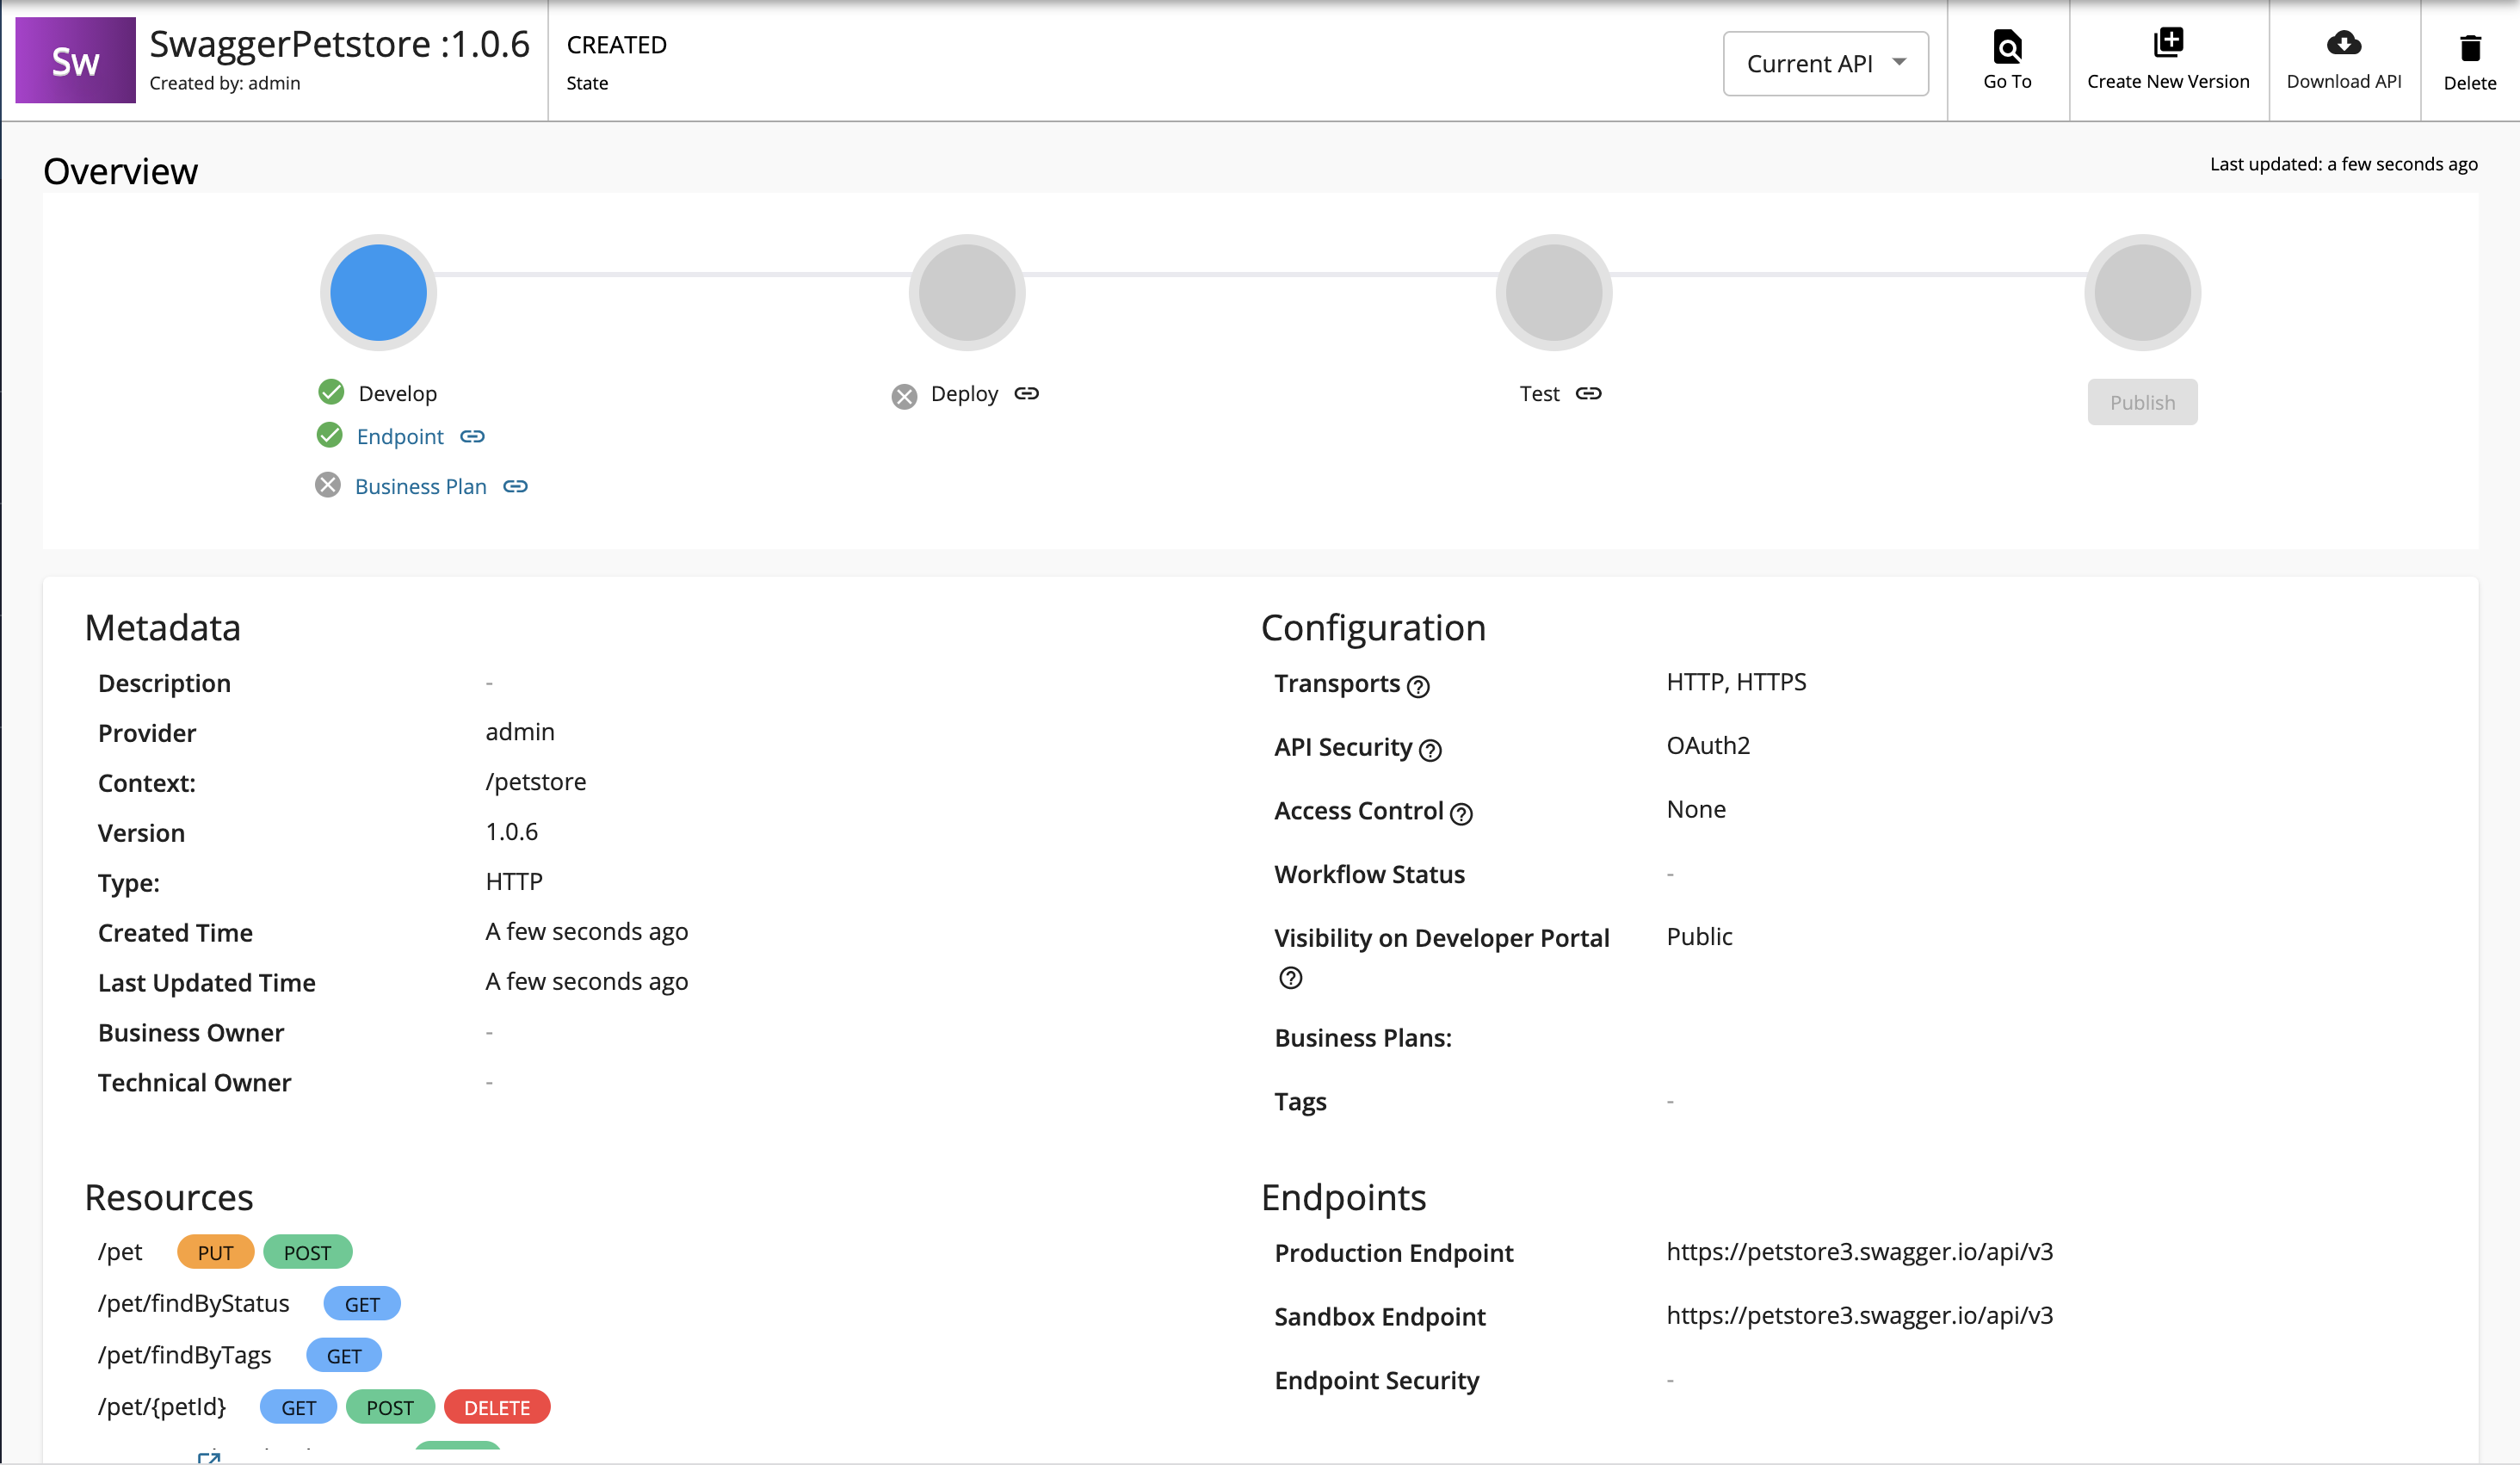
The Petstore API overview page appears.
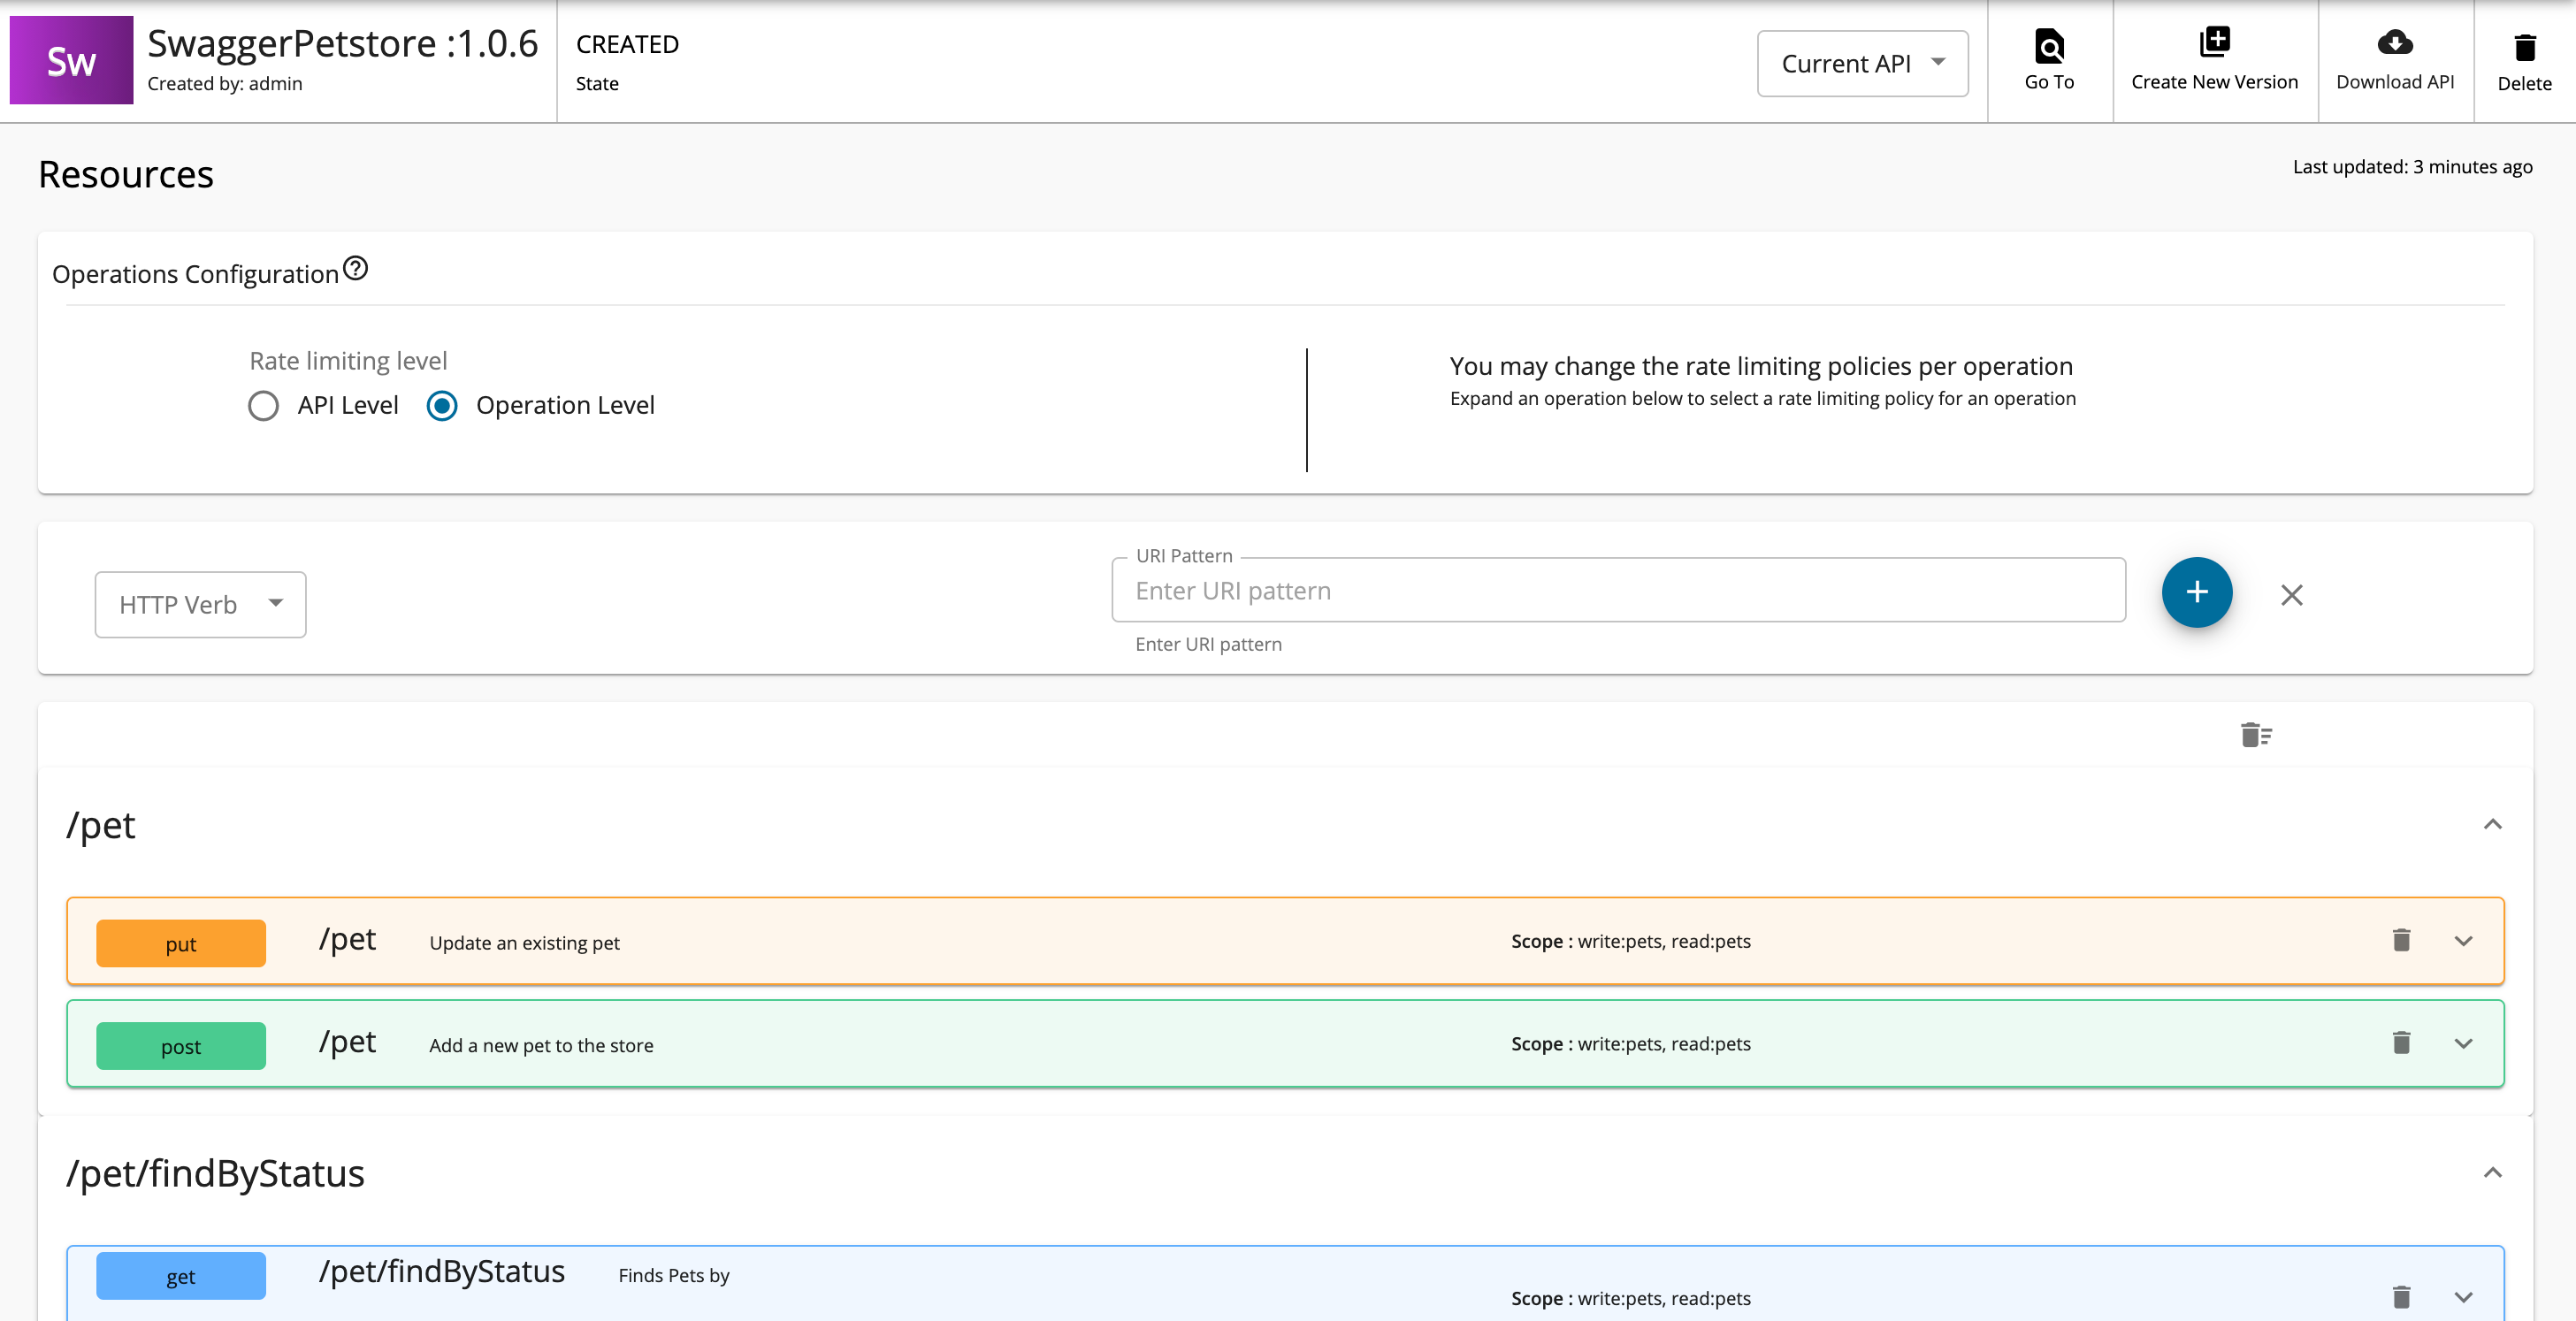
Resources
Click API Configurations and then click Resources to navigate to the Resources page.
You will notice that all the API resources are created automatically when the OpenAPI URL is specified.
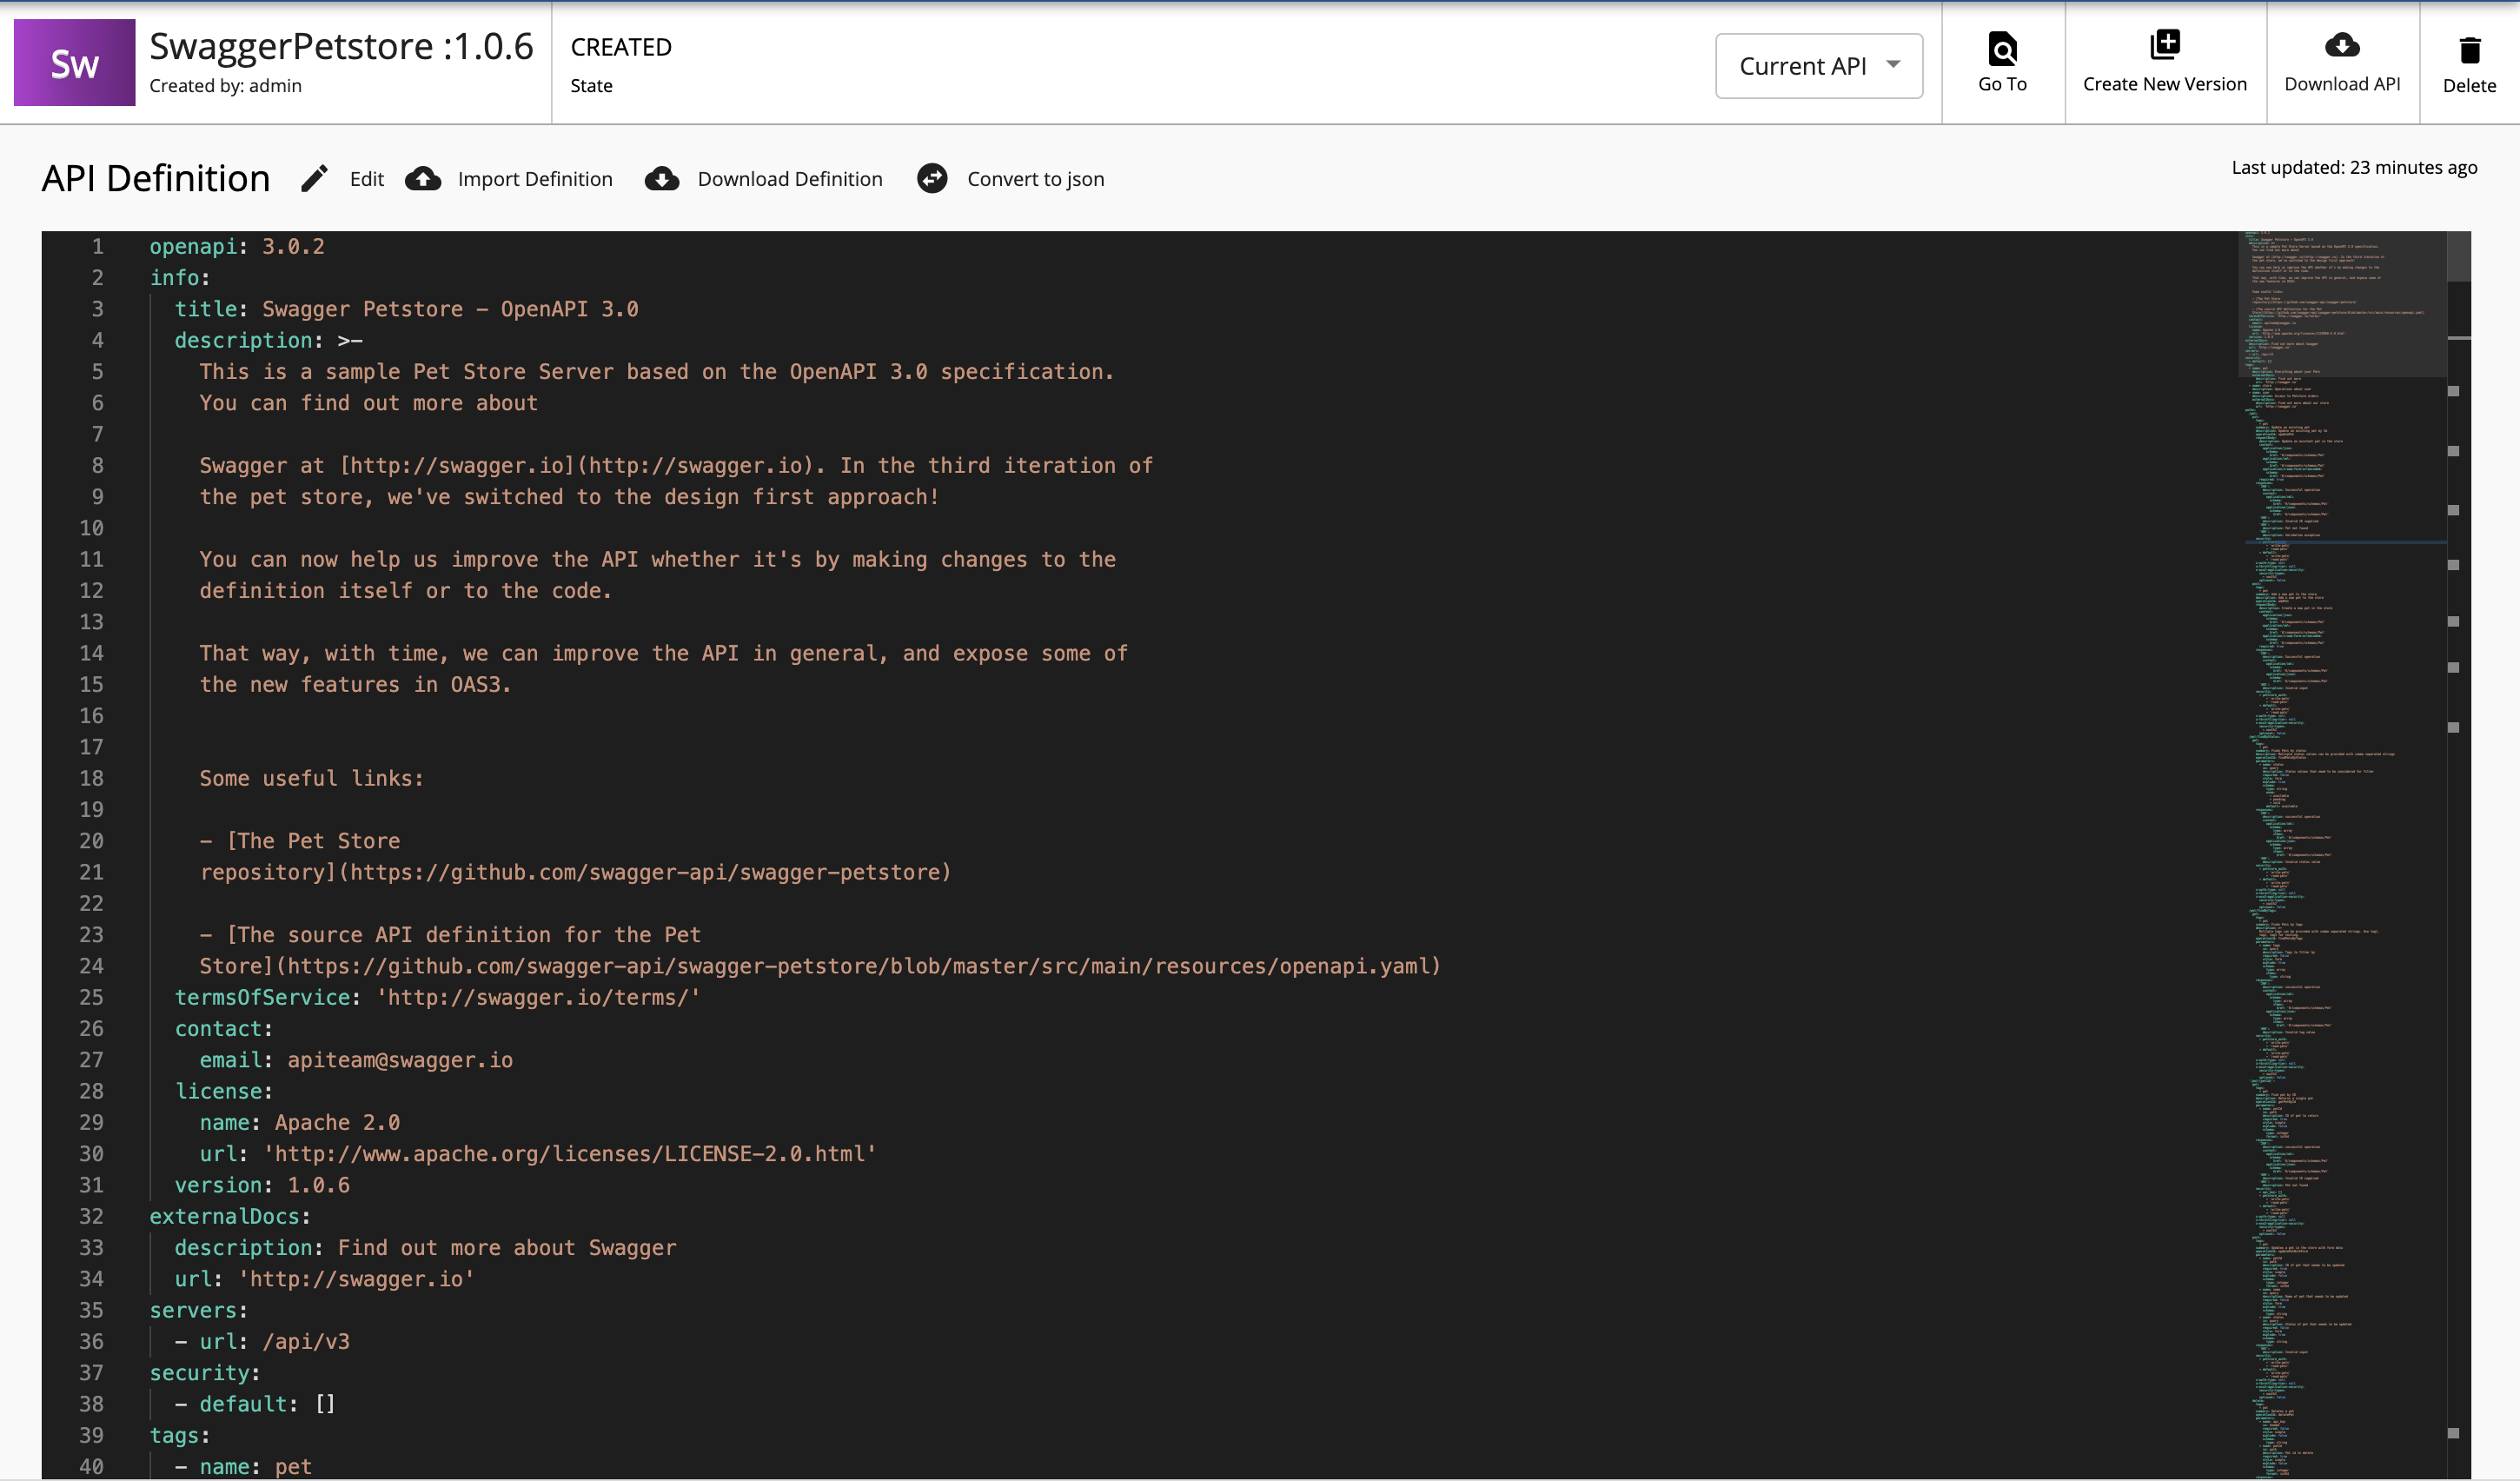
API Definition
-
Click API Configurations, API Definition, and then click Edit to remove the security headers.
This is required to invoke the API in the Developer Portal using the OpenAPI UI.
Importing an API definition
You can also import an API definition.
1. Click on **Import Definition** from the toolbar

2. Select one of the following options:
    - OpenAPI URL
    - OpenAPI Archive/File

3. To try this out, select OpenAPI URL and enter `\`https://petstore3.swagger.io/api/v3/openapi.json\`` as the URL.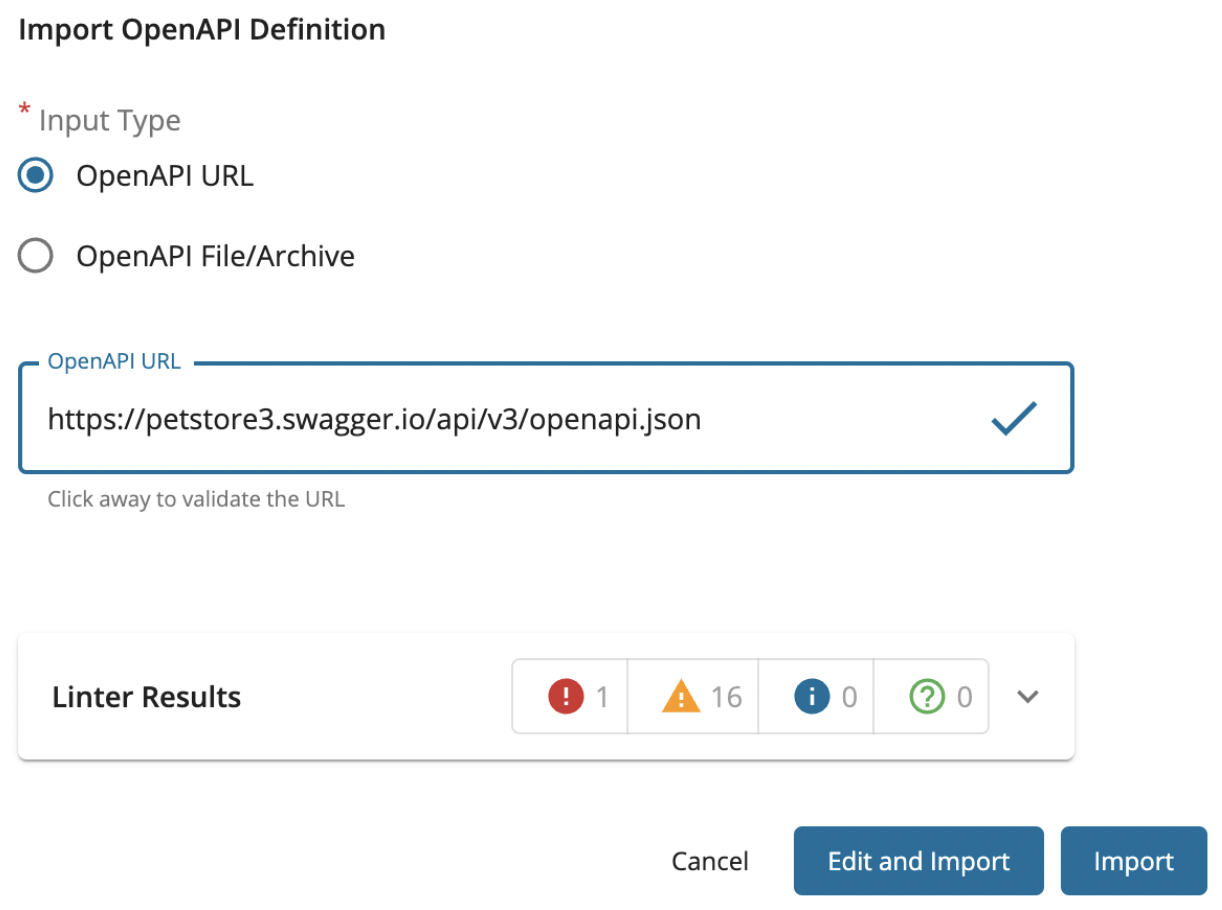
The Linter results can be viewed here.
4. If there are any errors present, they can be solved in the built-in editor by clicking on the **Edit and Import** button. 5. Then click on the **Import Content** on the editor to import the API definition. -
Remove the
petstore_authtag related configuration that appears under thesecuritytag from the/petPOST resource given below.Note
Do not remove the
defaulttag related configuration that appears under thesecuritytag.OpenAPI - Post resource
security: - petstore_auth: - 'write:pets' - 'read:pets' - default: - 'write:pets' - 'read:pets' -
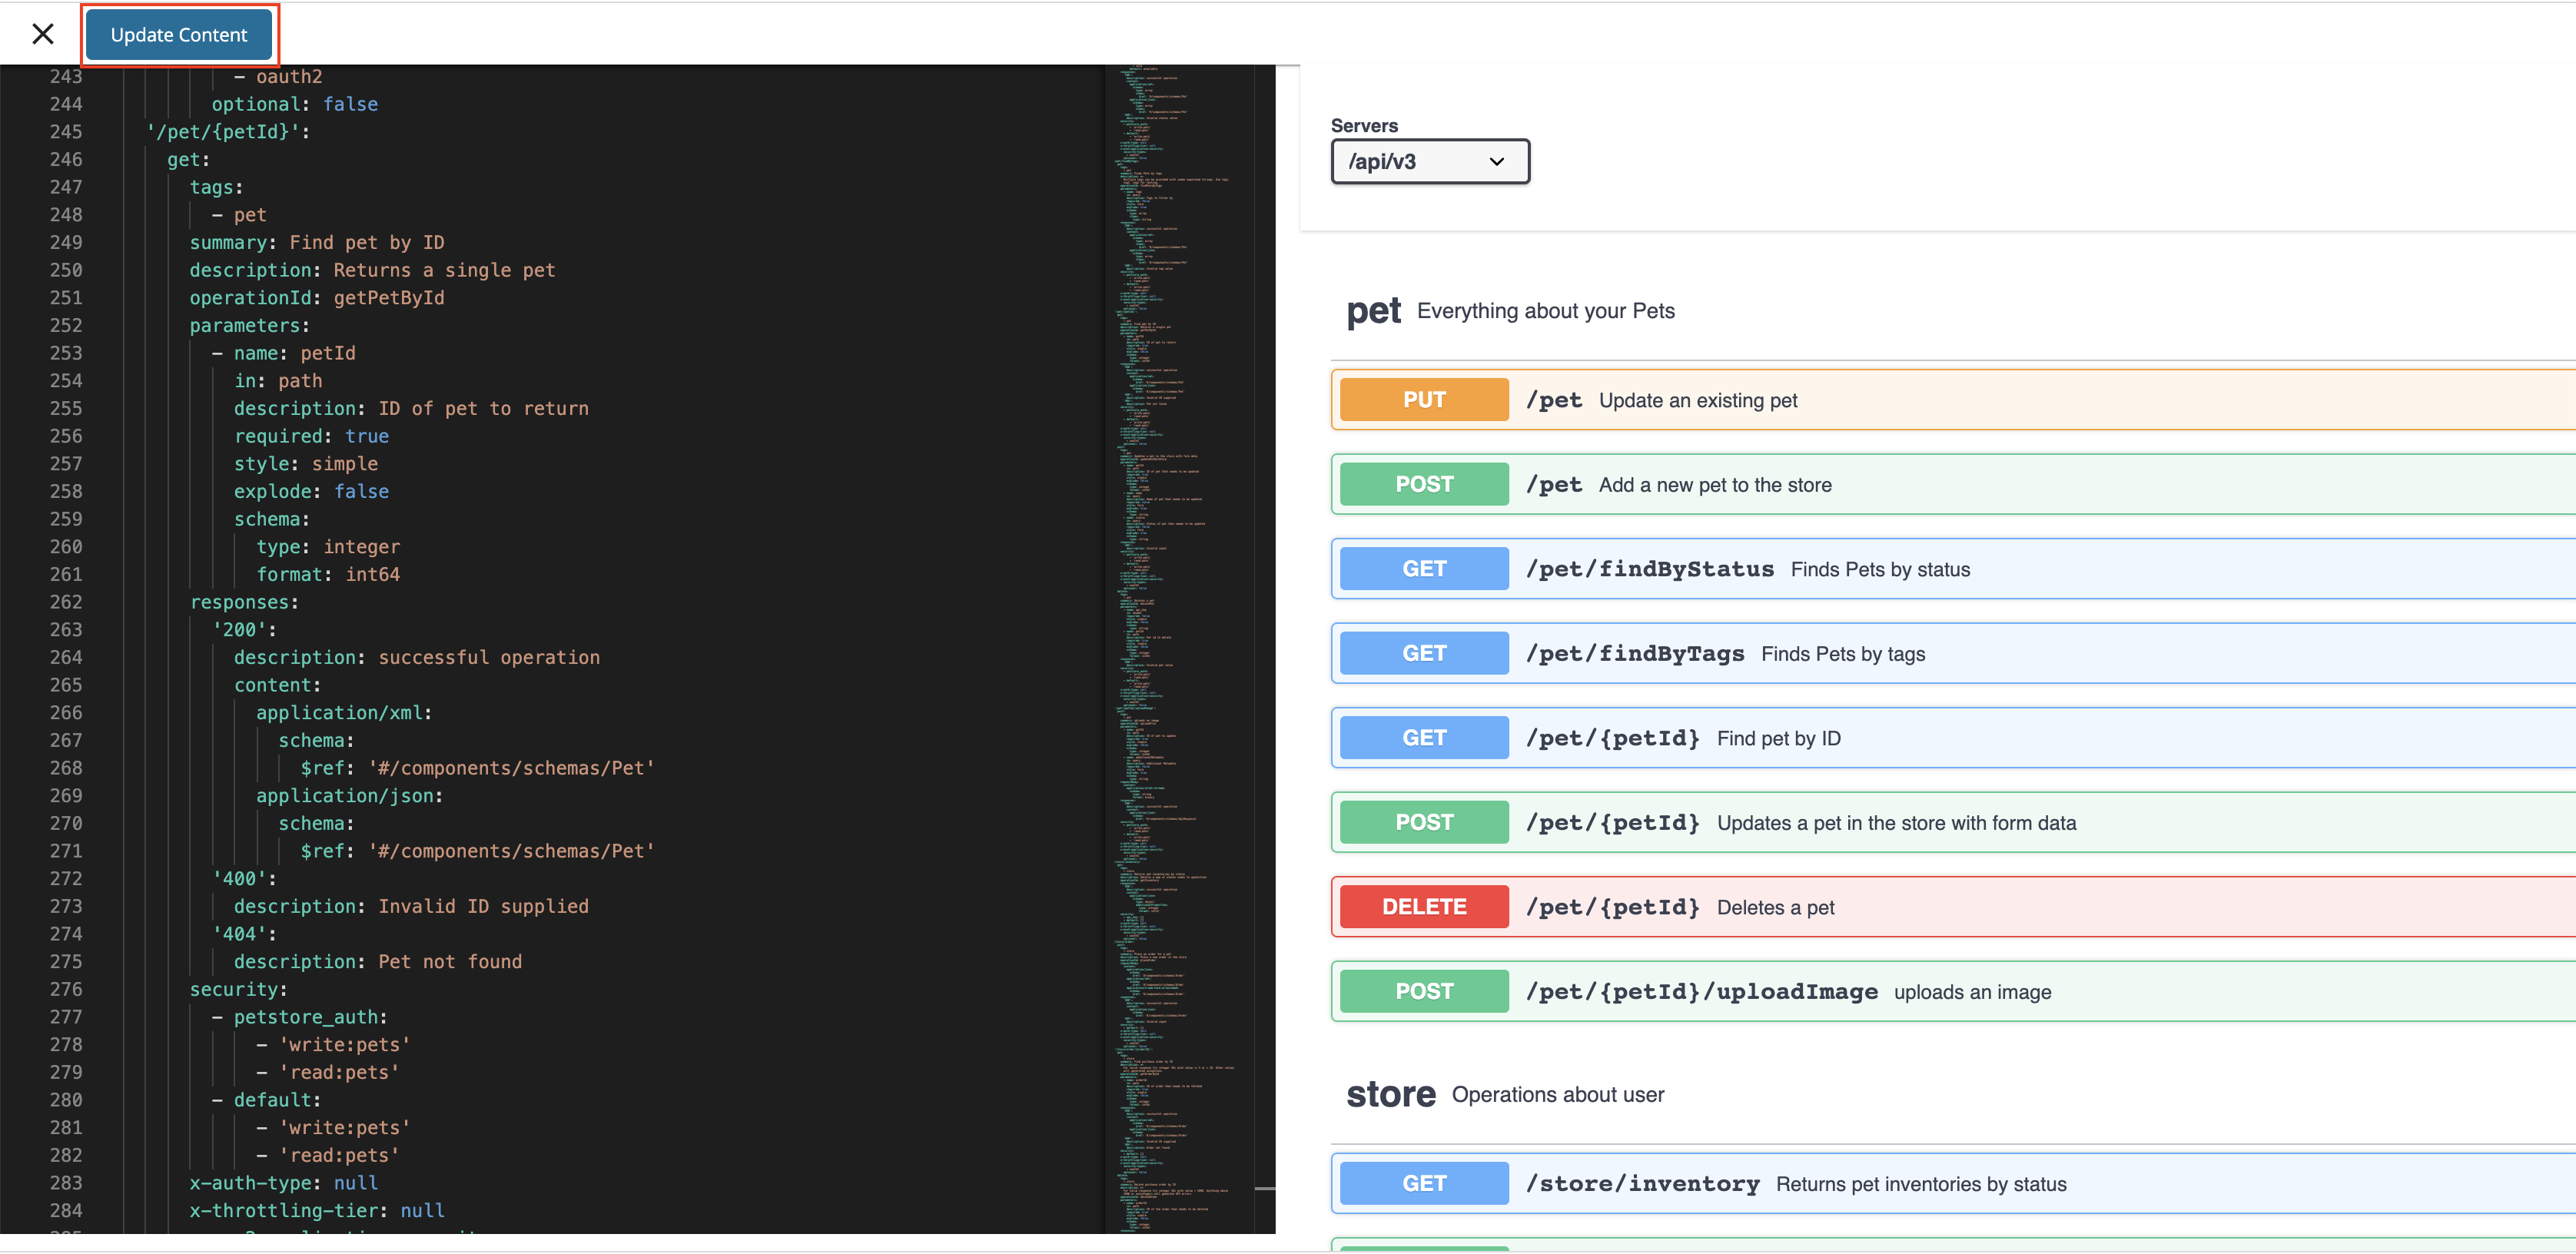
Remove the security
pet/{petId}GET resource given below:OpenAPI - Get resource
//remove the following code snippet security: - api_key: [] -
After removing the security tags, click Update Content.
-
Click Save to save the changes.
Note
If you have already deployed your API, click on the dropdown option, and click Save and deploy so that your API will be redeployed, and your changes will appear in the API Gateway.
Endpoints
-
Click API Configurations and click Endpoints to navigate to the Endpoints page.
-
Enter the information shown below.
Field Sample value Endpoint type HTTP/REST Endpoint Production endpoint https://petstore3.swagger.io/api/v3Sandbox endpoint Let's only work with the production endpoint for this sample. Therefore, deselect the sandbox endpoint option. 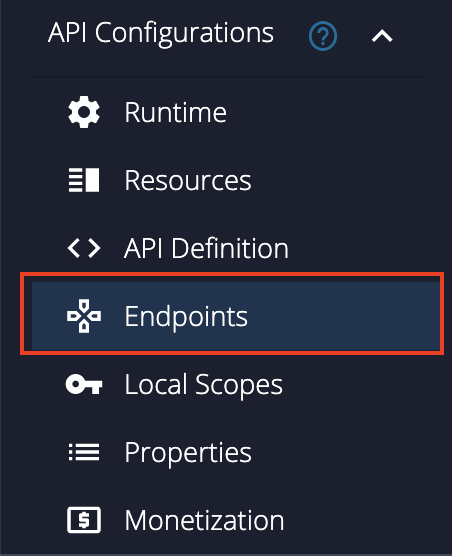
-
Click Save to save the changes.
Note
If you have already deployed your API, click on the dropdown option, and click Save and deploy so that your API will be redeployed, and your changes will appear in the API Gateway.

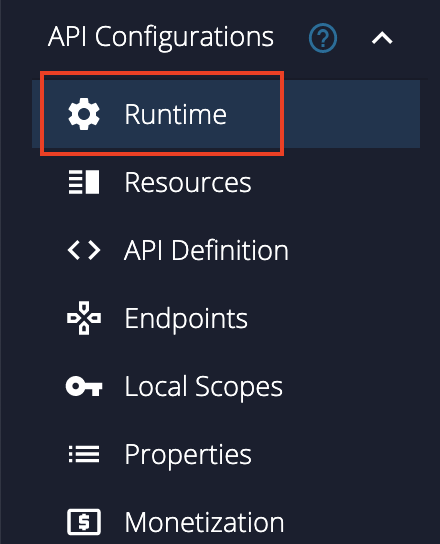
Runtime Configuration
Click API Configurations and click Runtime to navigate to the Runtime Configurations page.
The Transport Level Security defines the transport protocol on which the API is exposed.
![]()
Note
Both HTTP and HTTPS transports are selected by default. It is able to limit the API availability to only one transport (e.g., HTTPS) by clearing the checkbox of the other transport.
Note
Transport Level Security defines the transport protocol on which the API is exposed. When creating a new API by using a Swagger or OpenAPI definition, these transport security schemes can be defined using “x-wso2- transports”and "x-wso2-mutual-ssl”extensions.
x-wso2-mutual-ssl: "optional"
x-wso2-transports:
    - "https"
    - “http”
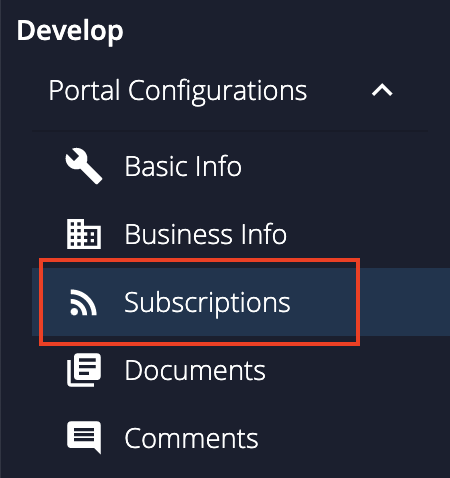
Subscriptions
-
Click Portal Configurations and click Subscriptions to navigate to the Business Plans page.
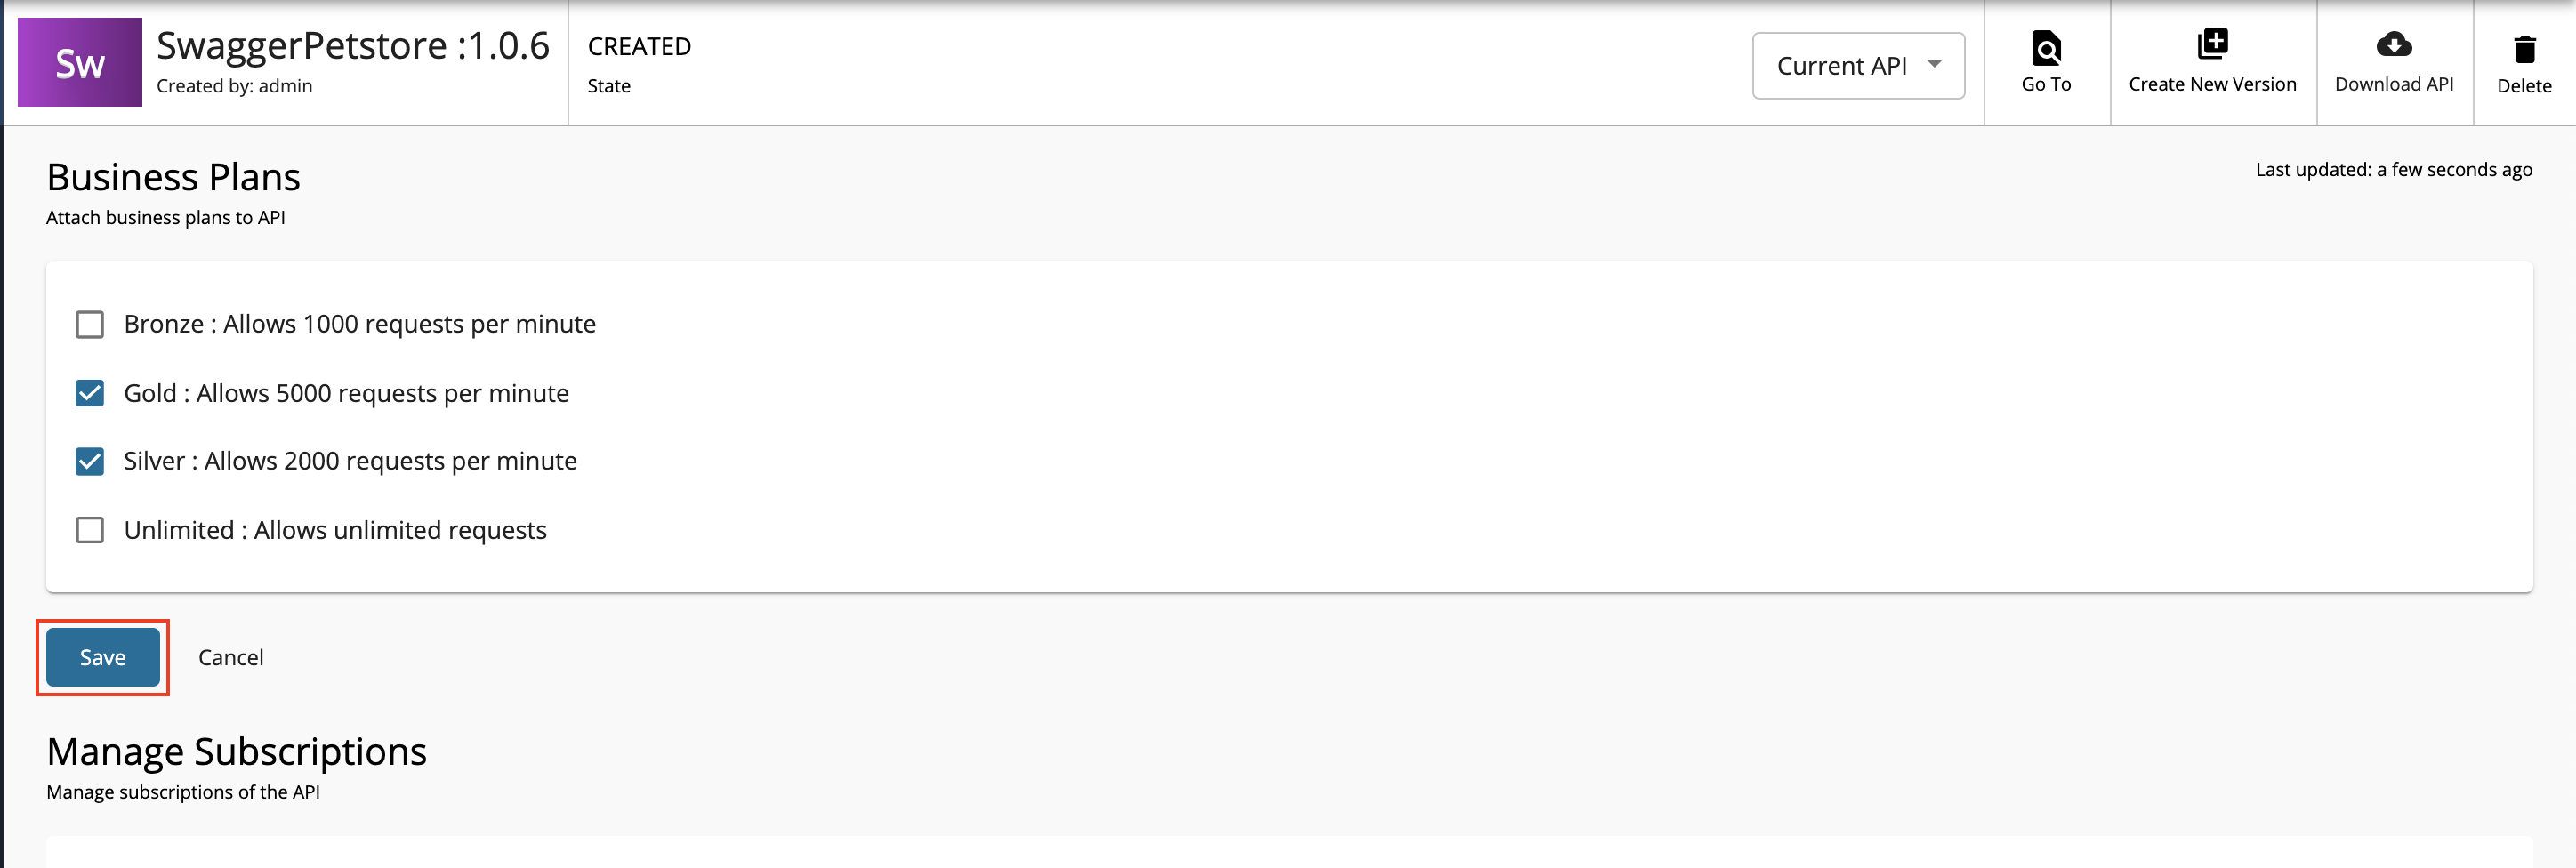
-
Select Gold and Silver as the Business Plans.
Note
The API can be available at different levels of the service. The Business Plans allow you to limit the number of successful hits to an API during a given period of time.
-
Click Save
Now, a REST API from an OpenAPI Definition has been created and configured successfully.
Next, deploy the API, test the API, and finally publish the API.
See Also
Learn more on the concepts that you need to know when creating a REST API:
- Endpoints
- API Security
- Rate Limiting
- Life Cycle Management
- API Monetization
- API Visibility
- API Documentation
- Custom Properties
- Template Patterns - You can use these template patterns when defining OpenAPI (Swagger) definitions for APIs deployed on Choreo Connect.