Creating Local Registry Entries
The local registry acts as a memory registry where you can store static content as a key-value pair. This could be a static text specified as inline text, static XML specified as an inline XML fragment, or a URL (using the src attribute).
<localEntry key="version">0.1</localEntry>
<localEntry key="validate_schema">
    <xs:schema xmlns:xs="http://www.w3.org/2001/XMLSchema" ...
    </xs:schema>
</localEntry>
<localEntry key="xslt-key-req" src="file:repository/samples/resources/transform/transform.xslt"/>
This is useful for the type of static content often found in XSLT files, WSDL files, URLs, etc. Local entries can be referenced from mediators in the Micro Integrator mediation flows and resolved at runtime. These entries are top-level entries and are globally visible within the entire system. Values of these entries can be retrieved via the extension XPath function synapse:get-property(prop-name), and the keys of these entries could be specified wherever a registry key is expected within the configuration. A local entry shadows any entry with the same name from a remote Registry.
Instructions
Creating the local entry
Follow these steps to create a new local entry.
-
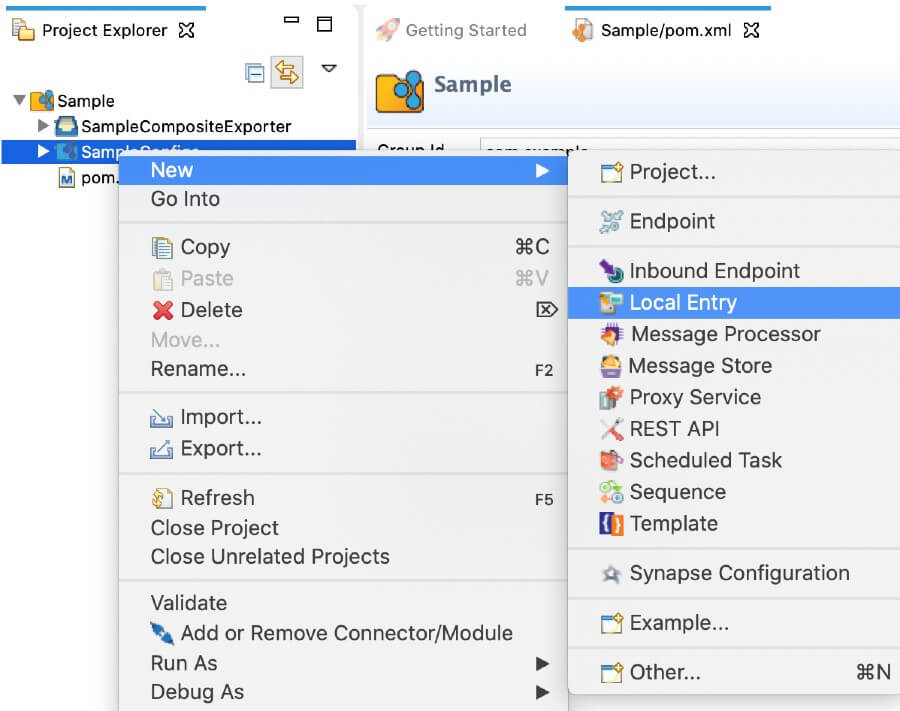
Right-click the ESB Config project and go to New → Local Entry to open the New Local Entry dialog box.
-
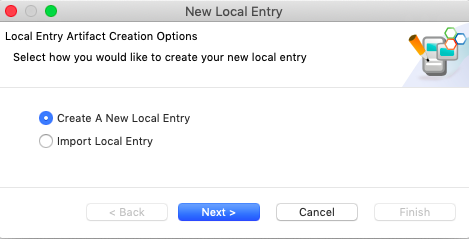
Select Create a New Local Entry and click Next.
-
Enter a unique name for the local entry, specify one of the following types of local entries and specify the details.
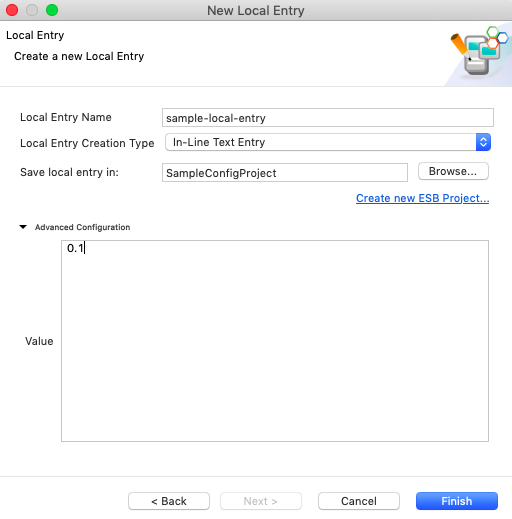
- In-Line Text Entry: Type the text you want to store
- In-Line XML Entry: Type the XML code you want to store
- Source URL Entry: Type or browse to the URL you want to store
-
In the Save in field, specify the project to save the artifact:
- To save the local entry in an existing ESB Config project in your workspace, click Browse and select that project.
- To save the local entry in a new ESB Config project, click Create new Project and create the new project.
-
Click Finish.
The local entry is created in the src/main/synapse-config/local-entries folder under the ESB Config project you specified, and the local entry appears in the editor.
Updating the properties
Open the new local entry artifact from the project explorer. You can use the Form view or the Source view to update message processor properties.
Using a local entry
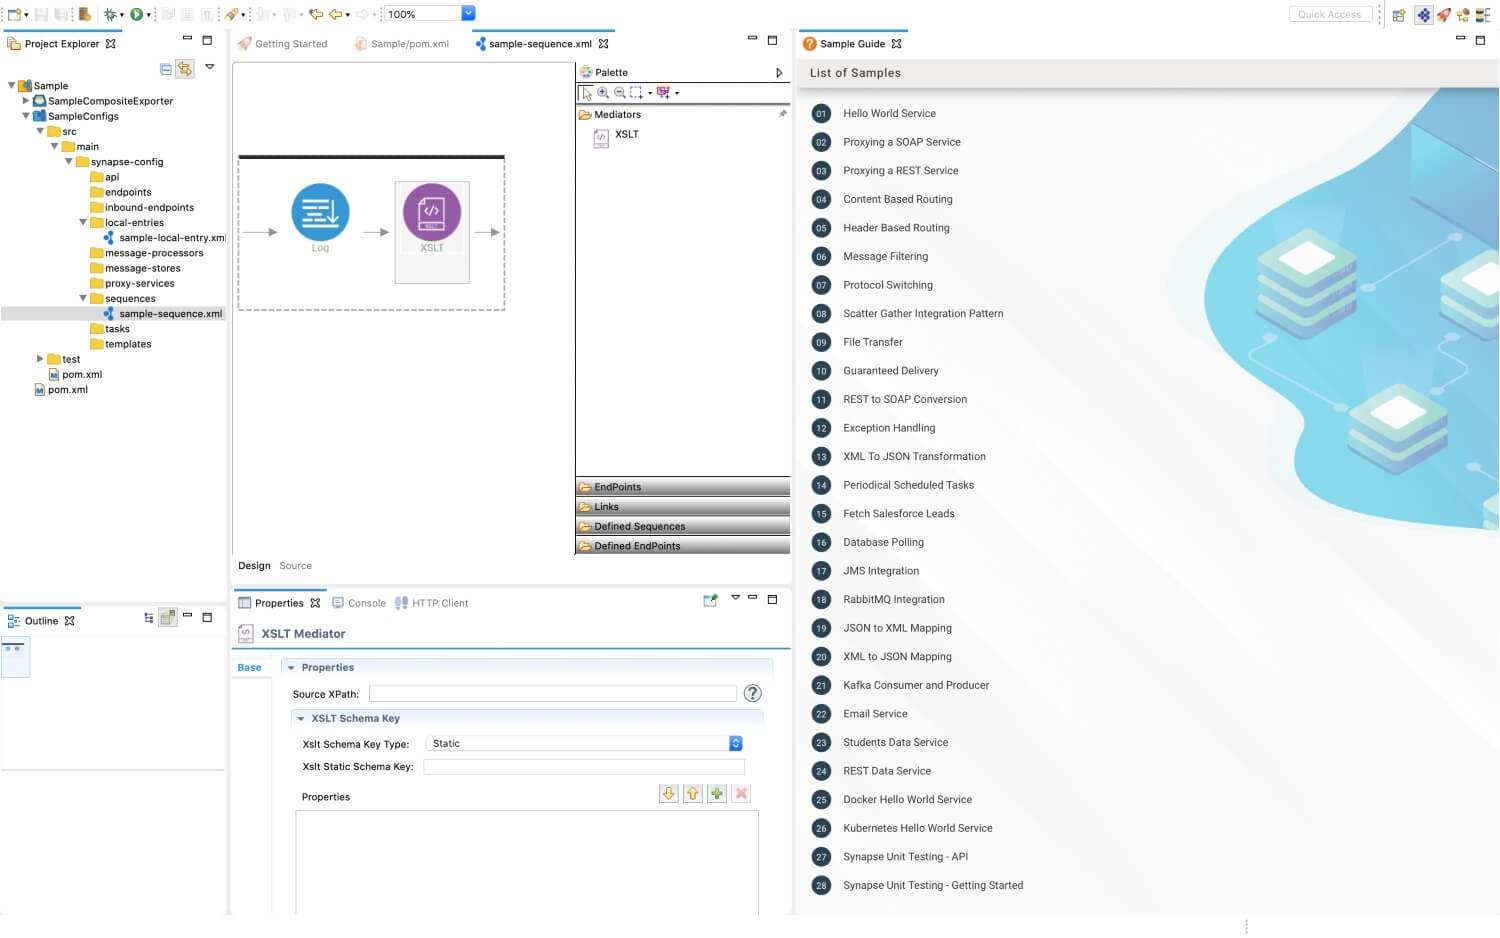
After you create a local entry, you can reference it from a mediator in your mediation workflow. For example, if you created a local entry with XSLT code, you can add an XSLT mediator to the workflow and then reference the local entry as follows:
- Open to the Design View of your mediation sequence.
-
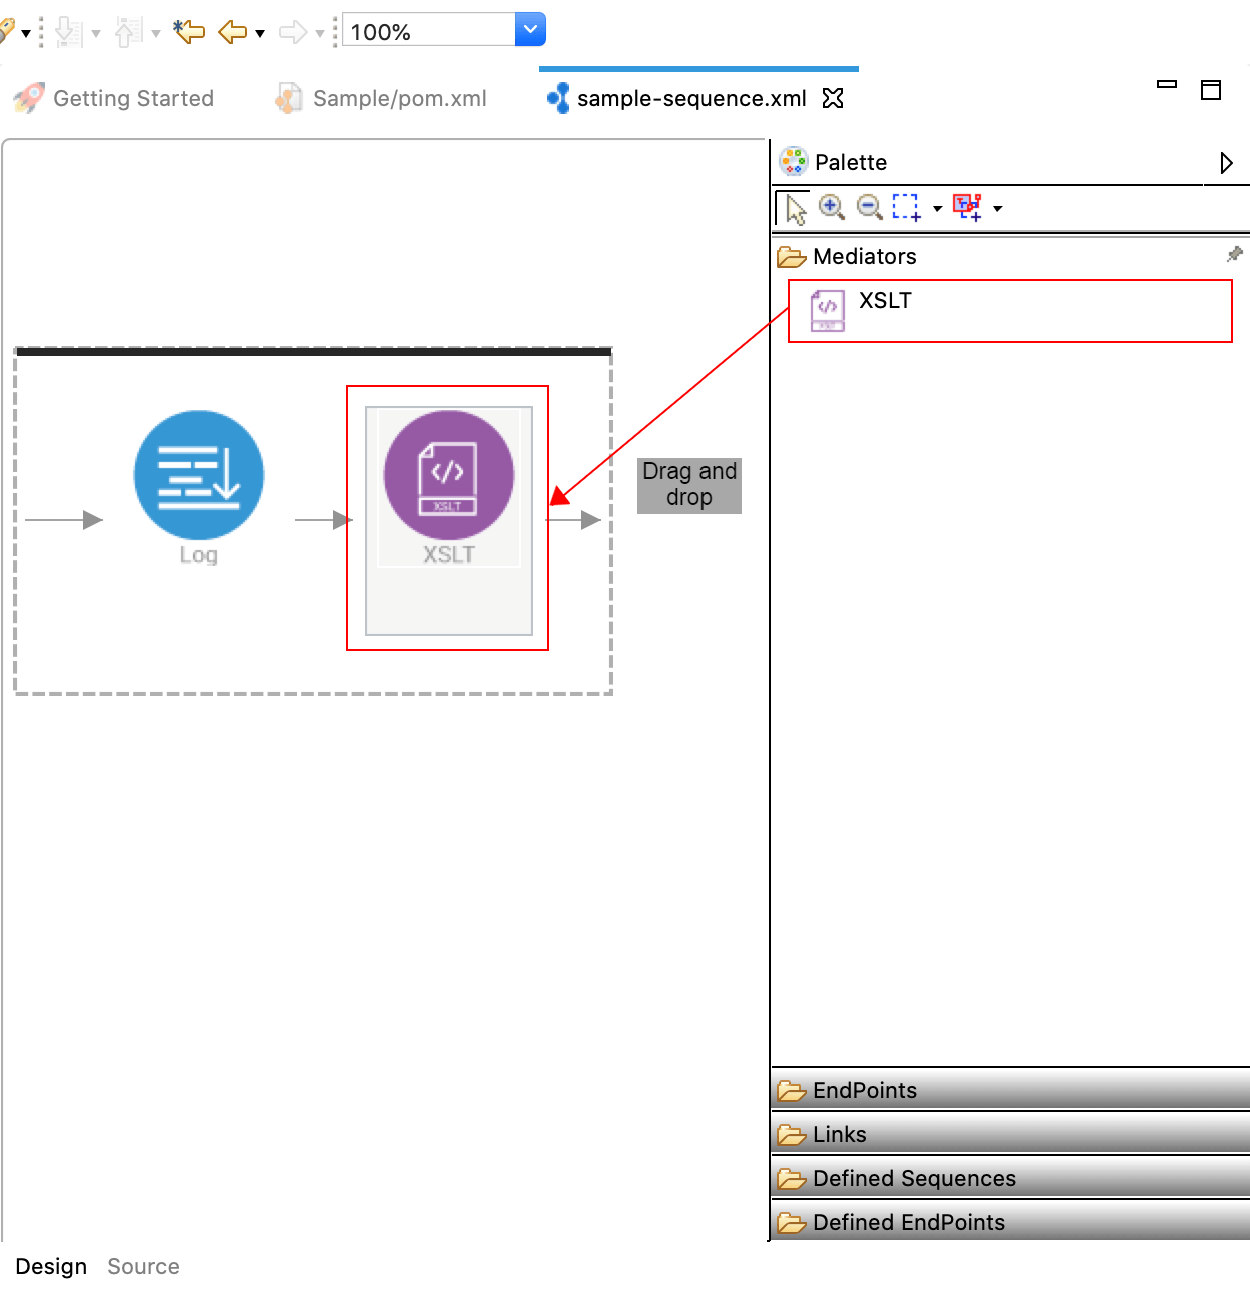
Drag and drop an XSLT Mediator to the mediation flow as shown below.
-
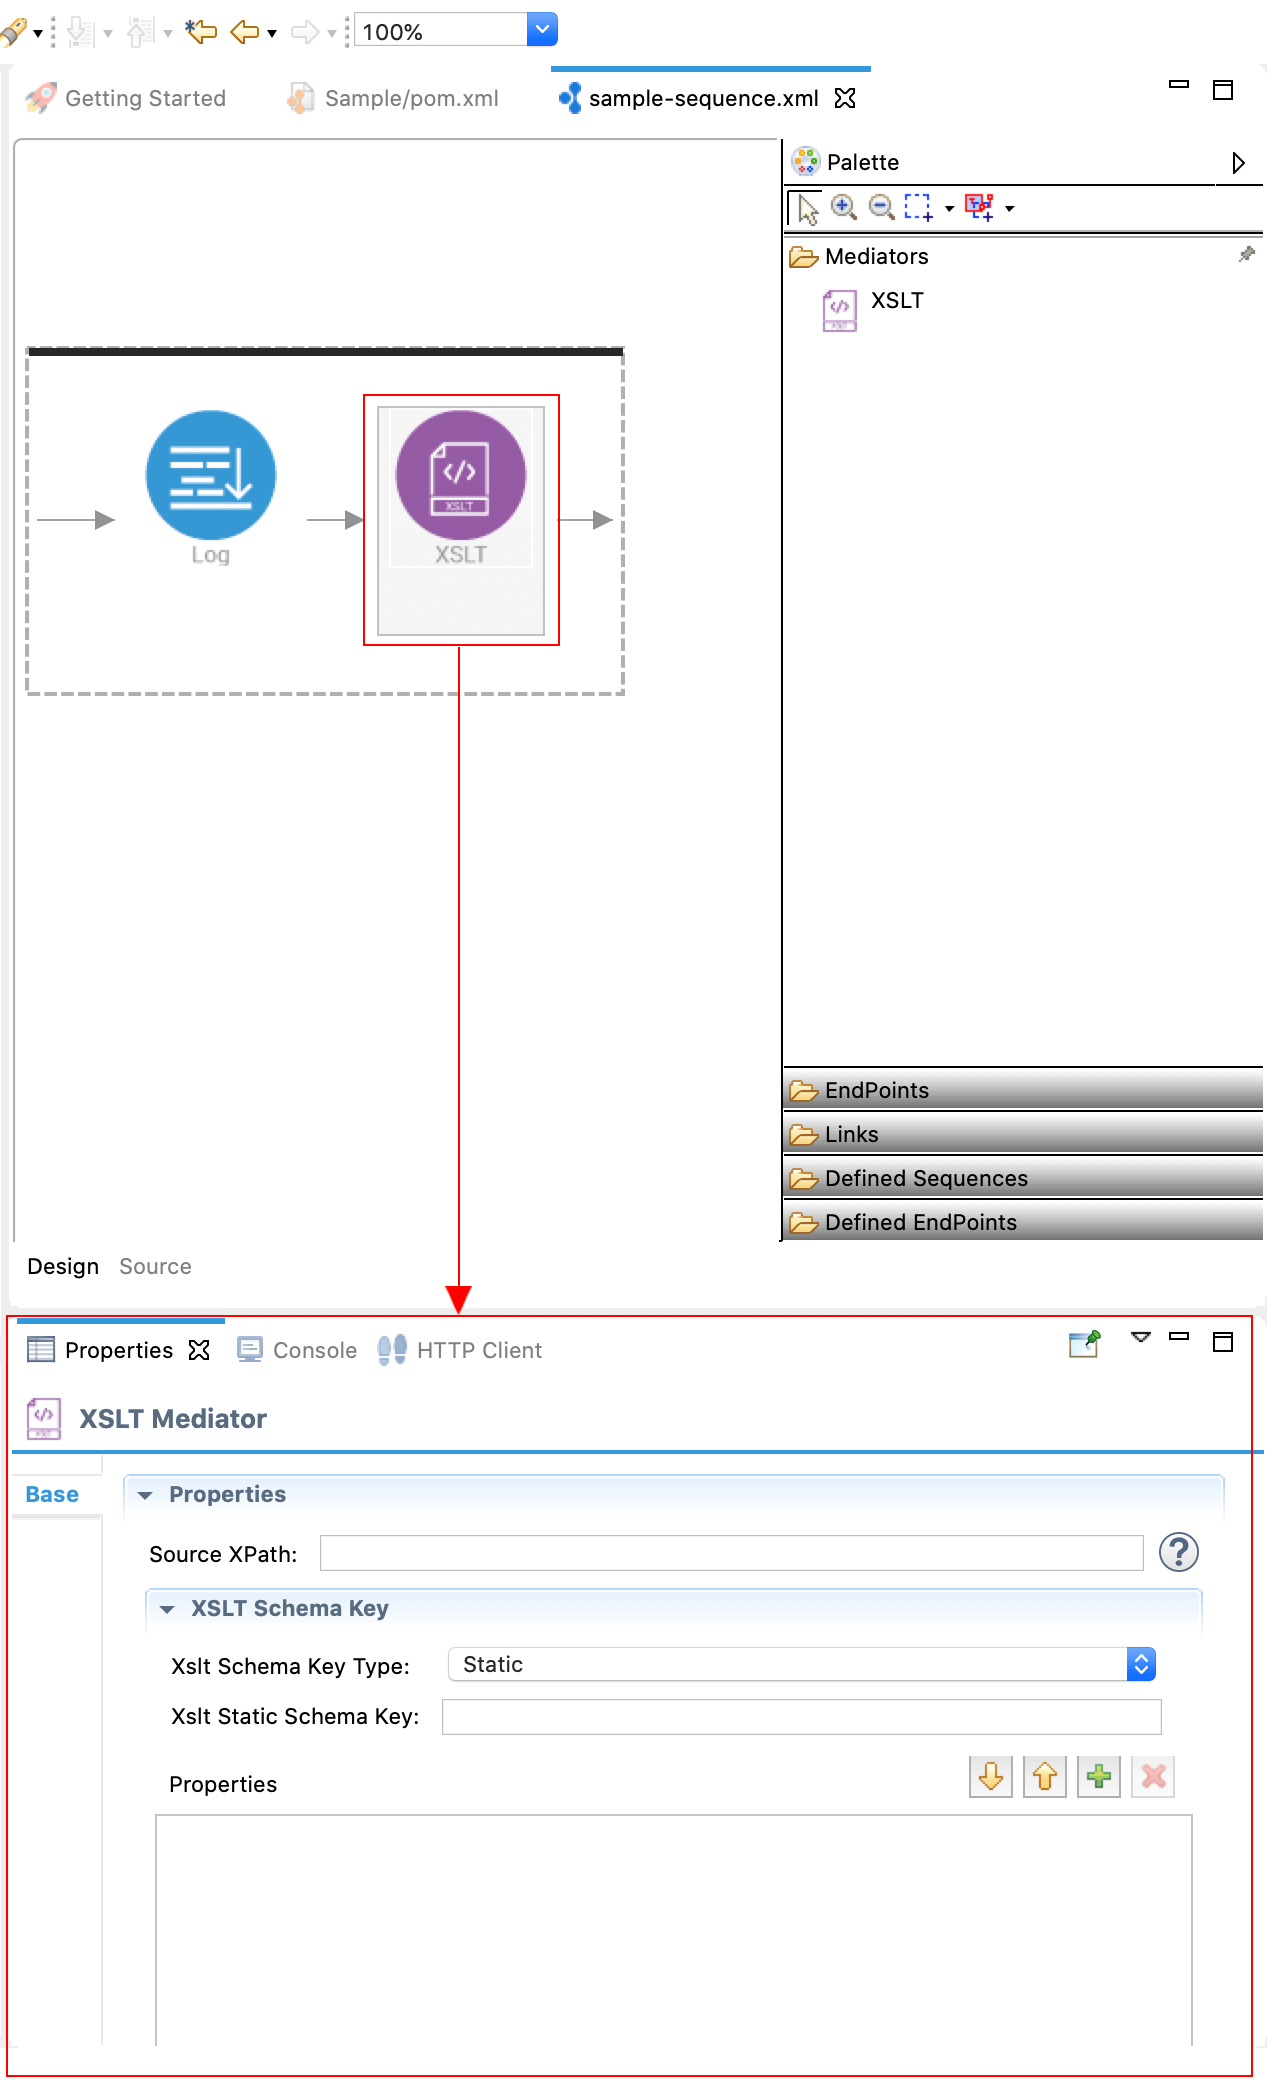
Double-click the XSLT mediator icon to open the Properties tab.
-
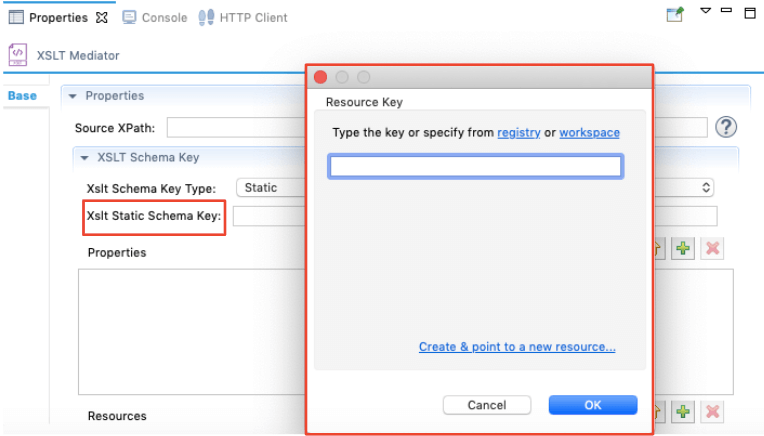
Click the XSLT Static Schema Key property to get the Resource Key wizard.
-
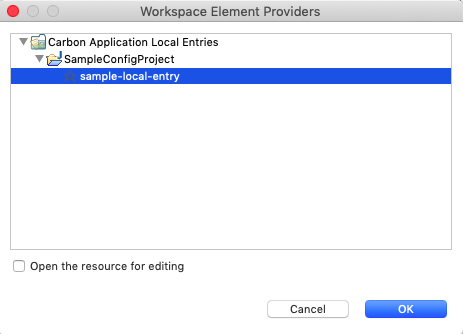
Click the Workspace link, and then navigate to and select the local entry that contains the XSLT code.
-
Click OK.
Info
If you want to add local entries before deploying the server, you can add them to the top-level bootstrap file synapse.xml, or to separate XML files in the local-entries directory, which are located under MI_HOME\repository\deployment\server\synapse-configs\default. When the server is started, these configurations will be added to the registry.