Testing Siddhi Applications
The Streaming Integrator allows the following tasks to be carried out to ensure that the Siddhi applications you create and deploy are validated before they are run in an actual production environment.
-
Validate Siddhi applications that are written in the Streaming Integrator Tooling.
-
Run Siddhi applications that were written in the Streaming Integrator Tooling.
-
Simulate events to test the Siddhi applications and analyze events that are received and sent. This allows you to analyze the status of each query within a Siddhi application at different execution points.
Validating a Siddhi application
To validate a Siddhi application, follow the procedure below:
-
Start and access the Streaming Integrator Tooling. For detailed instructions, see Starting Streaming Integrator Tooling.
-
In this example, let's use an existing sample as an example. Click on the ReceiveAndCount sample to open it.
-
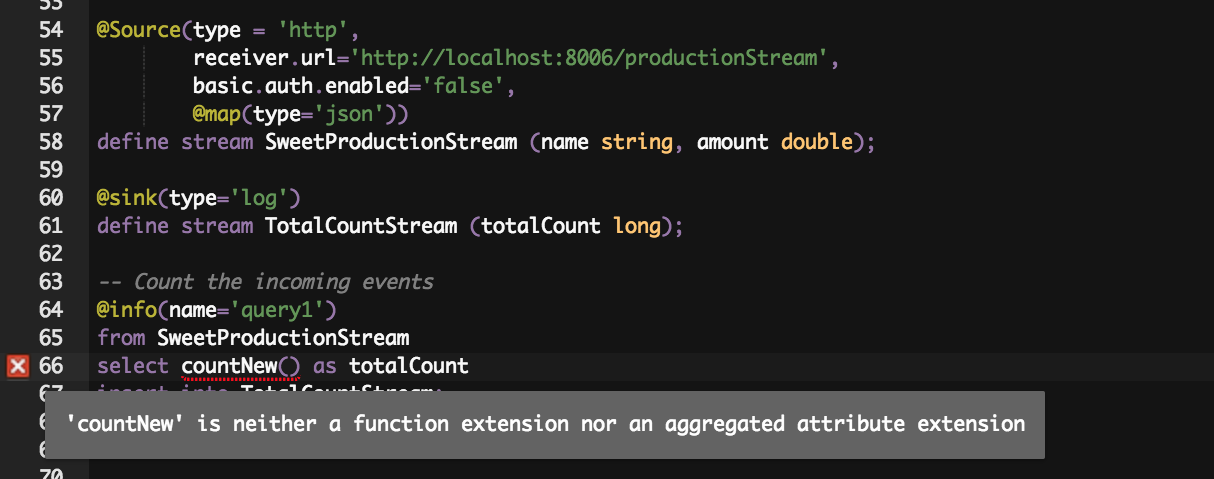
Sample opens in a new tab. This sample does not have errors, and therefore, no errors are displayed in the editor. To create an error for demonstration purposes, change the
count()function in thequery1query tocountNew()as shown below.@info(name='query1') from SweetProductionStream select countNew() as totalCount insert into TotalCountStream; `Now, the editor indicates that there is a syntax error. If you move the cursor over the error icon, it indicates that
countNewis an invalid function name as shown below.
Running a Siddhi application
You can run a Siddhi application to verify whether the logic you have written is correct. To start a Siddhi application, follow the procedure below:
-
Start and access the Streaming Integrator Tooling. For detailed instructions, see Starting Stream Integration Tooling.
-
For this example, click the existing sample ReceiveAndCount. It opens in a new untitled tab.
-
Save the Siddhi file so that you can run it. To save it, click File -> Save. Once the file is saved, you can see the Run -> Run menu option enabled as shown below.
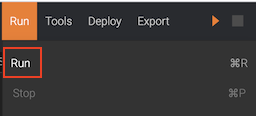
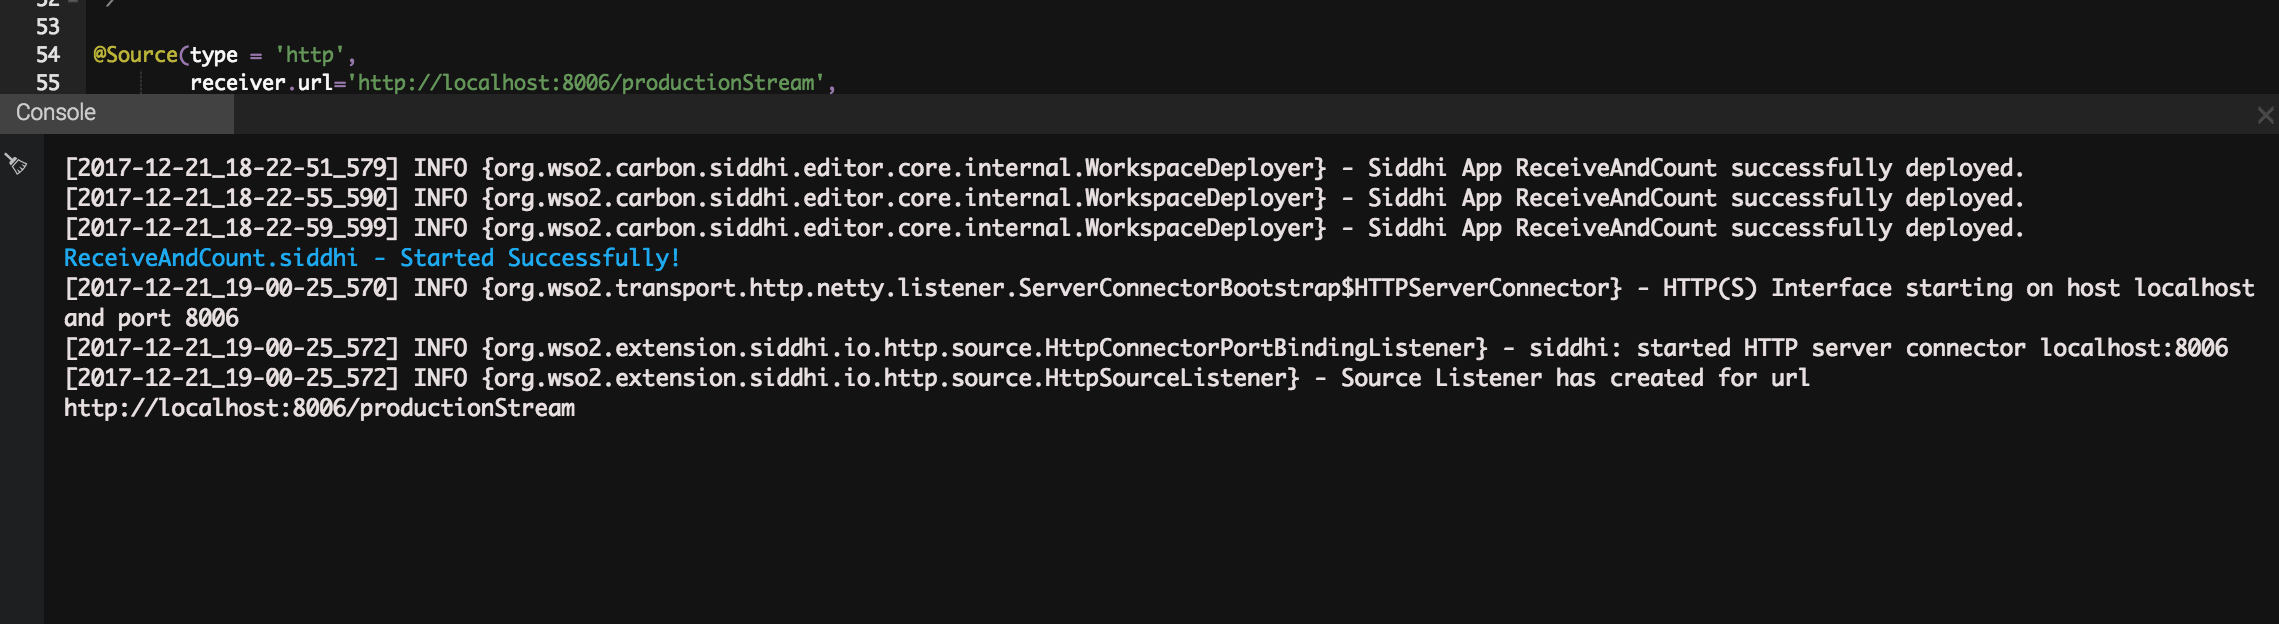
To start the application, click the Run menu option. This logs the following output in the console.
-
To create an error for demonstration purposes, change the
count()function in thequery1query tocountNew(), and save. Then click Run -> Run. As a result, the following output is logged in the console.
Simulating events
This section demonstrates how to test a Siddhi application via event simulation. Event simulation involves simulating predefined event streams. These event stream definitions have stream attributes. You can use event simulator to create events by assigning values to the defined stream attributes and send them as events. This is useful for testing Siddhi applications in order to evaluate whether they function as expected
Events can be simulated in the following methods:
- Simulating a single event
- Simulating multiple events via CSV files
- Simulating multiple events via databases
- Generating random events
Tip
Before you simulate events for a Siddhi application, you need to run it. Therefore, before you try this section, see Running a Siddhi application.
Simulating a single event
This section demonstrates how to simulate a single event to be processed via the Streaming Integrator.
Tip
Before simulating events, a Siddhi application should be deployed.
To simulate a single event, follow the steps given below.
-
Access the Streaming Integrator Tooling via the
http://localhost:/editorURL. The Streaming Integrator Tooling opens as shown below.Info
The default URL is
http://localhost:9090/editor.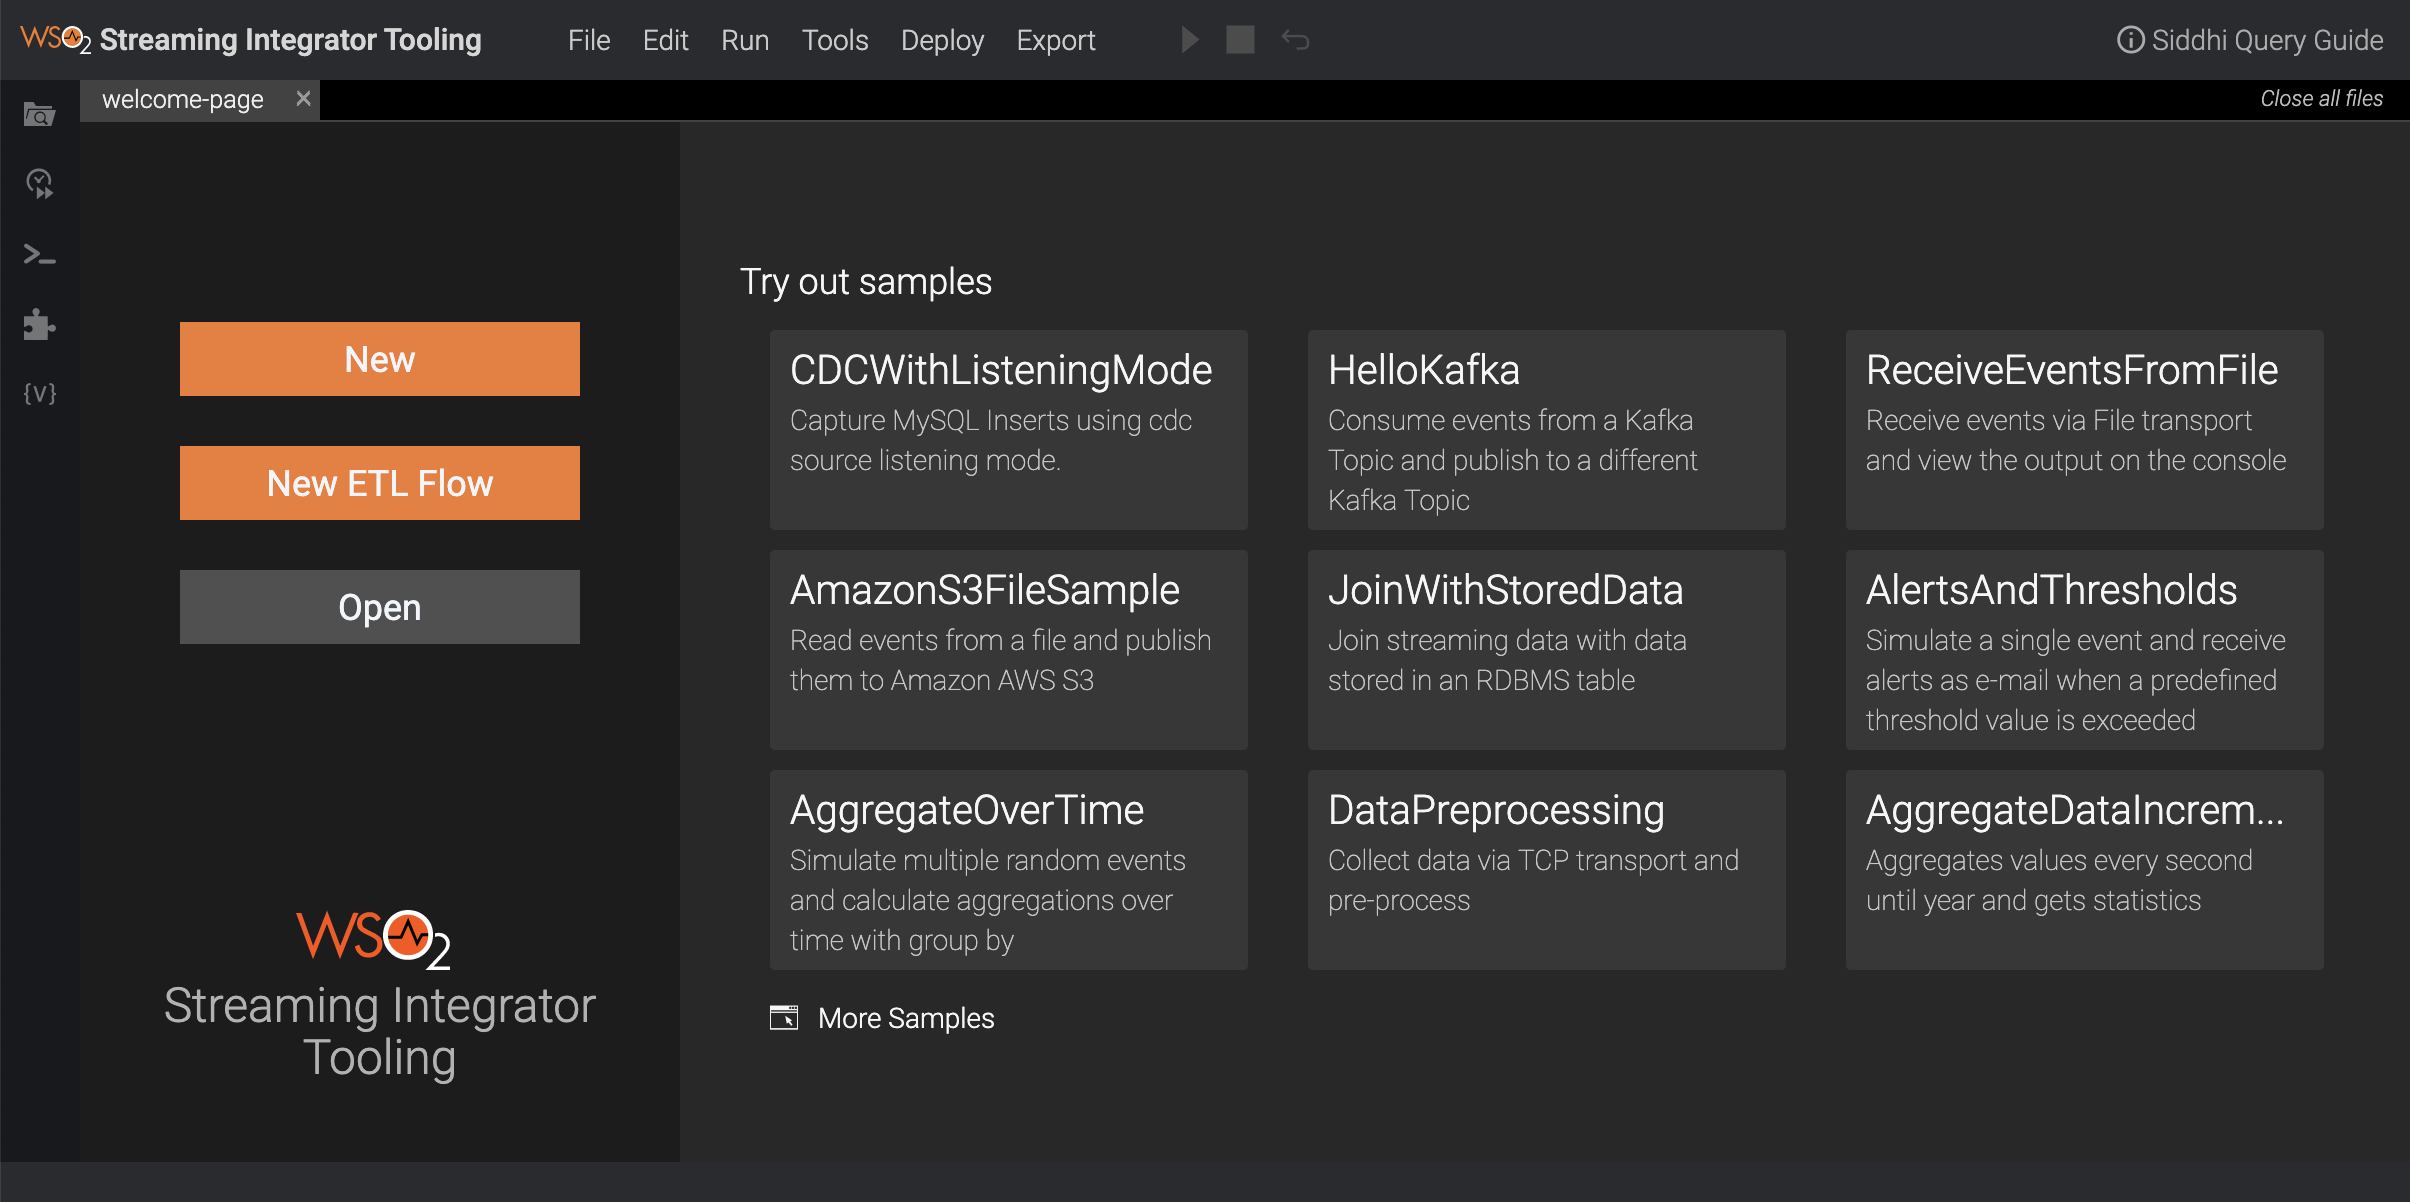
-
Click the Event Simulator icon in the left pane of the editor to open the Single Simulation panel.

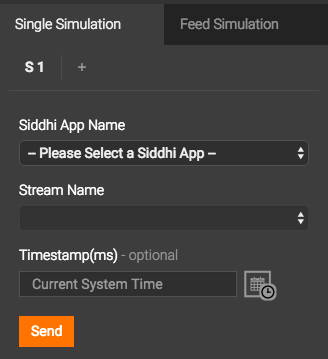
It opens the left panel for event simulation as follows.
-
Enter Information in the Single Simulation panel as described below.
-
In the Siddhi App Name field, select a currently deployed Siddhi application.
-
In the Stream Name field, select the event stream for which you want to simulate events. The list displays all the event streams defined in the selected Siddhi application.
-
If you want to simulate the event for a specific time different to the current time, enter a valid timestamp in the Timestamp field. To select a timestamp, click the time and calendar icon next to the Timestamp field.

Then select the required date, hour, minute, second and millisecond. Click Done to select the time stamp entered. If you want to select the current time, you can click Now.
-
Enter values for the attributes of the selected stream.
-
-
Click Send to start sending the event. The simulated event is logged similar to the sample log given below.

Simulating multiple events via CSV files
This section explains how to generate multiple events via CSV files to be analyzed via the Streaming Integrator.
Tip
Before simulating events, a Siddhi application should be deployed.
To simulate multiple events from a CSV file, follow the steps given below.
-
Access the Streaming Integrator Tooling via the
http://localhost:/editorURL. The Streaming Integrator Tooling opens as shown below.Info
The default URL is
http://localhost:9090/editor. -
Click the Event Simulator icon in the left pane of the editor.
-
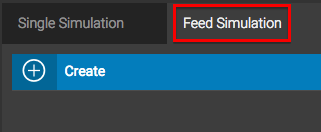
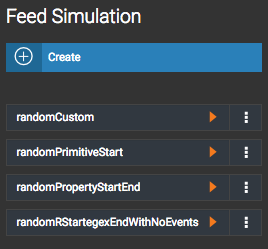
In the event simulation left panel that opens, click on the Feed Simulation tab.
-
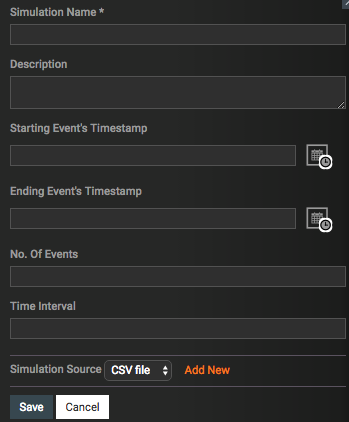
To create a new simulation, click Create . This opens the following panel.

-
Enter values for the displayed fields as follows.
-
In the Simulation Name field, enter a name for the event simulation.
-
In the Description field, enter a description for the event simulation.
-
If you want to receive events only during a specific time interval, enter that time interval in the Time Interval field.
-
Click Advanced Configurations if you want to enter detailed specifications to filter events from the CSV file. Then enter information as follows.
-
If you want to include only events that belong to a specific time interval in the simulation feed, enter the start time and the end time in the Starting Event's Timestamp and Ending Event's Timestamp fields respectively. To select a timestamp, click the time and calendar icon next to the field.
Then select the required date, hour, minute, second and millisecond. Click Done to select the time stamp entered. If you want to select the current time, you can click Now.
-
If you want to restrict the event simulation feed to a specific number of events, enter the required number in the No of Events field.
-
-
In the Simulation Source field, select CSV File.
-
Click Add Simulation Source to open the following section.
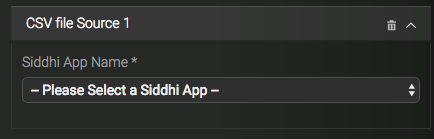
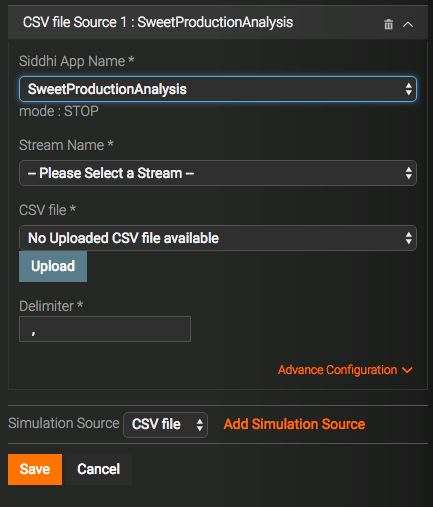
In the Siddhi App Name field, select the required Siddhi application. Then more fields as shown below.
Enter details as follows:
-
In the Stream Name field, select the stream for which you want to simulate events. All the streams defined in the Siddhi application you selected are available in the list.
-
In the CSV File field, select an available CSV file. If no CSV files are currently uploaded, select Upload File from the list. This opens the Upload File dialog box.
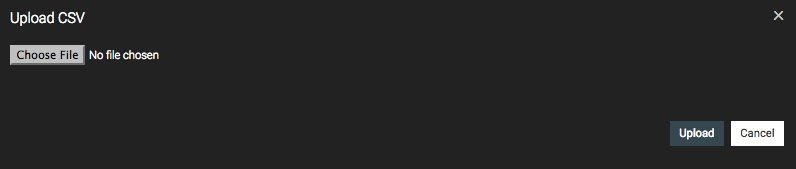
Click Choose File and browse for the CSV file you want to upload. Then click Upload.
-
In the Delimiter field, enter the character you want to use in order to separate the attribute values in each row of the CSV file.
-
If you want to enter more detailed specifications, click Advanced Configuration. Then enter details as follows.
-
To use the index value as the event timestamp, select the Timestamp Index option. Then enter the relevant index.
-
If you want to increase the value of the timestamp for each new event, select the Increment event time by(ms) option. Then enter the number of milliseconds by which you want to increase the timestamp of each event.
-
If you want the events to arrive in order based on the timestamp, select Yes under the Timestamp Interval option.
-
-
Click Save to save the information relating to the CSV file. The name os the CSV file appears in the Feed Simulation tab in the left panel.
-
-
-
To simulate a CSV file that is uploaded and visible in the Feed Simulation tab in the left panel, click on the arrow to its right. The simulated events are logged in the output console.
Simulating multiple events via databases
This section explains how to generate multiple events via databases to be analyzed via the Streaming Integrator.
Tip
Before simulating events via databases:
- A Siddhi application must be created.
- The database from which you want to simulate events must be already configured for the Streaming Integrator.
To simulate multiple events from a database, follow the procedure below:
-
Access the Streaming Integrator Tooling via the
http://localhost:/editorURL. The Streaming Integrator Tooling opens as shown below.Info
The default URL is
http://localhost:9090/editor. -
Click the Event Simulator icon in the left pane of the editor.11
-
Click the Feed tab to open the Feed Simulation panel.
-
To create a new simulation, click Create. This opens the following panel.
-
Enter values for the displayed fields as follows.
-
In the Simulation Name field, enter a name for the event simulation.
-
In the Description field, enter a description for the event simulation.
-
If you want to simulate events at time intervals of a specific length, enter that length in milliseconds in the Time Interval(ms) field.
-
If you want to enter more advanced conditions to simulate the events, click Advanced Configurations. As a result, the following section is displayed.

Then enter details as follows:
-
If you want to include only events that belong to a specific time interval in the simulation feed, enter the start time and the end time in the Starting Event's Timestamp and Ending Event's Timestamp fields respectively. To select a timestamp, click the time and calendar icon next to the field.
Then select the required date, hour, minute, second and millisecond. Click Done to select the time stamp entered. If you want to select the current time, you can click Now.
-
If you want to restrict the event simulation feed to a specific number of events, enter the required number in the No of Events field.
-
-
In the Simulation Source field, select Database. To connect to a new database, click Add Simulation Source to open the following section.
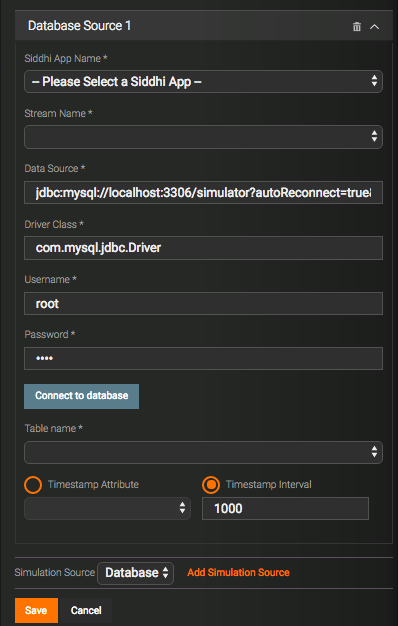
Enter information as follows:
Field Description Siddhi App Name Select the Siddhi Application in which the event stream for which you want to simulate events is defined. Stream Name Select the event stream for which you want to simulate events. All the streams defined in the Siddhi Application you selected are available to be selected. Data Source The JDBC URL to be used to access the required database. Driver Class The driver class name of the selected database. Username The username that must be used to access the database. Password The password that must be used to access the database. -
Once you have entered the above information, click Connect to Database. If the datasource is correctly configured, the following is displayed to indicate that Streaming Integrator can successfully connect to the database.

-
To use the index value as the event timestamp, select the Timestamp Index option. Then enter the relevant index. If you want the vents in the CSV file to be sorted based on the timestamp, select the Yes option under CSV File is Ordered by Timestamp.
-
To increase the timestamp of the published events, select the Timestamp Interval option. Then enter the number of milliseconds by which you want to increase the timestamp of each event.
-
-
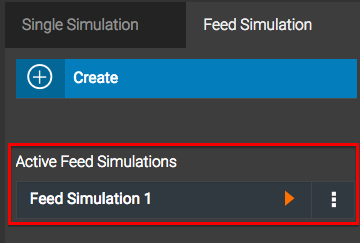
Click Save. This adds the fed simulation you created as an active simulation in the Feed Simulation tab of the left panel as shown below.
-
Click on the play button of this simulation to open the Start the Siddhi Application dialog box.
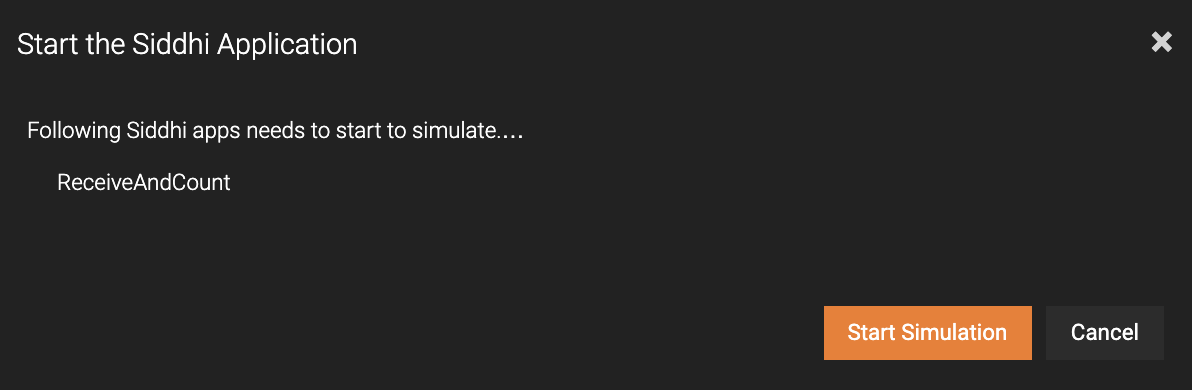
-
Click Start Simulation. A message appears to inform you that the feed simulation started successfully. Similarly, when the simulation is completed, a message appears to inform you that the event simulation has finished.
Generating random events
This section explains how to generate random data to be analyzed via the Streaming Integrator.
Tip
Before simulating events, a Siddhi application should be deployed.
To simulate random events, follow the steps given below:
-
Access the Streaming Integrator Tooling via the
http://localhost:/editorURL. The Streaming Integrator Tooling opens as shown below.Info
The default URL is
http://localhost:9090/editor. -
Click the Event Simulator icon in the left pane of the editor.
-
Click the Feed tab to open the Feed Simulation panel.
-
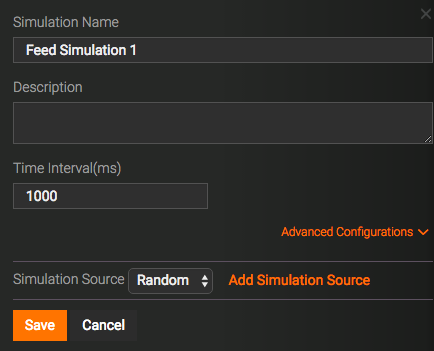
To create a new simulation, click Create . This opens the following panel.
-
Enter values for the displayed fields as follows.
-
In the Simulation Name field, enter a name for the event simulation.
-
In the Description field, enter a description for the event simulation.
-
If you want to include only events that belong to a specific time interval in the simulation feed, enter the start time and the end time in the Starting Event's Timestamp and Ending Event's Timestamp fields respectively. To select a timestamp, click the time and calendar icon next to the field.
Then select the required date, hour, minute, second and millisecond. Click Done to select the time stamp entered. If you want to select the current time, you can click Now.
-
If you want to restrict the event simulation feed to a specific number of events, enter the required number in the No of Events field.
-
If you want to receive events only during a specific time interval, enter that time interval in the Time Interval field.
-
In the Simulation Source field, select Random.
-
If the random simulation source from which you want to simulate events does not already exist in the Feed Simulation pane, click Add New to open the following section.
-
Enter information relating to the random source as follows:
- In the Siddhi App Name field, s elect the name of the Siddhi App with the event stream for which the events are simulated.
- In the Stream Name field, select the event stream for which you want to simulate events. All the streams defined in the Siddhi Application you selected are available to be selected.
- In the Timestamp Interval field, enter the number of milliseconds by which you want to increase the timestamp of each event.
-
To enter values for the stream attributes, follow the instructions below.
-
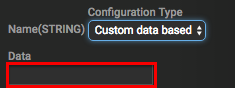
To enter a custom value for a stream attribute, select Custom data based from the list. When you select this value, data field in which the required value can be entered appears as shown in the example below.
-
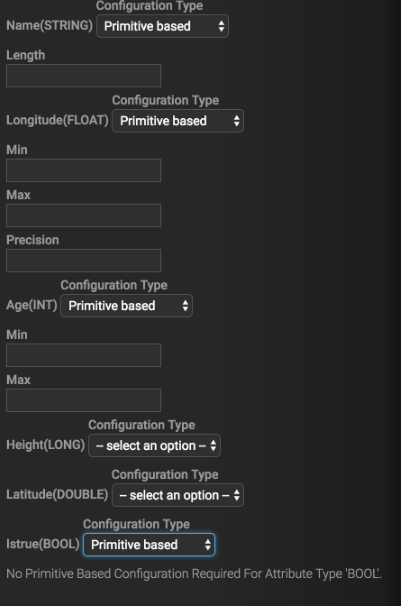
To enter a primitive based value, select Primitive based from the list. The information to be entered varies depending on the data type of the attribute. The following table explains the information you need to enter when you select Primitive based for each data type.
Data Type Values to enter STRINGSpecify a length in the Length field that appears. This results in a value of the specified length being auto-generated. FLOATorDOUBLEThe value generated for the attribute is based on the following values specified. - Min : The minimum value.
- Max : The maximum value.
- Precision : The precise value. The number of decimals included in the auto-generated values are the same as that of the value specified here.
INTorLONGThe value generated for the attribute is based on the following values specified. - Min : The minimum value.
- Max : The maximum value.
BOOLNo further information is required because trueandfalsevalues are randomly generated. -
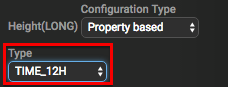
To randomly assign values based on a pre-defined set of meaningful values, select Property based from the list. When you select this value, a field in which the set of available values are listed appears as shown in the example below.
-
To assign a regex value, select Regex based from the list.
-
-
-
Click Save to save the simulation information. The saved random simulation appears in the Feed tab of the left panel.
-
To simulate events, click the arrow to the right of the saved simulation (shown in the example below).

The simulated events are logged in the CLI as shown in the extract below.
