Expose an Existing Backend Implementation as a Prototype API
This allows you to create a prototype API with an actual working backend URL and publish the API to the Developer Portal as a Pre-Released API.
Step 1 - Create the interface of the API
Note the following when creating an interface for the API:
- Create any type of interface for the Prototype API.
- You can create either a new API or a new version of an existing API for this purpose.
- Fill the Endpoint field with the actual backend URL. For example,
https://petstore3.swagger.io/api/v3
For this example, let's follow steps 1 to 5 in the Create a REST API from an OpenAPI Definition - basic flow guide to create the basic structure of the API interface using the following details.
| Field | Value |
|---|---|
| OpenAPI URL | https://petstore3.swagger.io/api/v3/openapi.json |
| Name | SwaggerPetstore |
| Context | v3 |
| Version | 1.0.6 |
| Endpoint | https://petstore3.swagger.io/api/v3 |
Step 2 - Specify the backend URL
If you did not provide an endpoint in the above step, follow the steps given below.
-
Navigate to API Configurations and click Endpoints to navigate to the Endpoints page in the Publisher.
-
Enter the Endpoint details.
-
Click on an Endpoint type of your choice, with the exception of Mock Implementation, and click Add.
Note
Skip this step if you have already defined an endpoint when creating the basic interface for the API.
-
Configure/update the endpoints as required.
For this example, let's -
-
Select HTTP/REST Endpoint.
-
Enter the Production Endpoint as
https://petstore3.swagger.io/api/v3.
-
-
Click Save to save the Endpoint configurations in the API.
Note
For more information, see Endpoint Types and the other sections related to the Endpoints documentation.
-
Step 3 - Deploy the API
Deploy the API in order to make the API available in the respective Gateway.
Step 4 - Test the API via the Publisher
Once deployed to the Gateway, you can test the REST type APIs via the Publisher Portal.
Step 5 - Publish the API as a Prototype
Important
- By default, from WSO2 API Manager 4.1.0 onwards, security is enabled for all the resources of the Prototype API. As a result, you need a subscription to invoke the API.
-
Skip this step if you have disabled security for all the resources in the API.
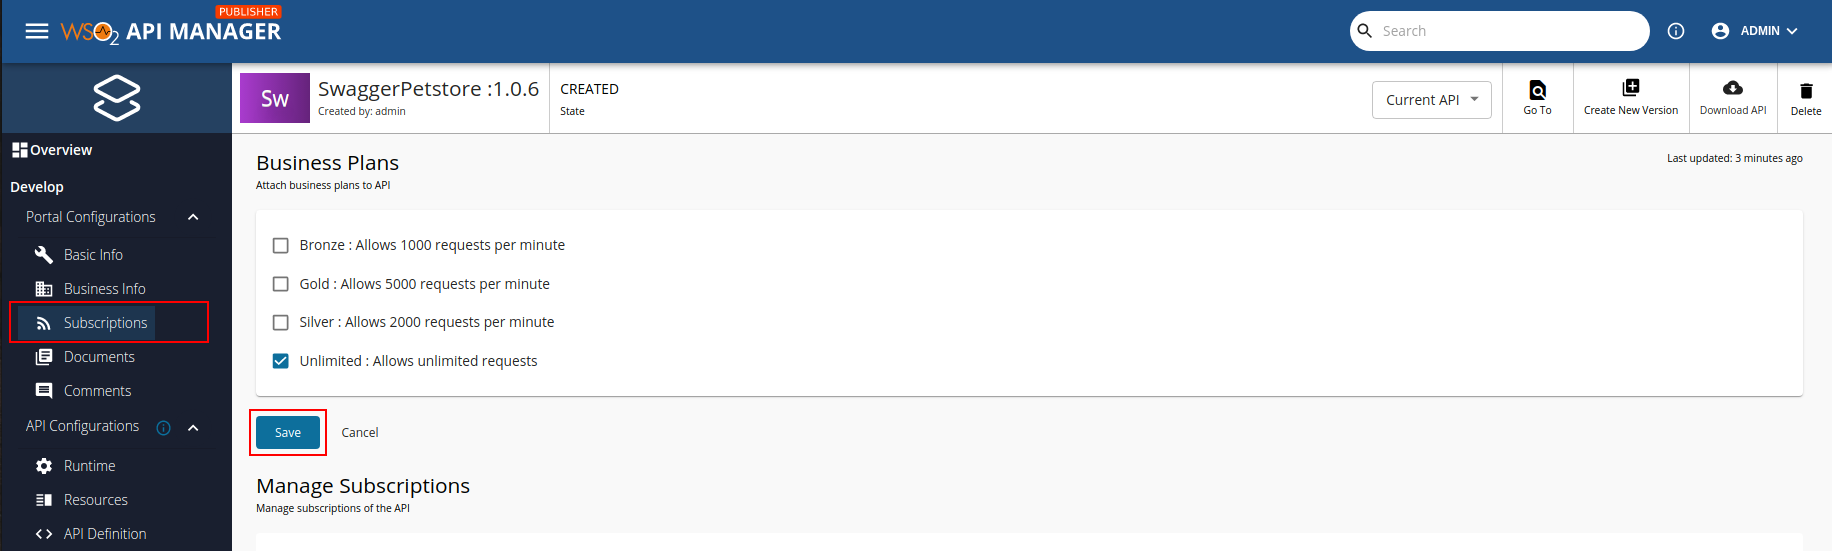
Follow the instructions below to attach Business Plans to the API.
-
Navigate to Portal Configurations and click Subscriptions.
-
Select the required Business Plans and click Save.
-
Follow the instructions below to publish the API to the Developer Portal as a Prototype:
-
Navigate to the Lifecycle page listed under Publish.
For both options, When creating an API with the Mock Implementation and When creating an API with an actual backend URL, you will have the option to either promote your API to the PRE-RELEASED state or to the PUBLISHED state in the API lifecycle.
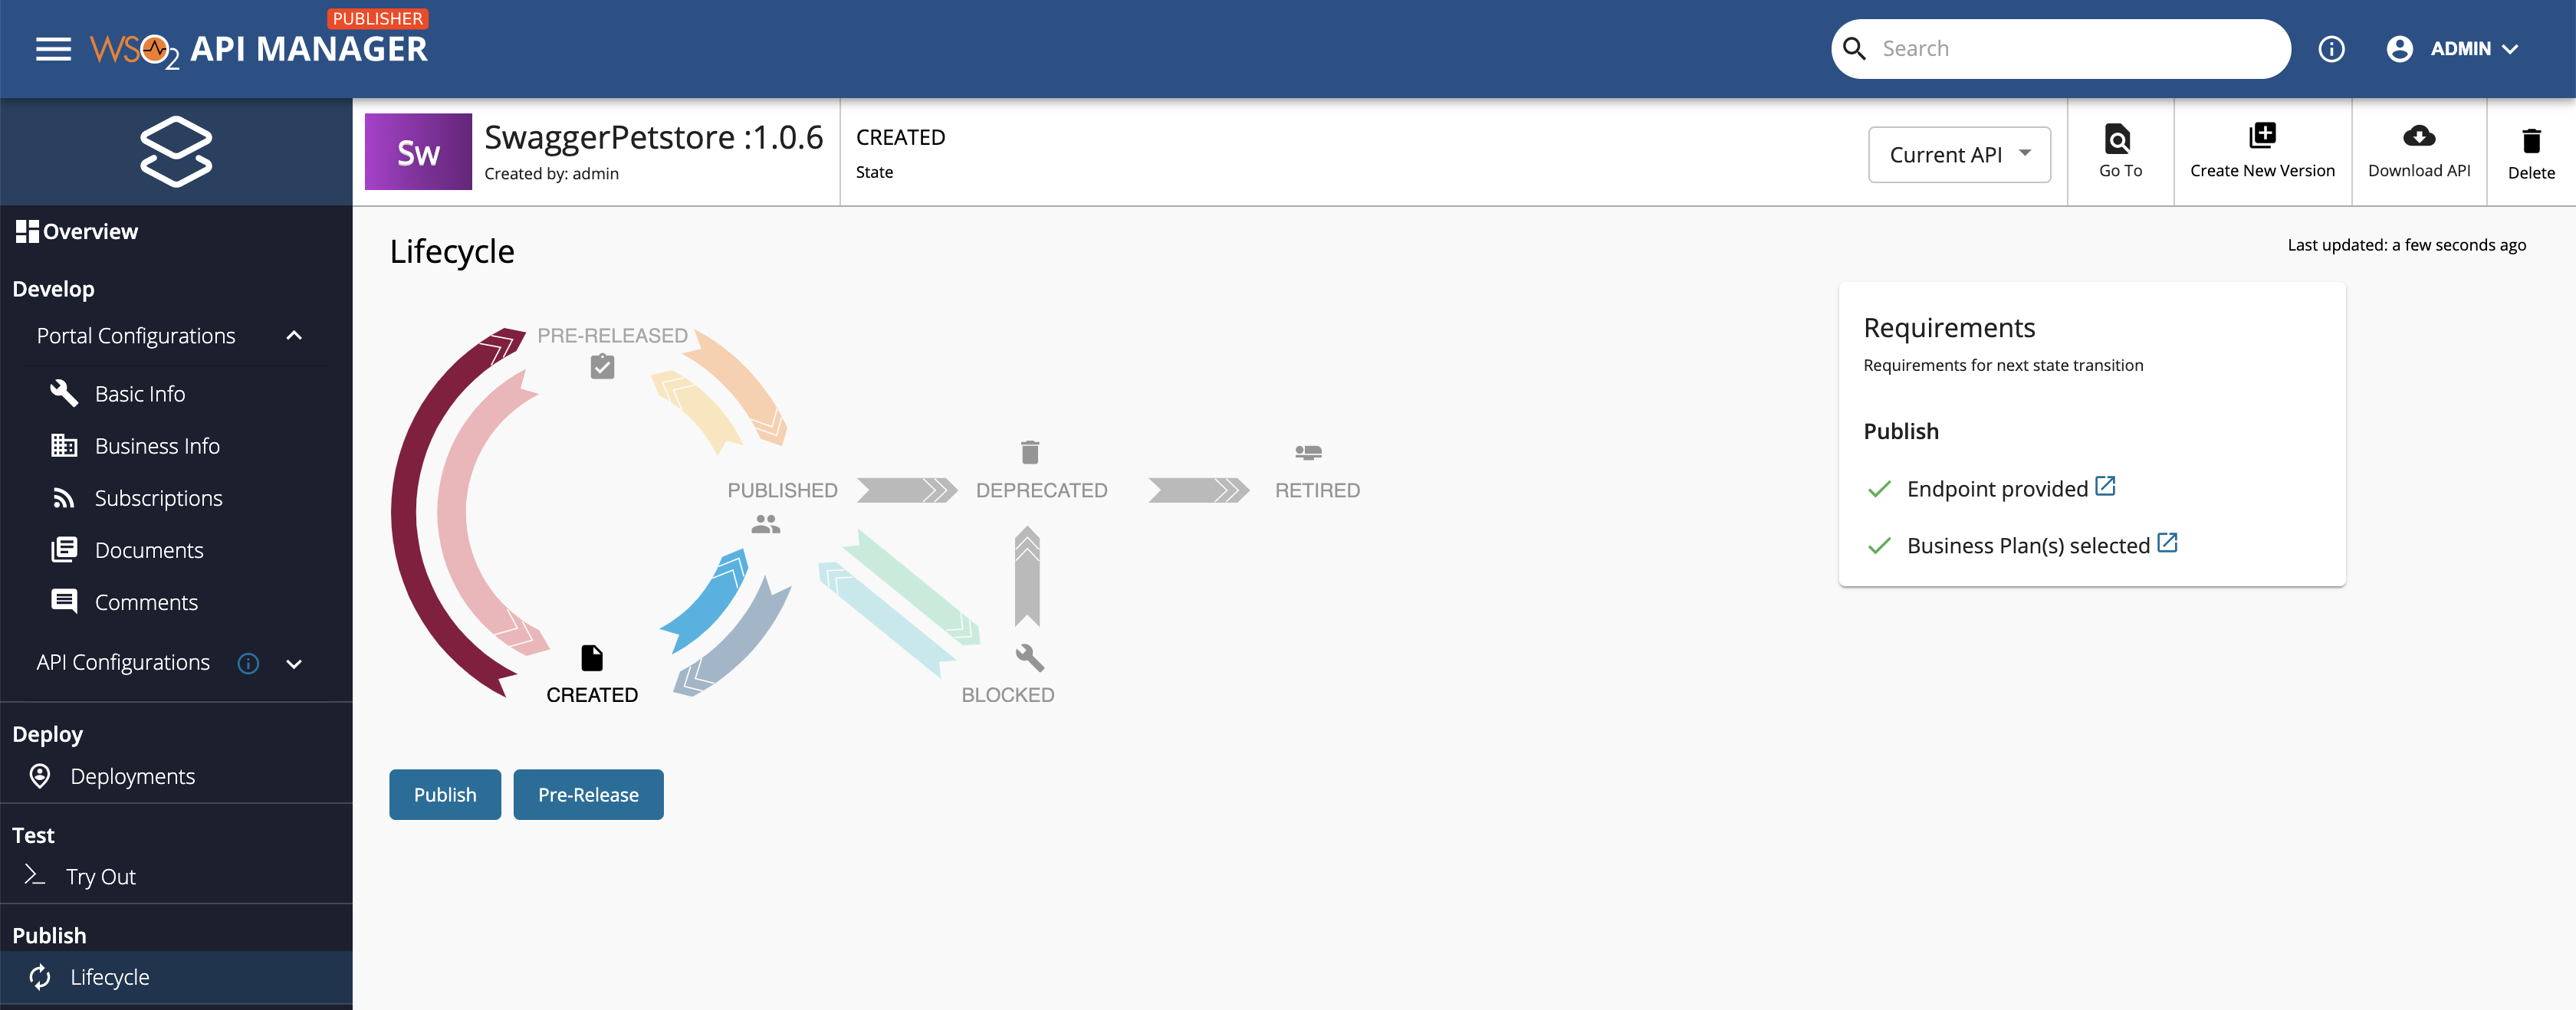
-
Click Pre-Release to publish the API as a Prototype API to the Developer Portal.
Step 6 - Invoke the API
-
Click View in Dev Portal to navigate to the Developer Portal.
Note
If you have enabled security for the prototype API, follow the Subscribe to an API guide to subscribe and obtain an access token to invoke the prototype API.
-
Click Try Out to navigate to the API Console and invoke the API as for a regular API.