Specifying a Mediation Flow Using a Policy
Operation level policy support provides the ability to attach multiple policies at the operation level itself.
There are three main flows under each operation that you can utilize to attach any policy that you need. Namely, request flow, response flow and fault flow. You can also attach multiple policies under each of these flows, and are free to swap and rearrange the attached policies.
Let’s dive into the concepts introduced by this feature.
Creating a Policy
There are two ways that you can go about creating a policy.
Creating a Common Policy
A common policy is a globally maintained policy and you can easily utilize this policy at the API level of any desired API. Note that these policies are not bound to any API and they are merely templates that you can use. Now let’s see how you can create such a policy. Follow the instructions below to create a new common policy.
-
Log into the API Publisher Portal (https://localhost:9443/publisher) using admin credentials
-
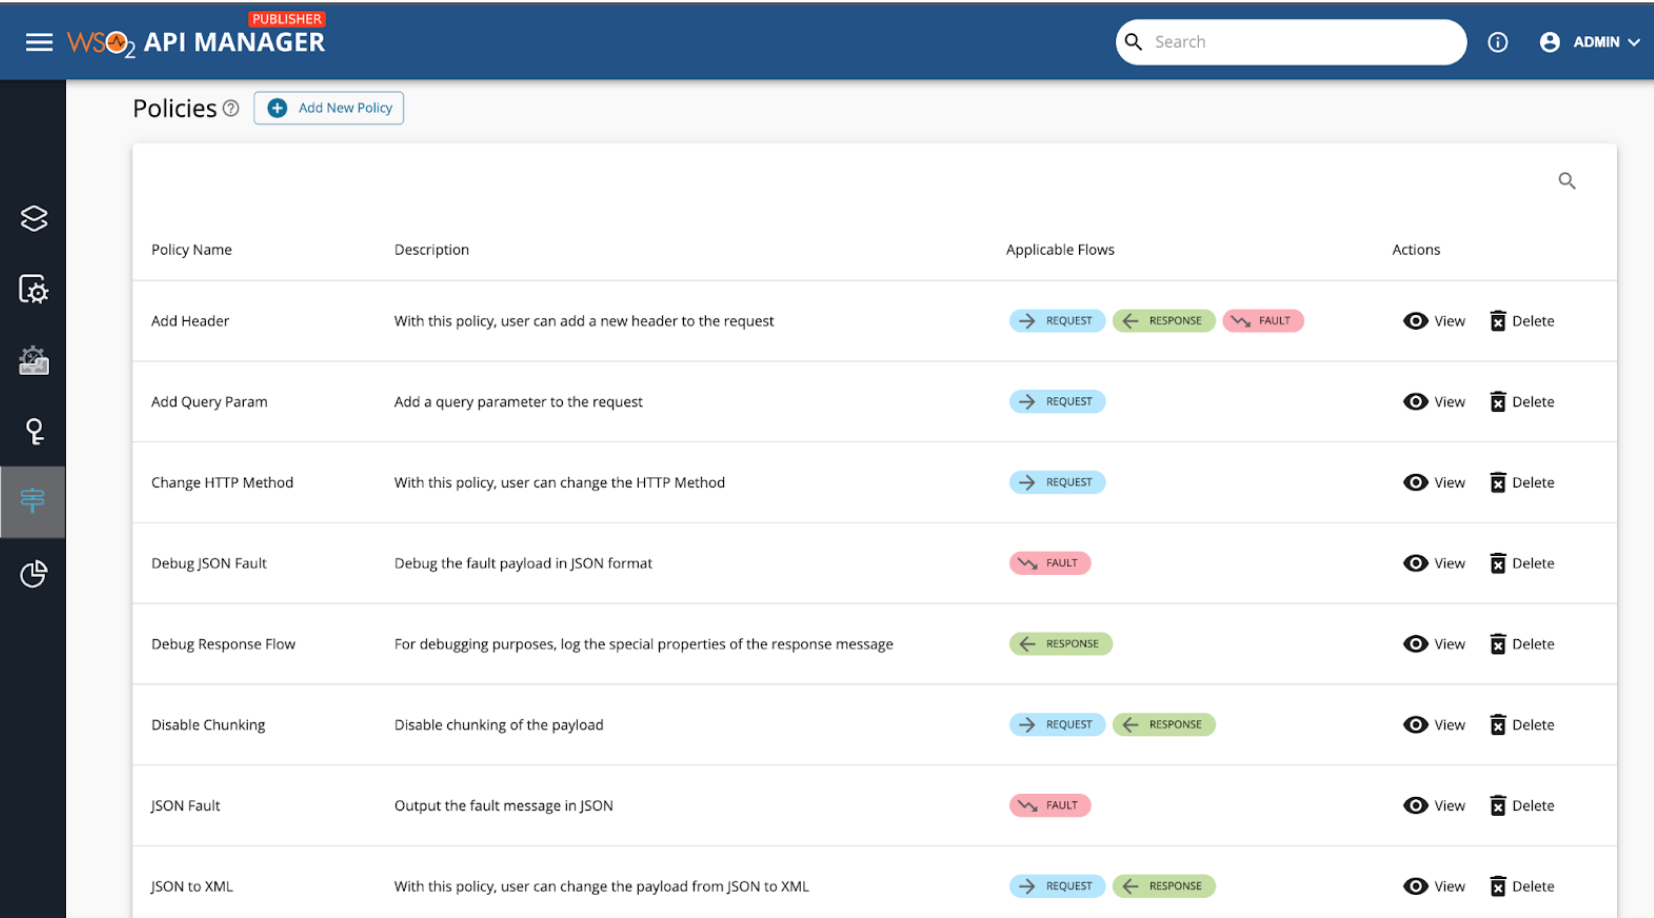
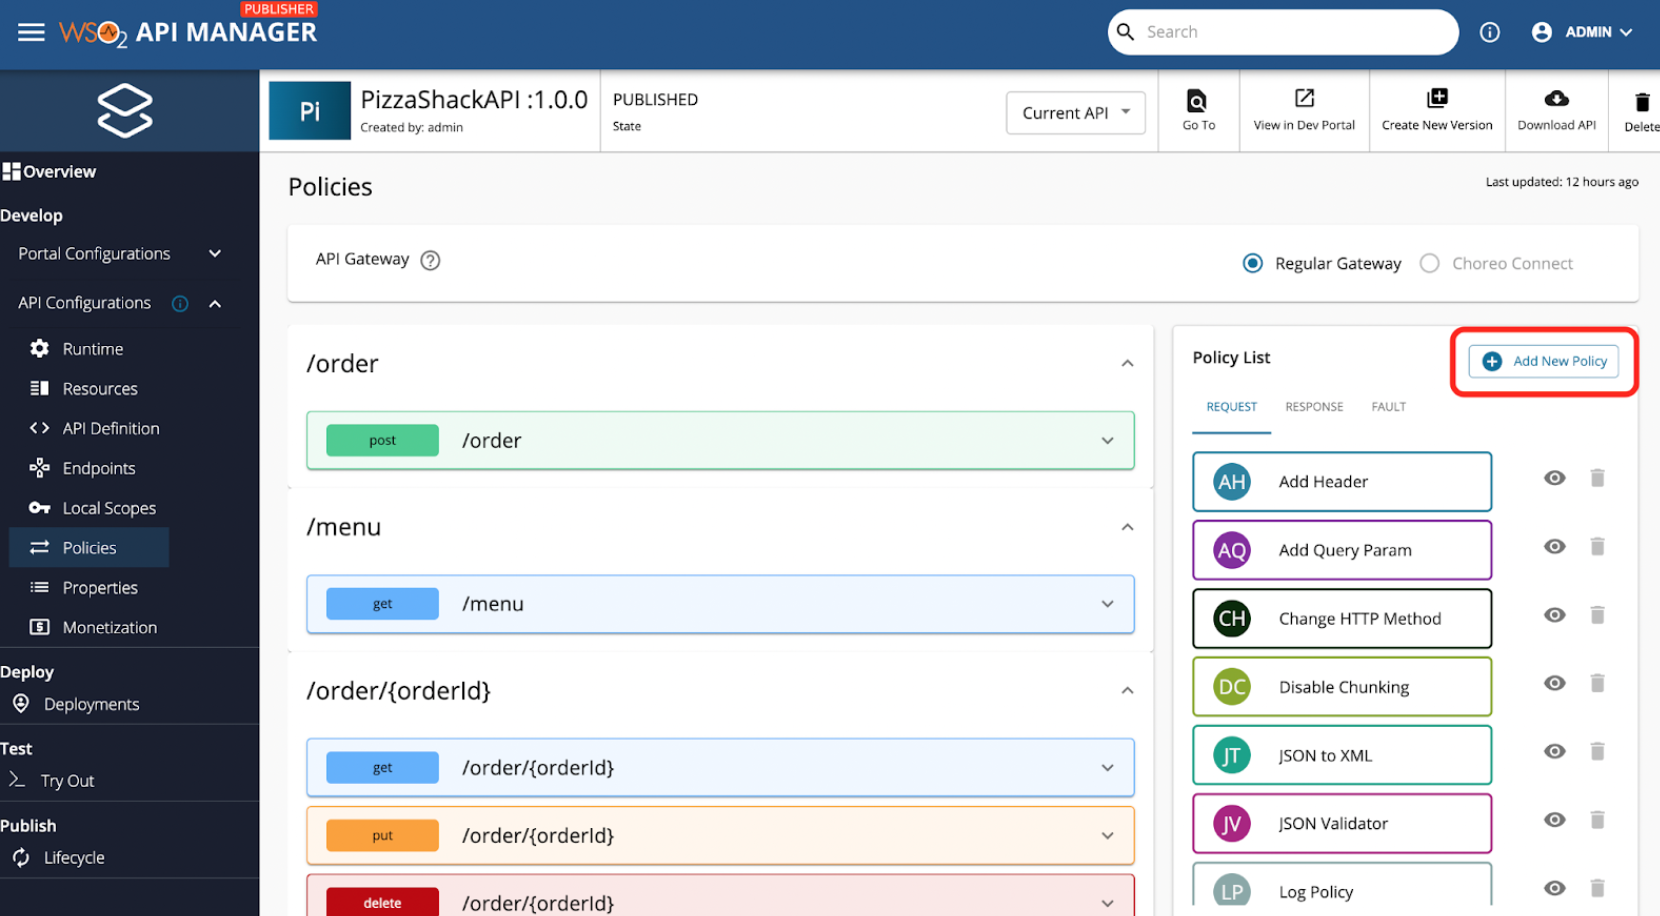
Navigate to Policies page from the left menu. Notice that there are some out-of-the-box policies that you can use.
-
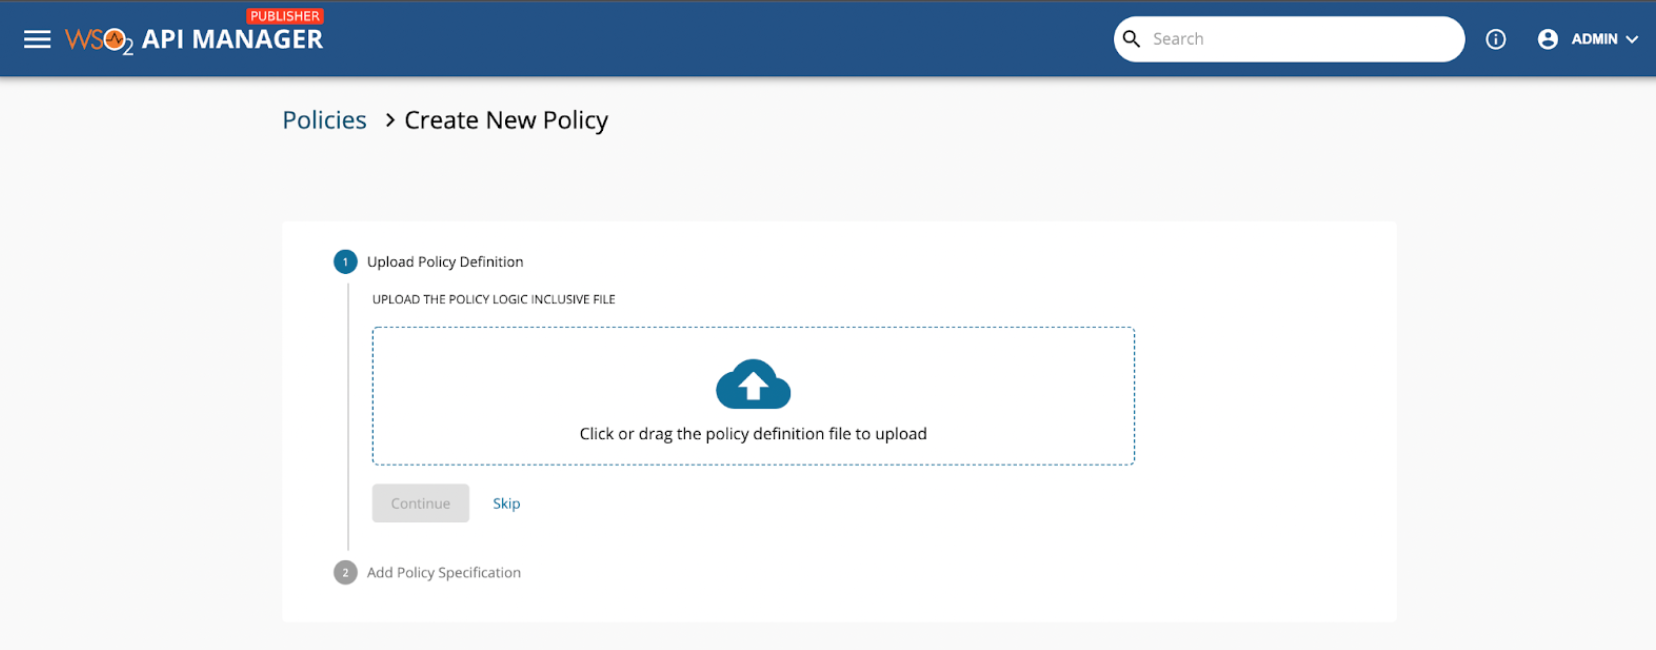
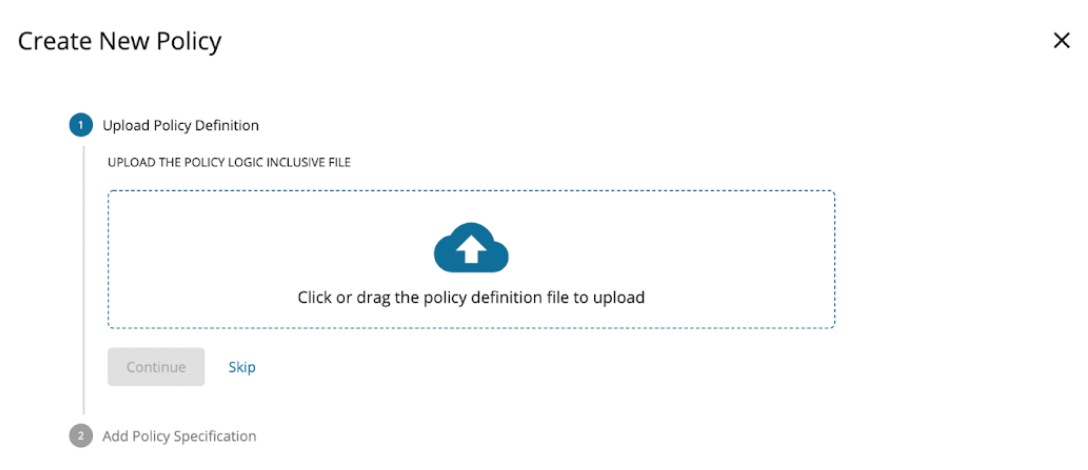
Now let’s create a new policy named “Sample Log”. Click the Add New Policy button from the top, and you will see the following screen. Notice that the first step is to upload the Policy Definition file.
-
Policy Definition is a .j2 file that includes the Synapse gateway related logic. For this sample policy you can make use of the below logic. You can copy this content and save the file as addLogMessage.j2. Then click or drag the definition file to the dropzone appearing in the screen from step 3.
<log level="full"> <property name="MESSAGE" value="MESSAGE"/> </log> -
Click Continue to move to the second step.
-
You need to provide the Policy Specification, which is a JSON that describes the policy that you are about to add.
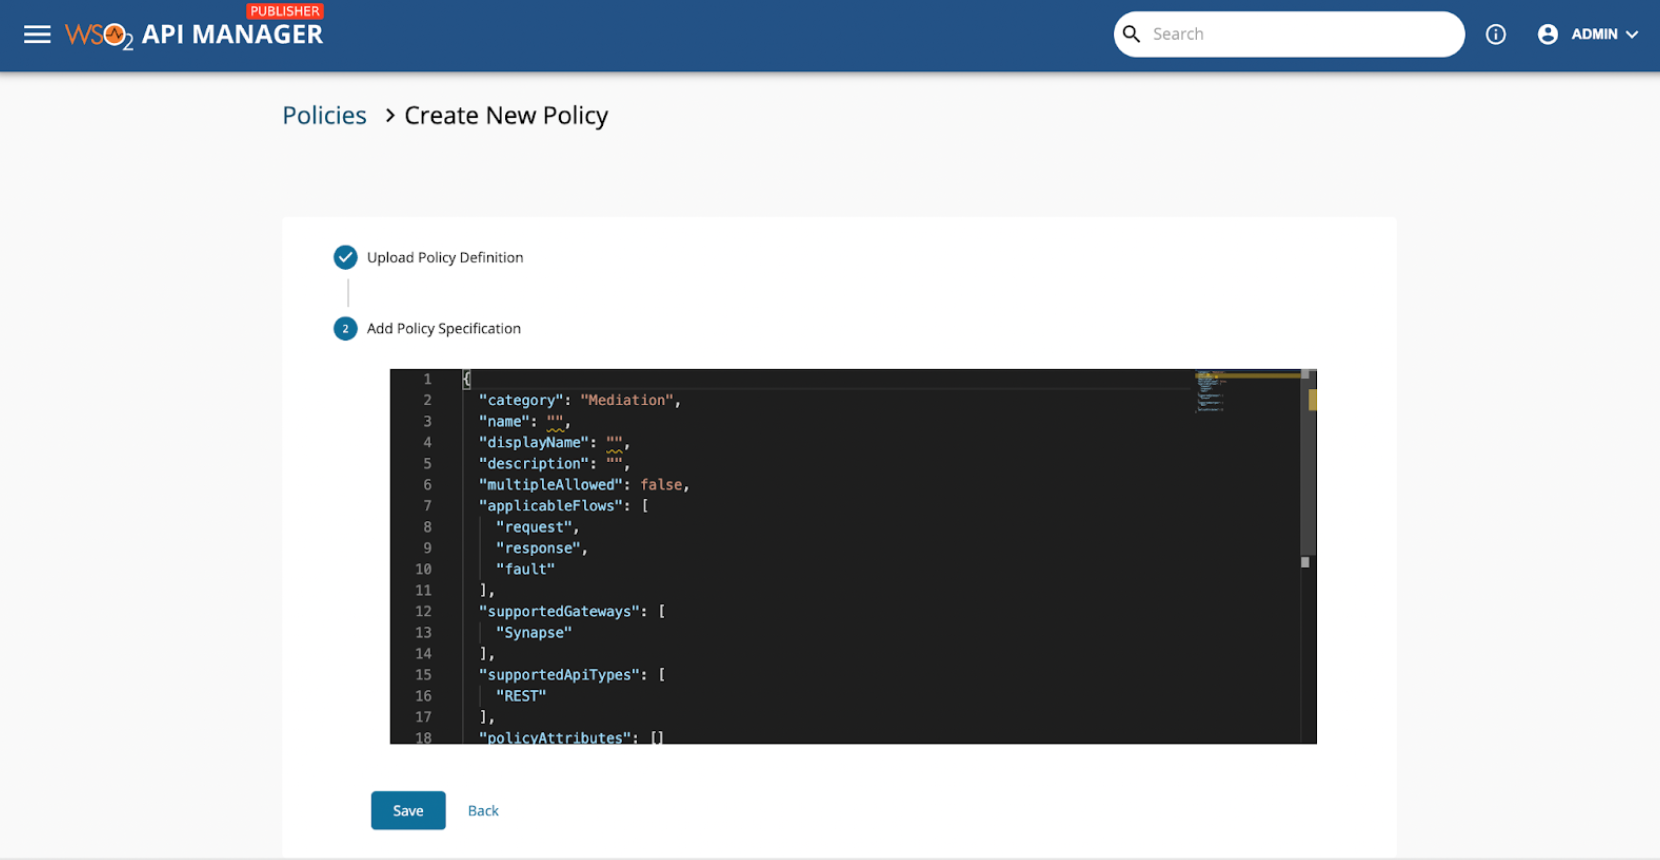
You can use this sample JSON and simply paste it in the editor.
{ "category": "Mediation", "name": "sampleLog", "displayName": "Sample Log", "description": "This is just a dummy policy we are creating for demo purposes", "multipleAllowed": false, "applicableFlows": [ "request", "response", "fault" ], "supportedGateways": [ "Synapse" ], "supportedApiTypes": [ "REST" ], "policyAttributes": [] } -
Once that is done, click Save.
-
Now the newly created policy will appear in the table. You can search for this policy using the search function.
-
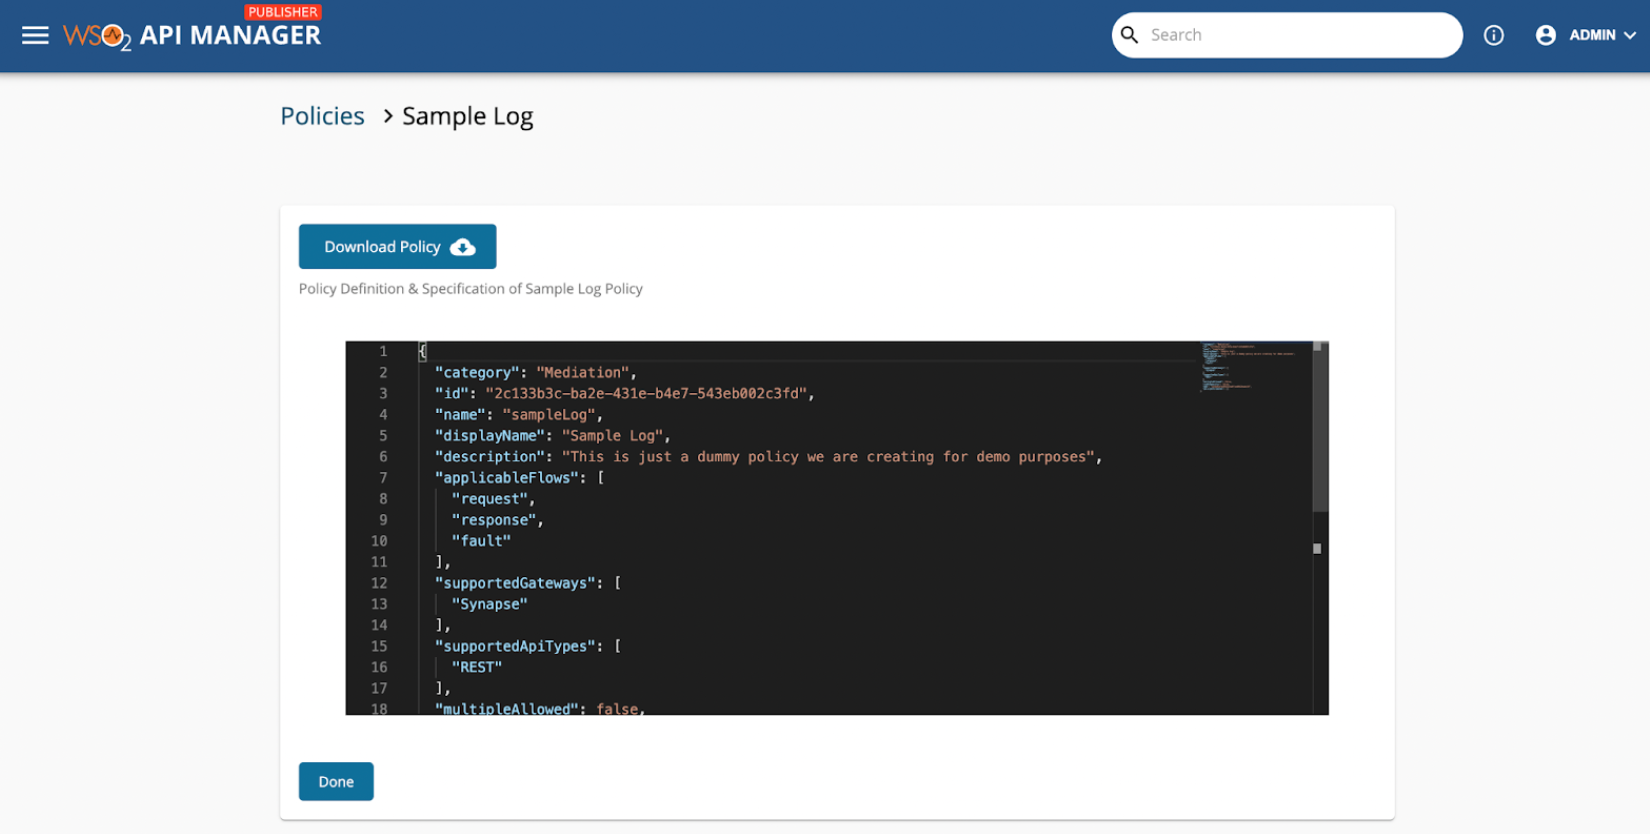
Try viewing this policy by clicking View. Notice that you can download the policy that we have created using the Download Policy button. This download operation will give you the .zip file inclusive of the Policy Definition file and Policy Specification file.
-
You can delete this newly created policy using the Delete action.
Creating an API Specific Policy
If you would rather create a policy that is local to the API, you can follow the below provided steps to create such a policy.
-
Navigate to the Policies tab under any API that you want. You will see a screen like below. Click on the Add New Policy button in order to create an API specific policy.
-
Then you will be redirected to a screen where you can set up the policy for your API.
-
Now you can upload the Policy Definition file, and add in the Policy Specification JSON just like you did under the common policy creation. Then, click on Save to create a policy.
-
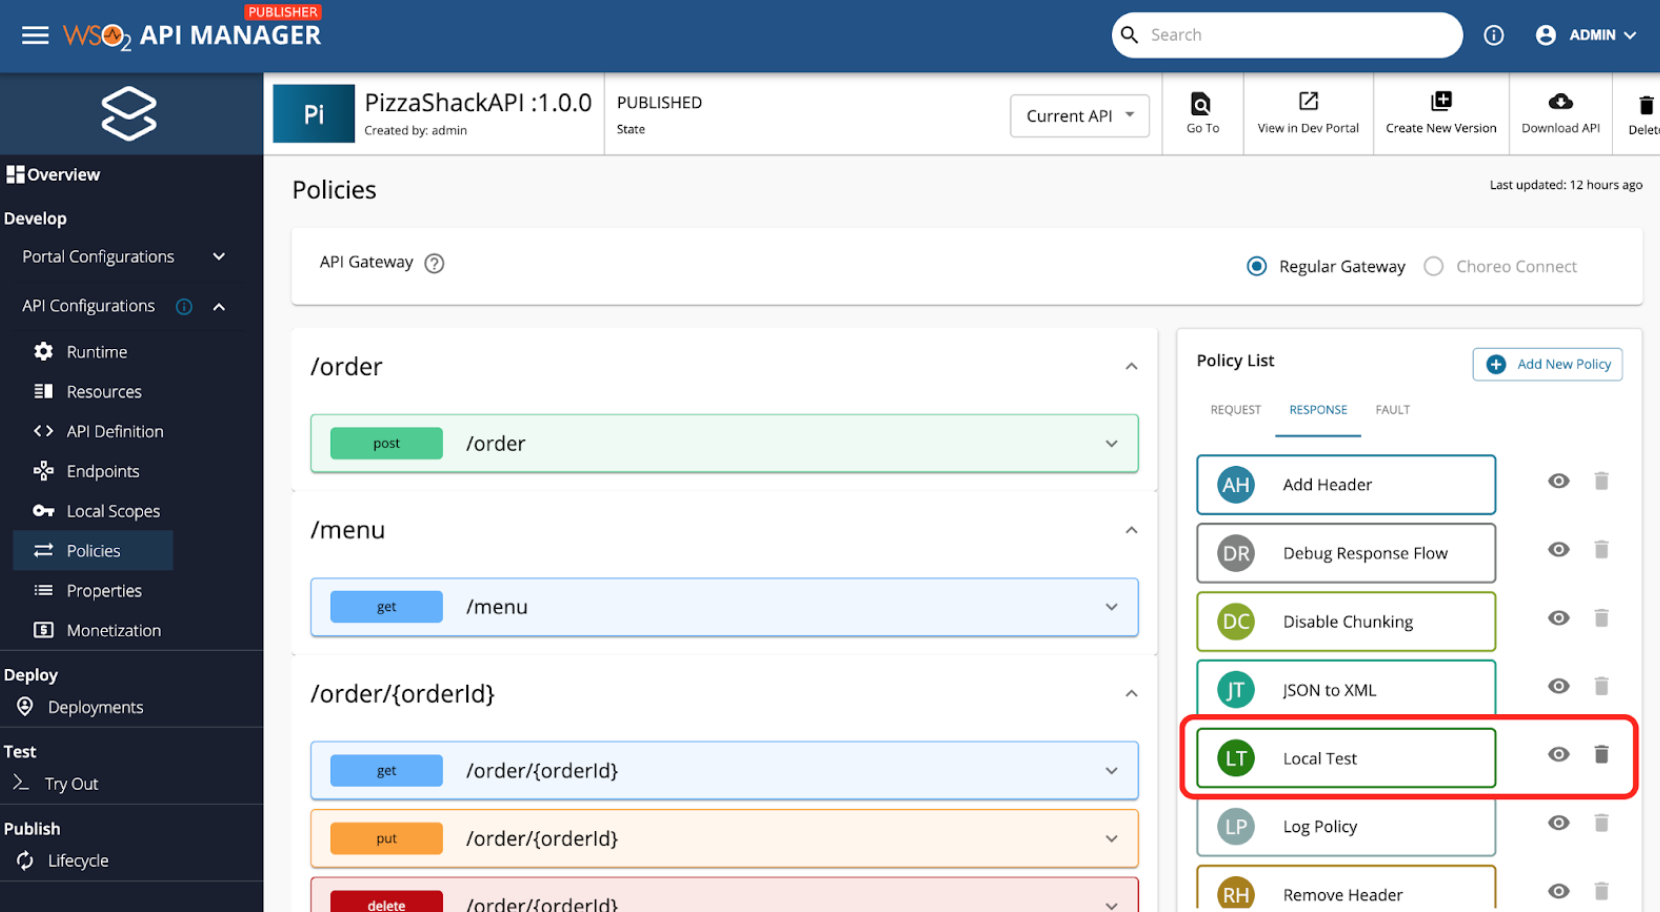
Refer to the below screenshot to find such a local policy. Notice the policy named Local Test, where the delete operation is enabled as opposed to the disabled delete operations of Common Policies.
-
You can perform view and delete actions on API specific policies by clicking the respective icons next to the policy.
Attaching Policies to an API resource
When it comes to attaching these policies to an API resource, you can pick out the desired operation and flow. Once that is decided, you can expand the relevant section from the left column of the below UI. Let’s assume that we want to attach a policy to /menu get.
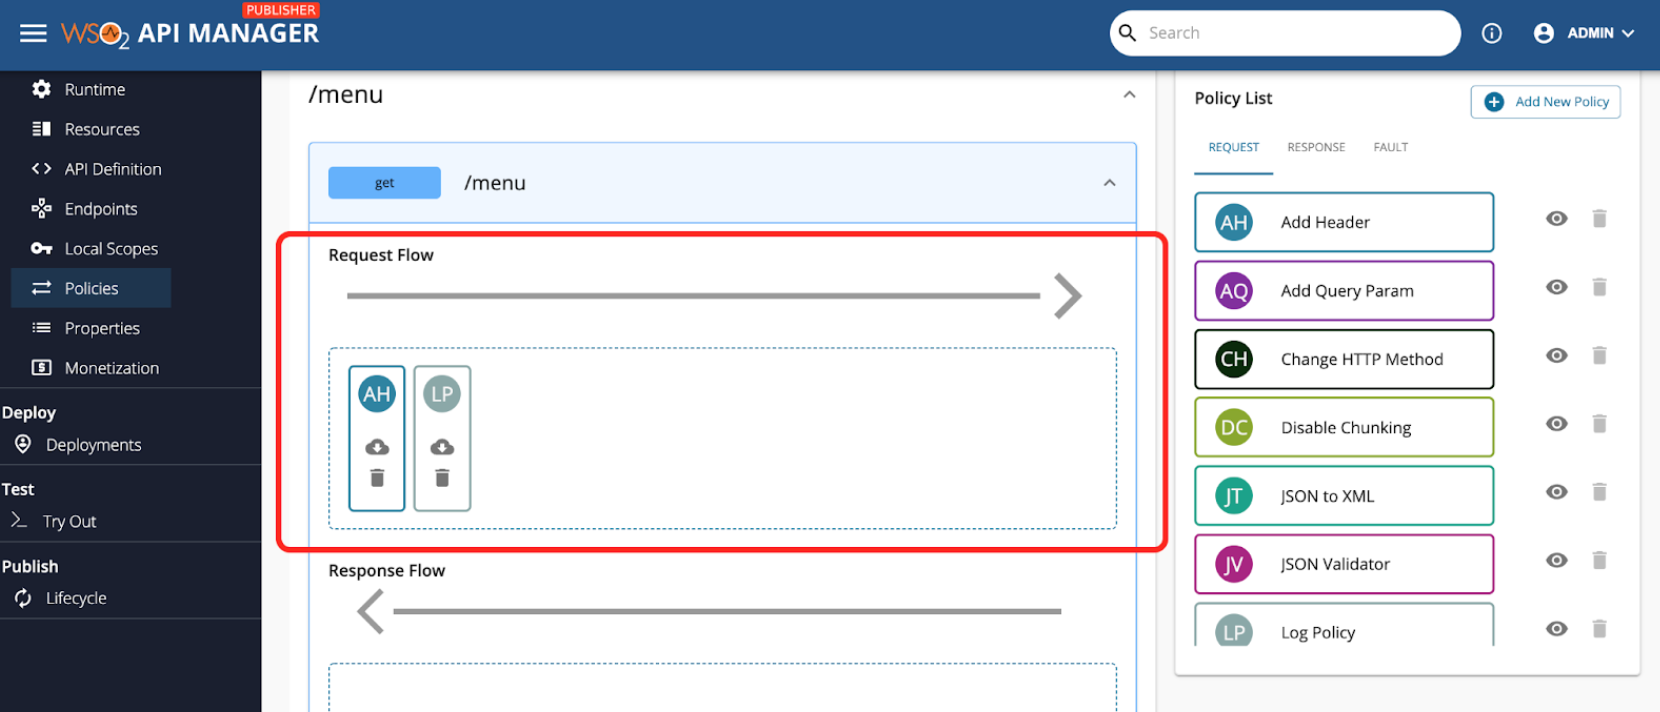
Now let’s drag the Add Header Policy from the Request tab of the Policy List and drop that to the dropzone highlighted in the above image. Then, you will notice a side panel appearing from the right hand side.
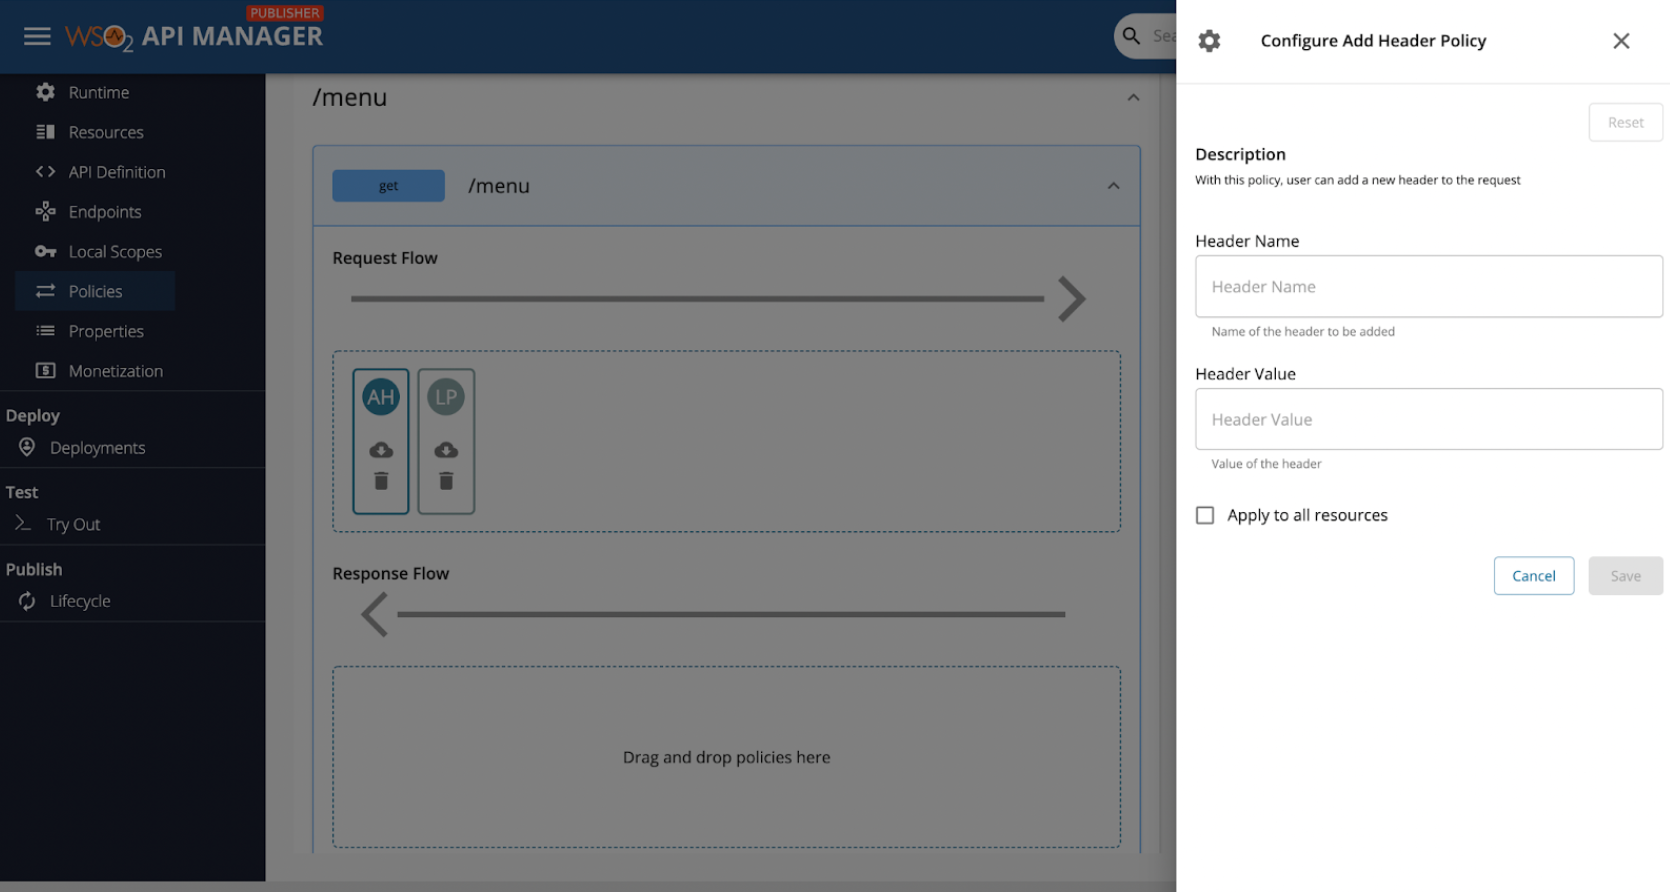
Let’s add in the header name as Foo and header value as Bar and click Save.
Note
You can optionally use the Apply to all resources option to attach the same policy to all the resources when you click Save. This will attach the same policy with the same values to all the resources of the corresponding flow that the policy was initially dropped on.
Now that we have saved the dropped policy, you should be able to see a new Add Header policy (depicts with the initials AH) under the /menu get like so:
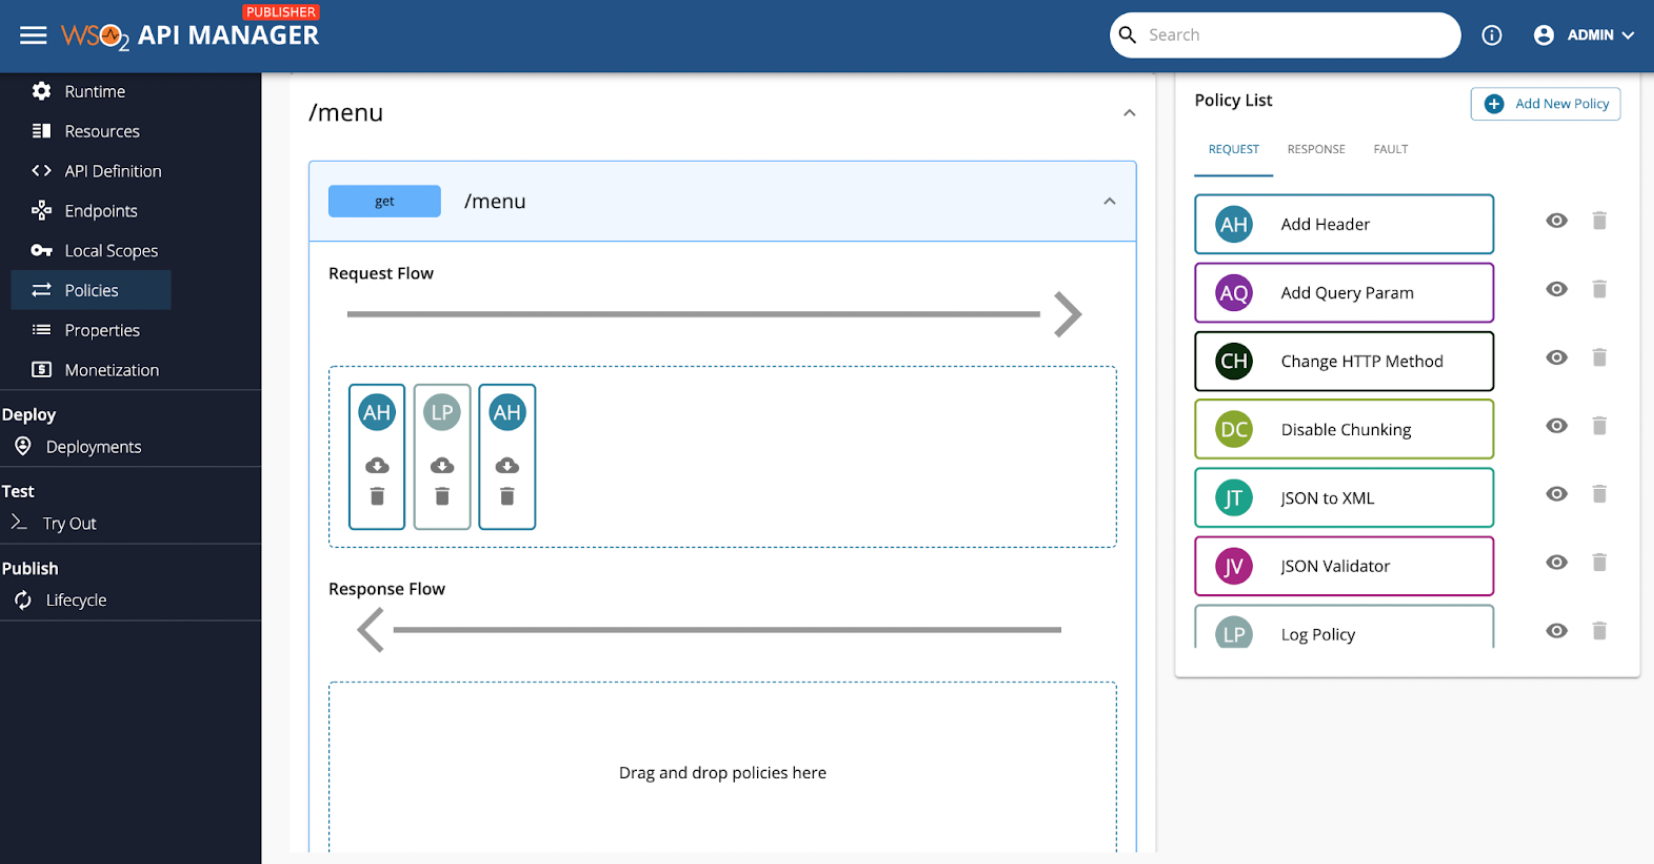
If you click on this newly appended AH policy, you should still be able to edit the initially added values and update those saved values.
Note
You can rearrange the dropped policies that are attached to the Request flow of the /menu get. Also, you can download the policy zip (includes the policy definition file and policy specification file). If you click on the delete, the dropped policy will cancel.
Finally, when you're happy with the dragged and dropped policies, you can go ahead and click on the Save button at the bottom of the page. Note that if you don’t click on save, none of the dropped policies will be saved to the API.