Customize API Life Cycle
APIs created in WSO2 API Manager have their own life cycle consisting of the following: a set of life cycle states, specific actions for each state transition, and a checklist of items before a state transition occurs. An API has a predefined life cycle consists of six states . This tutorial demonstrates how you can edit the default API lifecycle and customize it according to your requirements.
Follow the steps below to add a new state to the default life cycle.
-
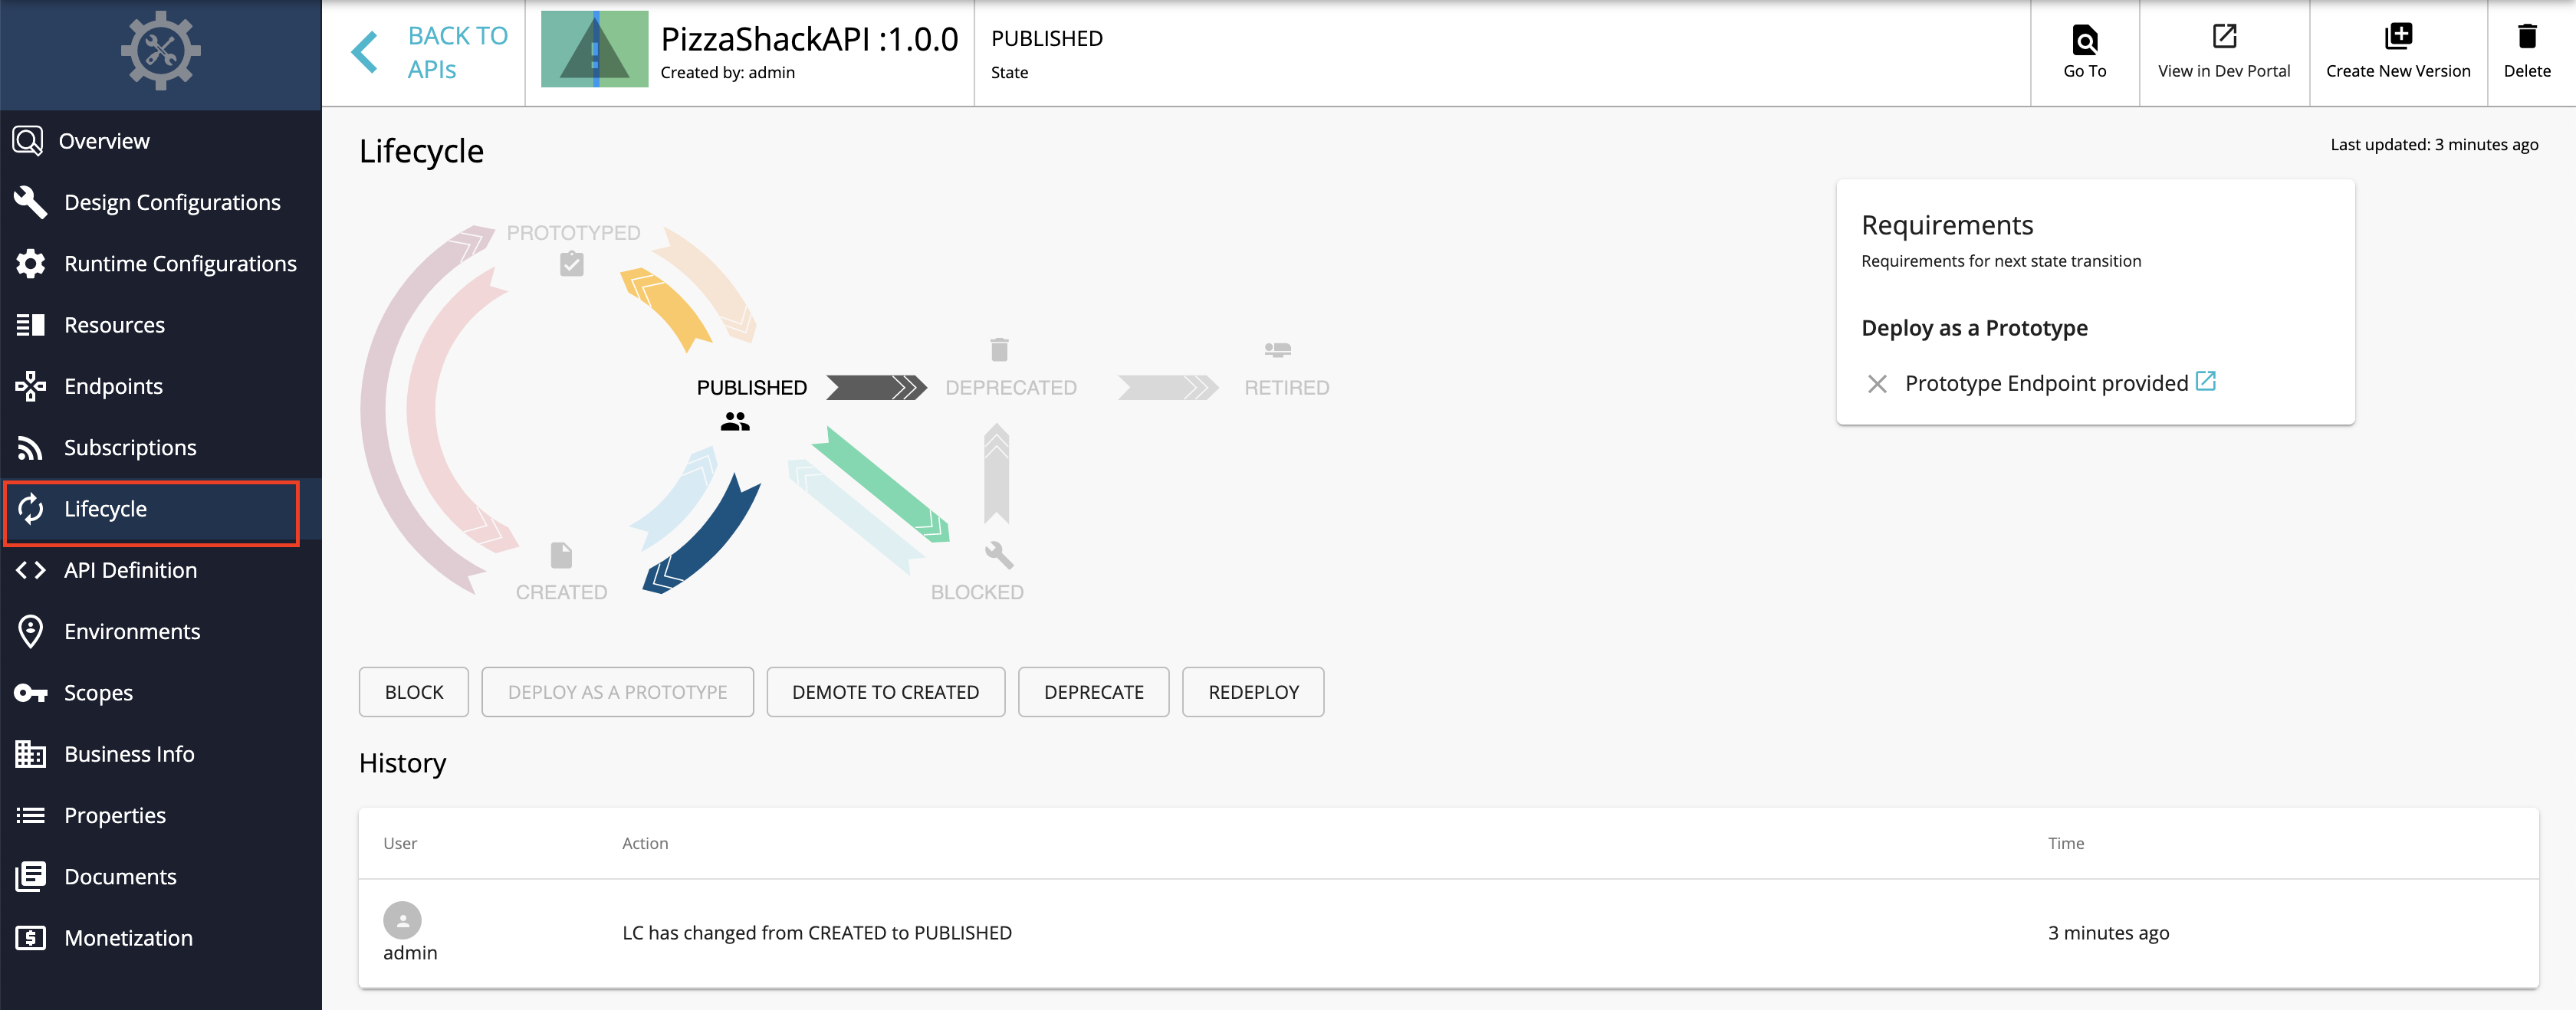
Sign in to the API Publisher and click on the API that you created previously (e.g., PizzaShackAPI - 1.0.0).
-
Click Lifecycle tab to view the current state and states available by default.

-
Open the API Manager Management Console: https://localhost:9443/carbon
-
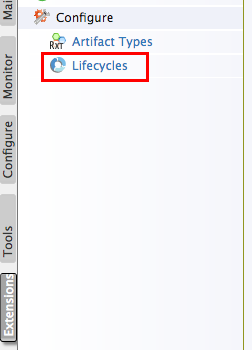
Navigate to Extensions > Configure > Lifecycles.

-
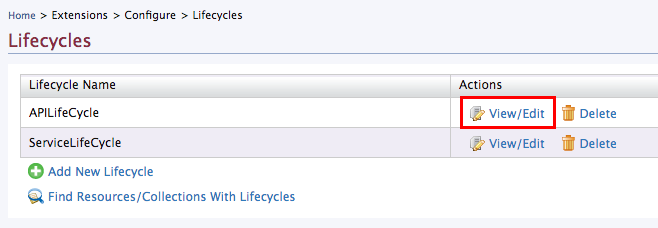
Click the View/Edit link corresponding to the default API LifeCycle.

The APILifeCycle configuration appear.
6. Update the API lifecycle definition.<aspect name="APILifeCycle" class="org.wso2.carbon.governance.registry.extensions.aspects.DefaultLifeCycle"> <configuration type="literal"> <lifecycle> <scxml xmlns="http://www.w3.org/2005/07/scxml" version="1.0" initialstate="Created"> <state id="Created"> <datamodel> <data name="checkItems"> <item name="Deprecate old versions after publish the API" forEvent=""> </item> <item name="Requires re-subscription when publish the API" forEvent=""> </item> </data> <data name="transitionExecution"> <execution forEvent="Deploy as a Prototype" class="org.wso2.carbon.apimgt.impl.executors.APIExecutor"> </execution> <execution forEvent="Publish" class="org.wso2.carbon.apimgt.impl.executors.APIExecutor"> </execution> </data> </datamodel> <transition event="Publish" target="Published"/> <transition event="Deploy as a Prototype" target="Prototyped"/> </state> <state id="Prototyped"> <datamodel> <data name="checkItems"> <item name="Deprecate old versions after publish the API" forEvent=""> </item> <item name="Requires re-subscription when publish the API" forEvent=""> </item> </data> <data name="transitionExecution"> <execution forEvent="Publish" class="org.wso2.carbon.apimgt.impl.executors.APIExecutor"> </execution> <execution forEvent="Demote to Created" class="org.wso2.carbon.apimgt.impl.executors.APIExecutor"> </execution> </data> </datamodel> <transition event="Publish" target="Published"/> <transition event="Demote to Created" target="Created"/> <transition event="Deploy as a Prototype" target="Prototyped"/> </state> <state id="Published"> <datamodel> <data name="transitionExecution"> <execution forEvent="Block" class="org.wso2.carbon.apimgt.impl.executors.APIExecutor"> </execution> <execution forEvent="Deprecate" class="org.wso2.carbon.apimgt.impl.executors.APIExecutor"> </execution> <execution forEvent="Demote to Created" class="org.wso2.carbon.apimgt.impl.executors.APIExecutor"> </execution> <execution forEvent="Deploy as a Prototype" class="org.wso2.carbon.apimgt.impl.executors.APIExecutor"> </execution> </data> </datamodel> <transition event="Block" target="Blocked"/> <transition event="Deploy as a Prototype" target="Prototyped"/> <transition event="Demote to Created" target="Created"/> <transition event="Deprecate" target="Deprecated"/> <transition event="Publish" target="Published"/> </state> <state id="Blocked"> <datamodel> <data name="transitionExecution"> <execution forEvent="Re-Publish" class="org.wso2.carbon.apimgt.impl.executors.APIExecutor"> </execution> <execution forEvent="Deprecate" class="org.wso2.carbon.apimgt.impl.executors.APIExecutor"> </execution> </data> </datamodel> <transition event="Deprecate" target="Deprecated"/> <transition event="Re-Publish" target="Published"/> </state> <state id="Deprecated"> <datamodel> <data name="transitionExecution"> <execution forEvent="Retire" class="org.wso2.carbon.apimgt.impl.executors.APIExecutor"> </execution> </data> </datamodel> <transition event="Retire" target="Retired"/> </state> <state id="Retired"> </state> </scxml> </lifecycle> </configuration> </aspect>-
Add a sample state to the API Lifecycle. Copy and paste the following sample code in the file.
Info
The sample REJECTED state is added between PUBLISHED and RETIRED . It uses the
Re-submitandRetirestate transition events to change to the consequent states. Custom checklist items are also given under"checkItems", which are tasks to be done in a state transition. You can select/deselect these items in the management console.<state id="Rejected"> <datamodel> <data name="checkItems"> <item name="Deprecate old versions after rejecting the API" forEvent=""> </item> <item name="Remove subscriptions after rejection" forEvent=""> </item> </data> <data name="transitionExecution"> <execution forEvent="Re-Submit" class="org.wso2.carbon.apimgt.impl.executors.APIExecutor"> </execution> <execution forEvent="Retire" class="org.wso2.carbon.apimgt.impl.executors.APIExecutor"> </execution> </data> </datamodel> <transition event="Re-Submit" target="Published"/> <transition event="Retire" target="Retired"/> </state>Note
The same execution class is used (
org.wso2.carbon.apimgt.impl.executors.APIExecutor) for all state transitions. However, you can plug your own execution code when modifying the life cycle configuration.For example, if you want to send notifications for a specific state transition, you can plug your own custom execution class for that particular state in the API life cycle. Any changes are updated in the Lifecycle tab accordingly.
-
Add a new transition event under the PUBLISHED state, to show the state change to REJECTED.
...
<transition event="Reject" target="Rejected"/>
...
-
-
Restart the WSO2 API Manager server.
-
Open API Publisher and check the Lifecycle tab to see the newly added state.

Tip
Consider the following points when extending and customizing the API lifecycle XML configuration.
- Do not change the life cycle name since it needs to be engaged with the APIs dynamically.
- Make sure you keep the PUBLISHED and PROTOTYPED states as those two states will be used by API Publisher in the API creation wizard.
Info
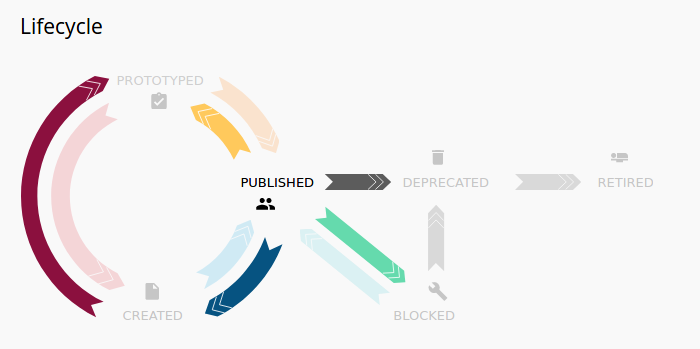
By default, the following lifecycle diagram is added in the Publisher portal to show the state changes.

If you want to change the lifecycle image in Publisher, modify the
<API-M_HOME>/repository/deployment/server/jaggeryapps/publisher/site/public/conf/userThemes.jsfile by adding the following line.custom: { lifeCycleImage: '/publisher/site/public/images/lifecycle.png', },For Advanced Customization
If you want to add the custom lifecycle state to the existing lifecycle diagram, you have to customize the LifeCycleImage.jsx file located in
<APIM-Home>/repository/deployment/server/jaggeryapps/publisher/source/src/app/components/Apis/Details/LifeCycle/directory, as mentioned in the Advanced UI Customization section.
For more details on customizing the API lifecycle, see Extending the API Life Cycle .
Top