Extending Scope Validation
OAuth scopes, which were introduced from WSO2 API Manager 1.7.0 onwards, allows you to have fine grained access control to API resources based on the user roles. It allows you to define scopes per API and associate defined scopes with API resources. OAuth 2.0 bearer tokens are obtained for a set of requested scopes and the token obtained is not allowed to access any API resources beyond the associated scopes. For more information, see OAuth Scopes .
API manager uses scopes as a way of defining permissions for a resource. If a resource is assigned a scope, then the token accessing the resource should be generated with that scope. By associating a scope with a role, you can control which users are permitted to have tokens under certain scopes. In this instance, associating a role to a scope seems legitimate.
Validating the role of a requester does not make much sense in some scenarios. For instance, when the scope is used as a means of generating an access token and not for securing a resource (e.g. openId scope). In such situations, scope validation can be extended to skip role validation for certain scopes.
Skipping role validation for scopes
When scopes which cannot be associated to roles are requested, the token should be issued without validating the scope. In WSO2 API Manager, you do this by whitelisting the scope through configuration. Patterns of the whitelisted scopes are specified via a configuration under the apim.oauth_config element in the <APIM_HOME>/repository/conf/deployment.toml file. Scopes that match the pattern are not validated by role and are available to anyone requesting it.
The following steps show a demonstration:
- Start the API Manager server and log into the Developer Portal.
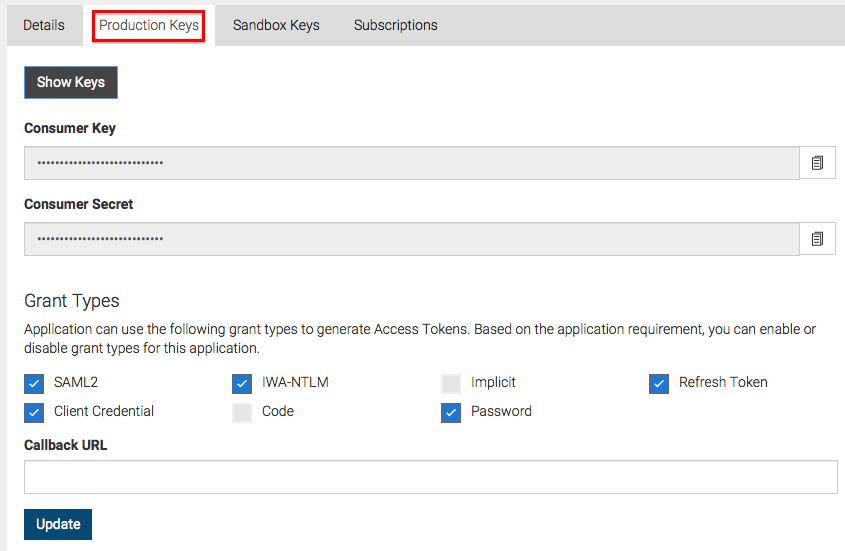
- Create an application. On the Production Keys tab of your application, click Generate Keys .
-
Obtain the Base64 encoded representation of the Consumer Key and the Consumer Secret separated by a colon according to the following format.
Base64(consumer-key:consumer-secret)!!! tipYou can also use the curl request listed under the Generate Access Tokens section for the steps 3 and 4 based on the grant type.
 4. Use the Base64 encoded value obtained above in the Authorization header when invoking the following command. This is used to get the token by calling the token API.
!!! tipMake sure you include a random scope in the request which will be any value suitable for the name of the scope.
curl -k -d "grant_type=password&username=admin&password=admin&scope=some_random_scope" -H "Authorization: Basic WmRFUFBvZmZwYVFnR25ScG5iZldtcUtSS3IwYTpSaG5ocEVJYUVCMEN3T1FReWpiZTJwaDBzc1Vh" -H "Content-Type: application/x-www-form-urlencoded" https://10.100.0.3:8243/tokenAlong with the token, you receive a response from the server similar to the one below.
{"scope":"default","token_type":"bearer","expires_in":3600,"refresh_token":"23fac44e9b7e1ae95a33b85f4f26decd","access_token":"9474fa104ccb196303f41c8a5ee6f48"}You may not see the scope you requested for in this response as it has not been whitelisted yet.
-
Shut down the server.
-
To whitelist the scope, add the following under the
apim.oauth_configelement in the<APIM_HOME>/repository/conf/deployment.tomlfile and restart the server.[apim.oauth_config] white_listed_scopes = ["^device_.*", "some_random_scope"] -
Call the token API using the same request used in step 4. You will receive a response similar to the one below.
{"scope":"some_random_scope","token_type":"bearer","expires_in":3600,"refresh_token":"59e6676db0addca46e68991e44f2b8b8","access_token":"48855d444db883171c347fa21ba77e8"}You see a successful response along with the whitelisted scope for which you requested.