Azure AI Foundry
Azure AI Foundry is a default AI Service Provider in WSO2 API Manager which has Multi Model Provider support that allows you to manage multiple AI models from various providers. This guide explains how to configure Azure AI Foundry by adding model families (providers) and their associated models within the API Manager. For more information about Azure AI Foundry, see the Azure AI Foundry Documentation.
Configuring Azure AI Foundry
Follow the steps to set up and customize Azure AI Foundry within your API Manager environment.
Step 1: Access Azure AI Foundry Configuration
- Login to the Admin Portal (
https://<hostname>:9443/admin) - Navigate to the AI Service Providers section in the left navigation pane
- Find AzureAIFoundry in the list of AI Service Providers and click on it to edit the configuration
Step 2: Configure Model Providers
The Model Provider(s) section allows you to add and configure different AI model providers within Azure AI Foundry.
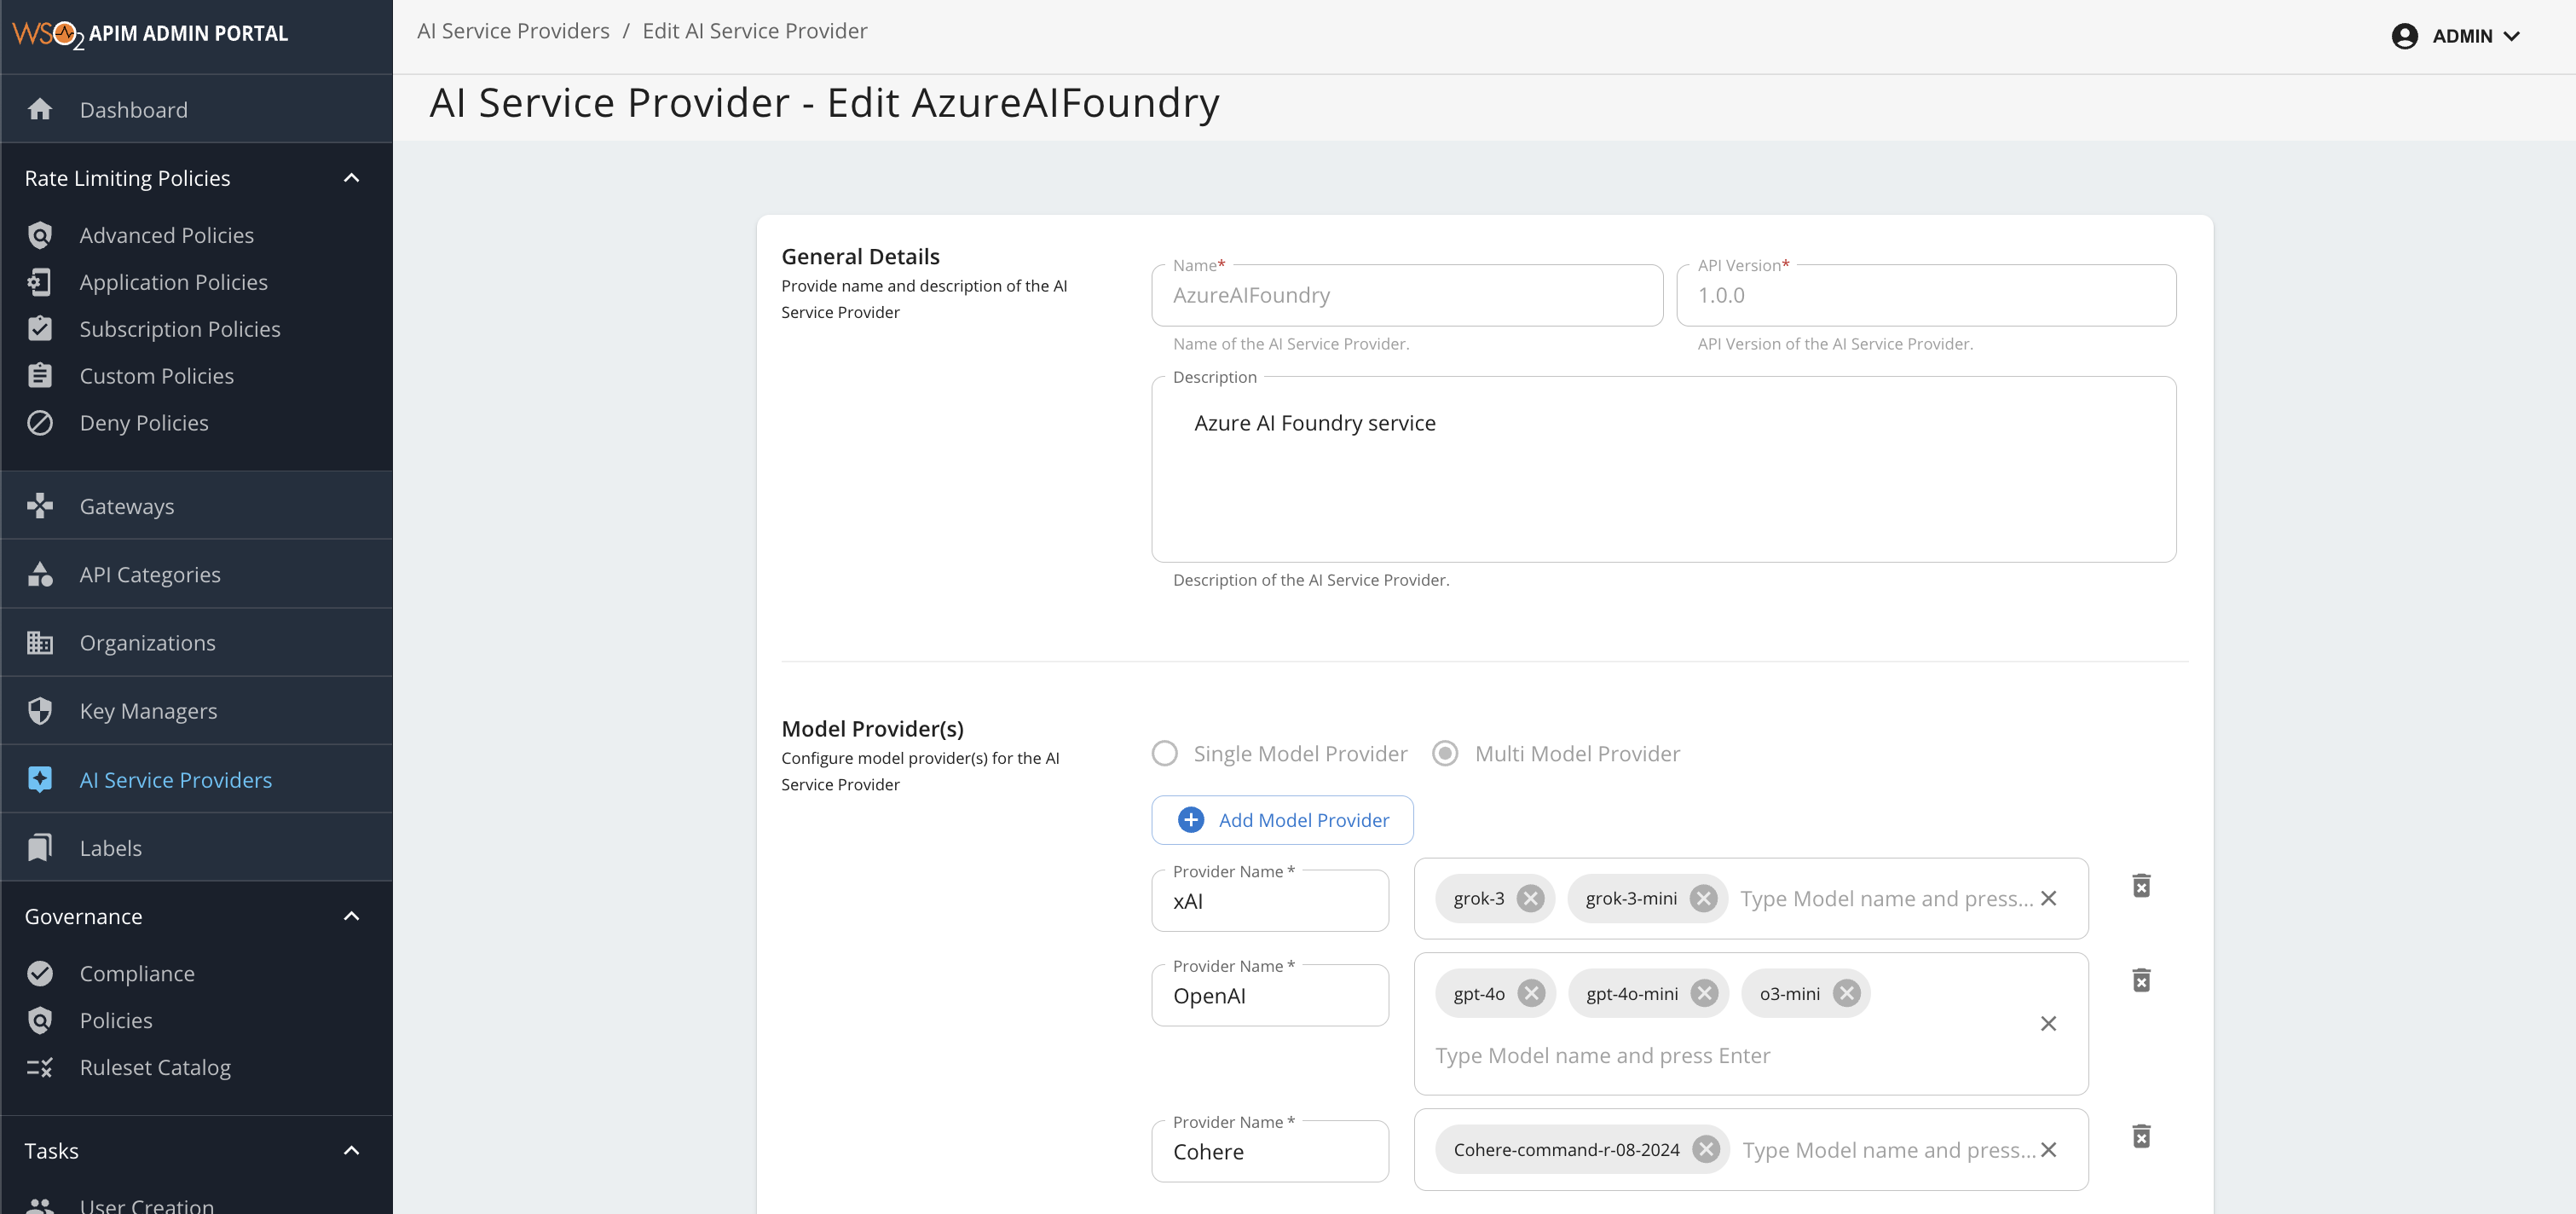
Adding Model Providers
- Click the "+ Add Model Provider" button to add a new provider family
- Configure each provider with the following details:
Provider Configuration Fields
| Field | Description |
|---|---|
| Provider Name | Name of the AI provider (e.g., Azure OpenAI, Cohere, xAI) |
| Models | List of model deployment names available from this provider |
Add Multiple Model Providers and models
Adding multiple models under a provider allows you to use advanced routing strategies such as failover, load balancing, and other traffic management options. You can configure these routing policies when creating AI APIs to control how requests are distributed among the available models. For more details, see Multi-Model Routing Overview.
Example Provider Configurations
The following are example provider configurations that illustrate how to group models by their provider (model family) and specify the available models for each.
| Provider Name | Example Models |
|---|---|
| Azure OpenAI | gpt-4o, gpt-4o-mini, o3-mini |
| Cohere | cohere-command-a |
| xAI | grok-3, grok-3-mini |
You can use these as a starting point and add or remove models as needed based on your Azure AI Foundry access and requirements.
Azure AI Foundry supports multiple model providers. For a complete and up-to-date list of all supported models, see the Azure AI Foundry Supported Models documentation.
Adding Models to a Provider
- In the provider configuration, you'll see an input field labeled Type Model name and press Enter
- Type the complete model name and press Enter to add it to the provider
- You can add multiple models by typing your model name and pressing enter for each one. This enables model-based load balancing and failover capabilities within the AI Gateway.
- You can add or remove individual models as needed to match your requirements
Step 3: Save Configuration
After configuring your model providers, click Update to apply the changes.
Once you have saved your changes, the updated Azure AI Foundry configuration will be applied and made available for use in your AI APIs, enabling seamless integration with the selected models.
Authentication
API Key
The default authentication method uses an Azure AI Foundry API key. Obtain an API key from the Azure AI Foundry portal and configure it as the endpoint security credential in the API Publisher. For step-by-step instructions, see AI Backend Security.
Azure Workload Identity (UMI)
Note
From version 4.6.0 onwards (update level 30 for wso2am-4.6.0 and 31 for wso2am-acp-4.6.0, WSO2 API Manager supports Azure Workload Identity (UMI) authentication for AKS deployments.
Instead of an API key, you can authenticate using Azure Workload Identity with a User-assigned Managed Identity (UMI), removing the need to manage and rotate API key secrets.
To use UMI, register a new AI Service Provider version in the Admin Portal with UMI selected as the authentication type, and then create your AI API using that version.
Prerequisites
- The AKS cluster must have Azure Workload Identity enabled.
- A User-assigned Managed Identity must be created for the gateway deployment.
- The gateway pod must use a Kubernetes service account that is federated with the User-assigned Managed Identity.
- A federated identity credential must be created between the Kubernetes service account and the User-assigned Managed Identity.
- The User-assigned Managed Identity must have permission to invoke the Azure AI Foundry resource. A common role assignment is Cognitive Services User.
For Azure-side setup details, see the Microsoft documentation on Azure Workload Identity for AKS and keyless authentication for Azure AI Foundry. In particular, make sure the Azure setup covers enabling workload identity on the AKS cluster, creating the federated identity credential for the Kubernetes service account, applying the required pod label for workload identity injection, and assigning a role to the managed identity.
Click to see example Azure setup commands
The following commands show one way to complete the Azure-side setup for AKS workload identity:
# Enable workload identity on the AKS cluster
az aks update \
  --resource-group <resource-group> \
  --name <aks-cluster-name> \
  --enable-oidc-issuer \
  --enable-workload-identity

# Get the AKS OIDC issuer URL
az aks show \
  --resource-group <resource-group> \
  --name <aks-cluster-name> \
  --query "oidcIssuerProfile.issuerUrl" \
  --output tsv

# Create the User-assigned Managed Identity
az identity create \
  --resource-group <resource-group> \
  --name <managed-identity-name>

# Get the client ID and principal ID of the managed identity
az identity show \
  --resource-group <resource-group> \
  --name <managed-identity-name> \
  --query "{clientId: clientId, principalId: principalId}" \
  --output json
Create the Kubernetes service account associated with the managed identity and save it as service-account.yaml:
apiVersion: v1
kind: ServiceAccount
metadata:
  name: <kubernetes-service-account-name>
  namespace: <namespace>
  annotations:
    azure.workload.identity/client-id: "<managed-identity-client-id>"
kubectl apply -f service-account.yaml
# Create the federated identity credential for the Kubernetes service account
az identity federated-credential create \
  --name <federated-credential-name> \
  --identity-name <managed-identity-name> \
  --resource-group <resource-group> \
  --issuer "<aks-oidc-issuer-url>" \
  --subject "system:serviceaccount:<namespace>:<kubernetes-service-account-name>" \
  --audiences "api://AzureADTokenExchange"

# Get the Azure AI Foundry resource ID
az cognitiveservices account show \
  --resource-group <foundry-resource-group> \
  --name <foundry-resource-name> \
  --query id \
  --output tsv

# Assign the Cognitive Services User role to the managed identity
az role assignment create \
  --assignee "<managed-identity-principal-id>" \
  --role "Cognitive Services User" \
  --scope "<foundry-resource-id>"
Click to see Helm configuration example
If you deploy WSO2 API Manager with Helm, make sure your values.yaml includes the Kubernetes service account name associated with the managed identity and the workload identity pod label:
azure:
  enabled: true
  serviceAccountName: "<kubernetes-service-account-name>"

wso2:
  deployment:
    pod:
      labels:
        azure.workload.identity/use: "true"
Step 1: Create a UMI-enabled AI Service Provider version
- Log in to the Admin Portal (
https://<hostname>:9443/admin) and open AI Service Providers from the left navigation pane. - Click Add AI Service Provider to create a new AzureAIFoundry service provider with UMI as the authentication type.
-
Under LLM Provider Auth Configurations, select UMI as the authentication type.
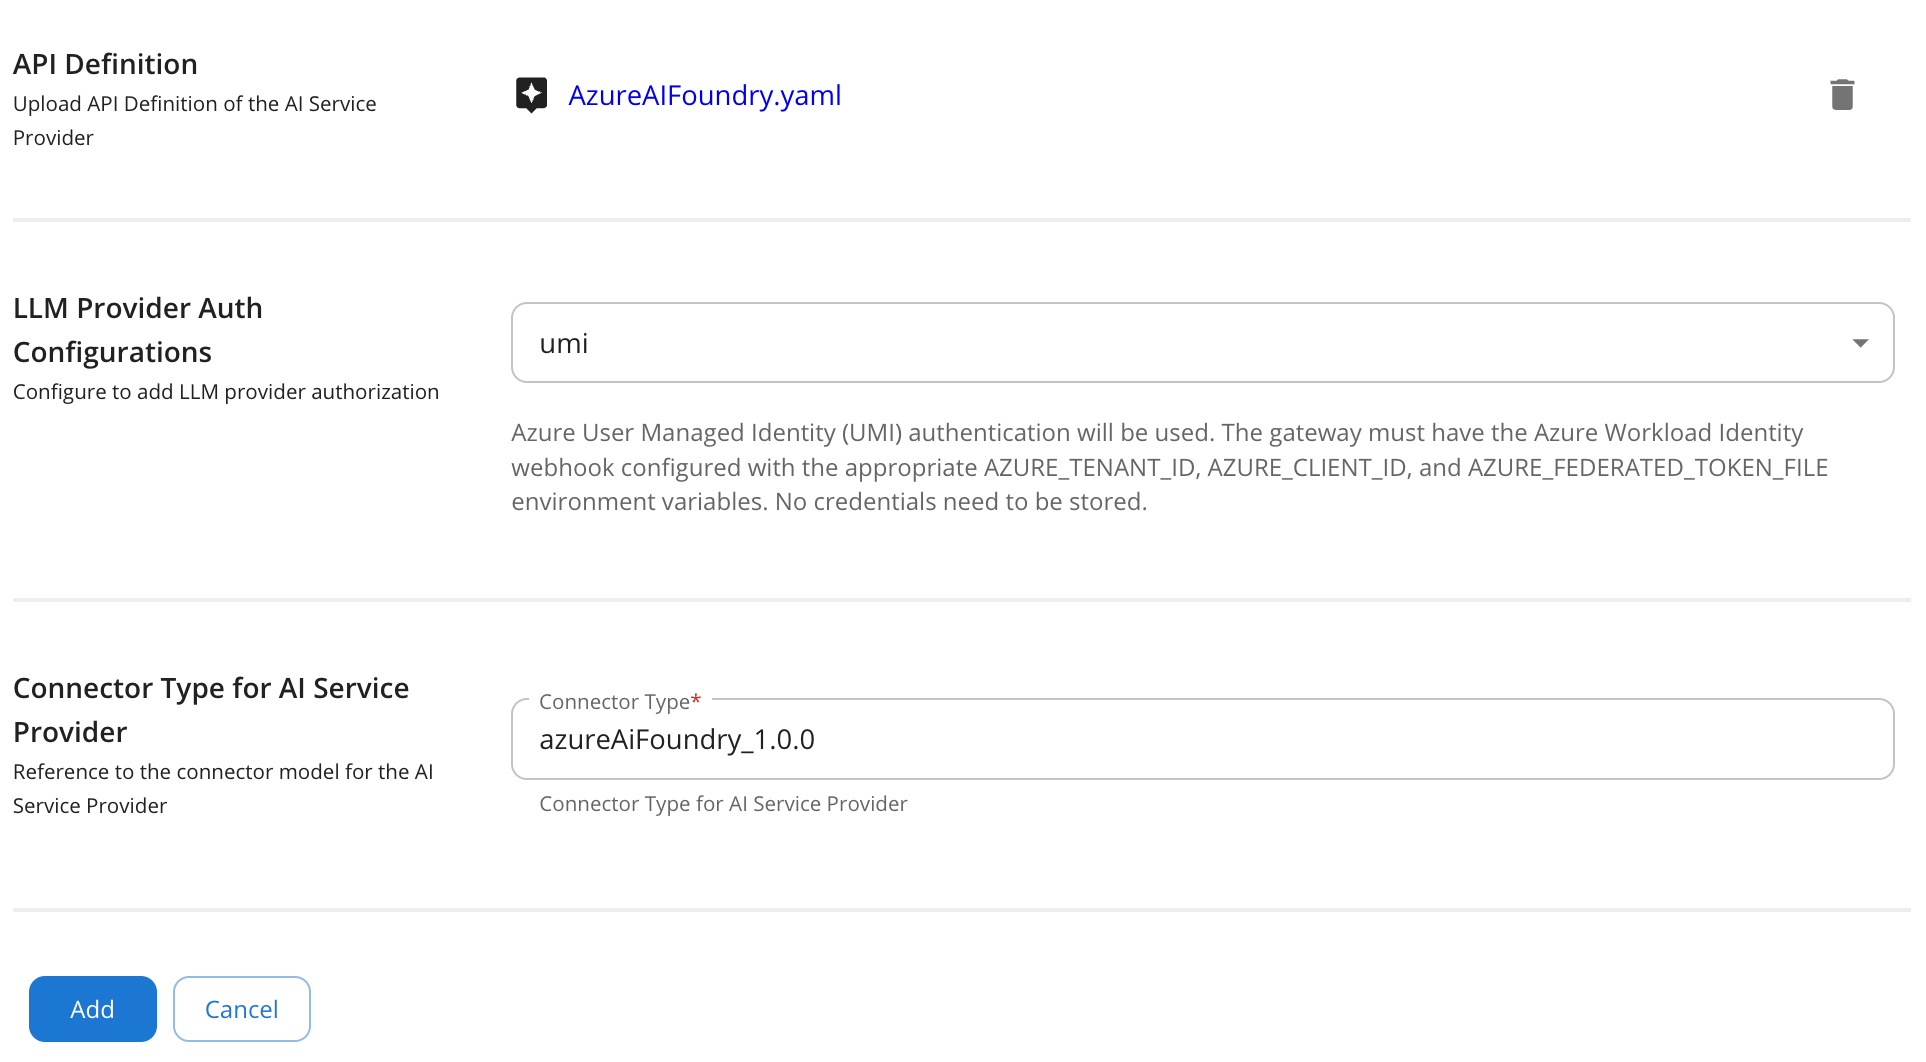
-
Configure the remaining properties by referring to the existing AzureAIFoundry service provider configuration.
-
Click Save to register the provider as a new version, such as
1.1.0.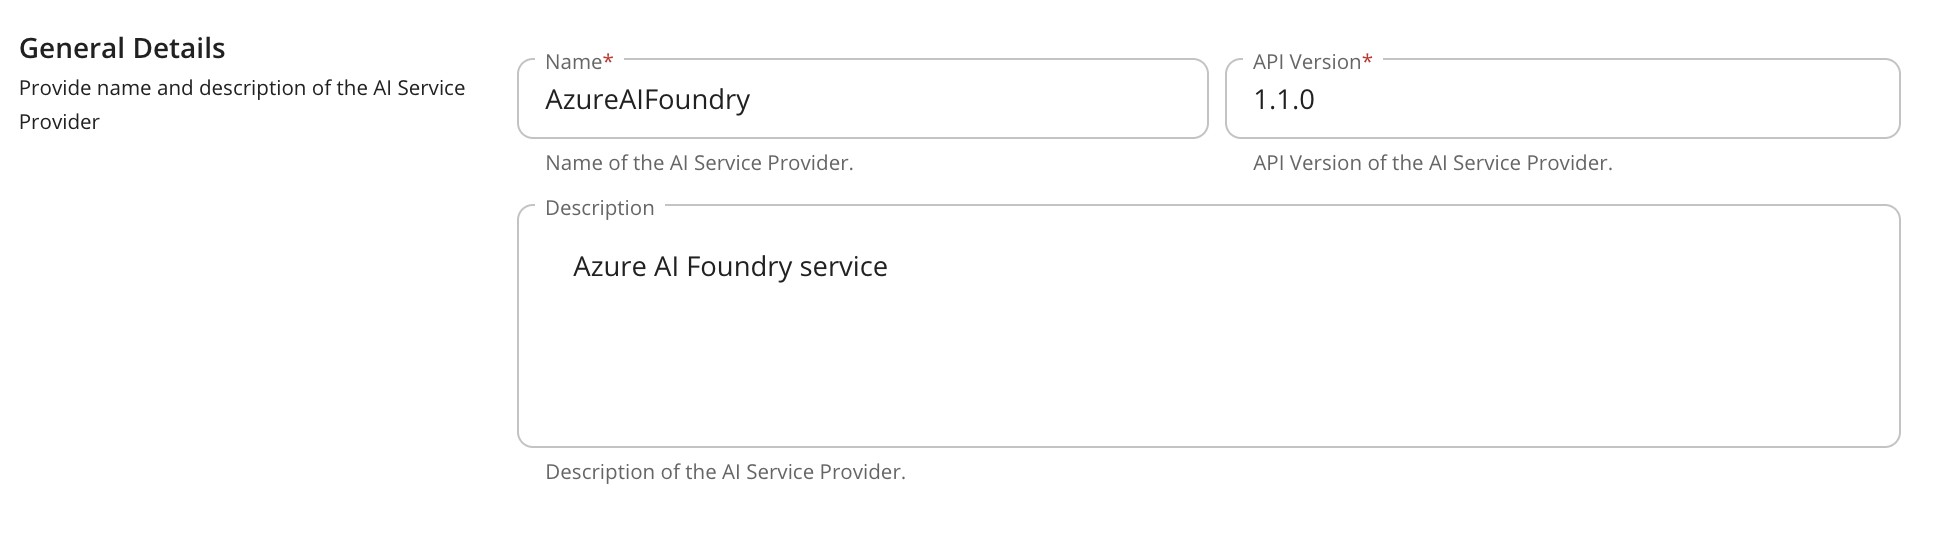
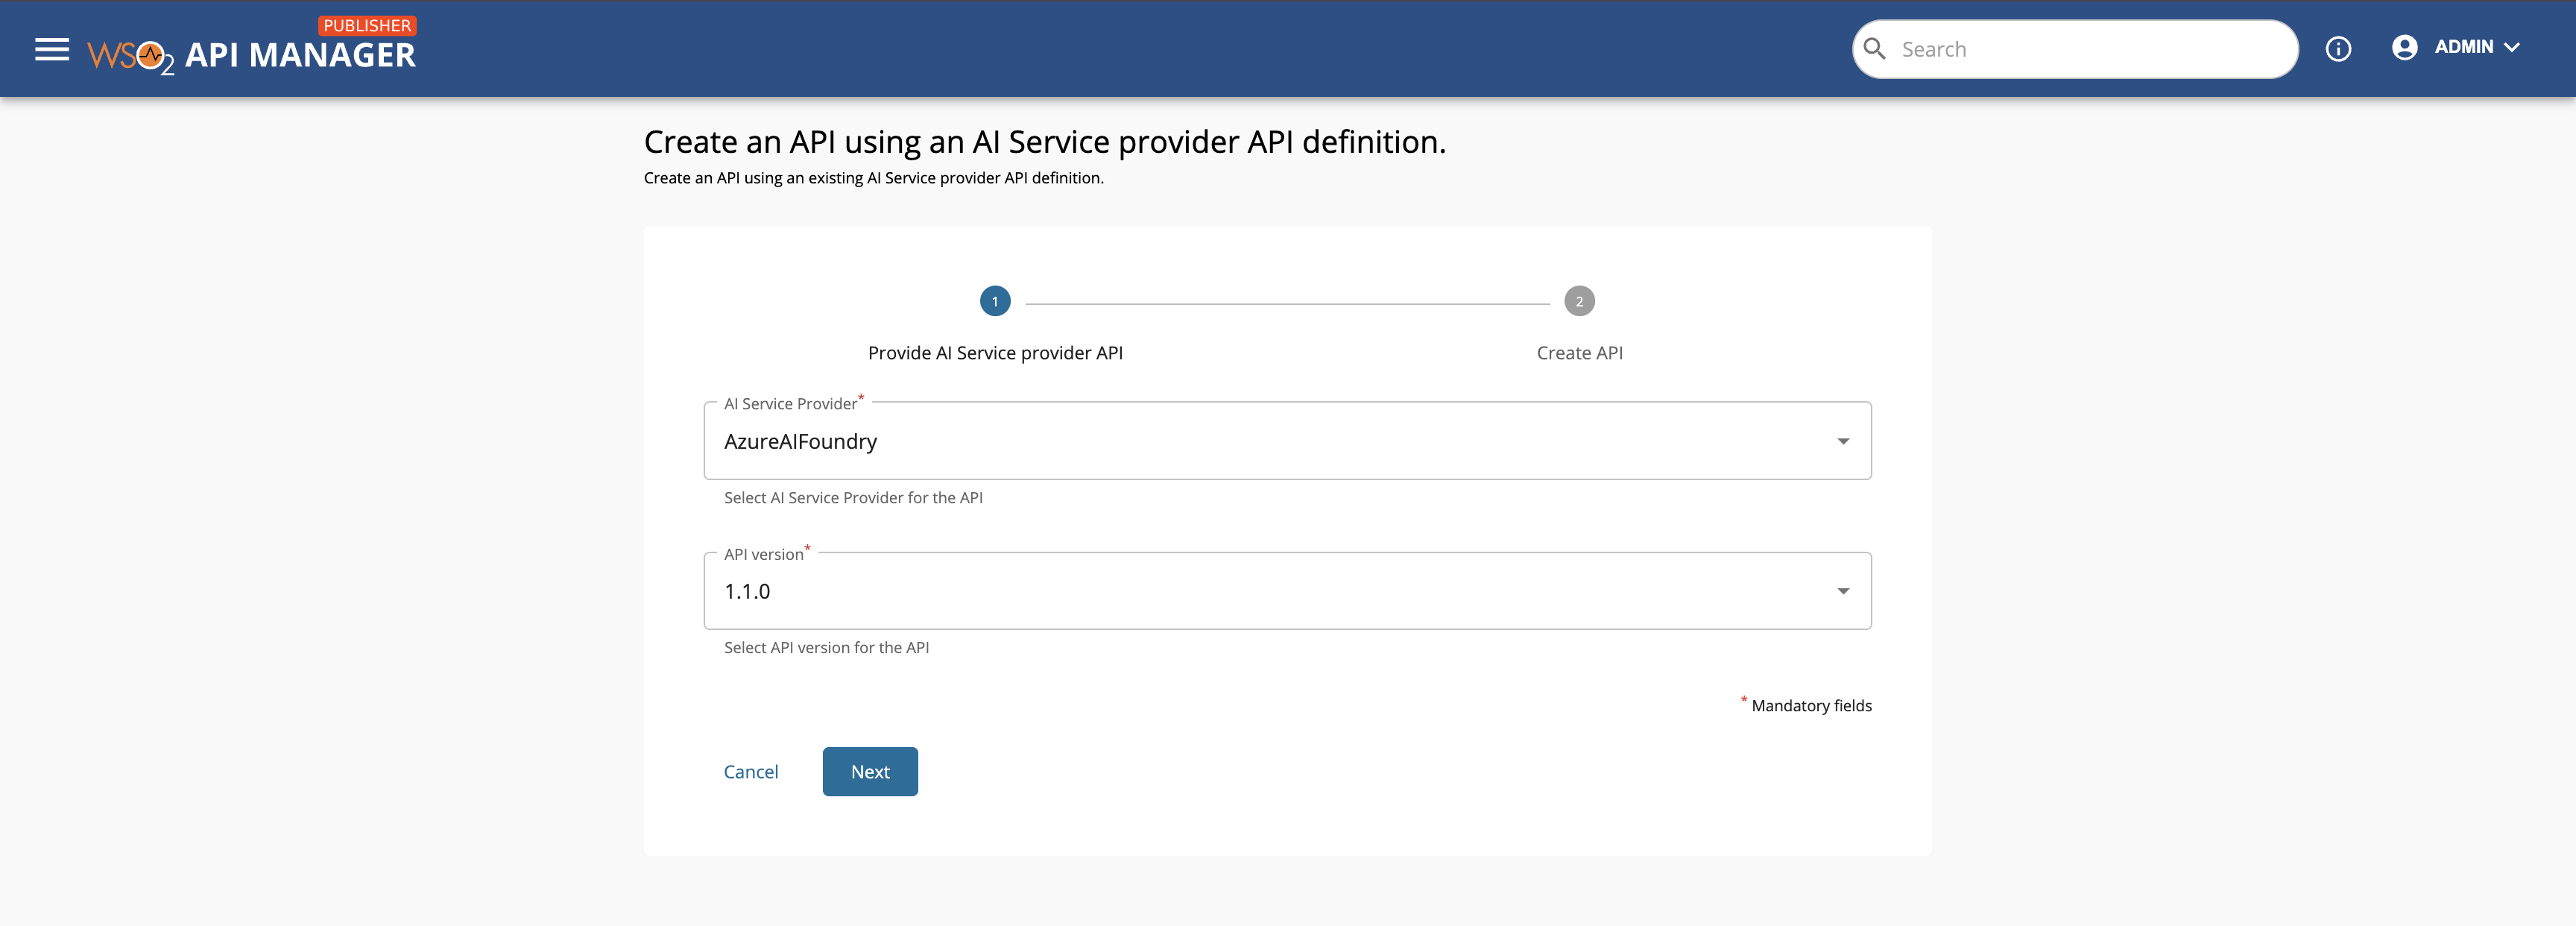
Step 2: Create an AI API using the UMI-enabled provider version
When creating a new AI API in the API Publisher, select AzureAIFoundry as the AI Service Provider and choose the UMI-enabled version you created. The gateway then acquires and injects the Microsoft Entra bearer token for outbound requests, so no API key configuration is required.
Token Scope (Optional Override)
The token scope defaults to https://ai.azure.com/.default. To override it for non-standard deployments, add the following to <APIM_HOME>/repository/conf/deployment.toml:
[apim.ai.azure_umi]
scope = "https://<custom-scope>.azure.com/.default"
Click to see optional Helm scope override
If you deploy with Helm, you can add the same override through values.yaml:
wso2:
  apim:
    configurations:
      extraConfigs: |
        [apim.ai.azure_umi]
        scope = "https://<custom-scope>.azure.com/.default"