Create a WebSocket API
WebSocket is a protocol similar to HTTP that is part of the HTML5 specification. It enables simultaneous two-way communication (full-duplex communication) between the client and the server over a single connection.
The WebSocket protocol is designed to achieve the following:
- Reduce unnecessary network traffic and latency.
- Allow streaming through proxies and firewalls while simultaneously supporting upstream and downstream communication.
- Be backward compatible with the pre-WebSocket world by starting up as an HTTP connection before switching to WebSocket frames.
A WebSocket API allows an API creator to expose a WebSocket backend as an API to offer services via a WebSocket protocol while providing OAuth security, Throttling, Analytics, etc.
Follow the instructions below to design a WebSocket API.
-
Sign in to the API Publisher Portal.
https://<hostname>:9443/publisherExample:
https://localhost:9443/publisherUse your username and password to sign in.
-
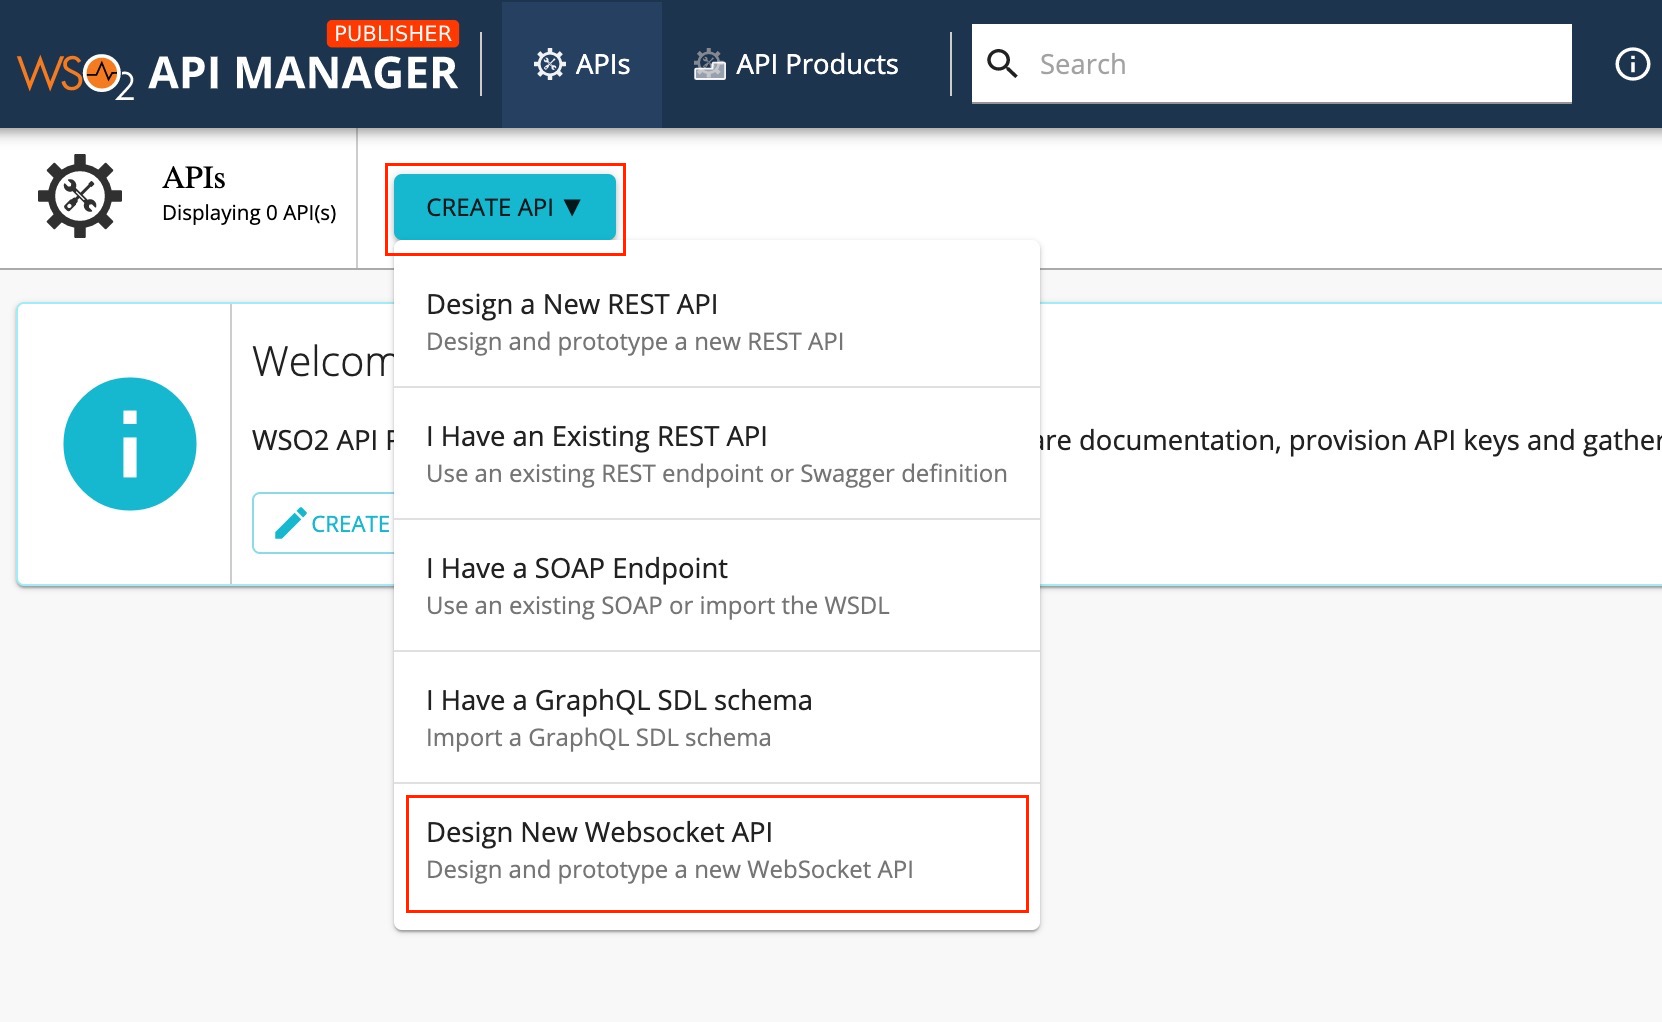
Click CREATE API and then click Design a New WebSocket API.
Note
The CREATE button will only appear for a user who has the
creatorrole permission. -
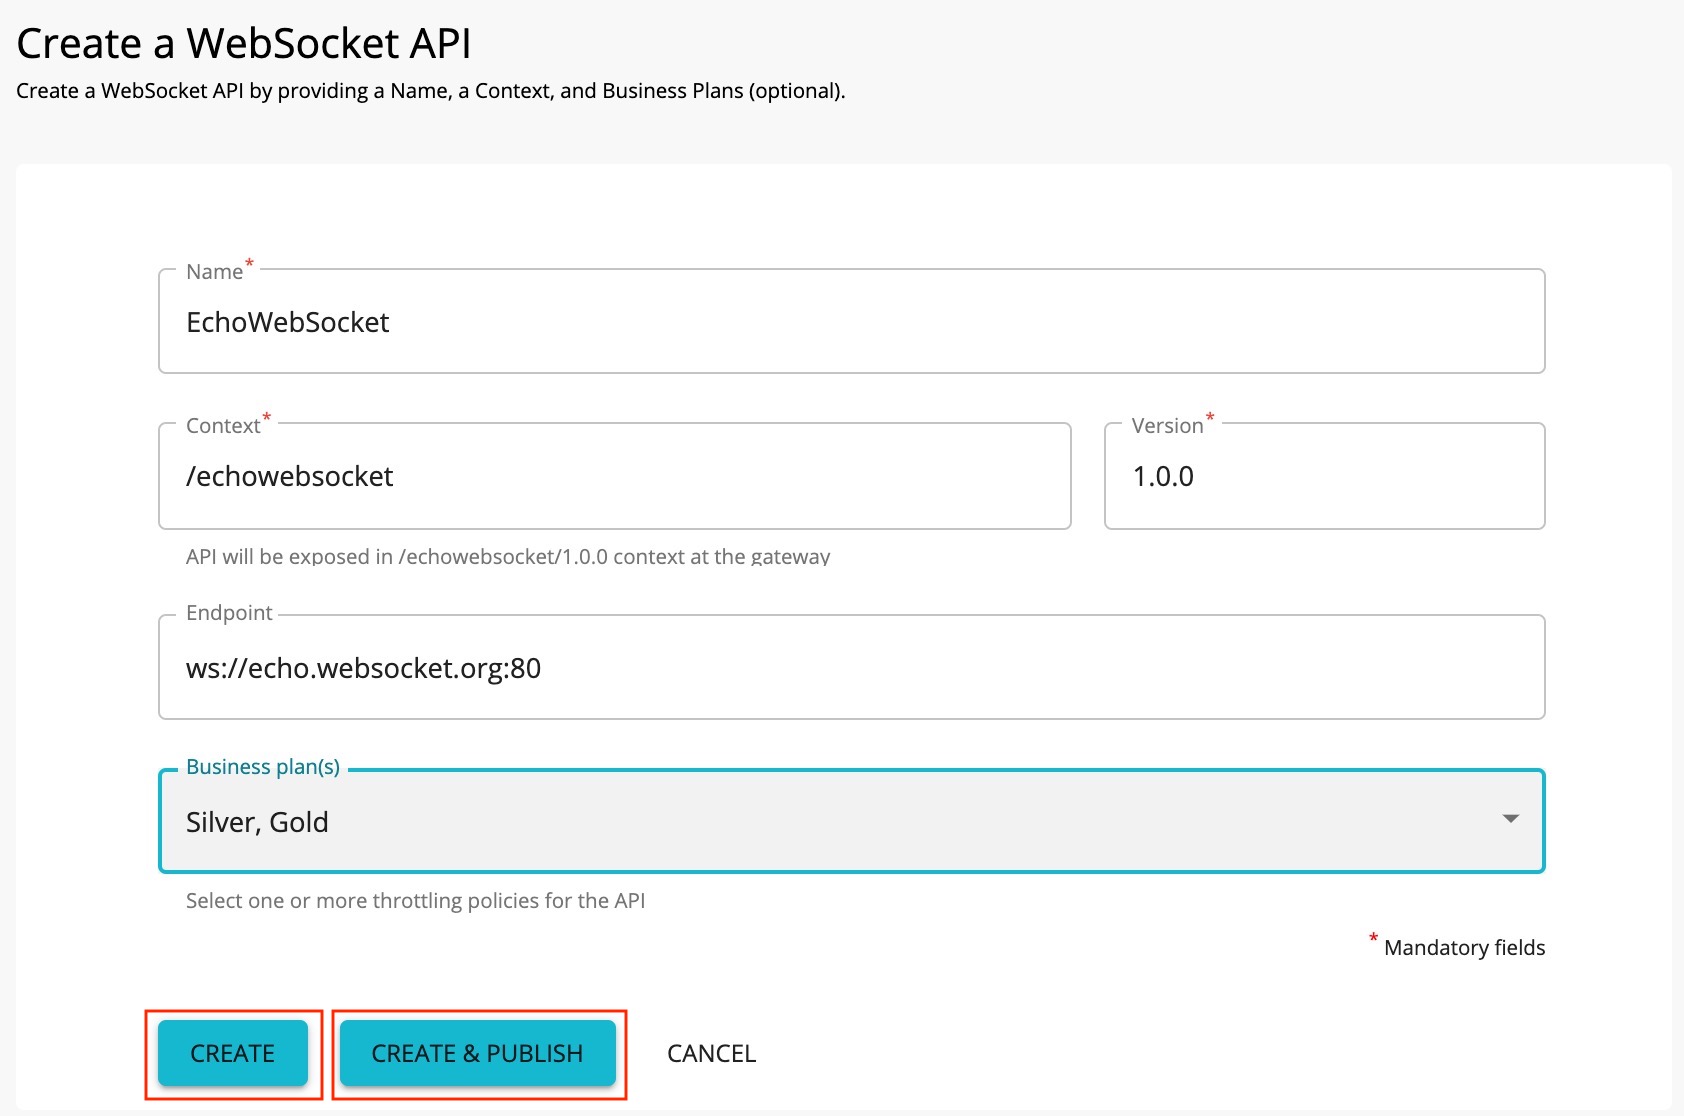
Enter the details of the new WebSocket API.
Field Sample value Name EchoWebSocket Context /echowebsocket Version 1.0 Endpoint Use one of the following endpoints.
- ws://echo.websocket.org:80
- wss://echo.websocket.org:443
Business Plan Gold, Silver Note
The CREATE & PUBLISH option will appear only if the optional fields Endpoint and Business plan(s) are provided by a user who has
publisherpermission. You need to add a Name, Context, Version, and a valid Endpoint (For non-secured WebSockets enter the protocol asws://or for secured WebSockets enter the protocol aswss://) to create the API. -
Click CREATE or CREATE & PUBLISH.
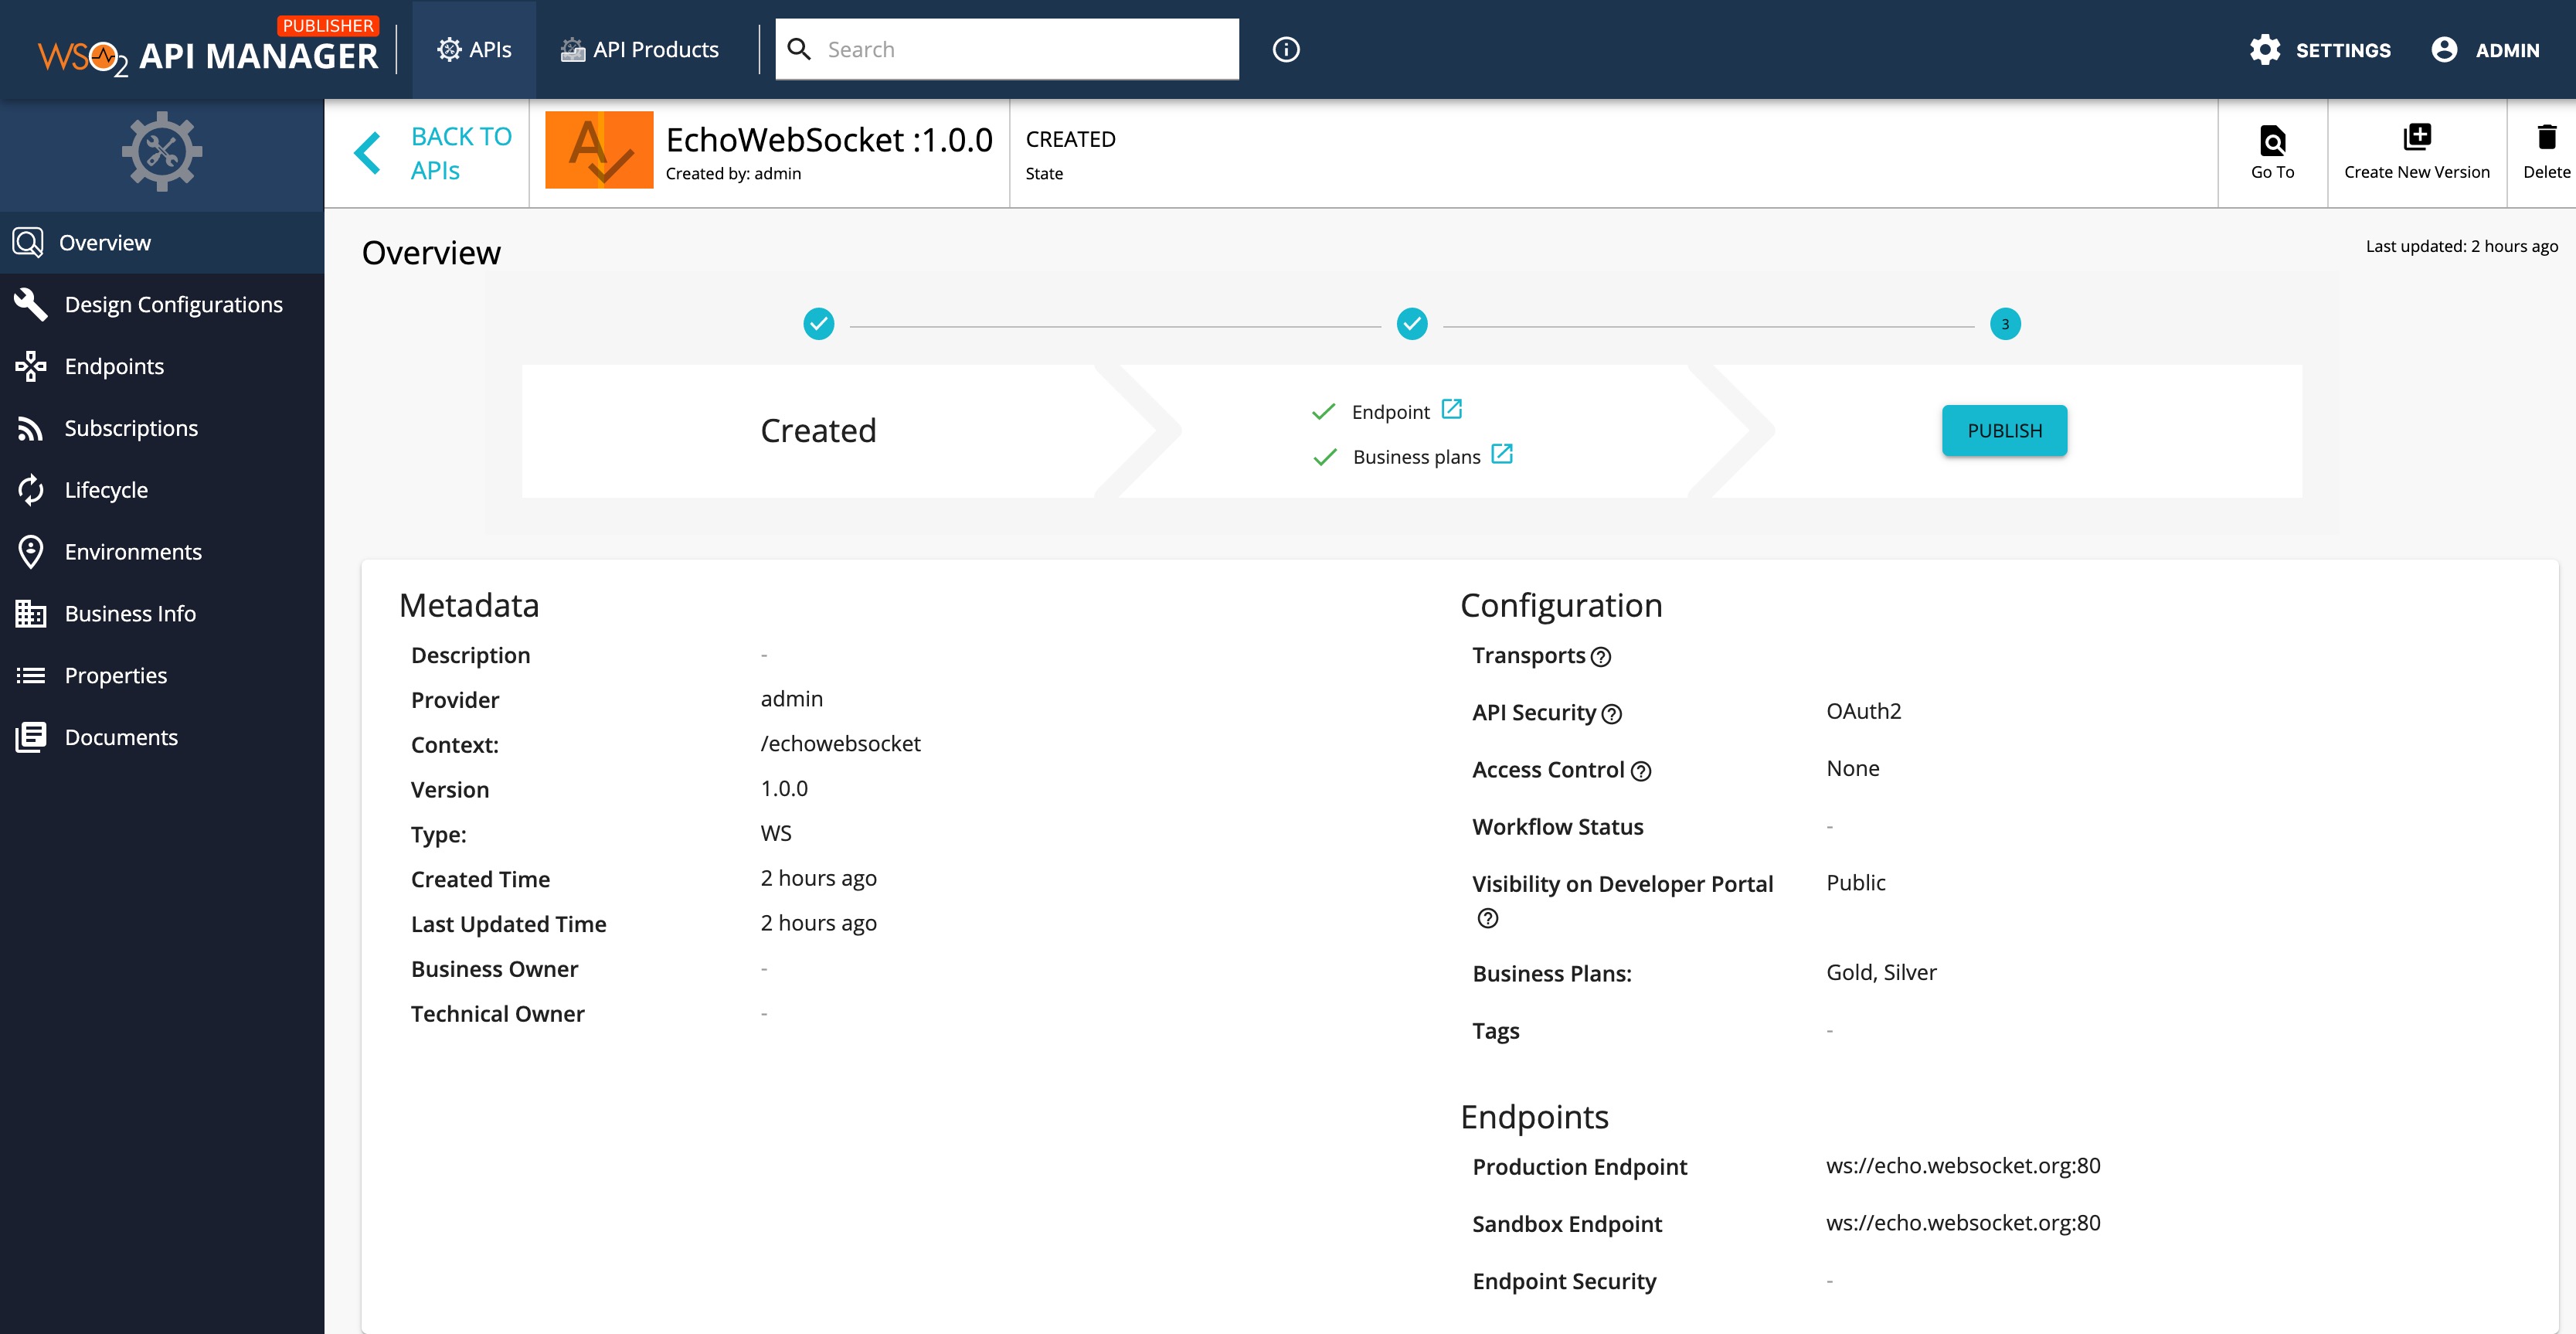
The overview page of the created WebSocket API appears.
-
Optionally, enter the endpoint configurations.
-
Click Endpoint.
-
Click on the cogwheel icon, which is inline with the endpoint that you need to configure, and update the endpoint related configurations as required.
For more information, see the following sections on endpoint related configurations.
-
Now, you have successfully created and configured a WebSocket API. Next, let's Publish your API.
What's Next?
Learn more by trying out the tutorial on Creating and Publishing a WebSocket API.


