Publish an API on the Developer Portal
API Publishing is the process of making the API available for subscription. An API in the lifecycle state CREATED will have the API metadata added to the Developer Portal, but not deployed to the API Gateway. Therefore, it is not visible to subscribers in the Developer Portal. When the API is published the API lifecycle state will be changed to PUBLISHED.
Follow the steps below to publish an API using WSO2 API Manager.
-
Sign in to the API Publisher
https://<hostname>:9443/publisher(e.g.,https://localhost:9443/publisher). Upon signing in, the list of APIs in the API Publisher is listed. Please refer create an API guide to create a new API.The list of APIs in the API Publisher appears. If there are no APIs created, create an API before starting.
-
Click on an API that is in the CREATED state.

Note
- Note that enhancing the API's visibility, as illustrated below, allows you to provide additional business-related information and indicate the monetization status on the API tile.
- You can set the below pre defined configs to be true in the
<APIM_HOME>/repository/deployment/server/webapps/publisher/site/public/conf/settings.jsonfile for Publisher Portal and<APIM_HOME>/repository/deployment/server/webapps/devportal/site/public/theme/settings.jsonfile for Developer Portal as below."tileDisplayInfo": { "showMonetizedState": true, "showBusinessDetails": true, "showTechnicalDetails": true }
- If you have added a Business Owner Email or Technical Owner Email, they will be displayed in the API tile when you hover over the Business Owner or Technical Owner details.
- If you are setting the showMonetizedState config to be true, monetization icon will be displayed in the API tile as below once you enabled the monetization for the API. In order to enable monetization for the API, you need to publish the API.

-
Click Lifecycle.
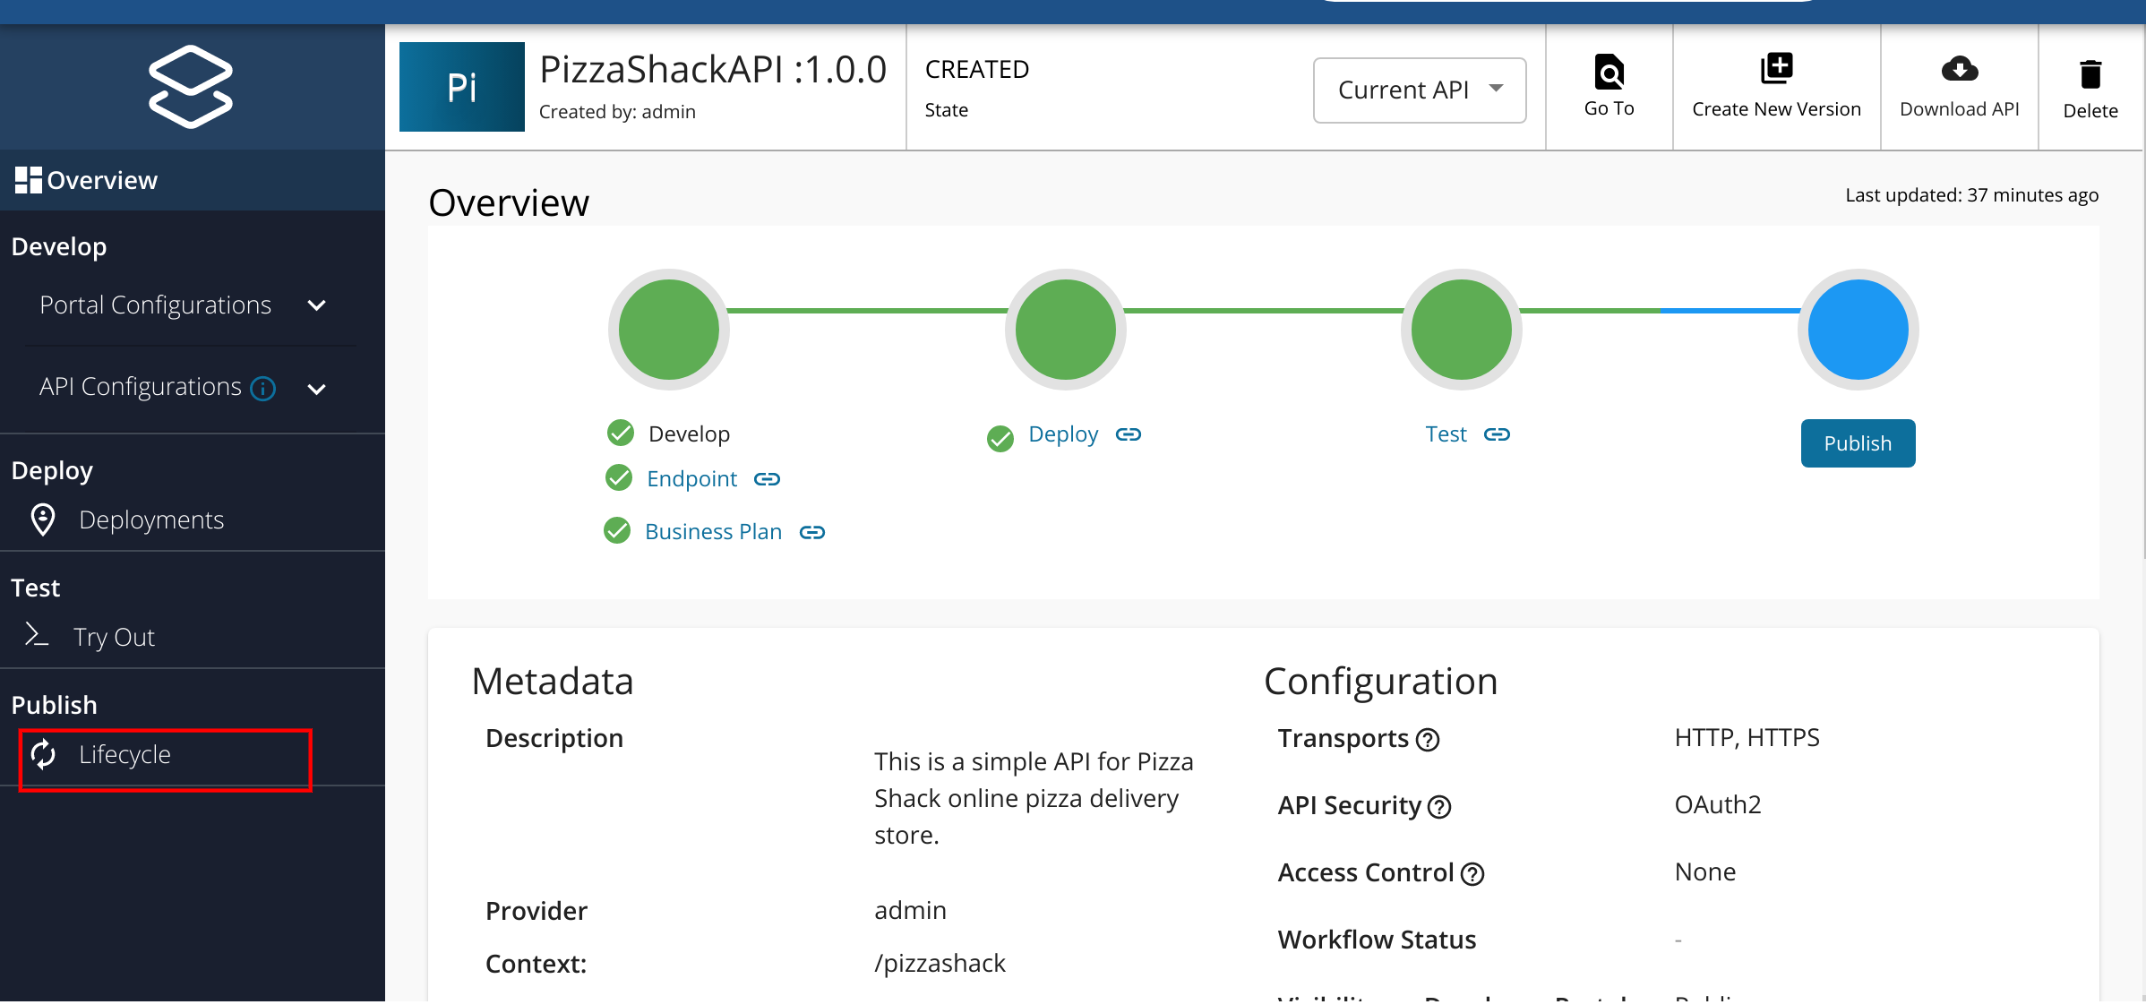
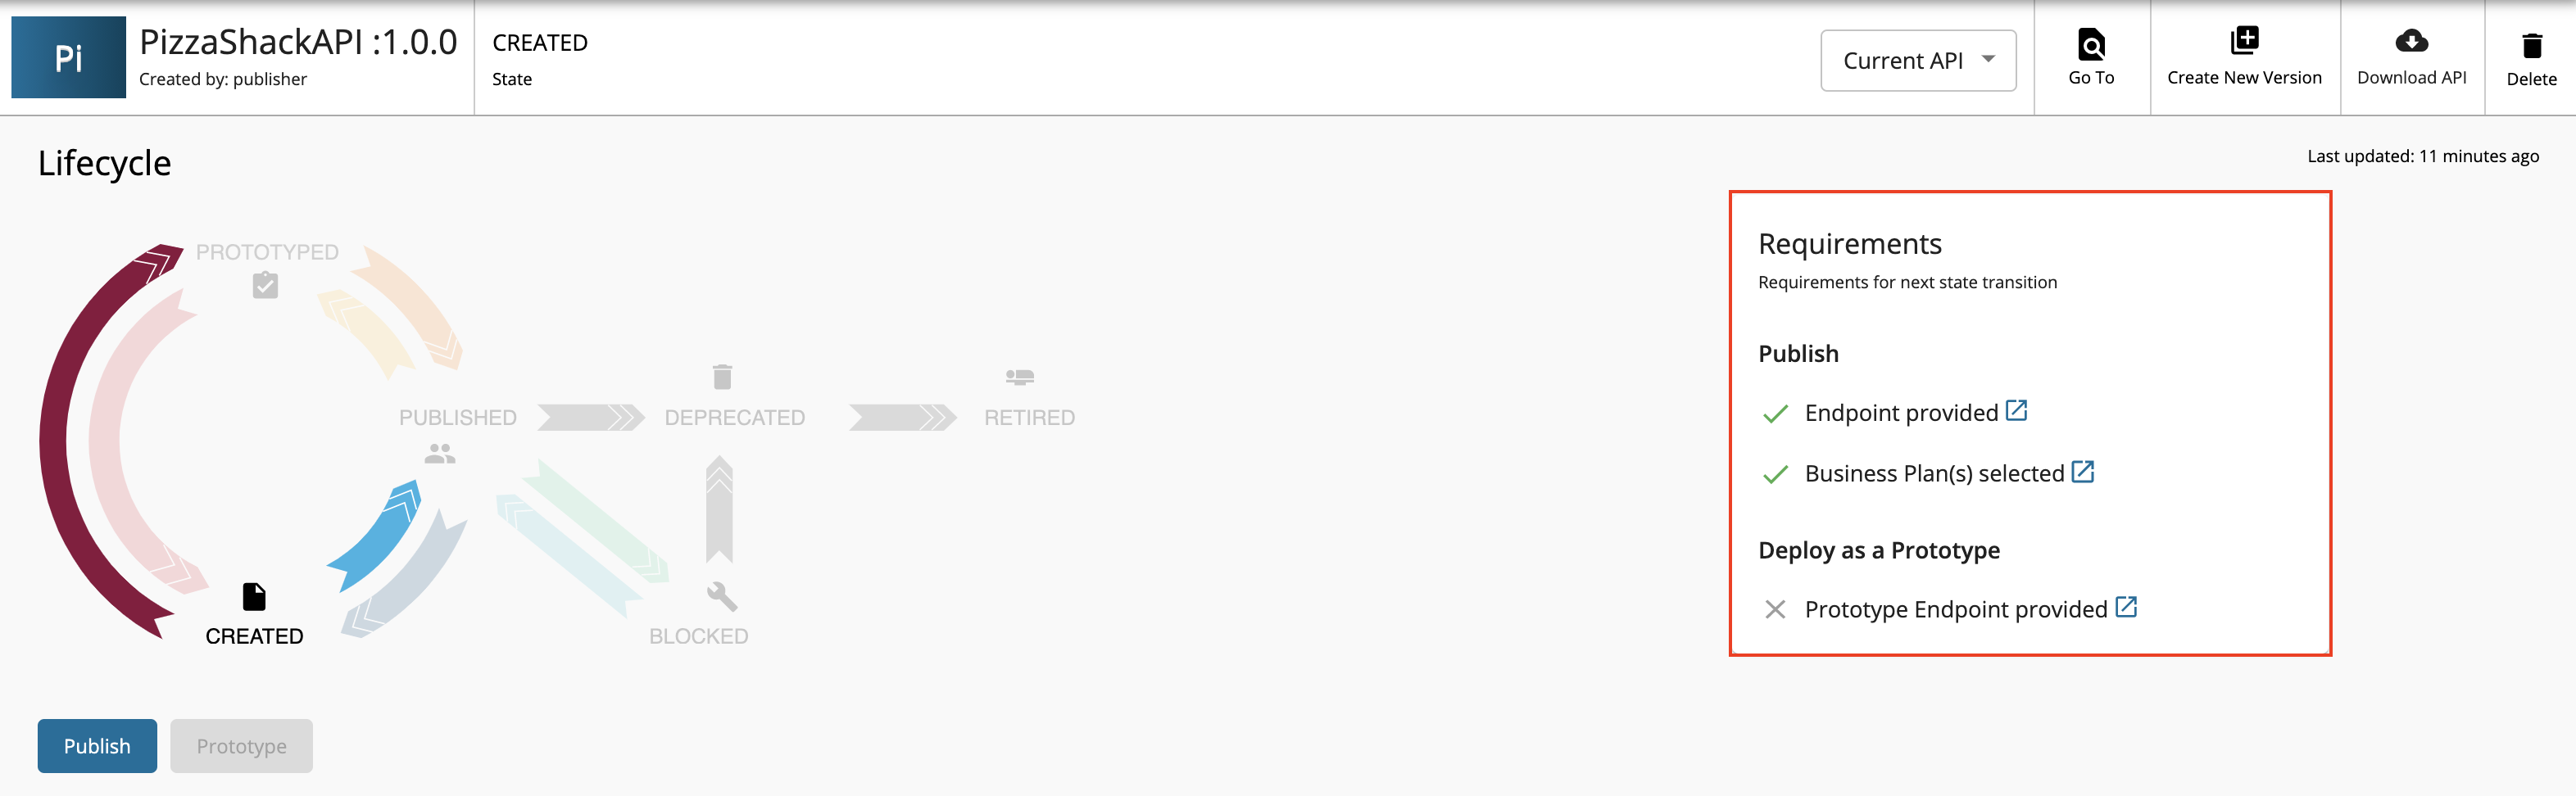
The lifecycle state transition grid appears. Before publishing an API, the following requirements have to be satisfied.
-   Endpoint provided
-   Business Plan(s) selected
If any of the above requirements are not satisfied, it is indicated in the lifecycle page, and you need to navigate to relevant sections and provide the missing information such as endpoint URL and business plans.
-
If the latter mentioned requirements are satisfied, click PUBLISH to push the API.
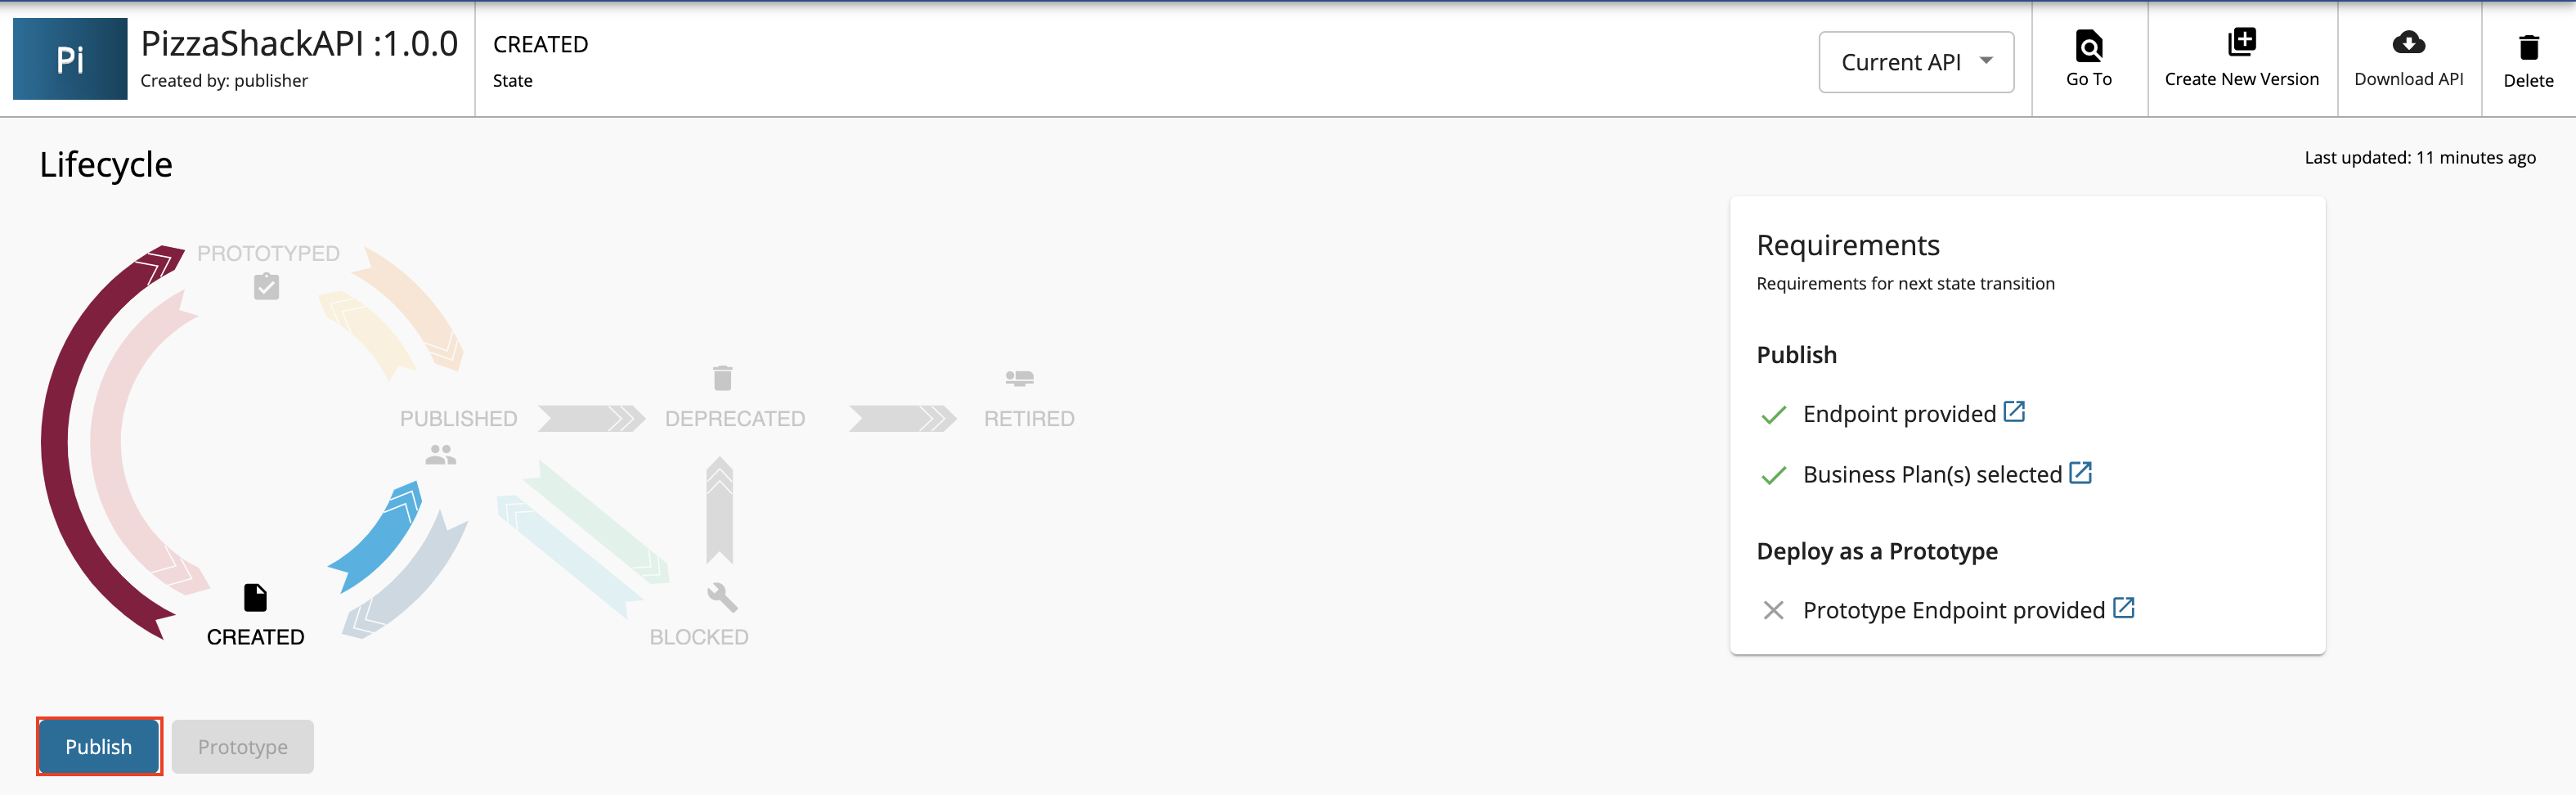
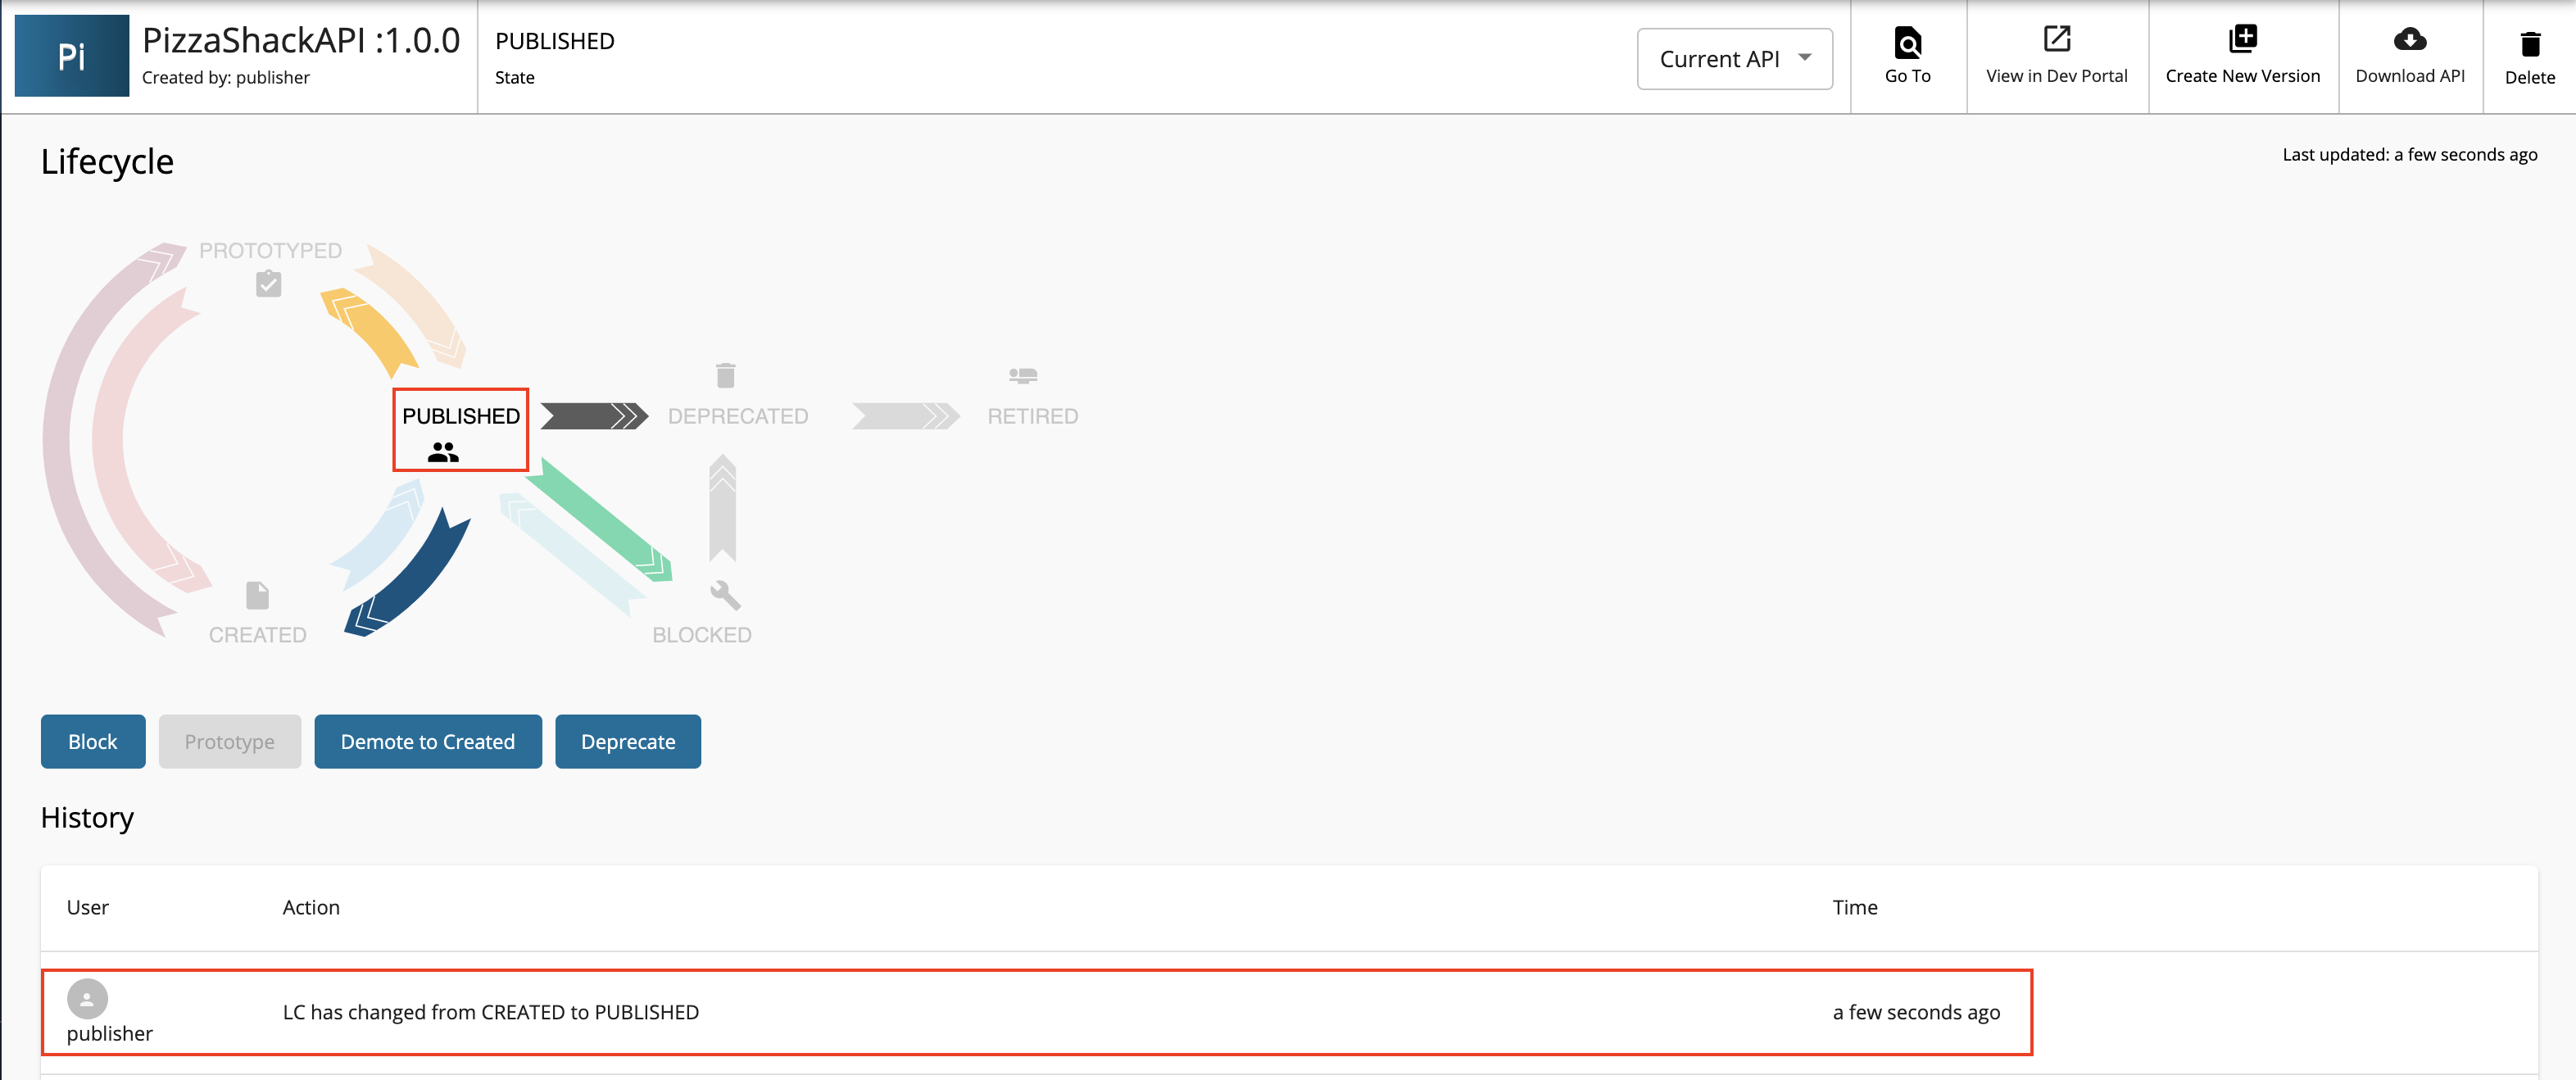
If the API is published successfully, the lifecycle state will shift to PUBLISHED.
-
Navigate to the Developer Portal (
https://<hostname>:9443/devportal).Note that the API that you published is visible under the APIs listing.