Scenario 1 - Create REST API from an OpenAPI Definition
This tutorial is part of a series that guides you through all the capabilities of API Manager. This involves creating a REST API from an OpenAPI Definition. For more details on the scenario and general prerequisites, please see the scenario overview page.
Time to Complete : 10 minutes
User story
Coltrain is one of the railway companies that is partnered up with GOGO Train to provide better service to their customers. Coltrain already has some internally managed APIs deployed in-house and these are managed by their internal development team. One of the APIs is a train schedule retrieval API, which is intended for the public community to get the Coltrain schedules. Currently, this API is exposed to the public and the Coltrain development team faces challenges in maintaining and handling the high load for the API.
By exposing this API through WSO2 API Manager, Coltrain expects to get the full benefits of an API Management solution such as API lifecycle management, security, rate limiting, etc. and decouple the maintenance overhead from the internal teams.
WSO2 API manager provides capability to import OAS definitions and create the API using that.

Step 1: Testing the backend
Let's first test the backend. You could do following curl command and you will get a response with schedule items.
curl "http://localhost:8082/train-operations/v1/schedules"
[{"entryId":"1","startTime":"14:50","endTime":"19:59","from":"London","to":"Glasgow","trainType":"Standard"},{"entryId":"2","startTime":"14:30","endTime":"19:20","from":"London","to":"Edinburgh","trainType":"1st class"},{"entryId":"3","startTime":"11:10","endTime":"12:59","from":"London","to":"Cardiff","trainType":"Standard"},{"entryId":"4","startTime":"08:30","endTime":"10:50","from":"London","to":"Manchester","trainType":"1st class"}]
This indicates that the backend is working fine. Next, let’s expose this API through WSO2 API Manager.
Step 2: Expose the API through WSO2 API Manager
- Log on to https://localhost:9443/publisher/apis using a Coltrain publisher user. Use user as
[email protected]and password asuser123. -
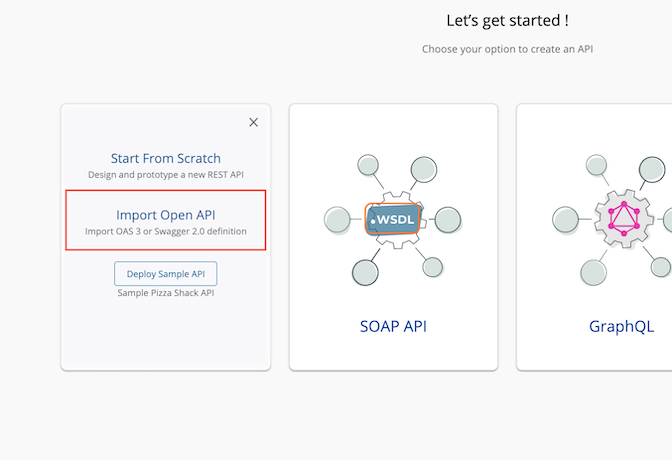
Select Import Open API option under REST API section
-
Select OpenAPI File/Archive radio button and import the coltrain-public-openapi.yaml definition from
/resourceslocation.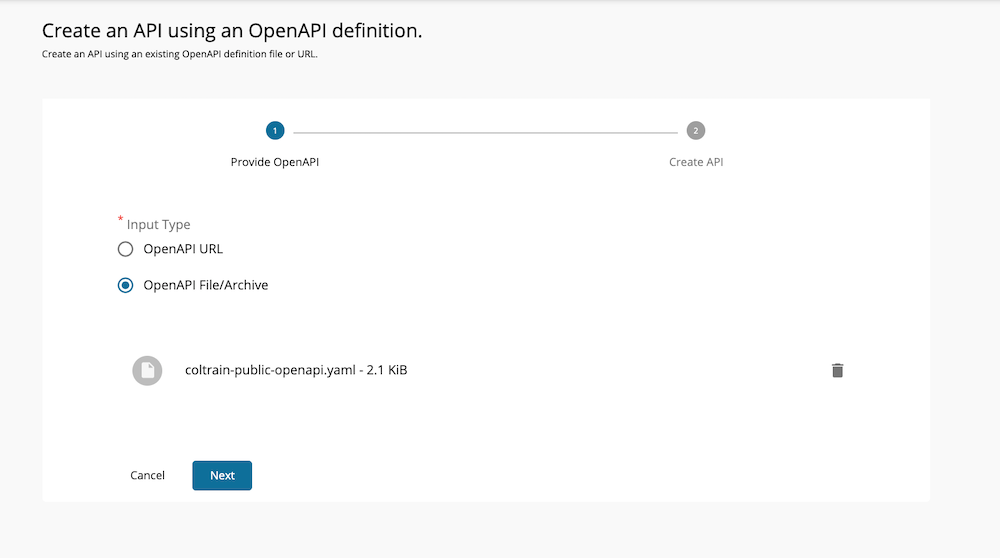
-
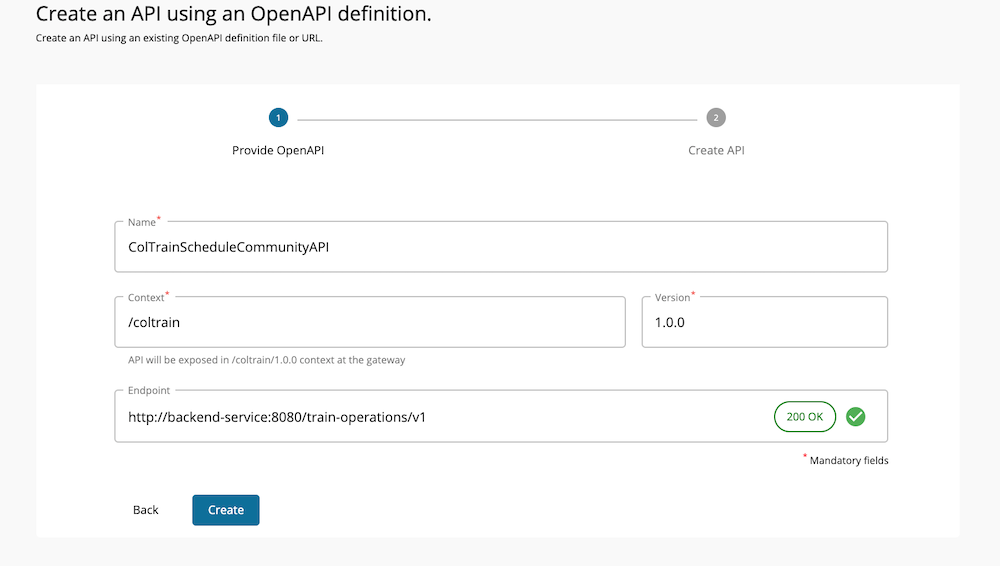
Add the context (say /coltrain) and create the API. Keep the endpoint as it is. You could select the checkbox in front of the endpoint to check the status of the backend URL.
Since this API is intended to be accessed by public users, the Coltrain API providers want to remove any authentication for this resource. This way anyone can access the service without any credentials.
Step 3: Remove authentication to the resource
To implement this, follow the steps below.
- Go to Develop → API Configuration → Resources tab.
- Expand a resource.
-
Under the Operation Governance section, turn off the radio button for Security.

-
Save the API.
Before Publishing the API, Coltrain developers want to test this API. WSO2 API Manager provides a Test console to test the API while it is in the development stage.
Step 4: Deploy the API in the Gateway
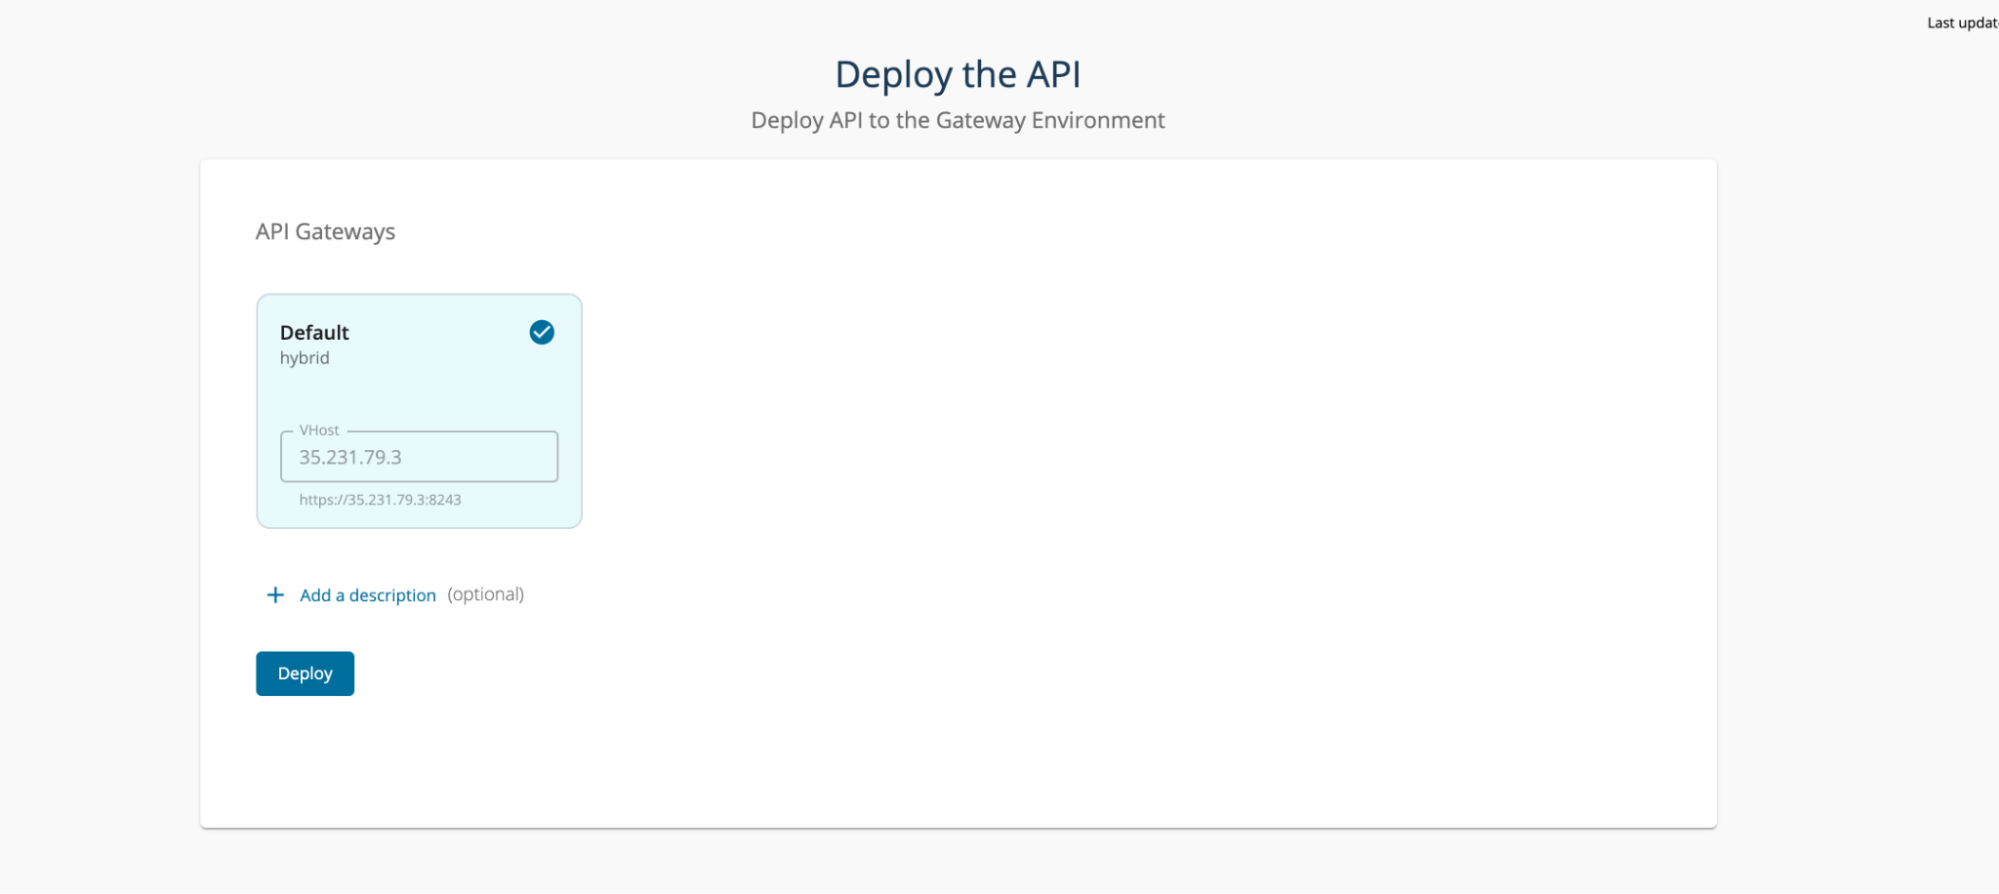
Before starting to test the API, you need to deploy the API in the Gateway. First you need to select a business plan for the API. For that, go to Develop → Subscriptions section and select Unlimited and save. After that, go to the Deploy → Deployment section and select Deploy. This will deploy the API in the Gateway but the API will not be visible to the outside world.
Step 5: Test the API
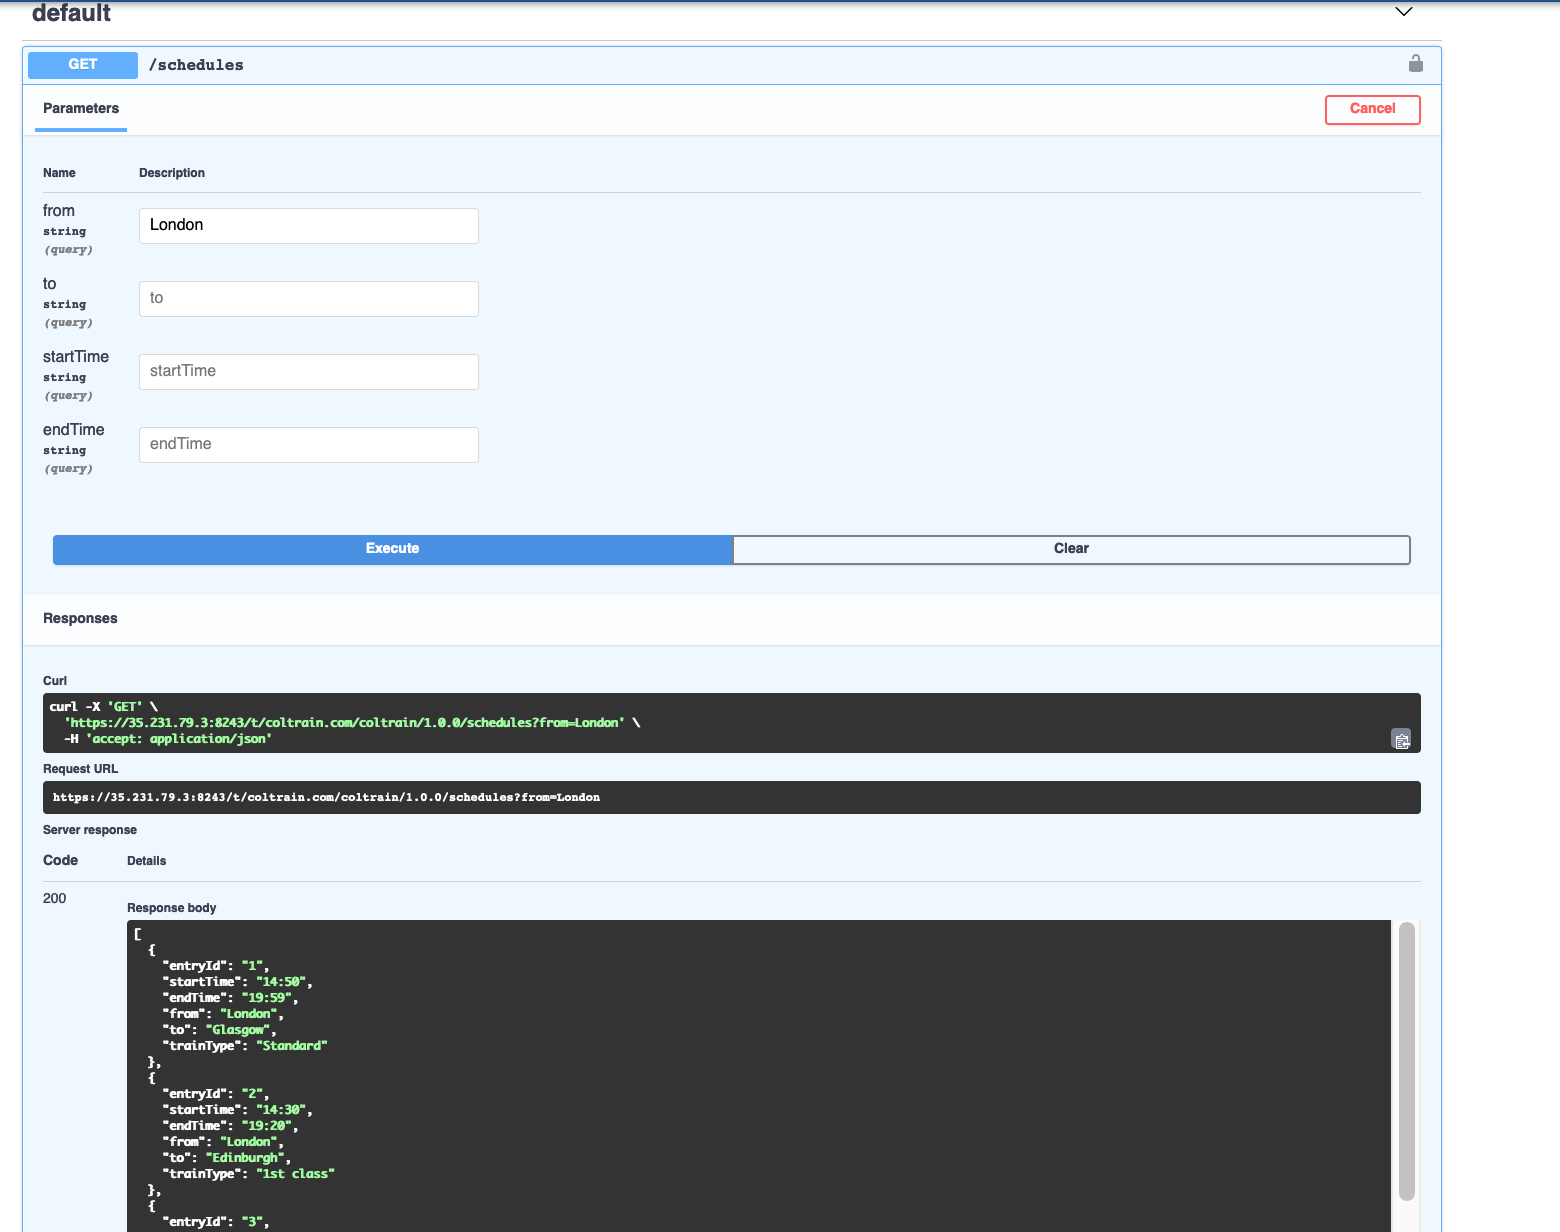
Now we are ready to test the API. Go to Test → Try Out . This provides an API console in the Publisher portal to test the API.
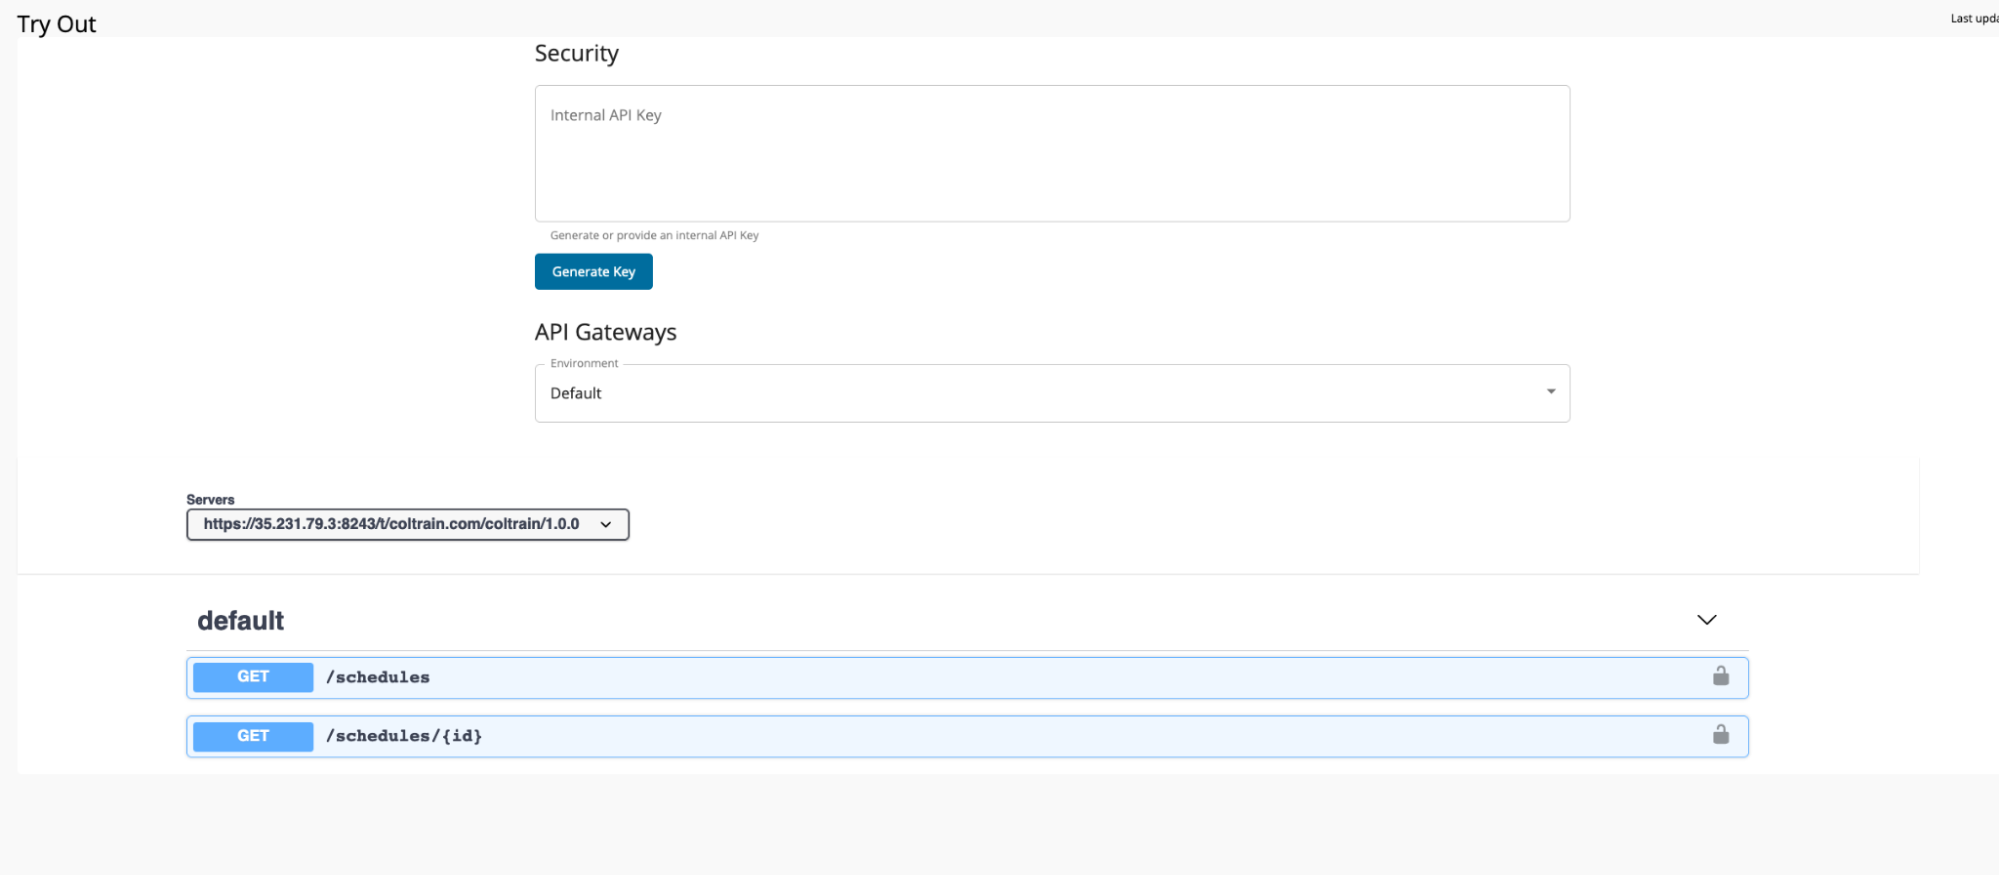
Expand the /schedules resource and invoke the API. You won’t need to click Generate Key since we have removed the security for this resource. You will have to generate one if you want to test the /schedules/{id} resource.
Now testing is done from the publisher end.
Step 6: Publish the API
The API needs to be published in-order to access it from the Developer portal. For that,
Go to Lifecycle section and select Publish.
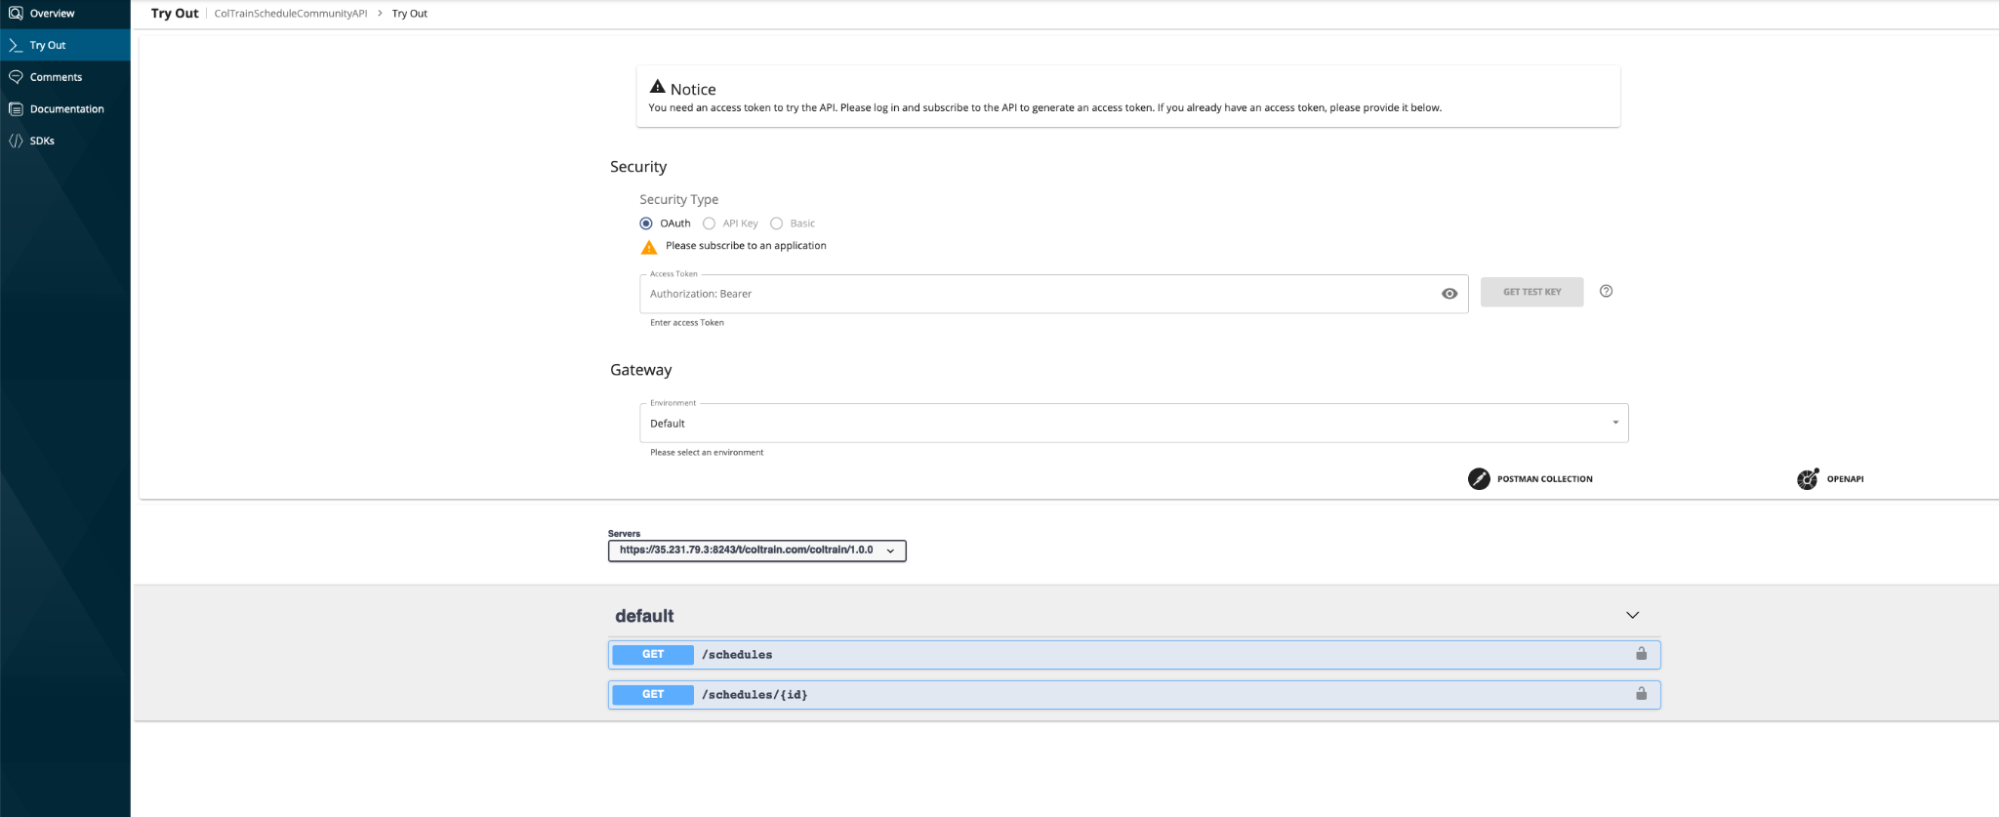
Now the API is published. To view this API go to https://localhost:9443/devportal/ Developer portal and select Coltrain tenant domain. This will redirect you to the Coltrain developer portal.
Select the ColTrainScheduleCommunityAPI and select the Try-Out button from the left menu. This will open up an in-built API console for this API. You could now try out the API by clicking the resources.
What's next
Try out the next scenario in the series, Access Control.