Configuring reCaptcha for Self Sign-up
Self Sign-up is an important feature when it comes to commercial applications. This feature gives the users the privilege of being a part of your community without you having to go through the hassle of adding them.
This topic guides you through configuring reCaptcha for the self registration flow. By configuring reCaptcha, you can mitigate or block brute force attacks.
Info
- For more information on setting up self registration, see Self-Sign-Up.
- For more information on brute force attacks, see Mitigating Brute Force Attacks.
You can either configure the recaptcha for a tenant, or configure it globally.
Configuring self-registration with reCaptcha for a specific tenant
- Set up reCaptcha with the WSO2 API Manager. For instructions on how to do this and more information about reCaptcha, see Setting Up ReCaptcha.
- Start the WSO2 API Manager and log in to the management console.
- Click on List under Identity Providers on the Main tab.
- Click Resident Identity Provider.
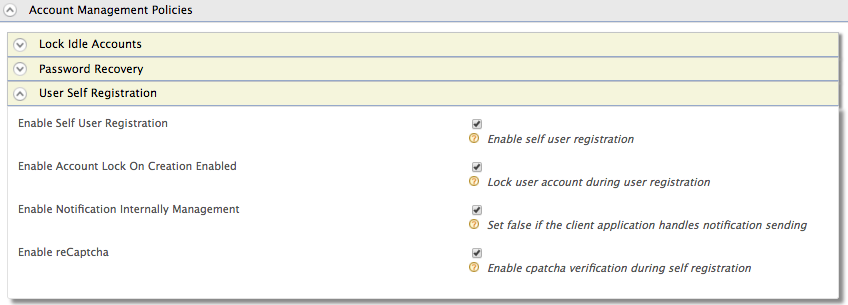
- Expand the Account Management Policies tab and then expand the User Self Registration tab.
- Select the Enable reCaptcha checkbox to enable reCaptcha for the
self registration flow.
-
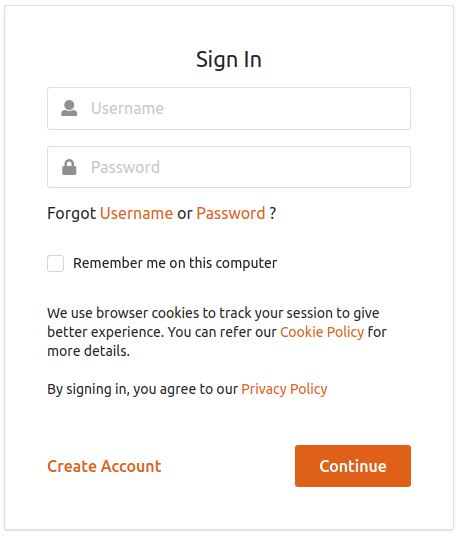
You have now successfully configured reCaptcha for the self registration flow. Start the WSO2 API Manager and log in to the My Account using the following link:
https://localhost:9443/myaccountTip
If you have changed the port offset or modified the hostname, change the port or hostname accordingly.
-
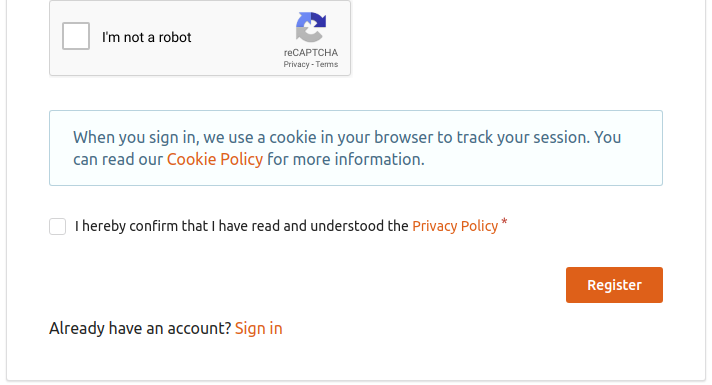
Click the Create Account link.
- At the end of the registration, the following reCaptcha window
appears.