Creating Docker Exporter
Create a Docker Exporter if you want to deploy your integration solutions inside a Docker environment. This project directory allows you to package multiple integration modules into a single Docker image and then build and push to the Docker registries.
Note
When using Kubernetes/Docker exporter project, make sure to use Integration Studio 8.0.0 with the latest WUM update. mi-1.2.0 pack we have to change the miVersion of the config-mapper-parser plugin into 1.2.0/1631645406425 in the pom
Creating the Docker exporter
Follow the steps given below.
-
Create a new integration project and create a Docker Exporter by doing one of the following.
-
As part of creating an integration project, you can select the Docker Exporter check box.
-
You can right click on an existing integration project and select New -> Docker Exporter.
-
-
In the New Docker Exporter dialog box that opens, enter a name for the Docker exporter and other parameters as shown below.
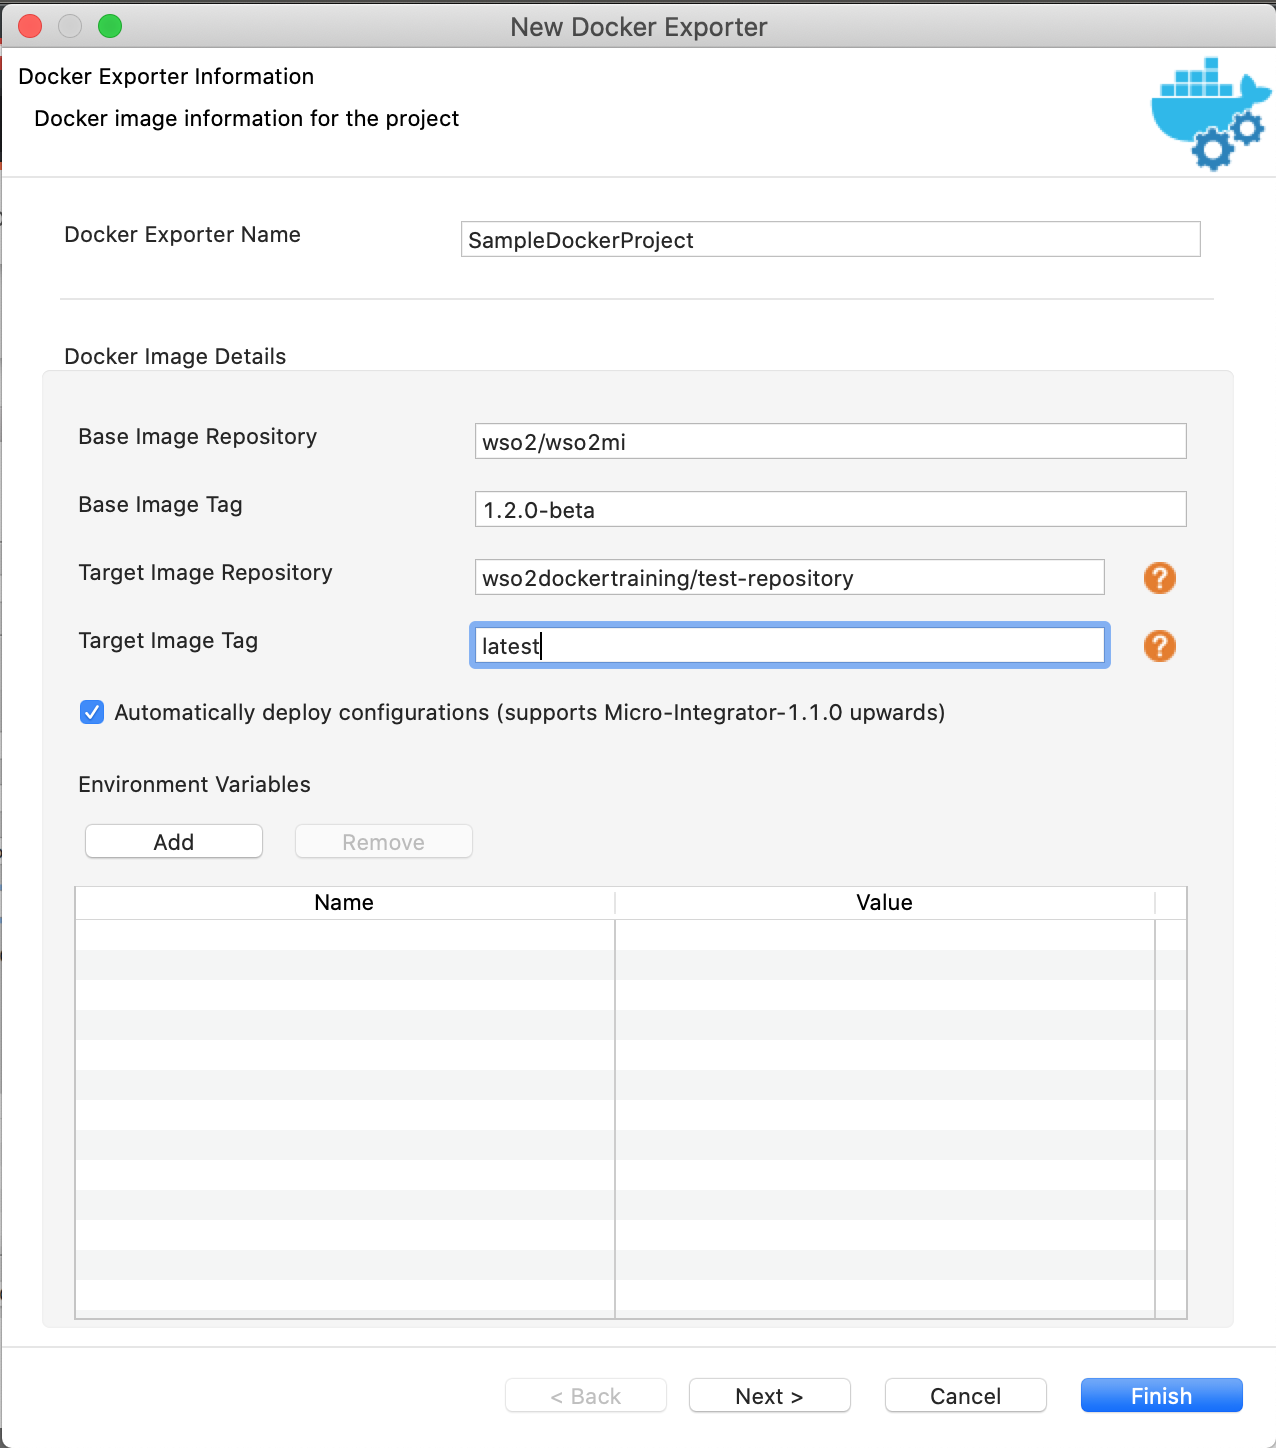
Enter the following information:
Parameter Description Docker Exporter Name Required. Give a name for the Docker project. Base Image Repository Required. Select the base Micro Integrator Docker image for your solution. Use one of the following options: - wso2/wso2mi: This is the community version of the Micro Integrator Docker image, which is stored in the public WSO2 Docker registry. This is selected by default.
- docker.wso2.com: This is the Micro Integrator Docker image that includes product updates. This image is stored in the private WSO2 Docker registry. Note that you need a valid WSO2 subscription to use the Docker image with updates.
- You can also use a custom Docker image from a custom repository.
Base Image Tag Required. Specify the tag of the base image that you are using. Target Image Repository Required. The Docker repository to which you will later push this Docker image. - If your repository is in Docker Hub, use the docker_user_name/repository_name format.
- If you are using any other repository, use the repository_url/repository_user_name/repository_name format.
Target Image Tag Required. Give a tag name for the Docker image. Environment Variables You can enter multiple environment variables as key-value pairs. -
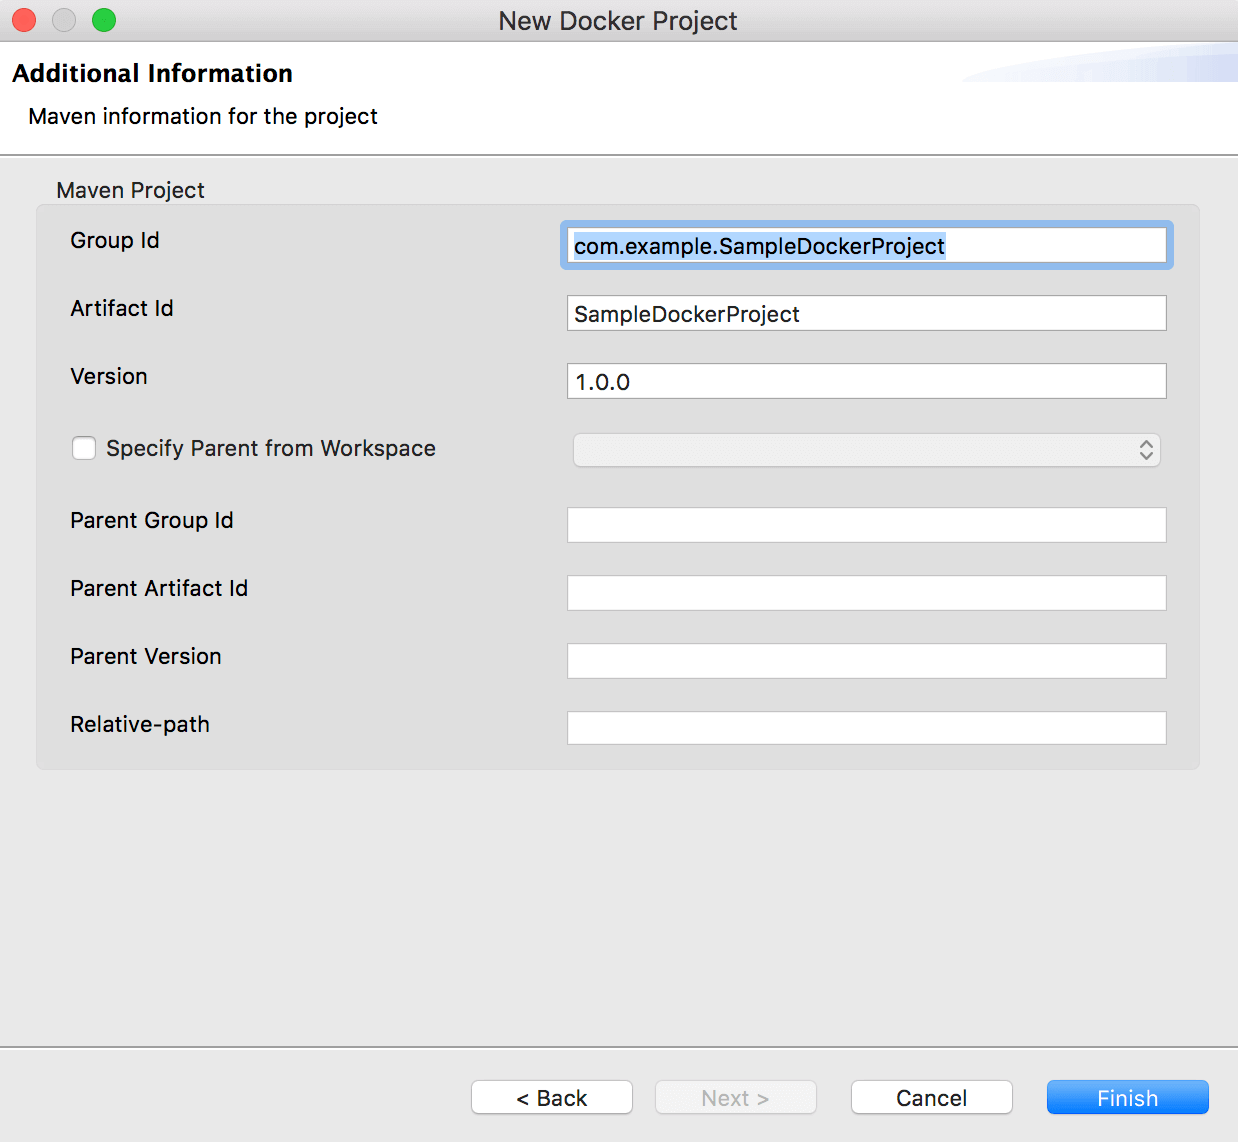
Optionally, click Next and configure Maven details for the Docker exporter.
-
Click Finish. The Docker exporter is created in the project explorer.
-
This step is only required if you already have a Docker image (in your local Docker repository) with the same name as the base image specified above.
Info
In this scenario, WSO2 Integration Studio will first check if there is a difference in the two images before pulling the image specified in the Base Image Repository field. If the given base image is more updated, the existing image will be overwritten by this new image. Therefore, if you are currently using an older version, or if you have custom changes in your existing image, they will be replaced.
To avoid your existing custom/older images from being replaced, add the following property under dockerfile-maven-plugin -> executions -> execution -> configurations in the
pom.xmlfile of your Docker Exporter project. This configuration will ensure that the base image will not be pulled when a Docker image already exists with the same name.<pullNewerImage>false</pullNewerImage>
The Docker Exporter directory
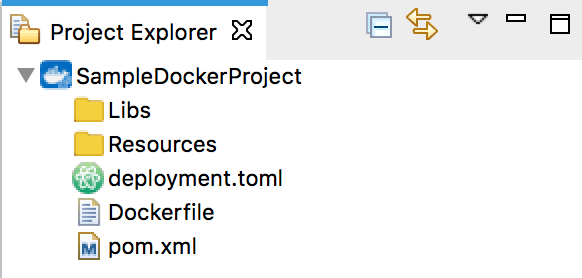
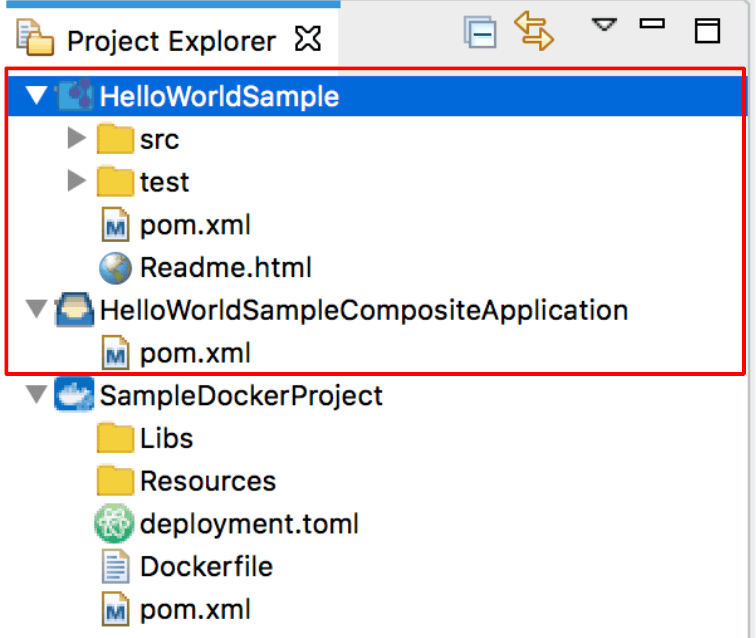
Expand the Docker Exporter in the project explorer. See that the following folders and files are created:
| Directory | Description |
|---|---|
| Libs | This folder stores libraries that should be copied to the Docker image. During the build time, the libraries inside this directory will be copied to the image. |
| Resources | This folder stores additional files and resources that should be copied to the Docker image. During the build time, the resources inside this directory will be copied to the image. |
| deployment.toml | The product configuration file. |
| Dockerfile | The Dockerfile containing the build details. |
| pom.xml | The file for selecting the relevant composite exporters that should be included in the Docker image. This information is also used when you later build and push Docker images to the Docker registries. |
Build and Push Docker images
Before you begin:
-
Create your integration artifacts in an ESB Config sub project and package the artifacts in a Composite Exporter. For example, see the HelloWorld sample given below.
-
Be sure to start your Docker instance before building the image. If Docker is not started, the build process will fail.
-
If you are using a Micro Integrator Docker image from a private registry as your base image:
- Open a terminal and use the following command to log in to Docker:
docker login -u username -p password - In the next step, specify the name of the private Docker registry.
- Open a terminal and use the following command to log in to Docker:
To build and push the Docker image:
Note
As an alternative, you can skip the steps given below and manually build and push the Docker images using maven. Open a terminal, navigate to the Docker exporter and execute the following command:
mvn clean install -Dmaven.test.skip=true -Ddockerfile.username={username} -Ddockerfile.password={password}
However, note that you need Maven 3.5.2 or a later version when you build the Docker image manually (without using WSO2 Integration Studio).
-
Open the pom.xml file inside the Docker project and click Refresh on the top-right. Your composite application project with integration artifacts will be listed under Dependencies as follows:
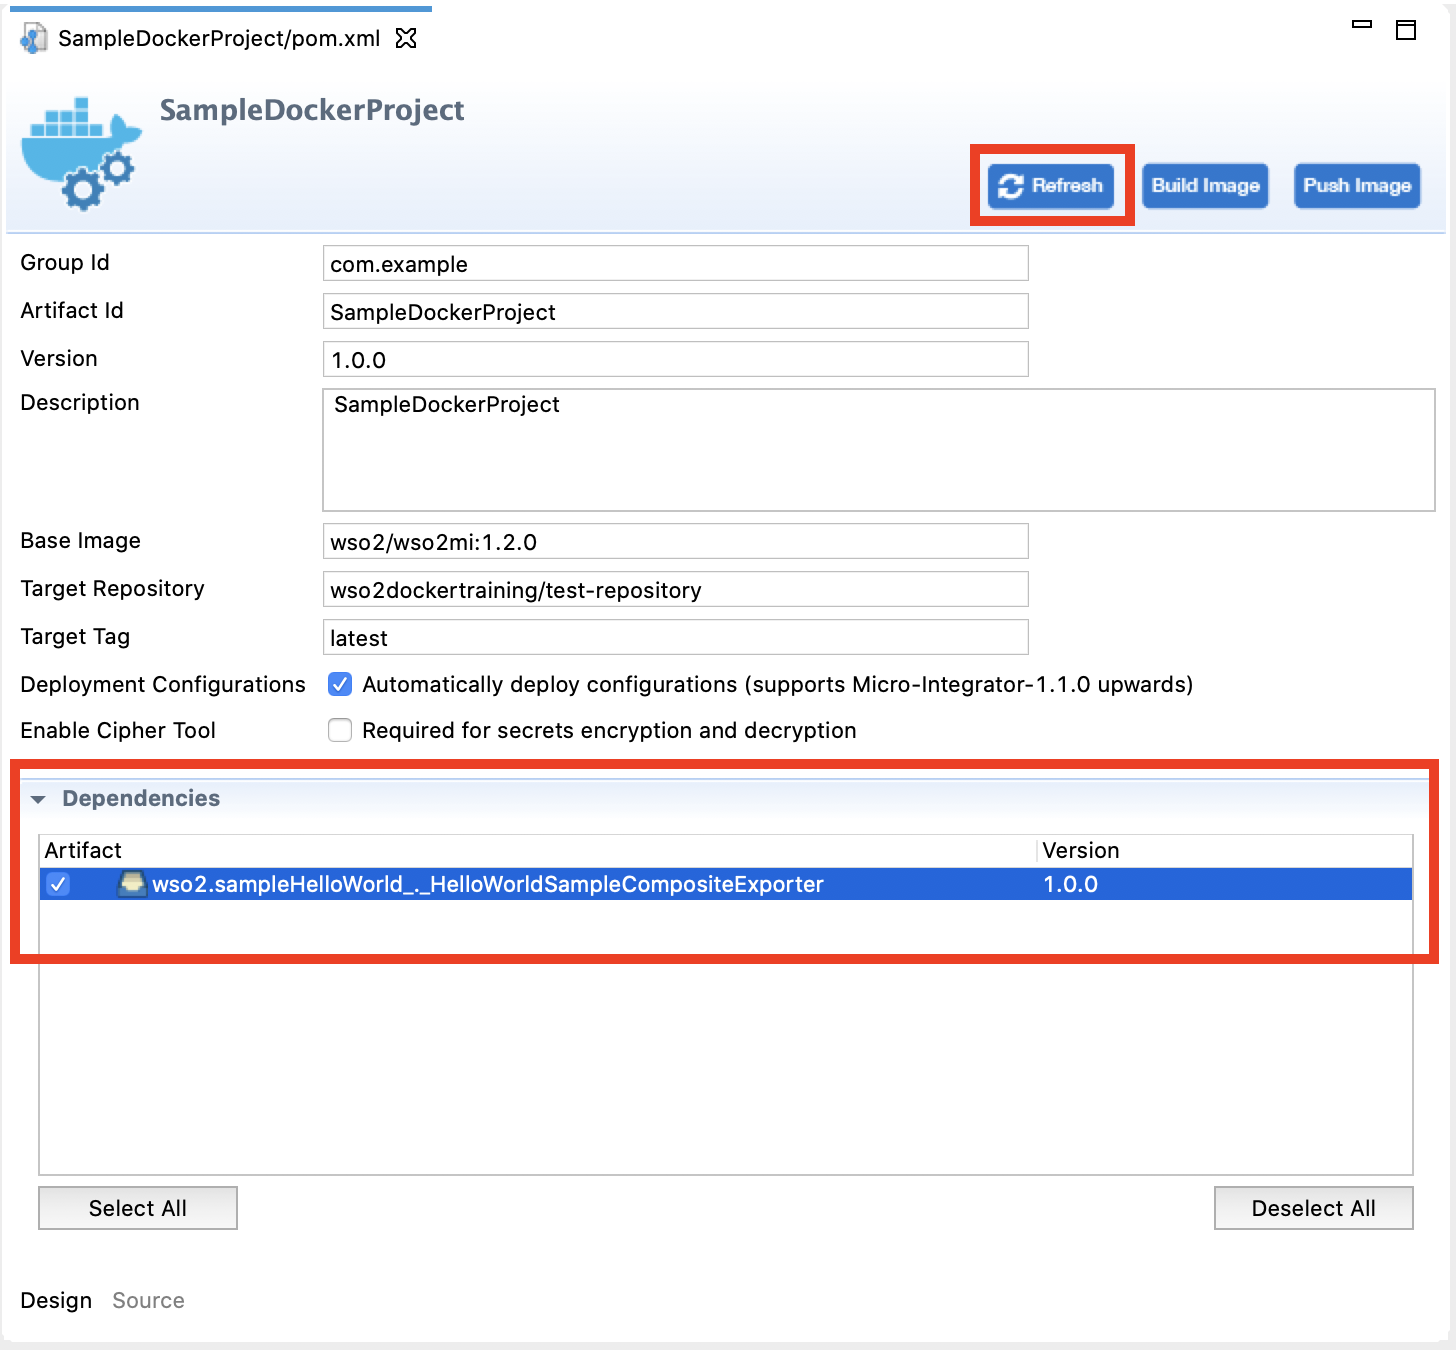
-
Select the composite exporters that you want to package inside the Docker image.
- If required, you can update the Target Repository to which the image should be pushed and the Target Tag.
- Save the POM file and click Build to start the Docker image build.
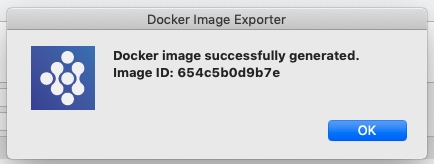
-
It will build the Docker image based on the Dockerfile and the Target details. When the image is created, the following message will display.
-
Click Push to push the Docker image to your Docker registry.
In the dialog box that opens, provide the details of your Docker registry as shown below.
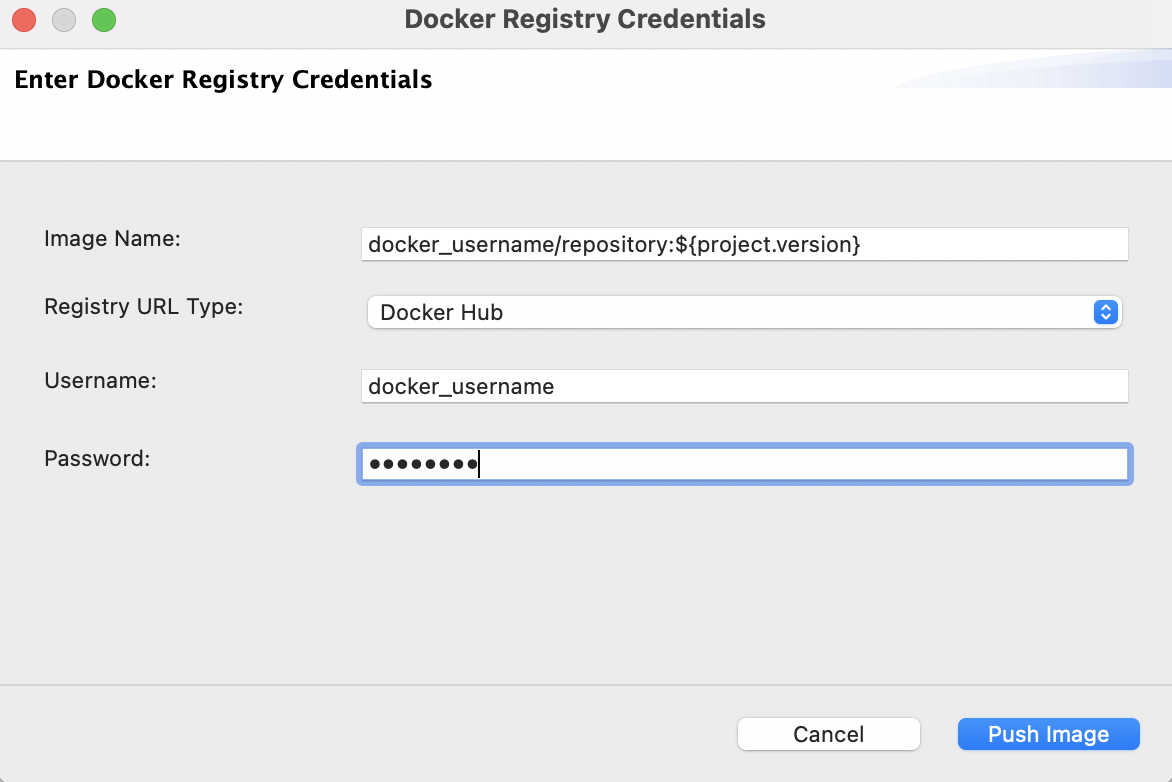
When the image is pushed to the registry, you will see the following message.