Setting Up ReCaptcha
reCaptcha is a free service provided by Google that can be used for protection against spam or other forms of internet abuse by verifying whether a user is a human or a robot. It comes in the form of a widget. The following section guides you through setting up reCaptcha with the WSO2 Identity Server and how to use it in different scenarios.
How it works
First, you will need to register and create an API key pair for the
required domain. The key pair consists of a site key and secret. The
site key is what is used when a reCaptcha widget is displayed on a page.
After verification, a new parameter called
g-recaptcha-response appears on the form that the
user submits. From the server side, you can verify the submitted captcha
response by calling the Google API with the secret key.
Follow the steps provided below to configure this.
Configuring reCaptcha API keys
-
Go to https://www.google.com/recaptcha/admin and switch to create a classic key.
-
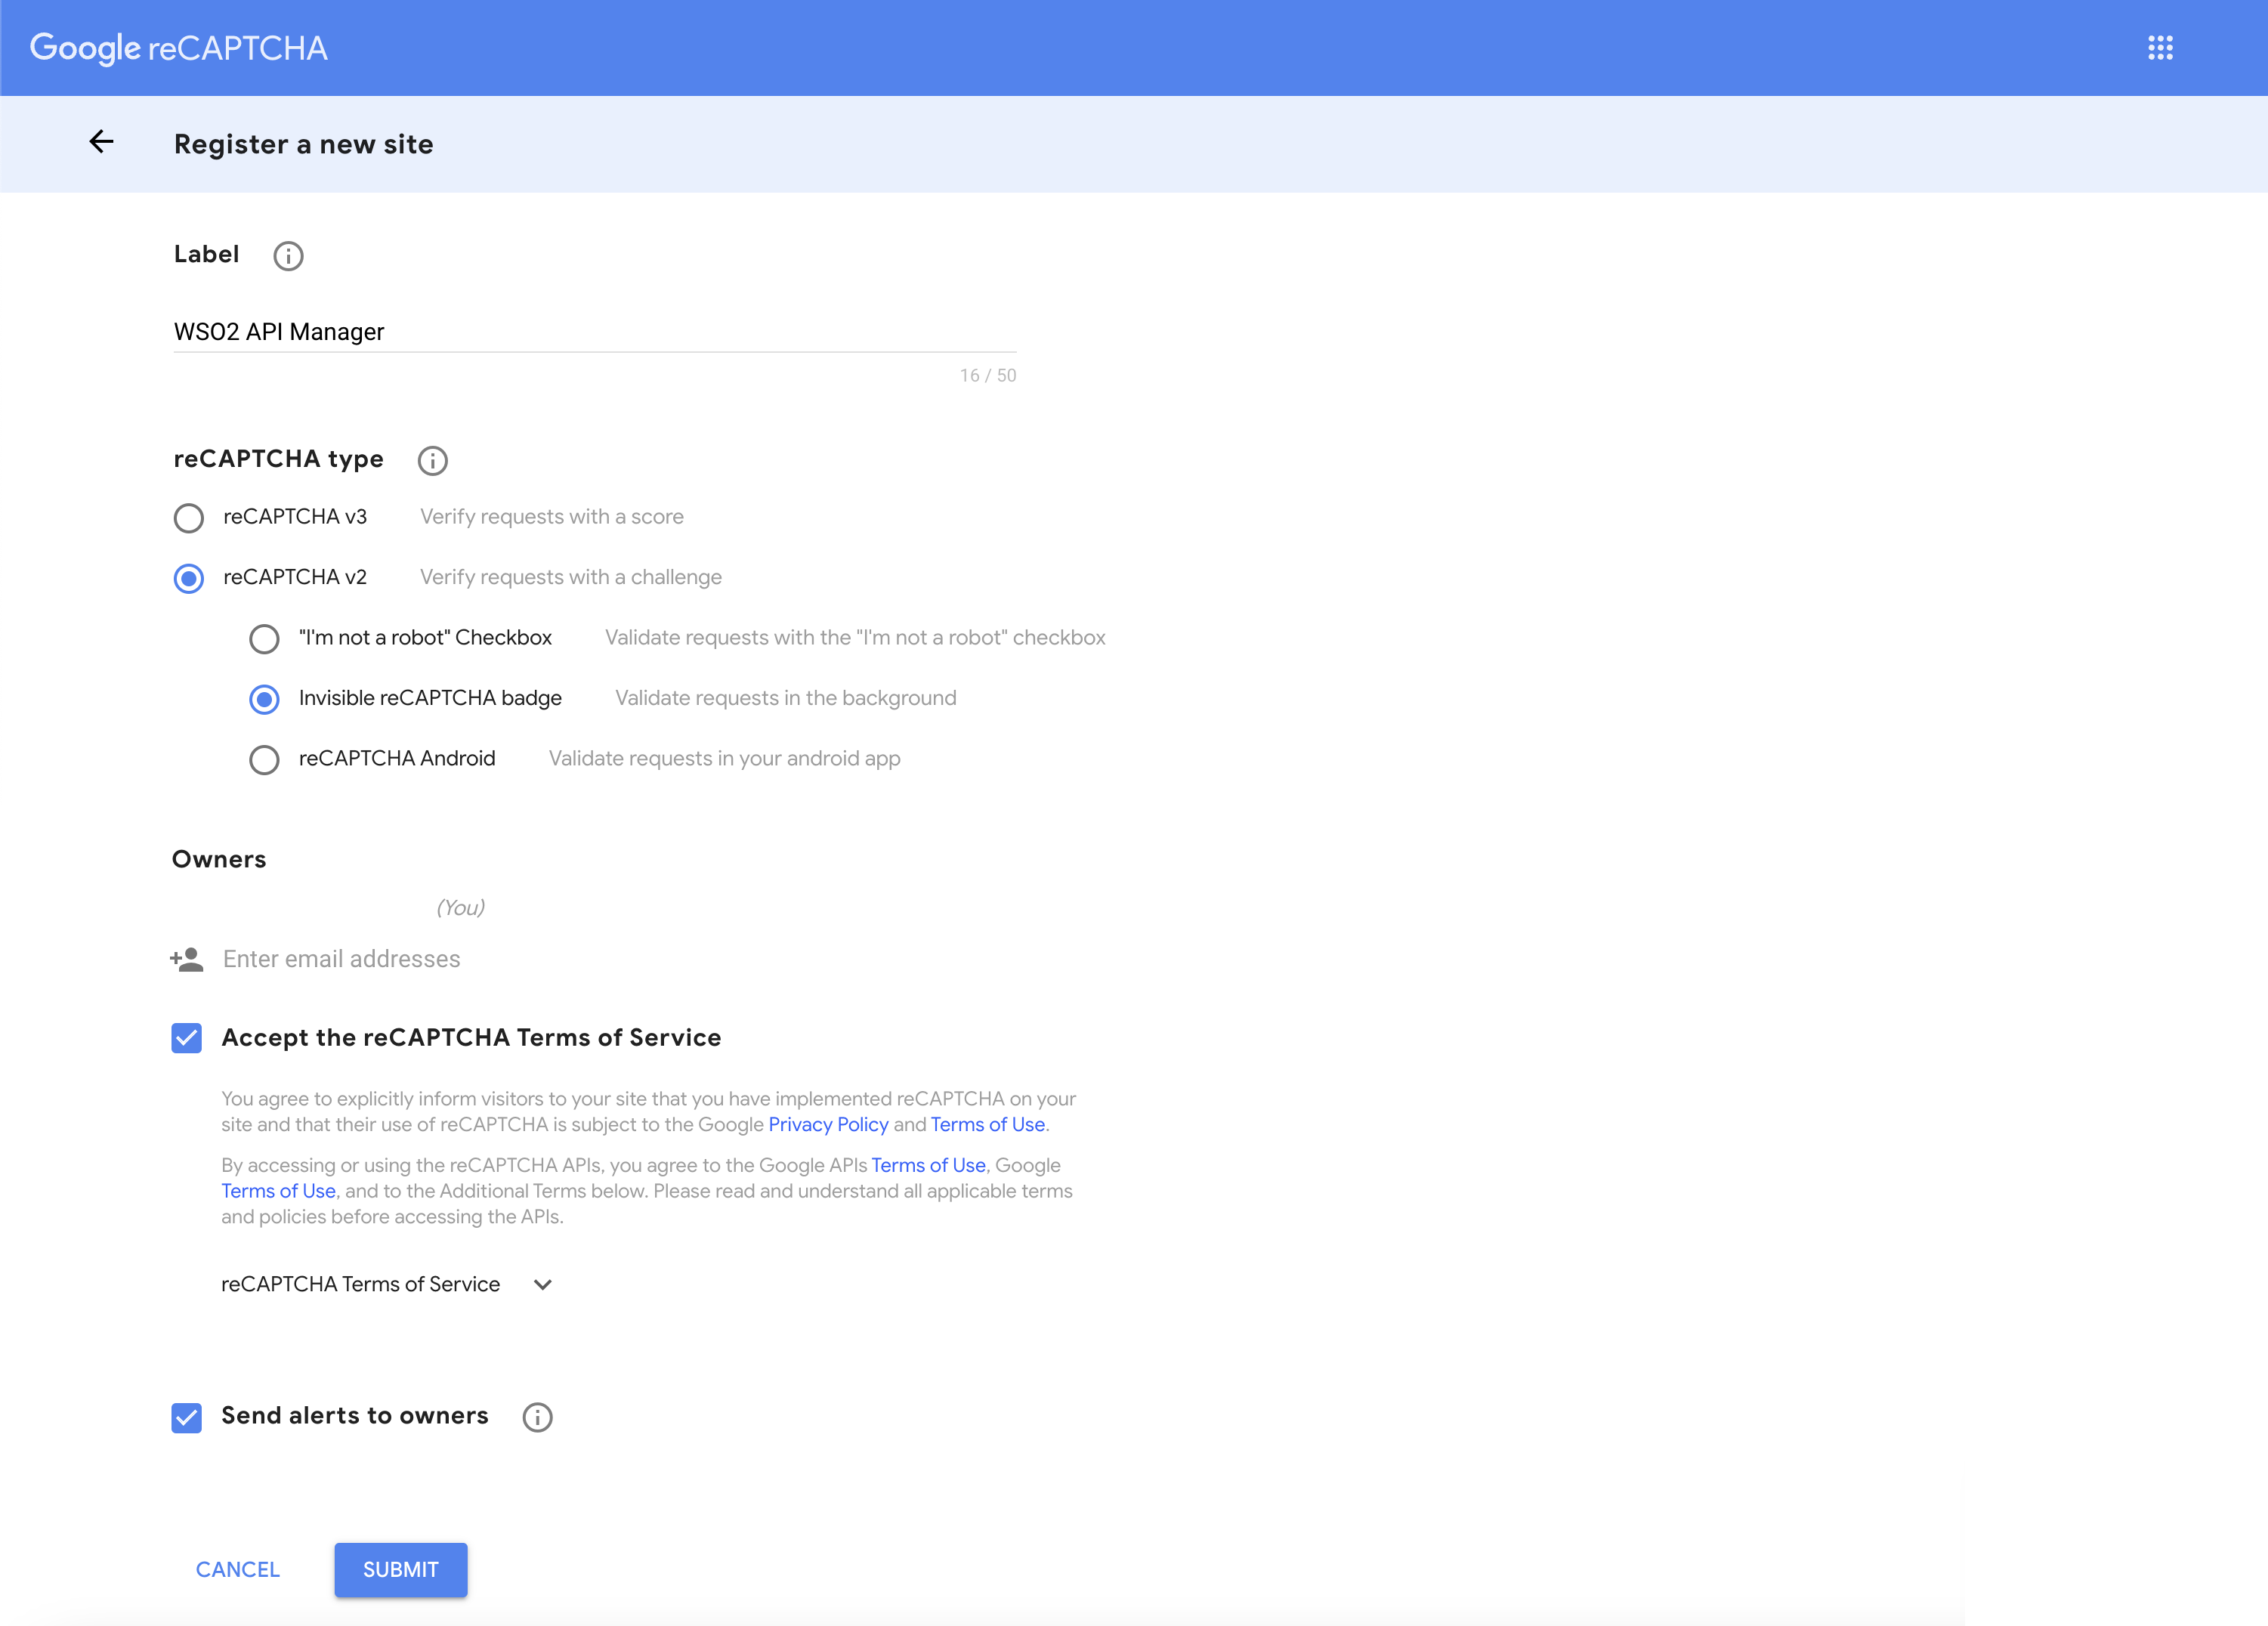
You will see the window shown below. Fill in the fields to register your API Manager domain and click Register. The following are sample values:
- Label: WSO2 API Manager
- reCAPTCHA type: reCAPTCHA V2 and Invisible reCAPTCHA badge
- Domains: is.apim.com (Note: add "localhost" to list of domains when testing locally)
-
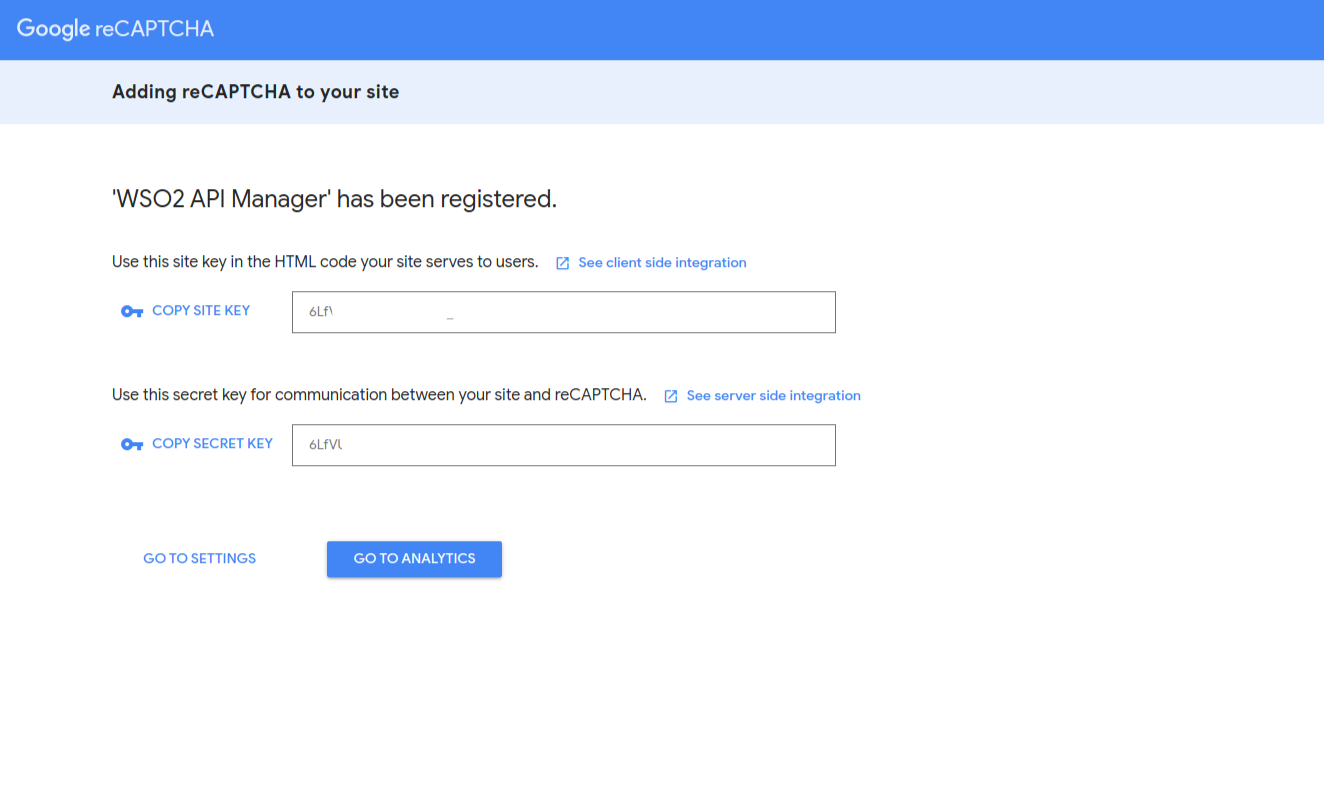
Take note of the site key and secret that you receive.
-
Open the
deployment.tomlfile located in the<API-M_HOME>/repository/conf/directory and add the following configurations.# Google reCAPTCHA settings # Enable Google reCAPTCHA [recaptcha] enabled= true # reCaptcha API URL api_url="https://www.google.com/recaptcha/api.js" # reCaptcha verification URL verify_url="https://www.google.com/recaptcha/api/siteverify" # reCaptcha site key site_key="6Lc8THgUAAAAAPekxT991FGFXRrsiPCMNv5PwZHB" # reCaptcha secret key secret_key="6Lc8THgUAAAAAEu83iOwSin_CSt6gqe97aa7EGFd" parameters_in_url_enabled = trueNote
If you have additional authorization endpoints, you need to include the
login.doURL paths of these endpoints. Here, url_path is the URL without the host parameters.redirect_urls="url1_path,url2_path"An example of how to include the URL paths of additional authorization endpoints is given below.
redirect_urls="/authenticationendpointone/login.do,/authenticationendpointtwo/login.do" -
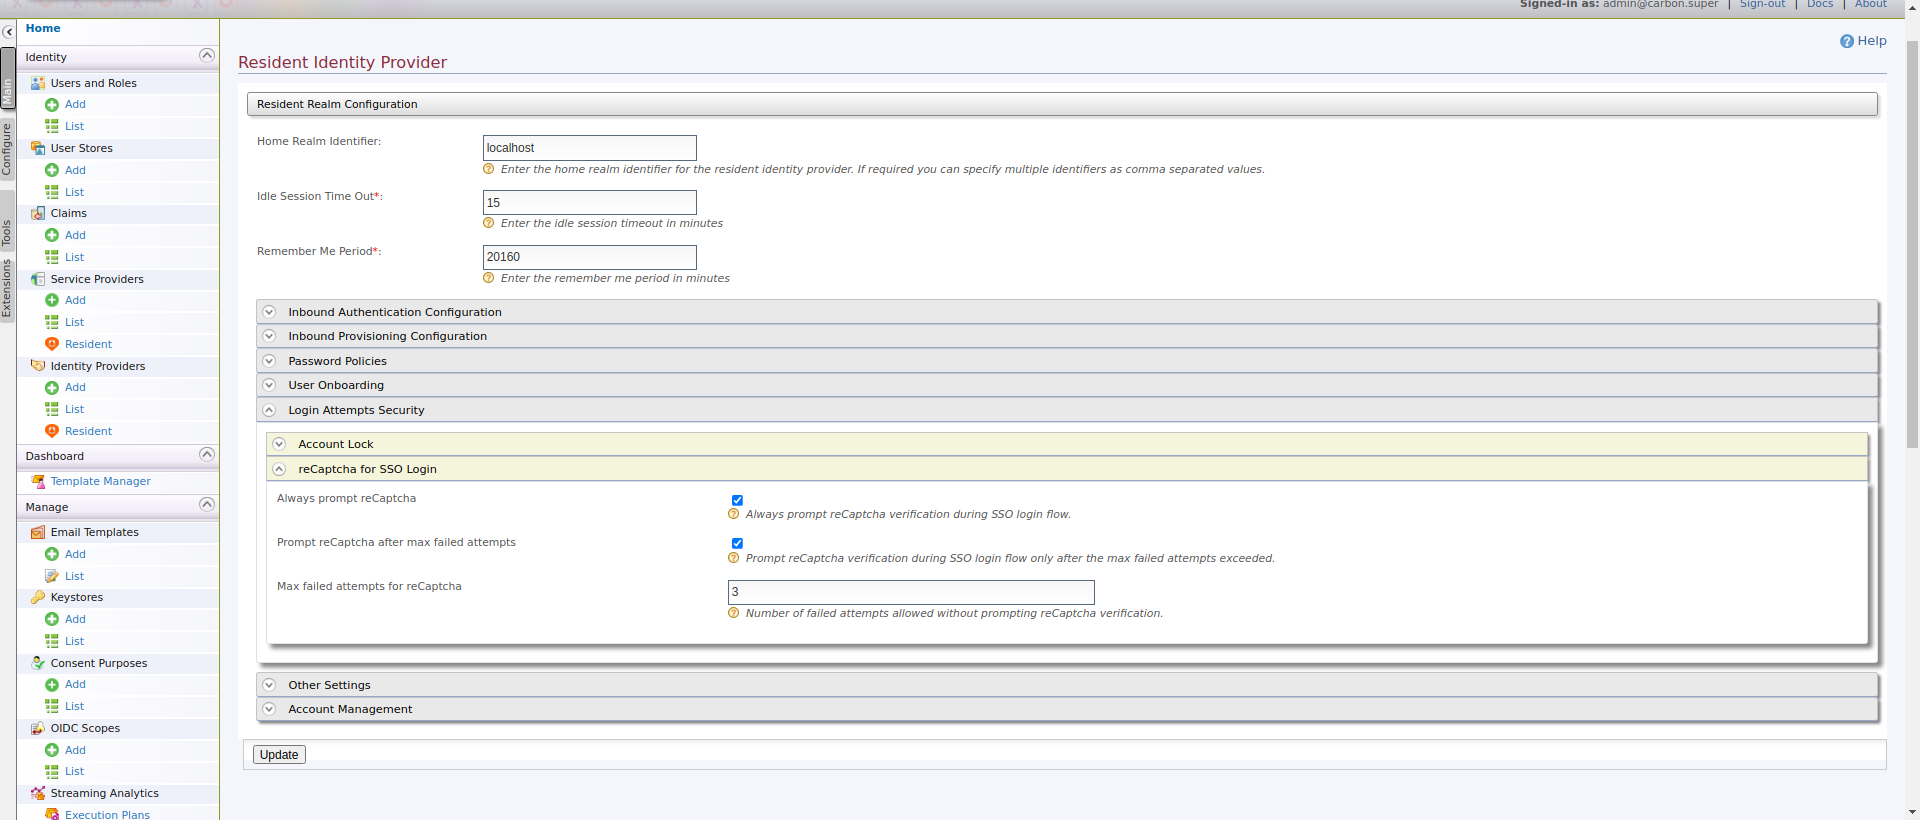
Enable reCAPTCHA from the Carbon console. (Identity Providers -> Resident -> Login Attempts Security -> reCaptcha for SSO Login -> Always prompt reCaptcha)
-
Restart the WSO2 API Manager Publisher portal.
You have successfully set up reCaptcha for your site. You can now configure reCaptcha with any of the following: