Test an API Using a SOAP Client
You can use any SOAP client to test an API. Let's use the SOAP UI in the following example.
The examples here uses the PhoneVerification API, which is created in section Expose a SOAP service as a REST API.
Let's invoke the PhoneVerification API using a SOAP client.
- Sign in to the Developer Portal and click an API that you want to invoke (e.g.,
PhoneVerification). -
The API's Overview page opens. Select an application (e.g.,
DefaultApplication), with an available tier and subscribe to the API.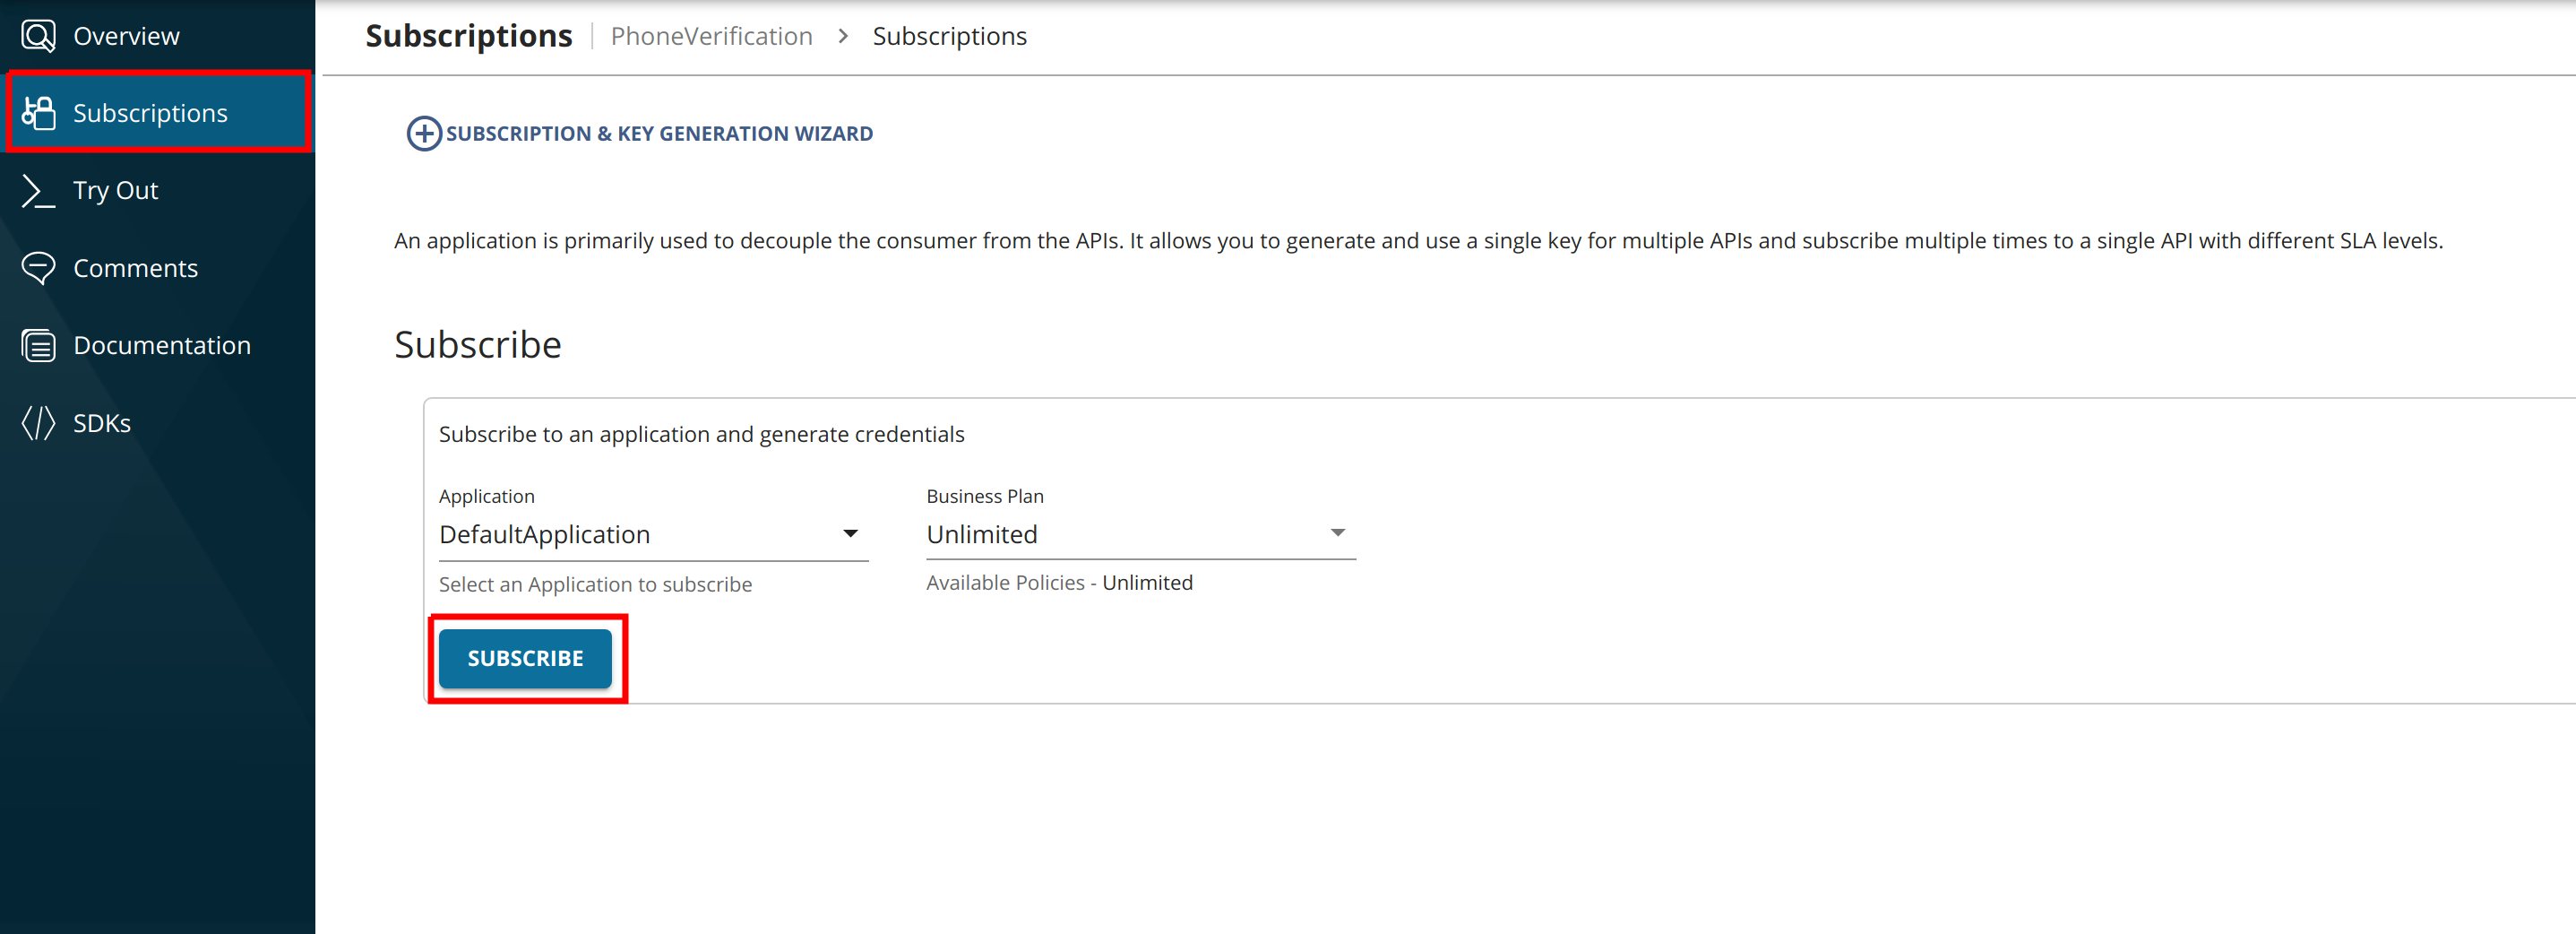
-
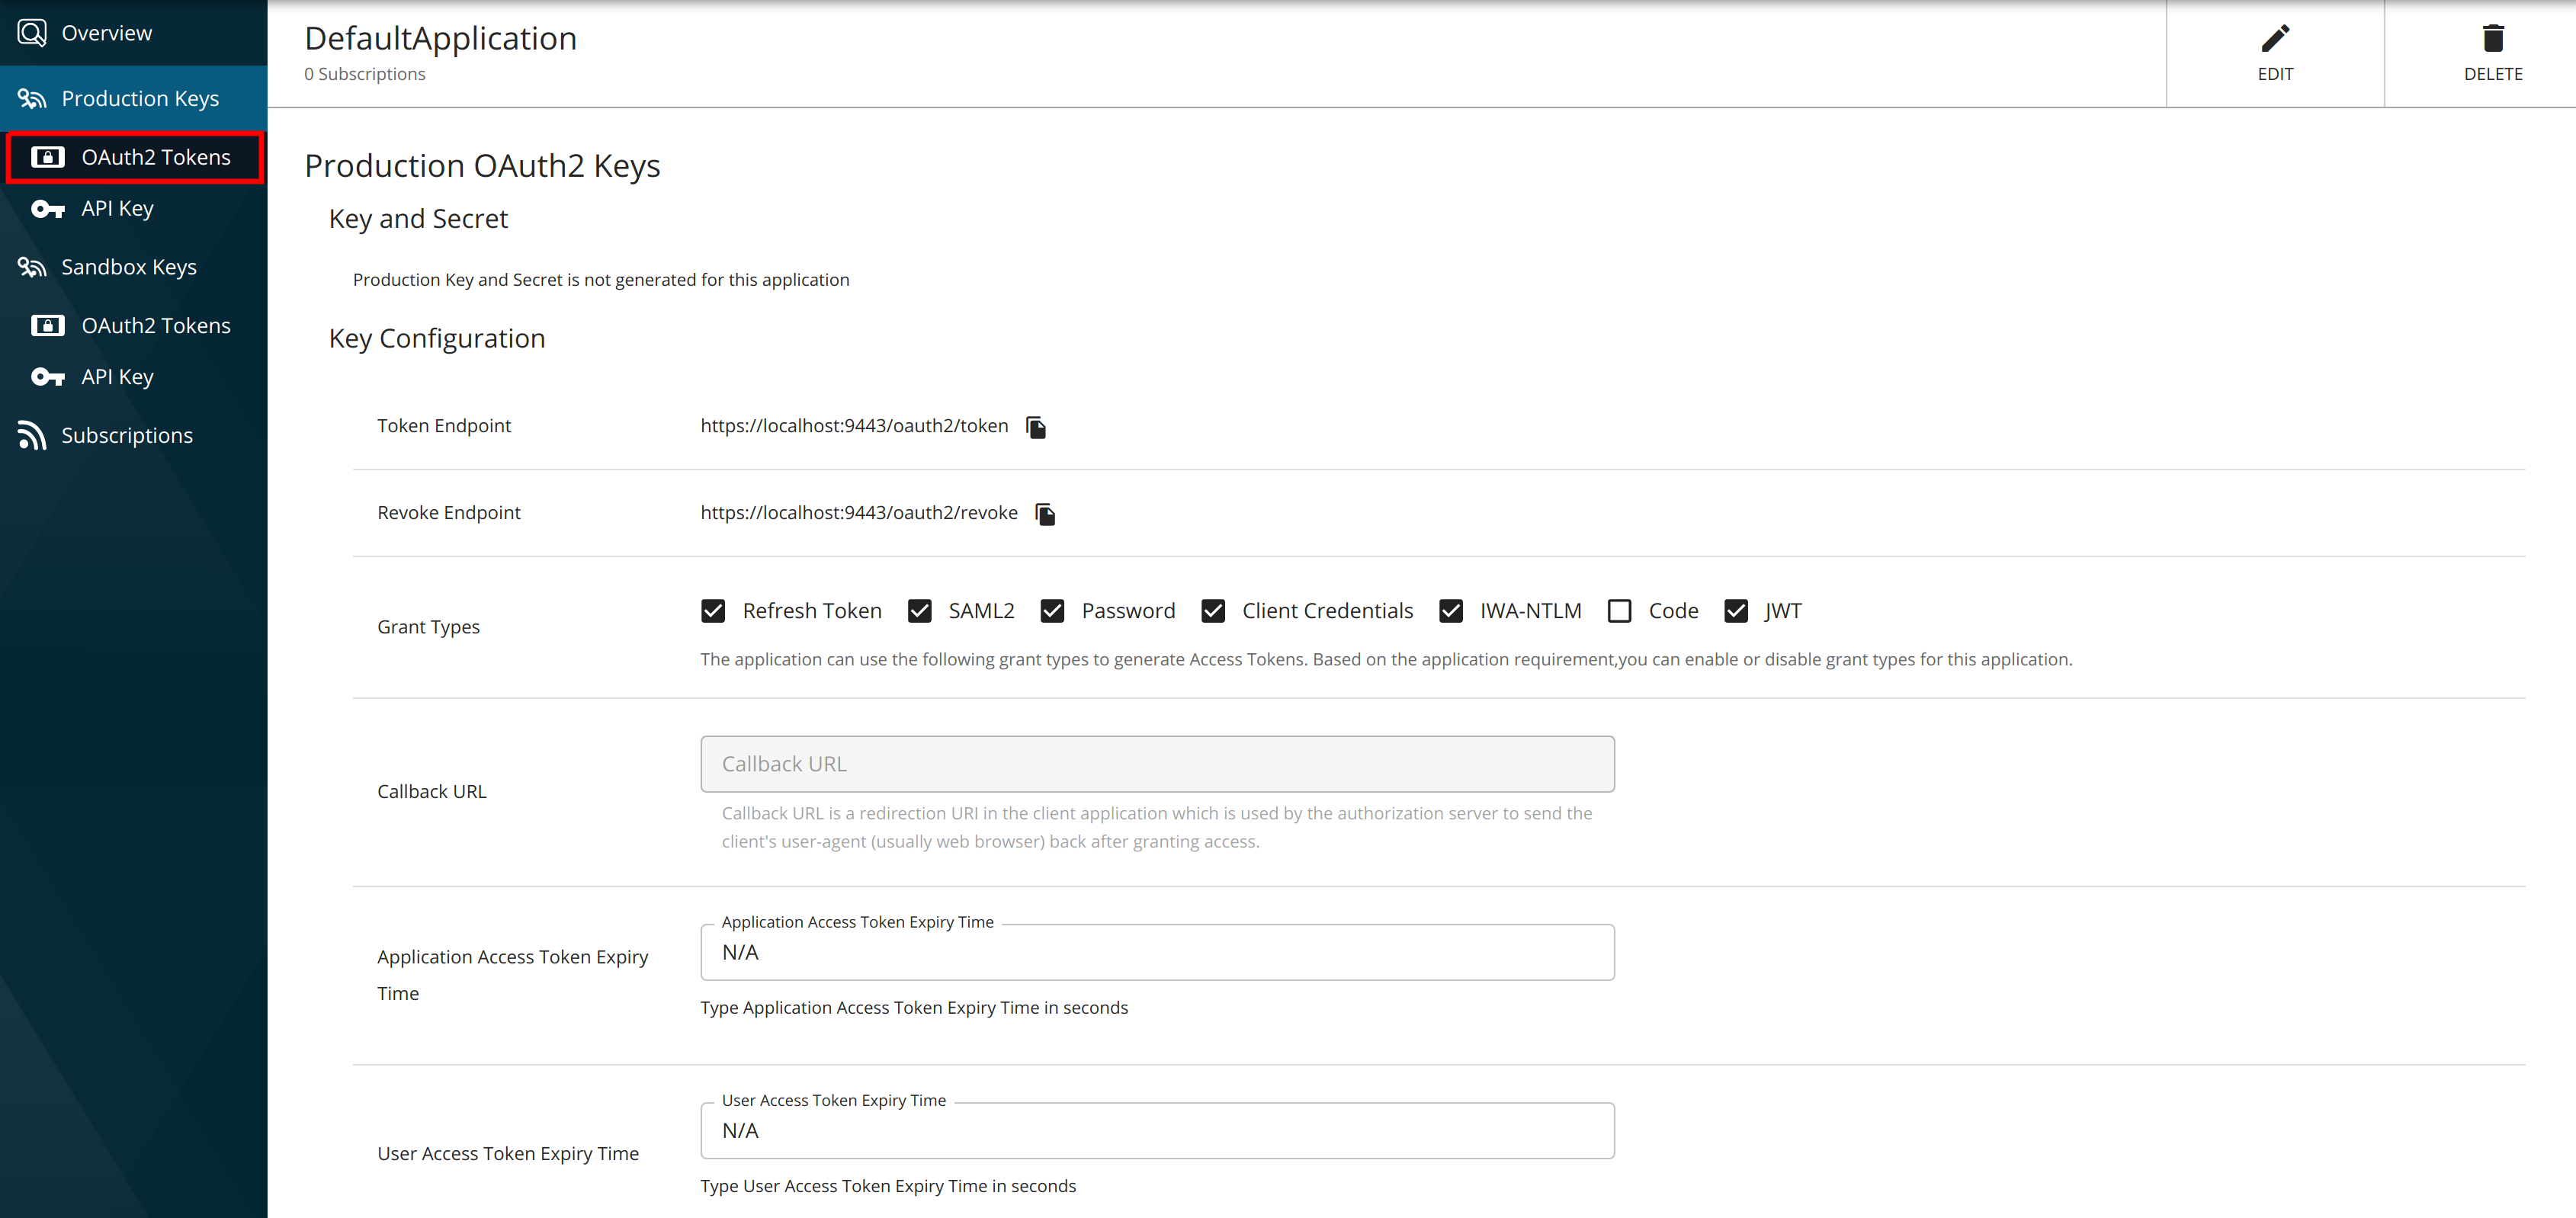
Click the Applications menu, open the default application using which you subscribed to the API, and navigate to OAuth2 Tokens under Production Keys.
-
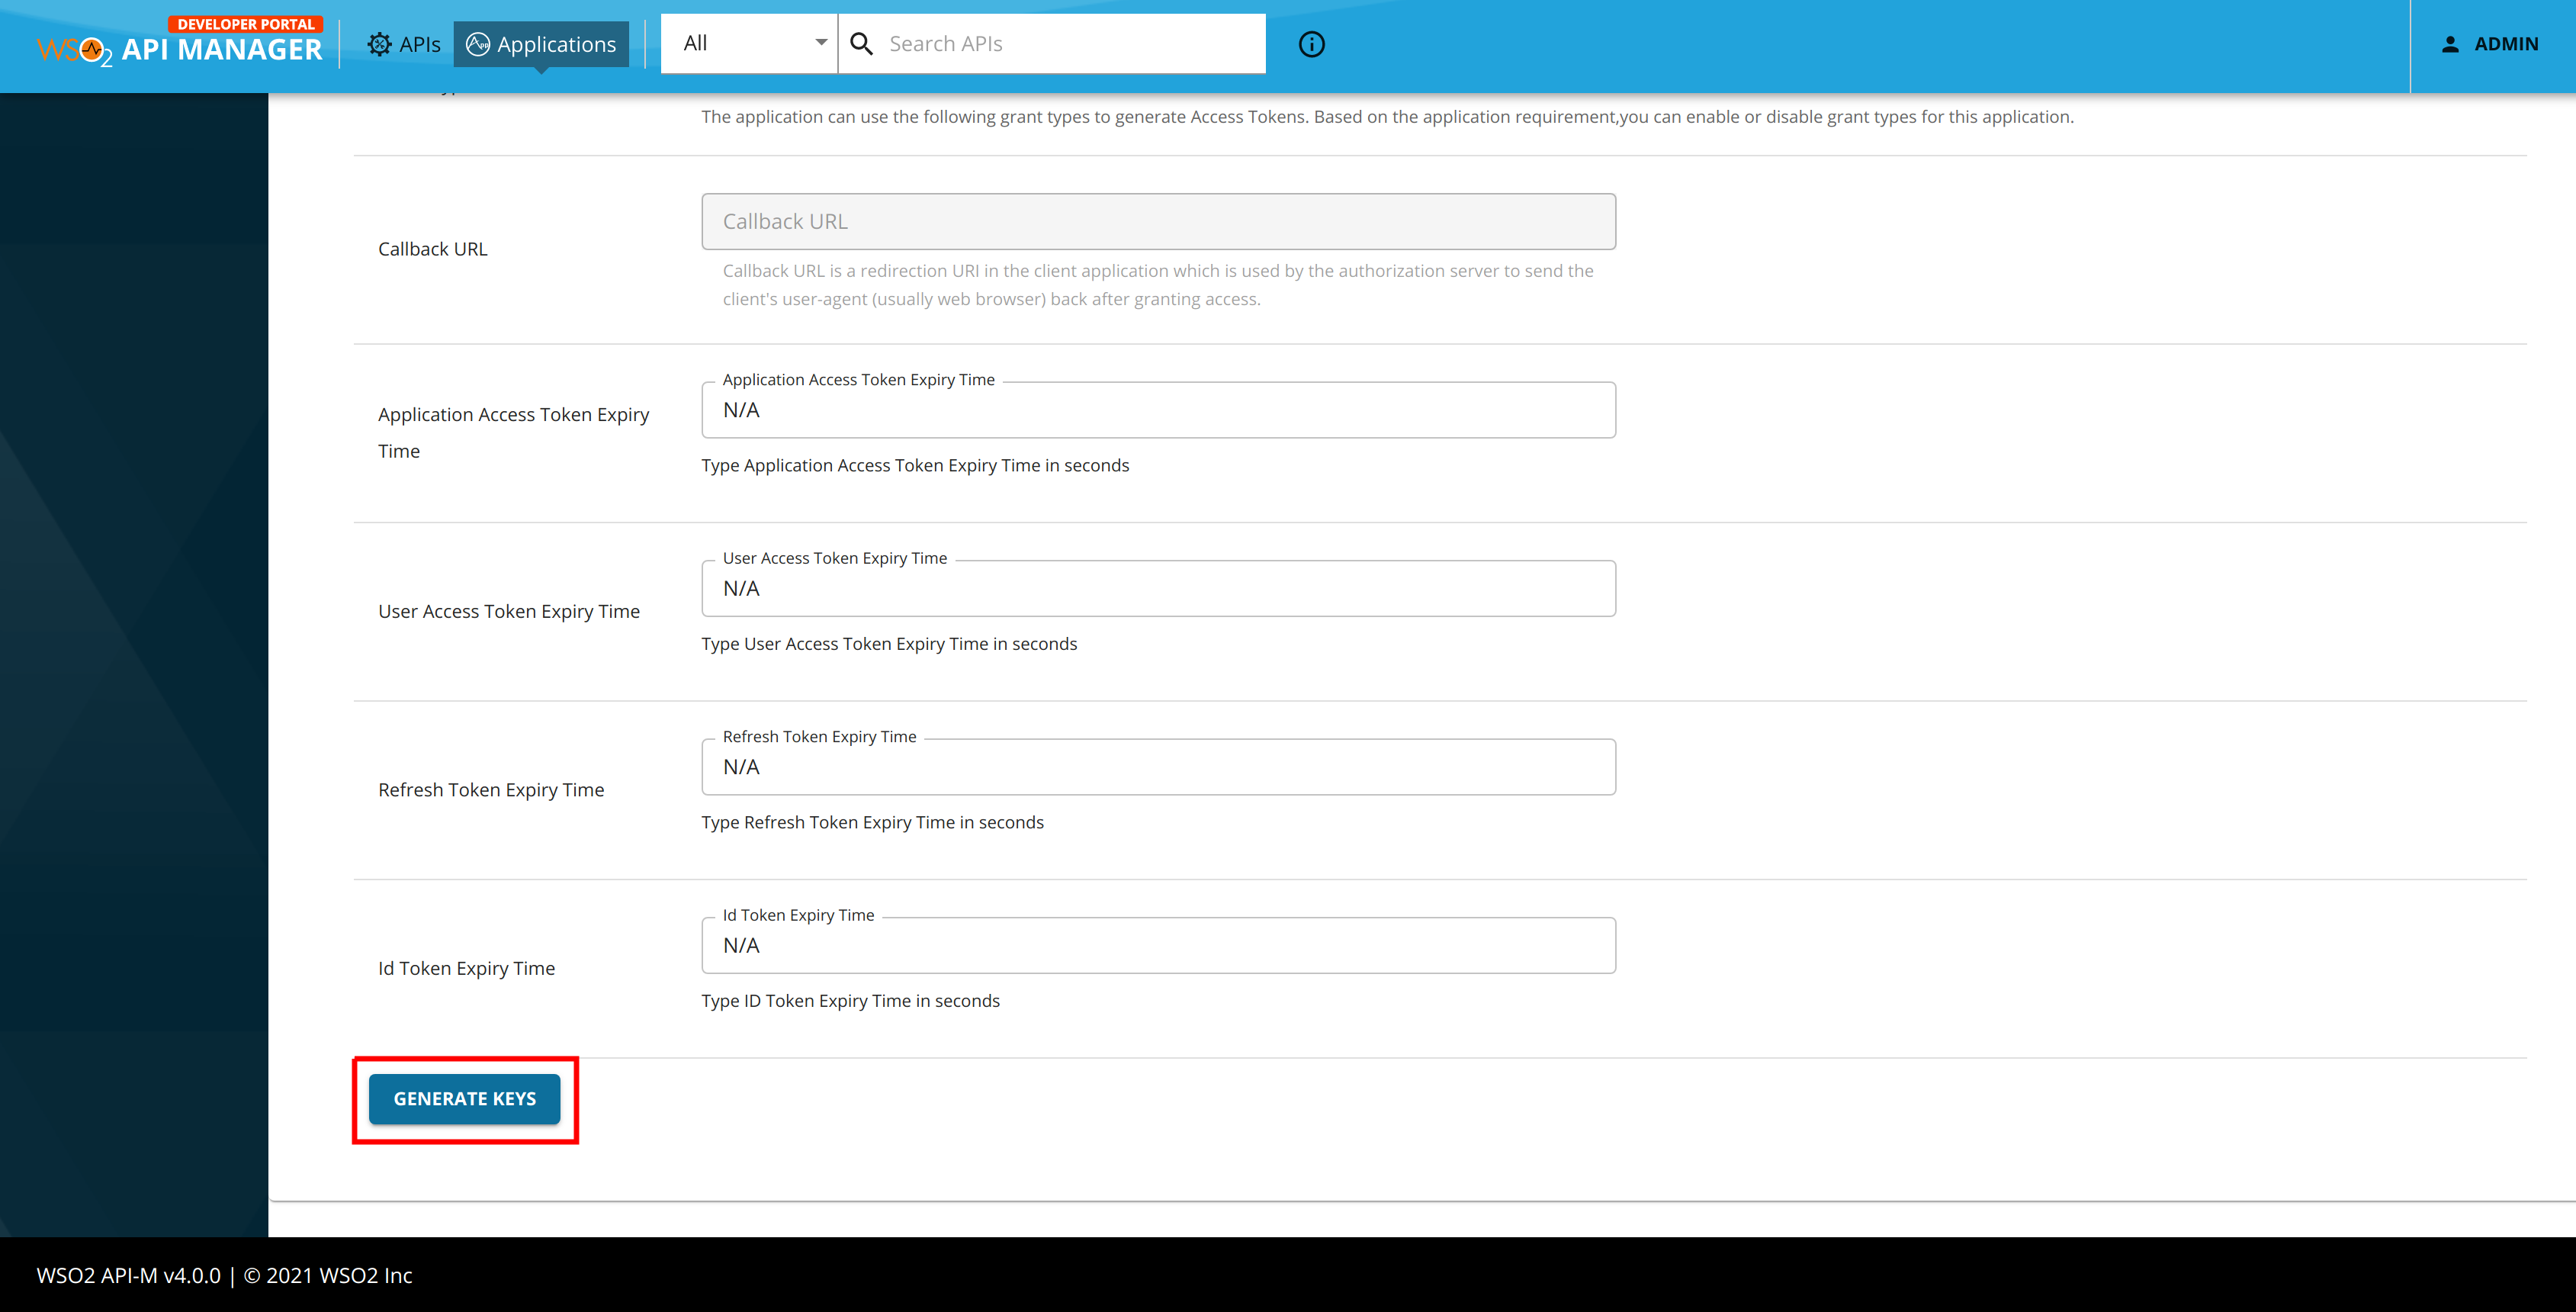
Scroll down and generate a production key
-
Copy the access token to the clipboard as you need it later to invoke the API.
-
Download the SOAP UI installation that suits your operating system from https://www.soapui.org/downloads/soapui.html and open its console.
-
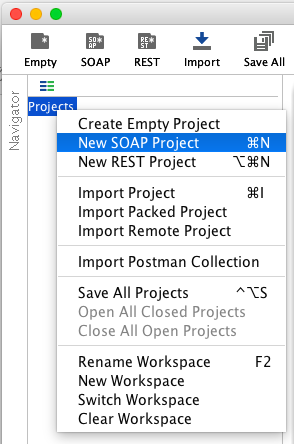
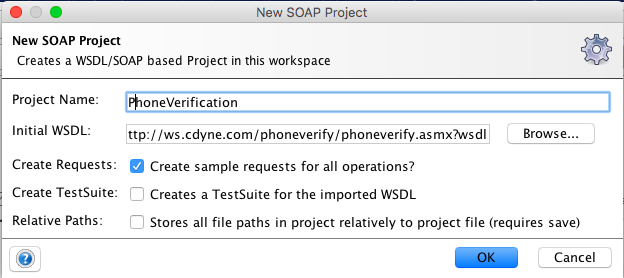
In the SOAP UI, right click on the Projects menu and create a new SOAP project.
-
Give your API's WSDL and click OK. In this case, the WSDL is as follows: http://ws.cdyne.com/phoneverify/phoneverify.asmx?wsdl
-
The WSDL defines two operations. Let's work with
CheckPhoneNumber. Double click onRequest 1. Then, click the Header tab and add an authorization header to your request by clicking on the add icon.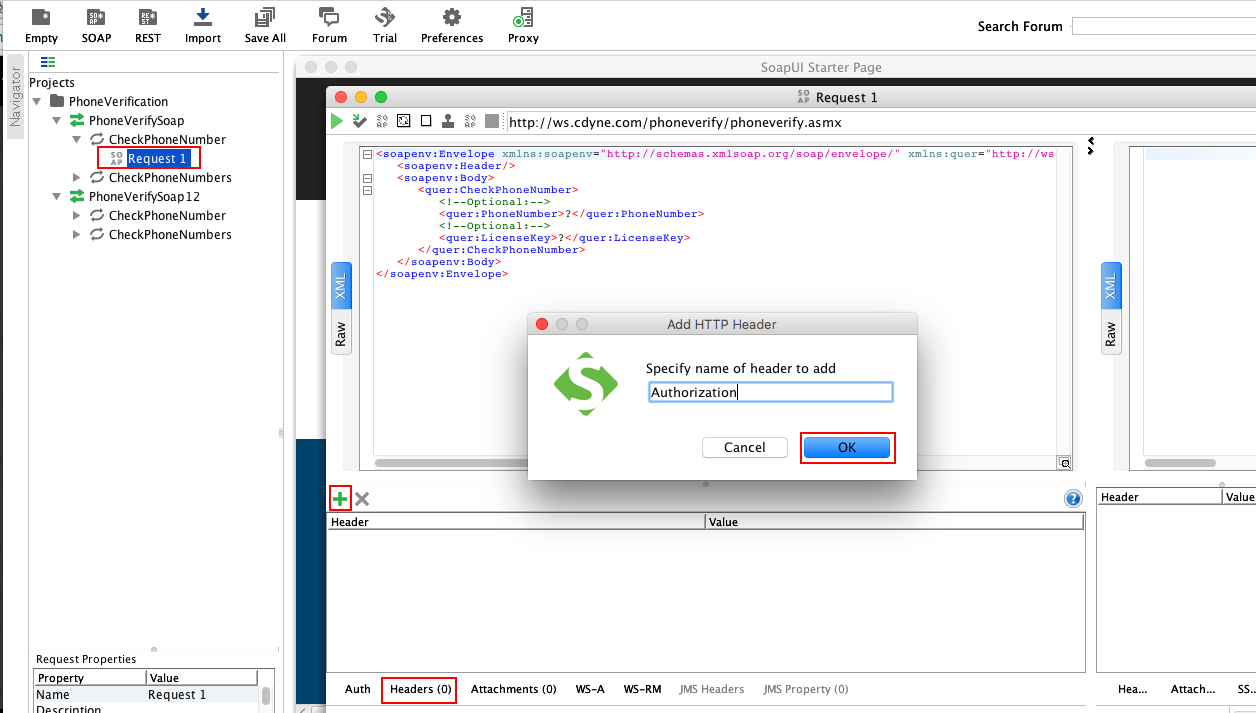
-
Give the value of the Authorization header in the following format:
Bearer <the-access-token-you-copied-in-step4>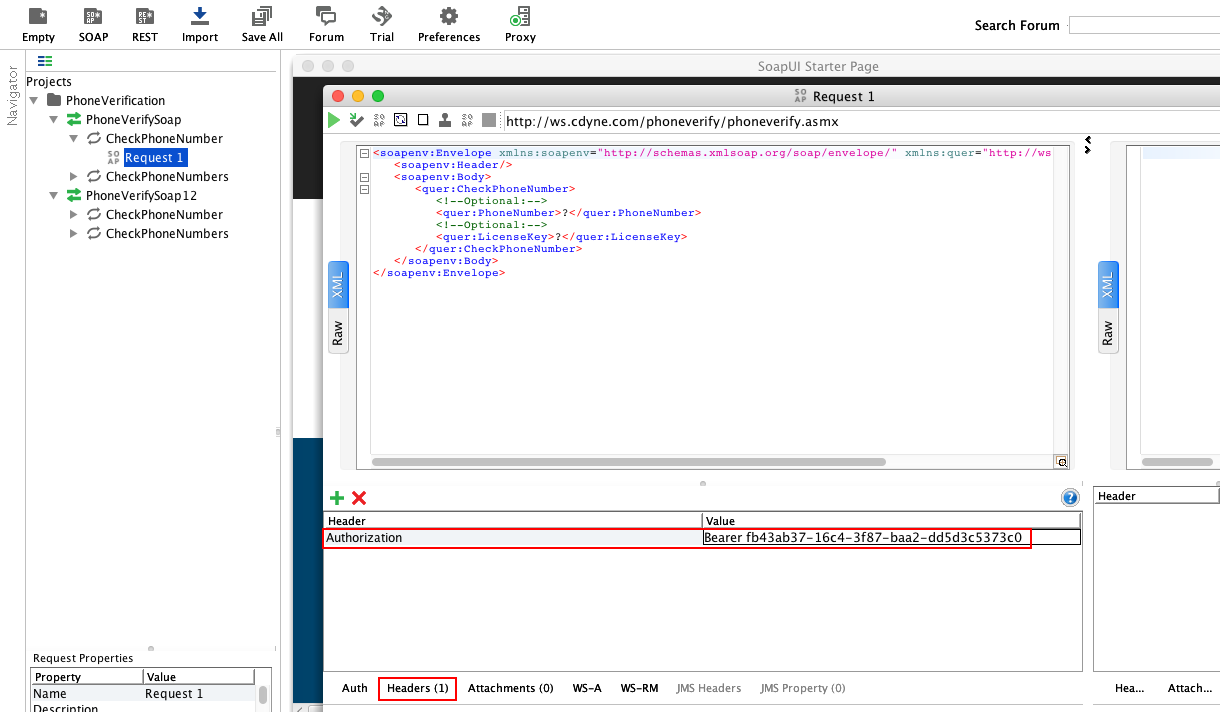
-
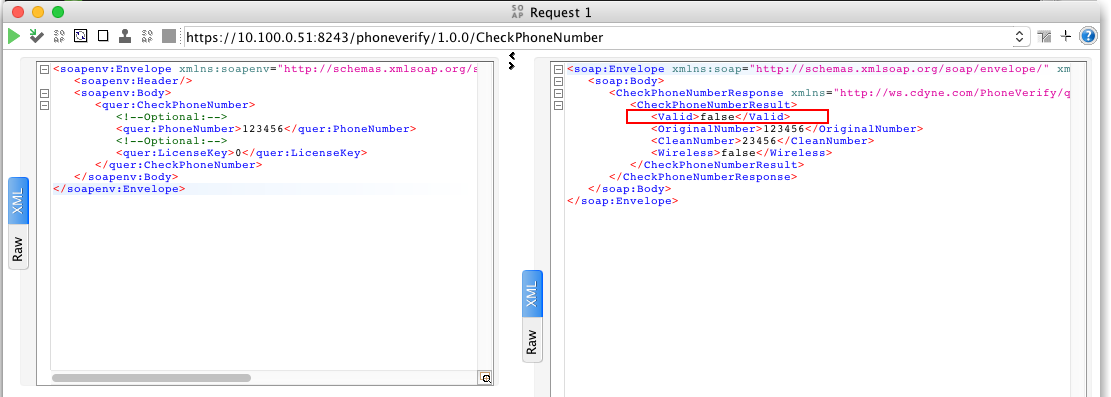
Add the following dummy values and submit the request.
-
Change the endpoint with the production URL of the API. You can copy the production URL from the API's Overview tab in the Developer Portal (i.e., It is
https://localhost:8243/phoneverify/1.0.0for thePhoneVerificationAPI). Append the resources to the end of the URL, if any. The resource is/CheckPhoneNumberfor thePhoneVerificationAPI that we use here. -
In the SOAP request, change the parameters, which are PhoneNumber and LicenseKey.
PhoneNumber Give a dummy phone number E.g., 123456 LicenseKey Give 0 for testing purpose 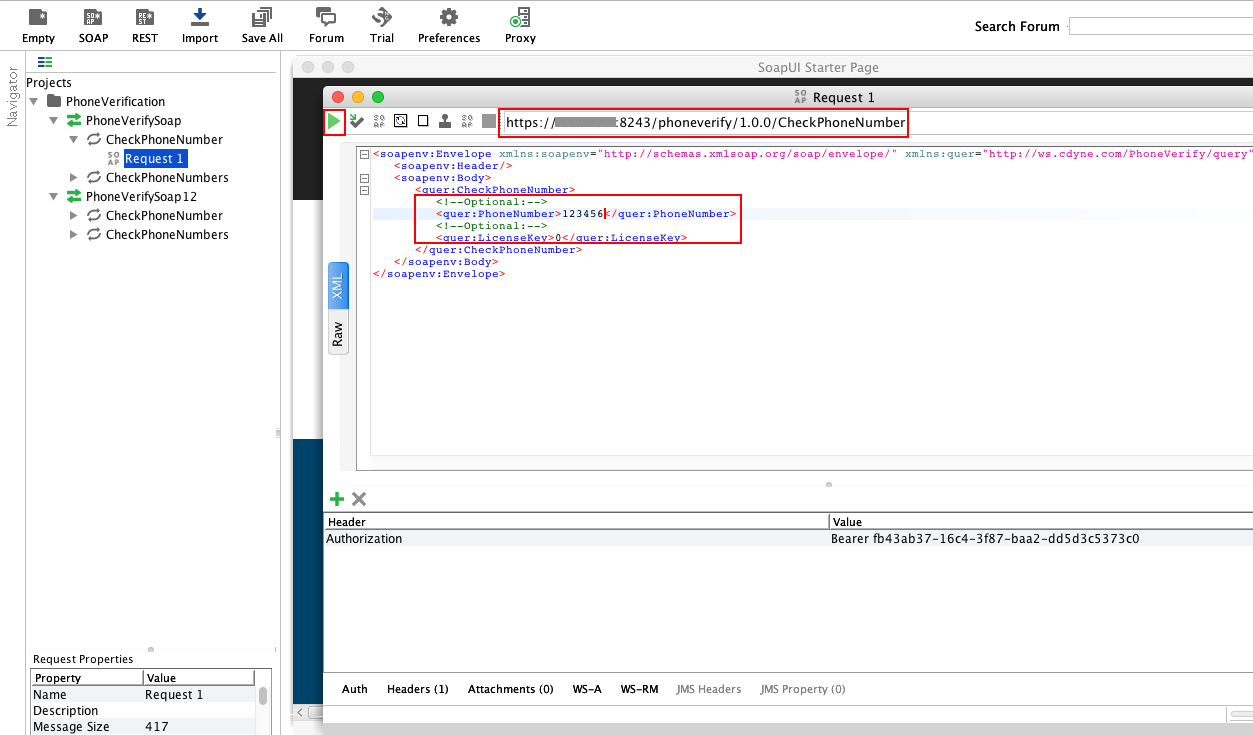
Note the result on the right-hand side panel. As you gave a dummy phone number in this example, you get the result as invalid.
-
-
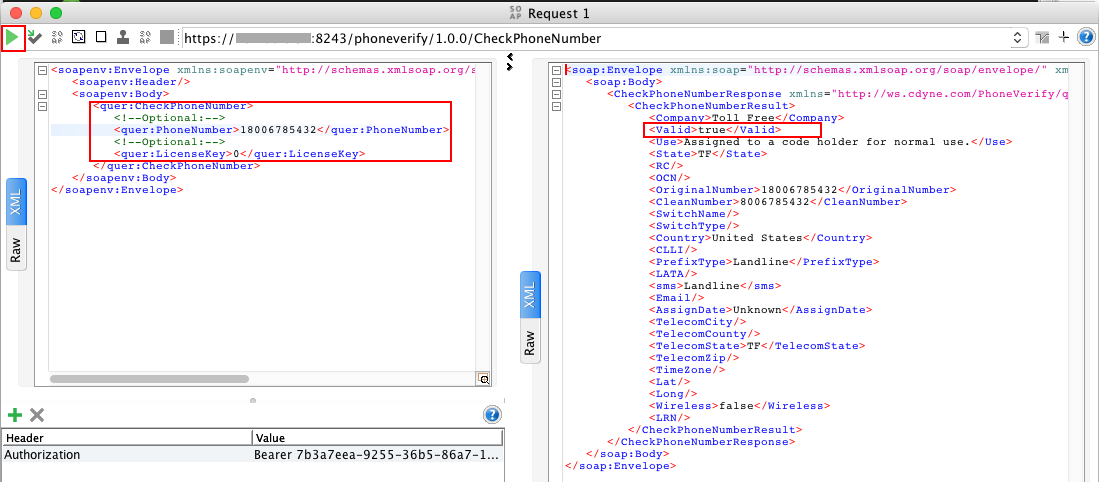
Add the following values and submit the request:
-
Maintain the same endpoint that you used in the previous step.
-
In the SOAP request, change the parameters, which are PhoneNumber and LicenseKey.
PhoneNumber Give a proper phone number E.g., 18006785432 LicenseKey Give 0 for testing purpose
Note the result on the right-hand side panel. As you gave a valid phone number in this example, you get the result as valid.
-
You have now successfully invoked an API using a SOAP client.
Info
You can treat the Admin Services APIs as if they were back-end server APIs, and get all the benefits of API management for the admin services as well.
Do the following to expose WSO2 API Manager Admin Services with OAUTH2.0.
- Create a SOAP API for an admin service in the Publisher.
- Add backend admin credentials for basic auth in the Endpoints tab in publisher.
- Publish the app with a scope protecting access - use the admin role for your scope.
Admins can then subscribe to the app and invoke it using OAUTH2.0 security.