Configure a Custom Key Manager
WSO2 API Manager is capable of integrating with any external OAuth Authorization Server to manage the OAuth clients and tokens that are required by WSO2 API Manager. Essentially, if the API Provider wants to expose their APIs to users who are not in the API Manager’s user-store, you need to use a custom Key Manager connector. To configure a custom Key Manager, you need to do the following:
- Write a custom Key Manager
- Deploy the custom Key Manager in API Manager
- Register the relevant Identity Provider as a Key Manager in the Admin Portal by providing the required details.
- Register and generate credentials in the external Identity Provider from the Developer Portal.
Refer to the instructions below to do the configurations.
Step 1 - Create a Key Manager connector bundle
You need to write a custom Key Manager connector as explained below.
Tip
The following are some out-of-the-box connectors that you can use as references.
-
Create a Maven project.
Let's download the sample project from here.
However, when manually creating a Maven project, you will need to follow the following steps.
-
Define a class that implements the
KeyManagerConnectorConfigurationinterface that is responsible for managing the configurations related to the Authorization Server. -
Define a class that extends the
AbstractKeyManagerabstract class which is responsible for managing OAuth clients and the tokens that are needed by WSO2 API Manager.
-
-
Implement
KeyManagerConnectorConfiguration.In the sample project, this has been implemented in the
org.wso2.custom.client.CustomOAuthClient.javaclass.The following are the methods that the
KeyManagerConnectorConfigurationinterface uses to carry out various related operations.Method Description getImplementation Provides the fully qualified class name of the implementation that corresponds to the
KeyManagerinterface.getJWTValidator Provides the fully qualified class name of the implementation that corresponds to the
JWTValidator.getConnectionConfigurations Provides the list of configurations that need to appear in the Admin Portal in order to connect with the Key Manager.
getApplicationConfigurations Provides the list of configurations that are needed to create OAuth applications in the OAuth server in the Developer Portal.
getType Type of connector. For example, Okta.
getDisplayName Display name to show in the Admin Portal.
getDefaultScopesClaim The default scope claim available in JWT if it is different than the scope.
getDefaultConsumerKeyClaim The default consumer key claim available in JWT if it is different to azp, which is the Authorized party - the party to which the ID token was issued.
-
Extend
AbstractKeyManager.The
AbstractKeyManagerimplements theKeyManagerinterface. For more information on the operations carried out on theKeyManagerinterface, see Extending the Key Manager Interface.In the sample project, the
AbstractKeyManagerinterface has been extended using theorg.wso2.custom.client.CustomOAuthClient.javaclass. -
If you need to customize the
JWTValidationinterface, you need to extend the JWTValidator. -
Build the project.
Navigate to the
<PROJECT_HOME>directory and execute the following command.mvn clean installThis will create a custom Key Manager connector JAR.
Step 2 - Deploy the bundle in the WSO2 API-M Server
-
Stop the API-M server if it is already running.
-
Copy the JAR file that is generated in the
custom.key.managercomponent target directory, and add it in to the<API-M Server>/repository/components/dropins/directory. -
Start the Server
Step 3 - Configure the connector using the Admin Portal
When registering a third-party Identity Provider as a Key Manager in the Admin Portal, you need to select the method with which the APIs are invoked. The two types of token invocation methods are as follows:
-
Direct tokens: These tokens are issued by the third-party Identity Provider and are invoked when authentication happens.
-
Exchange tokens: These tokens are issued by the Identity Provider and are exchanged with WSO2 API Manager. These are then used when authentication happens.
Click here for more details on the Token Exchange API invocation method
The authentication process is based on OAuth 2.0 Token Exchange Grant Type. This is used to exchange an external Identity Provider’s token for the Resident Key Manager's token available in WSO2 API Manager.
With this approach, a user should be able to:
- Create an application in the Developer Portal.
- Generate keys by selecting the Token Exchange grant type.
- Get an API Manager token by invoking the token endpoint of API Manager with the required parameters (i.e., the token obtained from the external Identity Provider)
- Invoke the API with the exchanged token
-
Sign in to the Admin Portal using the following URL:
https://<hostname>:9443/admin!!! tip For example, this URL can be
https://localhost:9443/adminand you can useadminas the username and password to access the Admin Portal. -
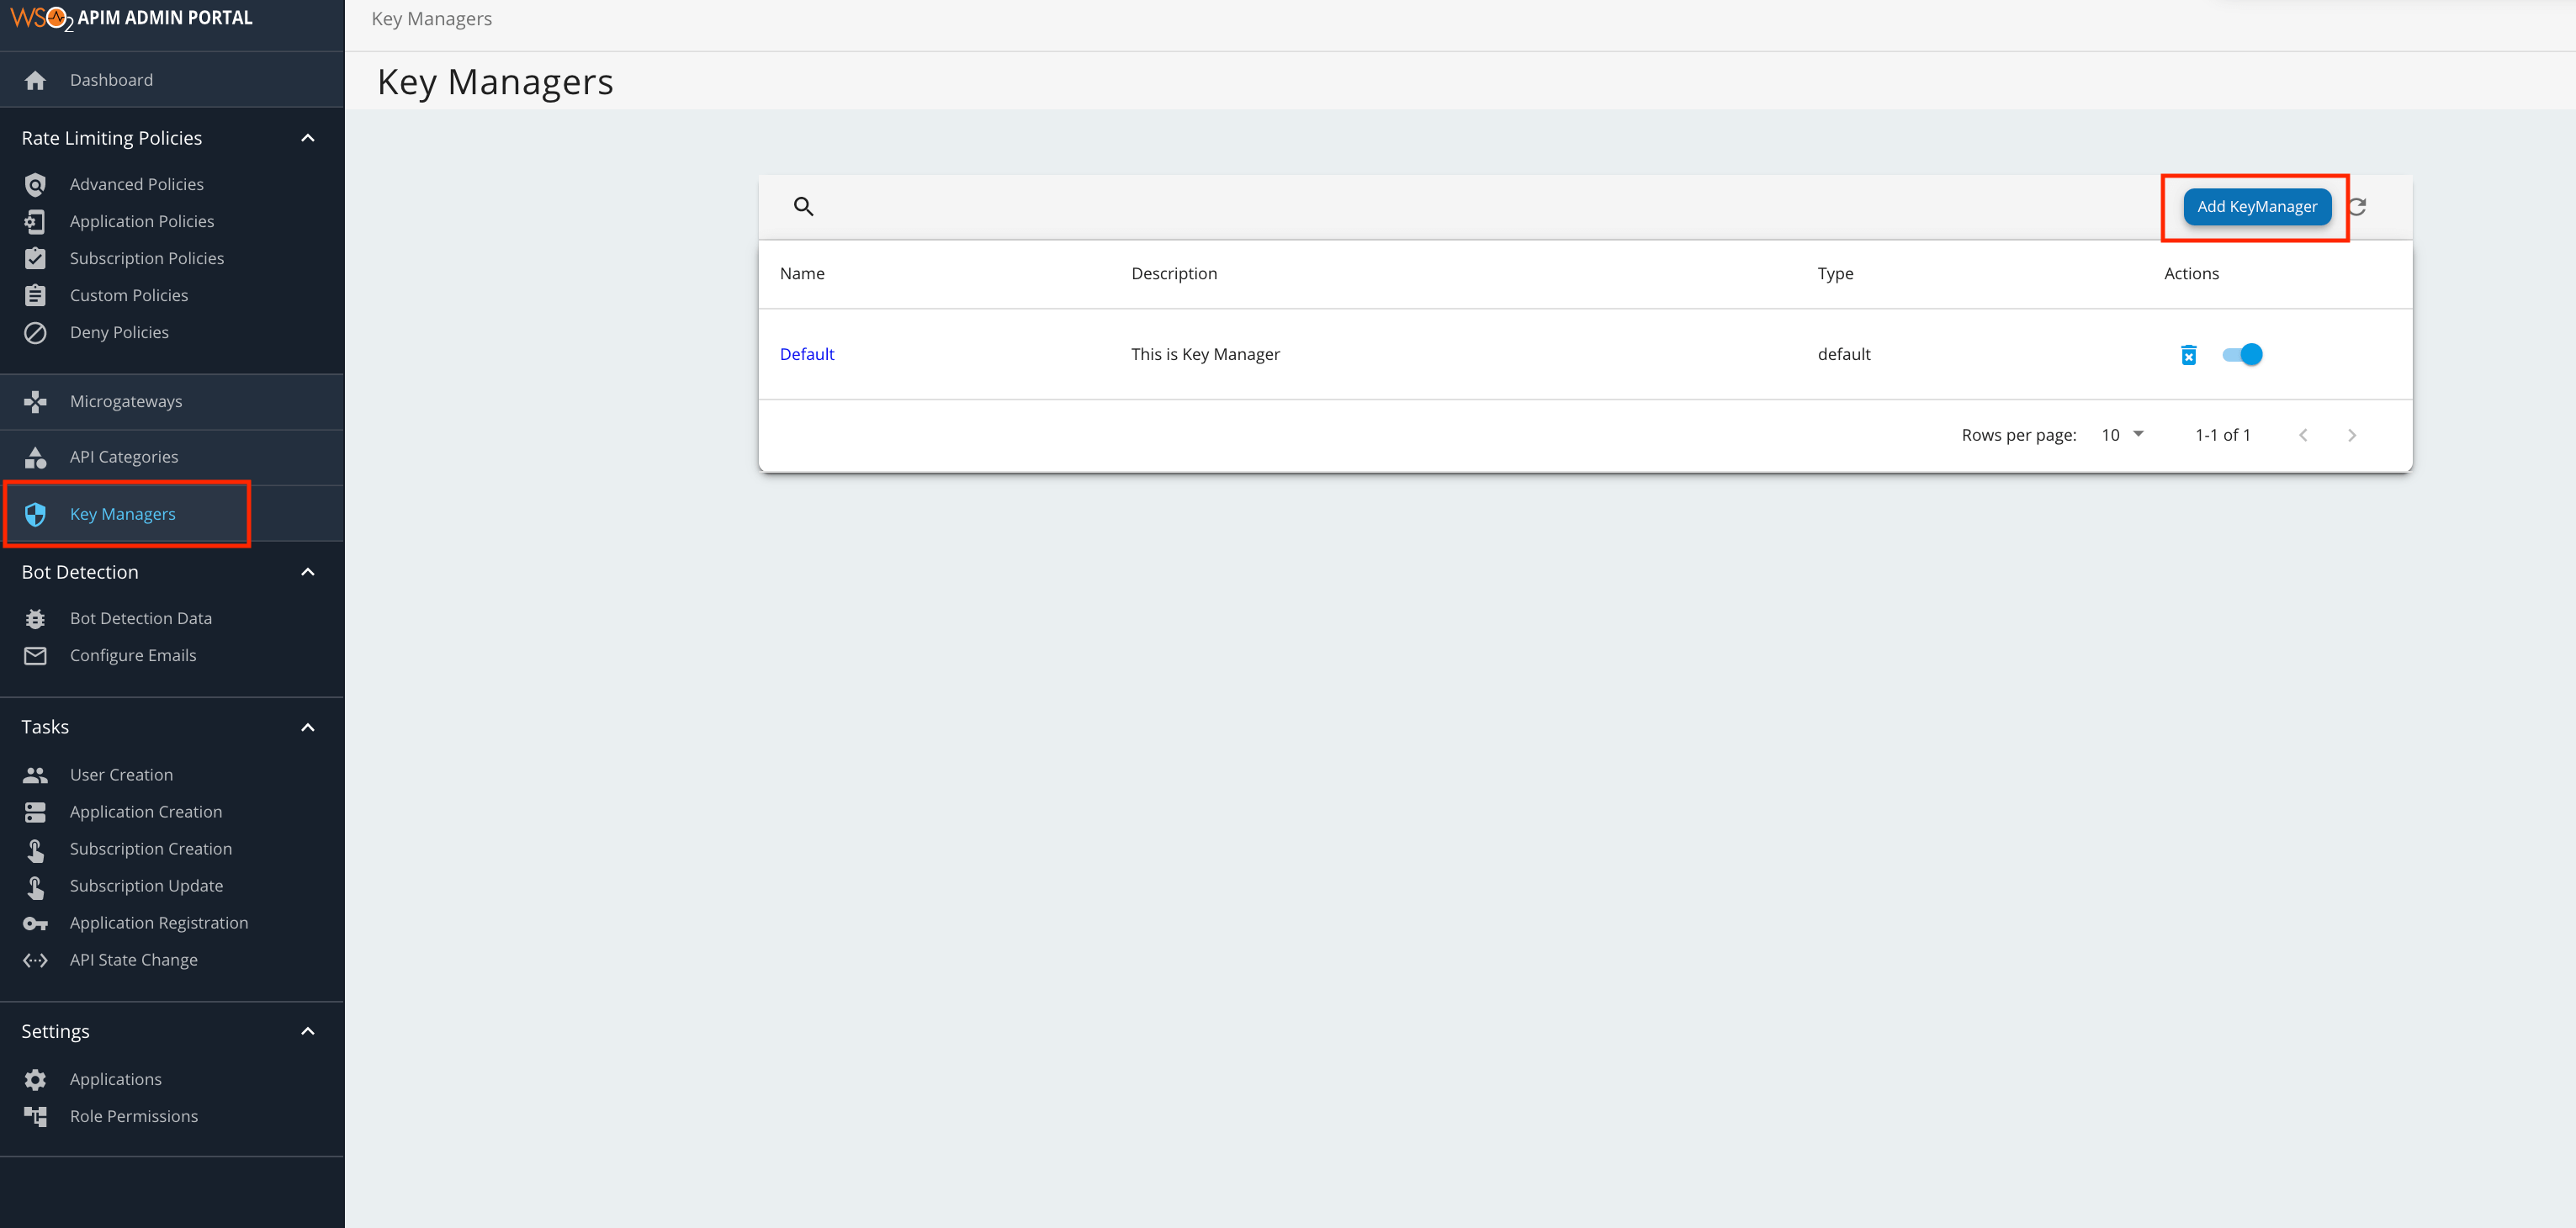
Add a new Key Manager.
-
Click Key Managers and then click Add Key Manager.
-
Add the Key Manager configurations in the form that appears. The following tables provide definitions for each of the Key Manager configurations.
General Details - This section of the form includes the basic information of the Key Manager.
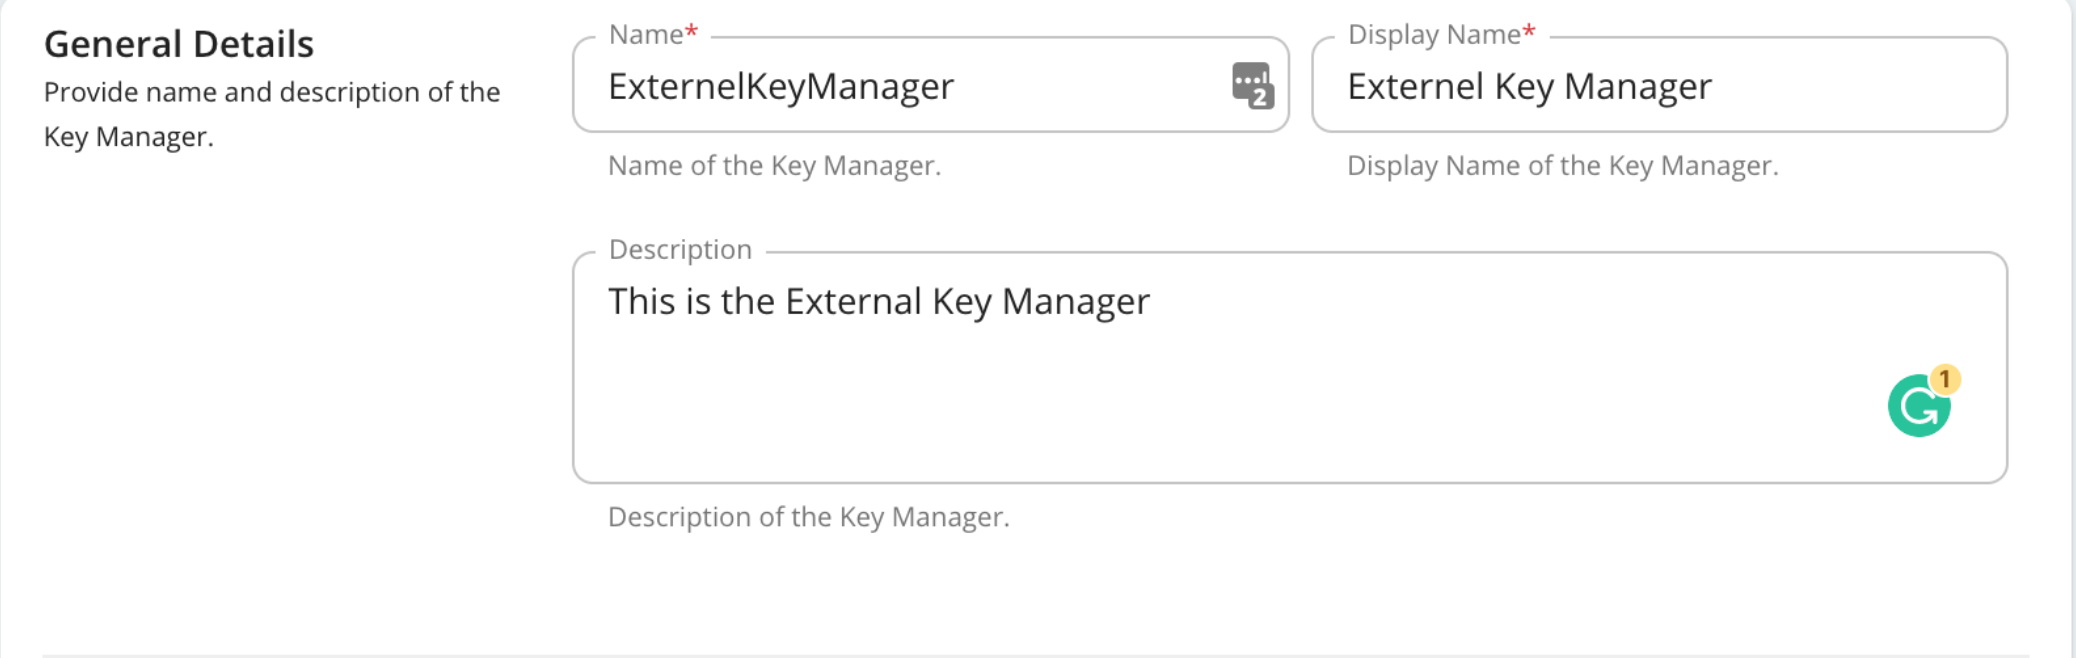
Configuration Description Name The name of the authorization server. Mandatory Display Name A name to display in the UI. Mandatory Description A brief description of the Key Manager. Optional
Key Manager Type - Provide the external identity provider that you use here and also the API invocation method.
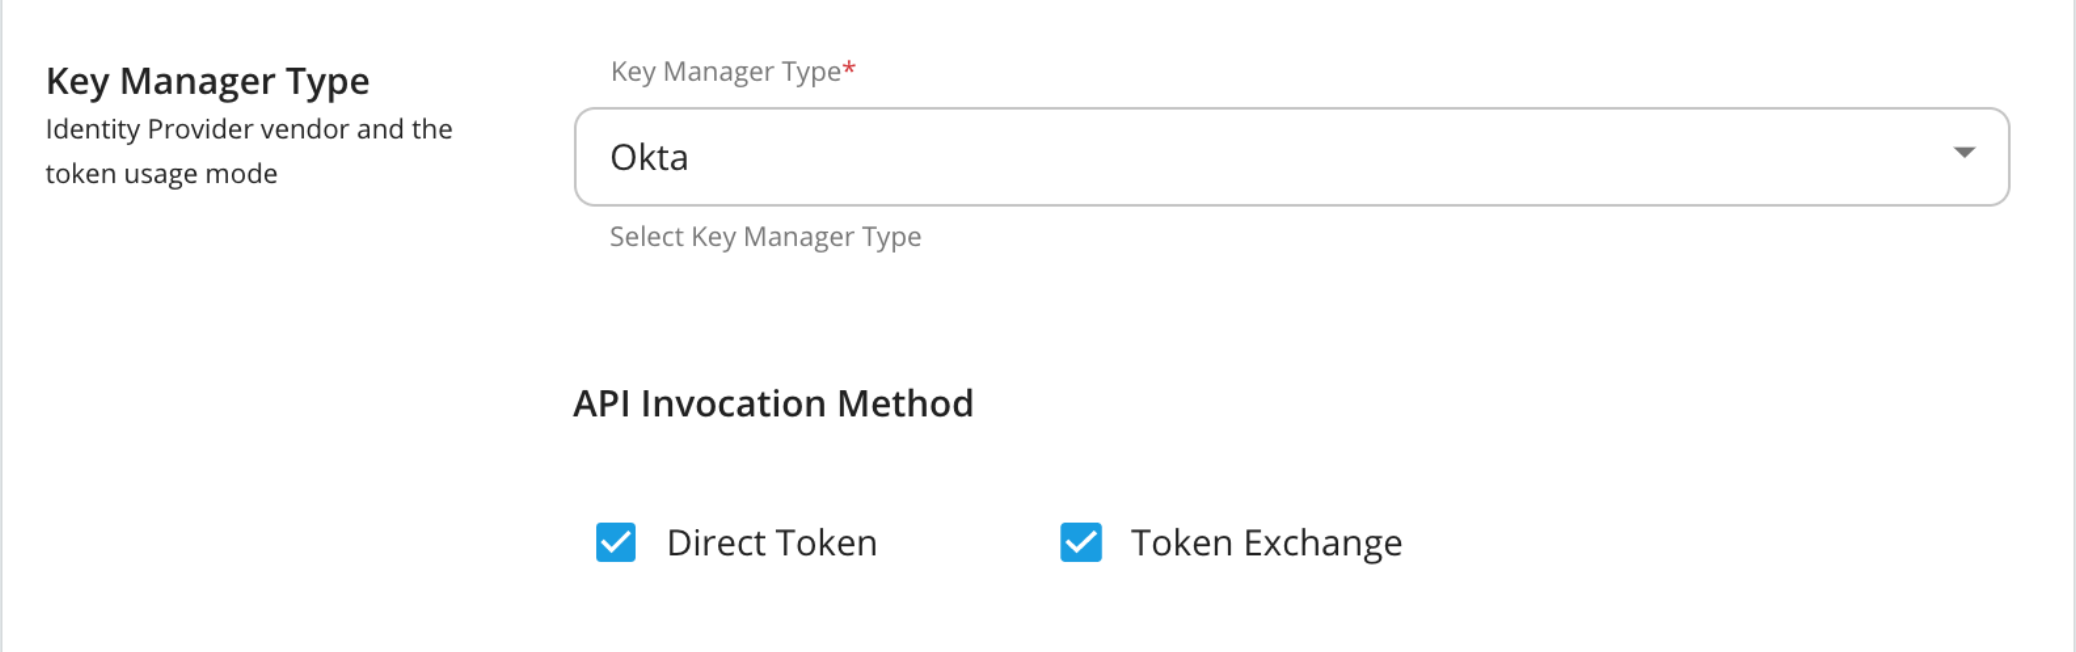
Configuration Description Key Manager Type Select the type of the external Key Manager you are using. Mandatory API invocation method The method you use to invoke the token endpoint of the API Manager. Mandatory
Key Manager Endpoints - Configure the endpoints associated with the external Key Manager that you are connecting to.
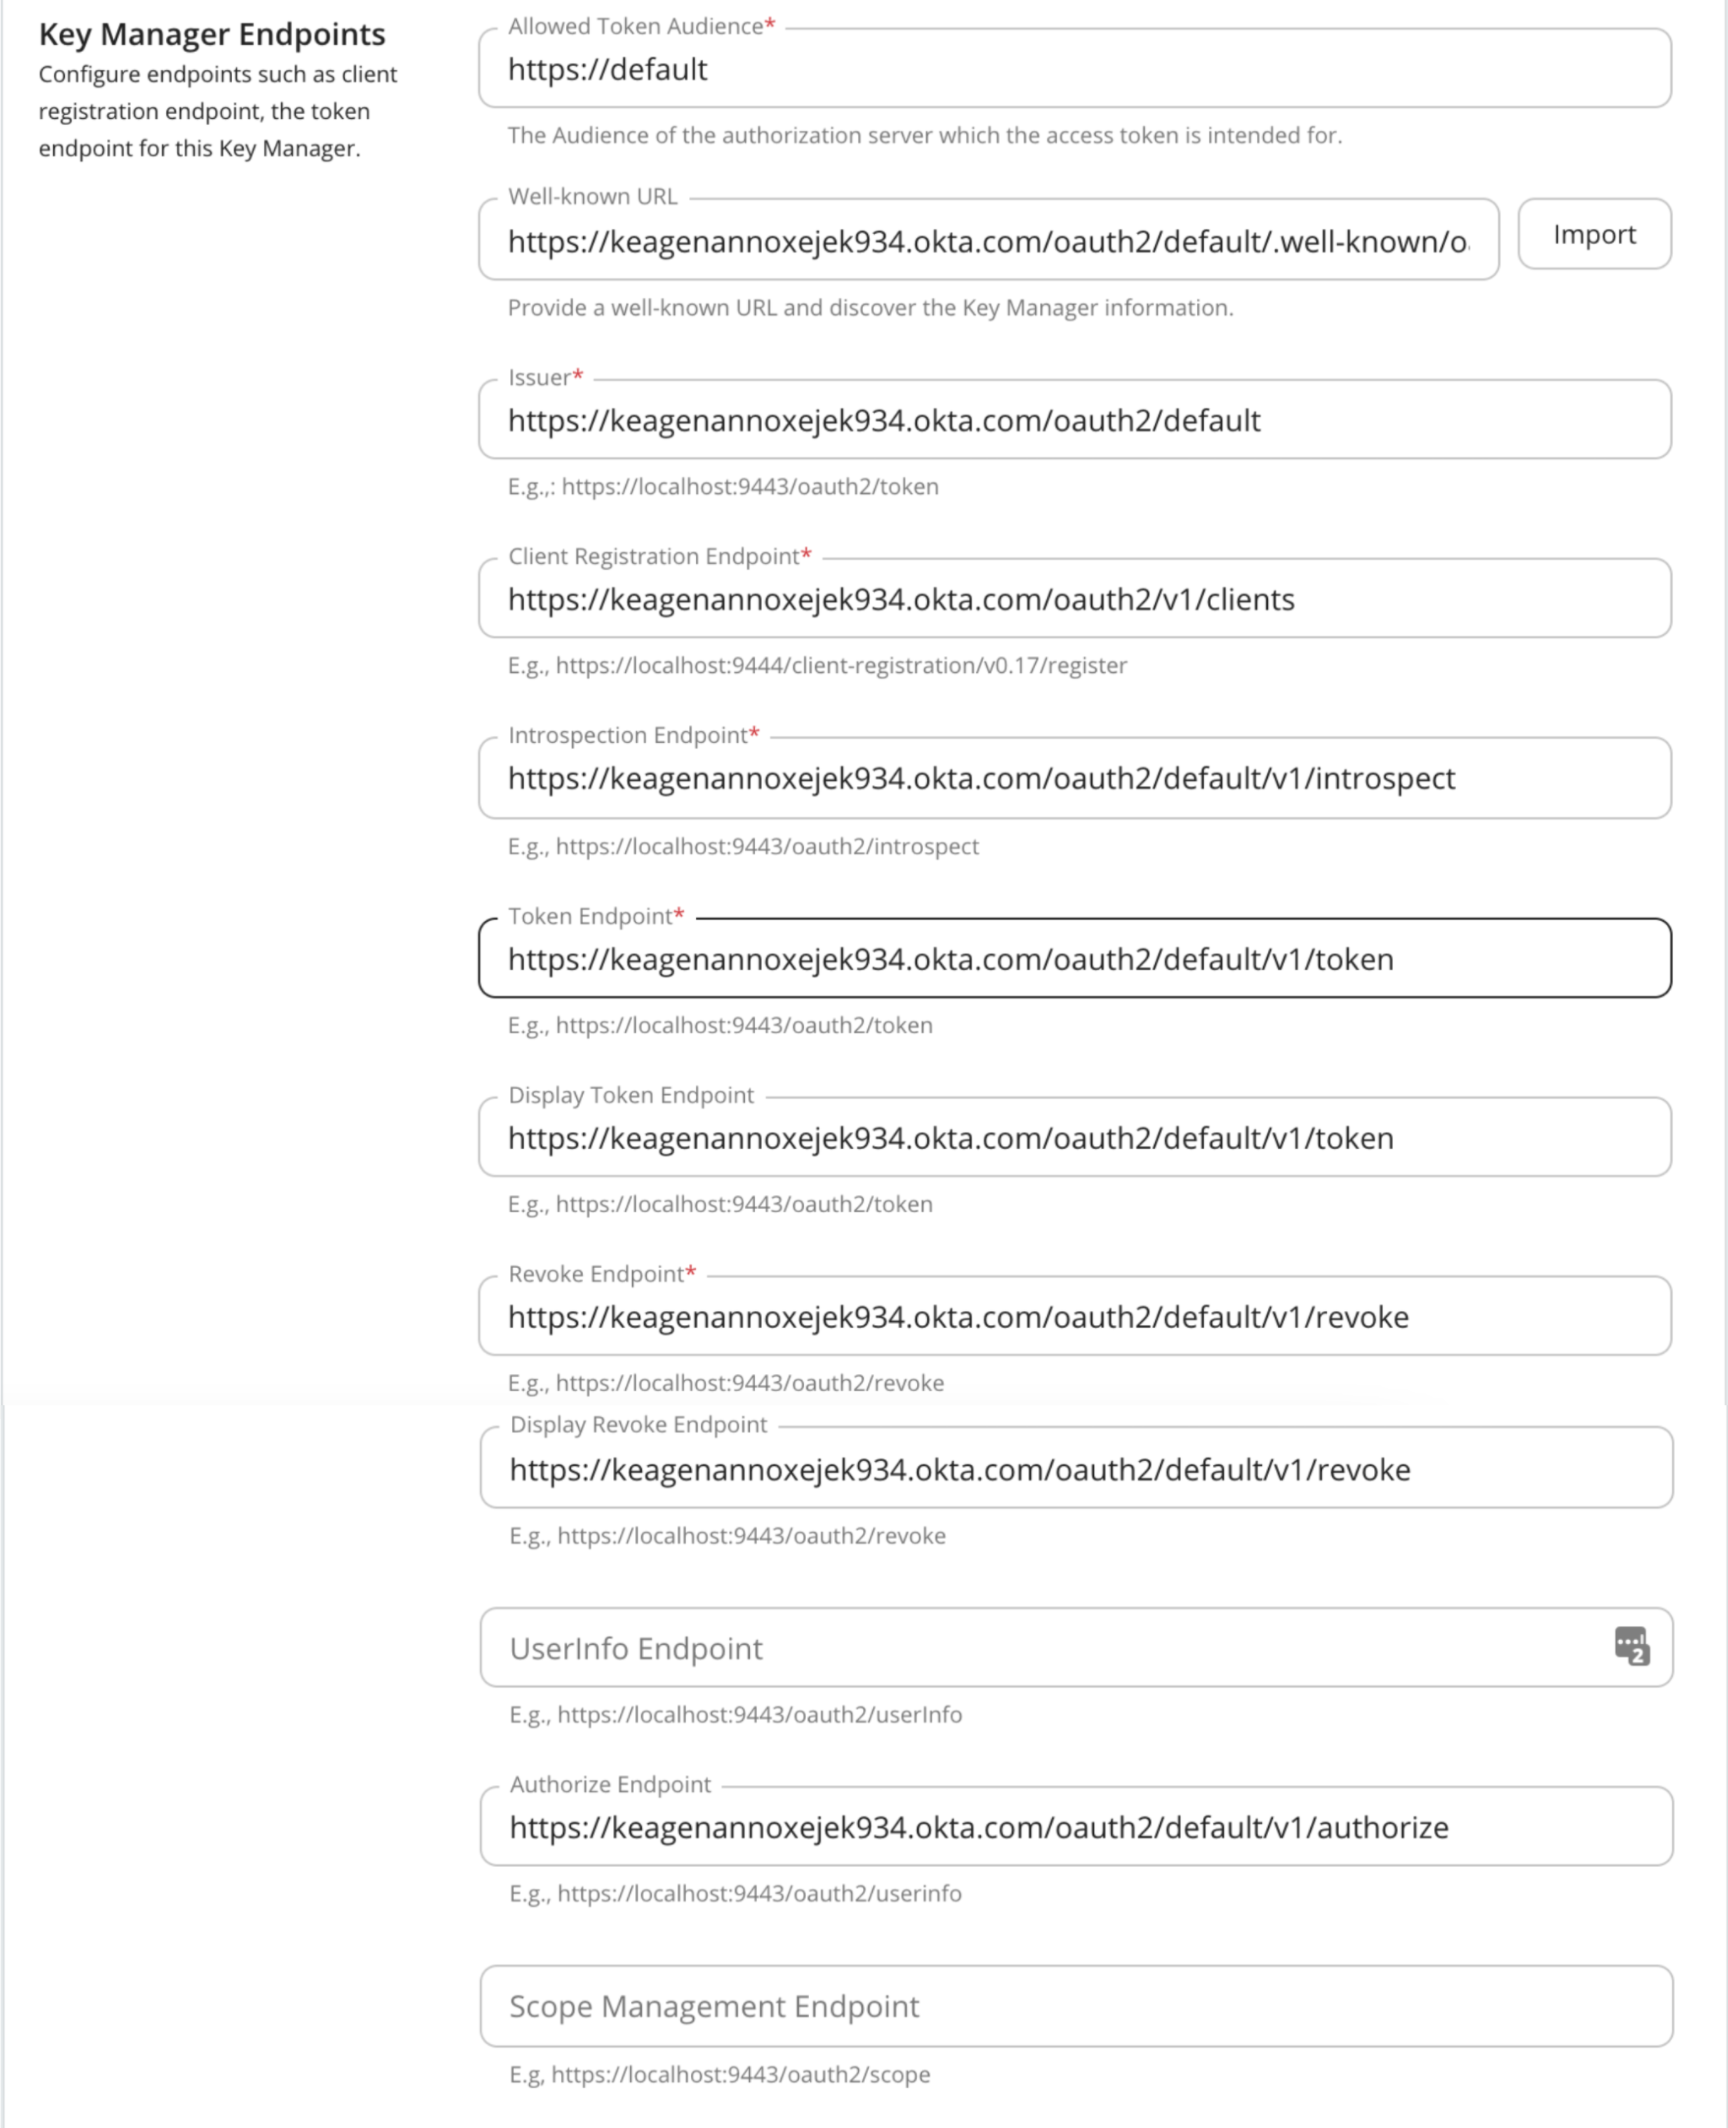
Configuration Description Allowed Token Audience This is the intended audience of the access token. When you create a service provider in the external identity provider, you need to specify a scope value and this value will map to the allowed audience value you provide here. Optional Well-known-url The well-known URL of the Authorization Server (Key Manager).
If the well-known URL is provided, other endpoints can be imported.
e.g.,https://dev-599740.okta.com/oauth2/default/.well-known/oauth-authorization-serverOptional Issuer The issuer that consumes or validates access tokens.
e.g.,https://dev-599740.okta.com/oauth2/defaultOptional Client Registration Endpoint The endpoint that verifies the identity and obtains profile information of the end-user based on the authentication performed by an authorization server.
Optional if the well-known URL is provided. Introspection Endpoint The endpoint that allows authorized protected resources to query the authorization server to determine the set of metadata for a given token that was presented to them by an OAuth client. Optional if the well-known URL is provided. Token Endpoint The endpoint that issues the access tokens. Optional if the well-known URL is provided. Revoke Endpoint The endpoint that revokes the access tokens. Optional if the well-known URL is provided. Userinfo Endpoint The endpoint that allows clients to verify the identity of the end-user based on the authentication performed by an authorization server, as well as to obtain basic profile information about the end-user. Optional Authorize Endpoint The endpoint is used to obtain an authorization grant from the resource owner via the user-agent redirection. Optional Scope Management Endpoint The endpoint is used to manage the scopes. Optional
Claim URI - Configure the claim URIs that associate the claims in the external Key Manager to the consumer key and scopes.
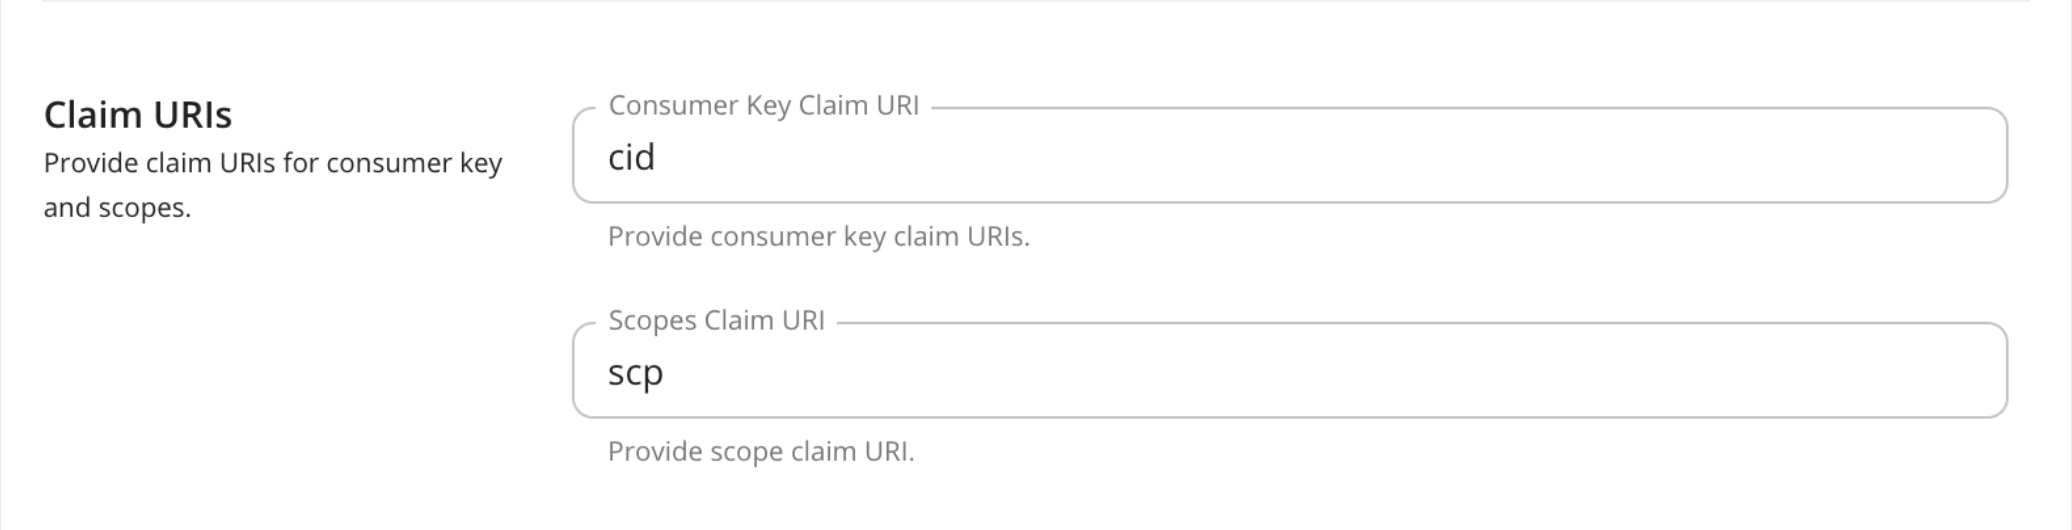
Configuration Description Consumer Key Claim URI The claim URI for consumer key e.g., cid Mandatory Scopes Claim URI The claim URI for scopes e.g., scp Mandatory
Grant Type - The grant type is the way in which the external Key Manager communicates with API Manager.

Configuration Description Grant Types The supported grant types. Optional
Certificates -

Configuration Description PEM Either copy and paste the certificate in PEM format or upload the PEM file. Optional JWKS The JSON Web Key Set (JWKS) endpoint is a read-only endpoint. This URL returns the Okta's public key set in JSON web key set format. This contains the signing key(s) that the Relying Party (RP) uses to validate signatures from Okta. e.g., https://dev-599740.okta.com/oauth2/default/v1/keys Optional
Connector Configurations -
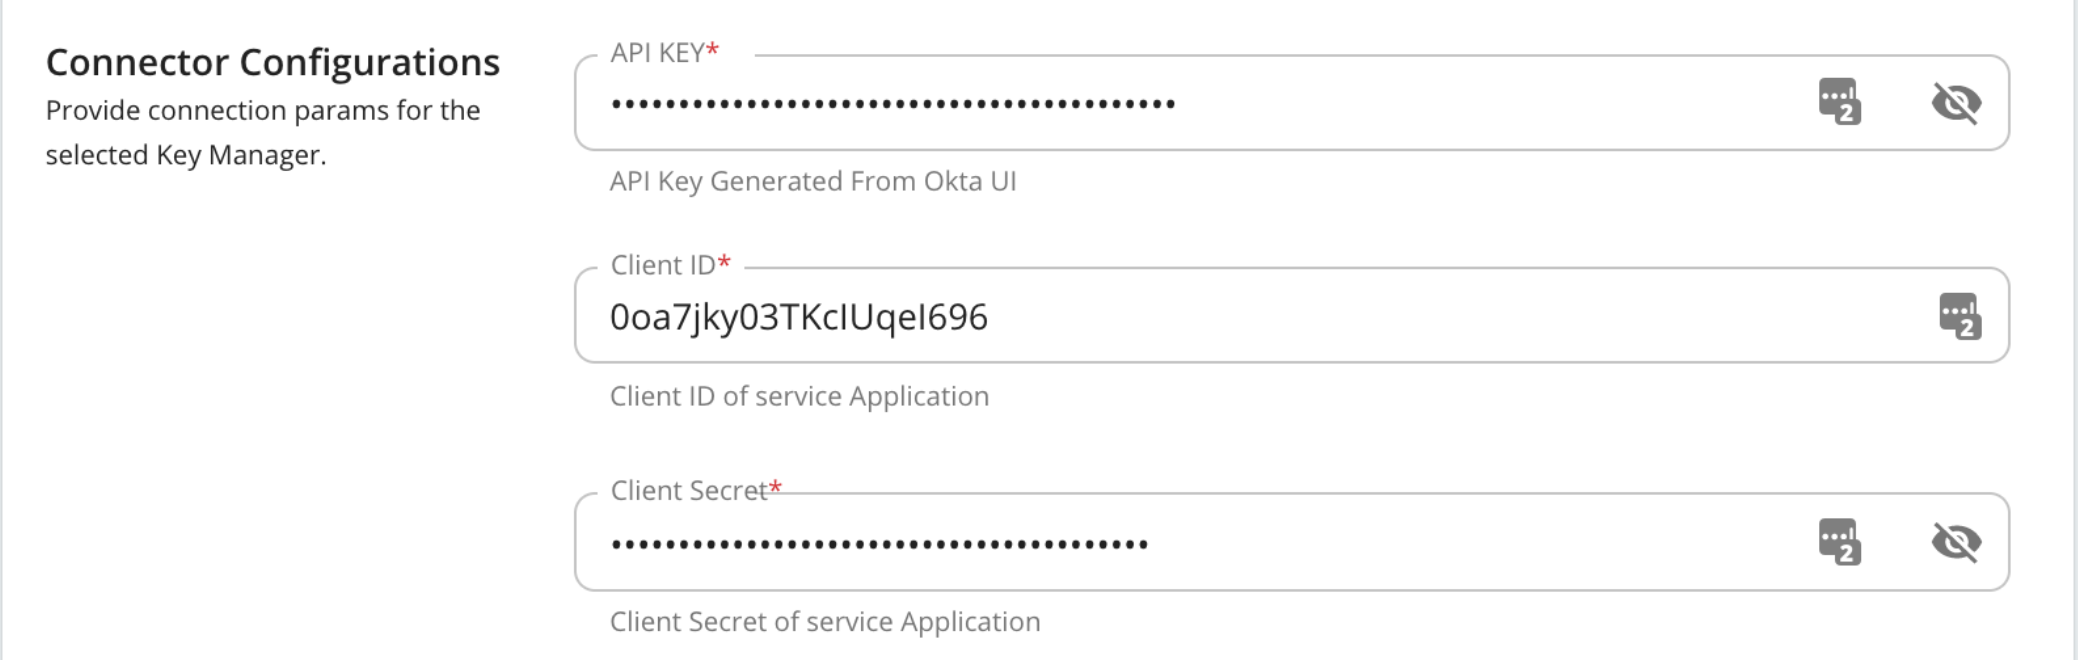
Configuration Description API Key The API key that was generated from the Authorization Server. Mandatory Client ID The client ID that was generated from the Authorization Server. Mandatory Client Secret The client secret that was generated from the Authorization Server. Mandatory
Advanced Configurations -
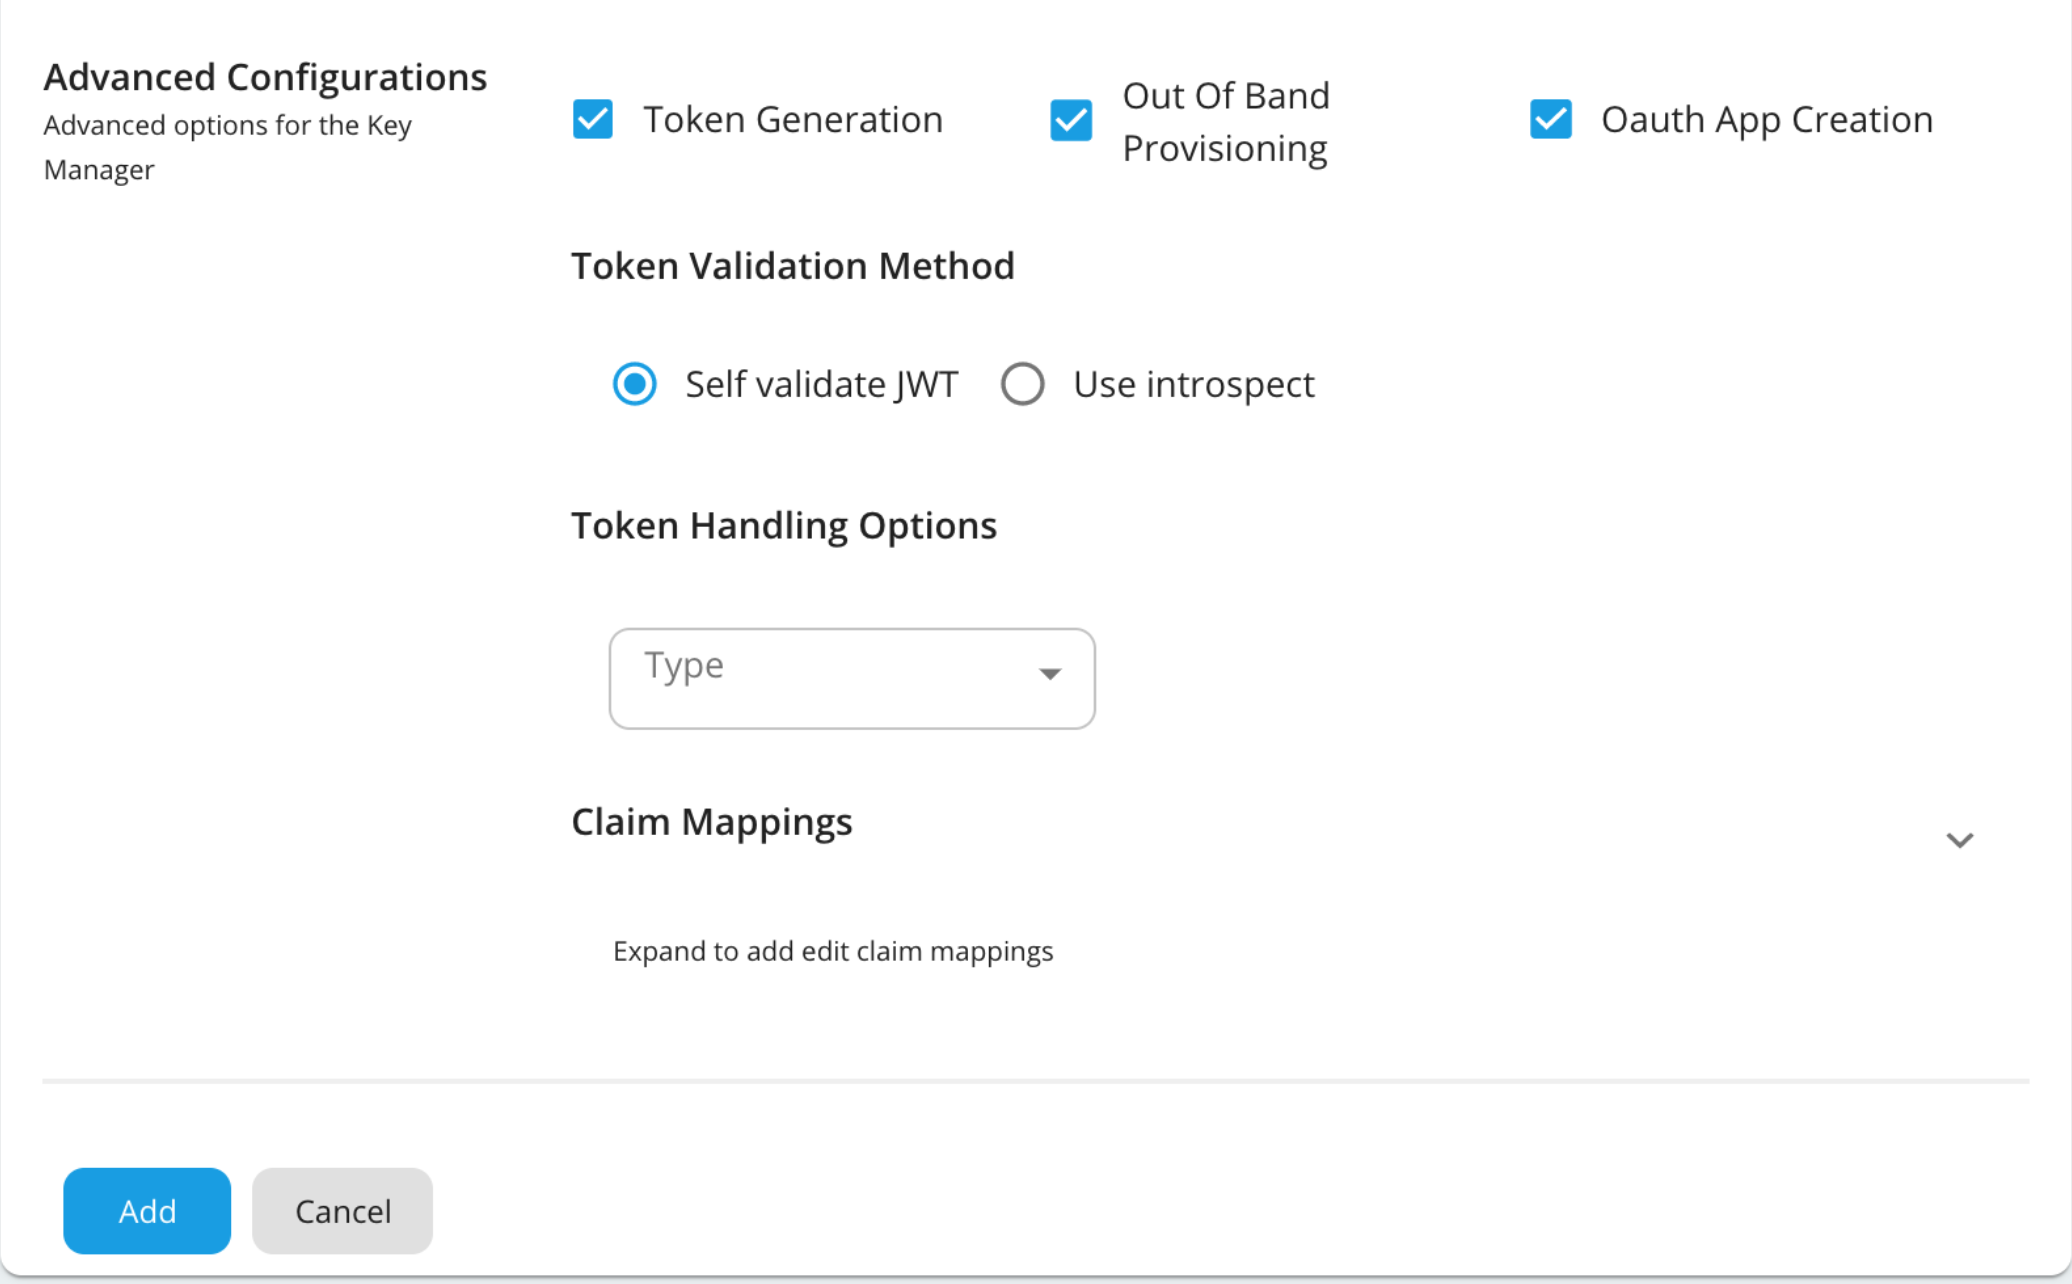
Configuration Description Token Generation This enables the token generation process via the Authorization Server. Optional Out Of Band Provisioning This enables the provisioning of Auth clients that have been created without the use of the Developer Portal, such as previously created Auth clients. Optional OAuth App Creation This enables the creation of Auth clients. Optional Token Validation Method The method used to validate the JWT signature. This is mandatory if the Token Validation Method is introspect Self Validate JWT The kidvalue is used to validate the JWT token signature. If the `kidvalue is not present, thegateway_certificate_aliasis used.Optional Use introspect The JWKS endpoint is used to validate the JWT token signature. If this option is used to validate the tokens it is mandatory to add a Token Handling Option For Okta it should be JWT and it is required to specify a claim mapping as a unique identifier. e.g., Claim Key : iss Claim Value : https://dev-599740.okta.com/oauth2/default Optional Token Handling Options This provides a way to validate the token for this particular Authorization Server. Optional This is mandatory if the token validation method is introspect REFERENCE The tokens that match a specific regular expression (regEx) are validated. JWT The tokens that match a specific JWT are validated. CUSTOM The tokens that match a custom pattern are validated. Claim Mappings Local and remote claim mapping. Optional
-
Step 4 - Generate the keys using the custom Key Manager
-
Sign in to the Developer Portal using the following URL:
https://<hostname>:9443/devportal!!! tip This can be
https://localhost:9443/devportaland you can use “admin” as the username and password to access the Developer Portal. -
Click Applications.
-
Create a new application or use the default application.
-
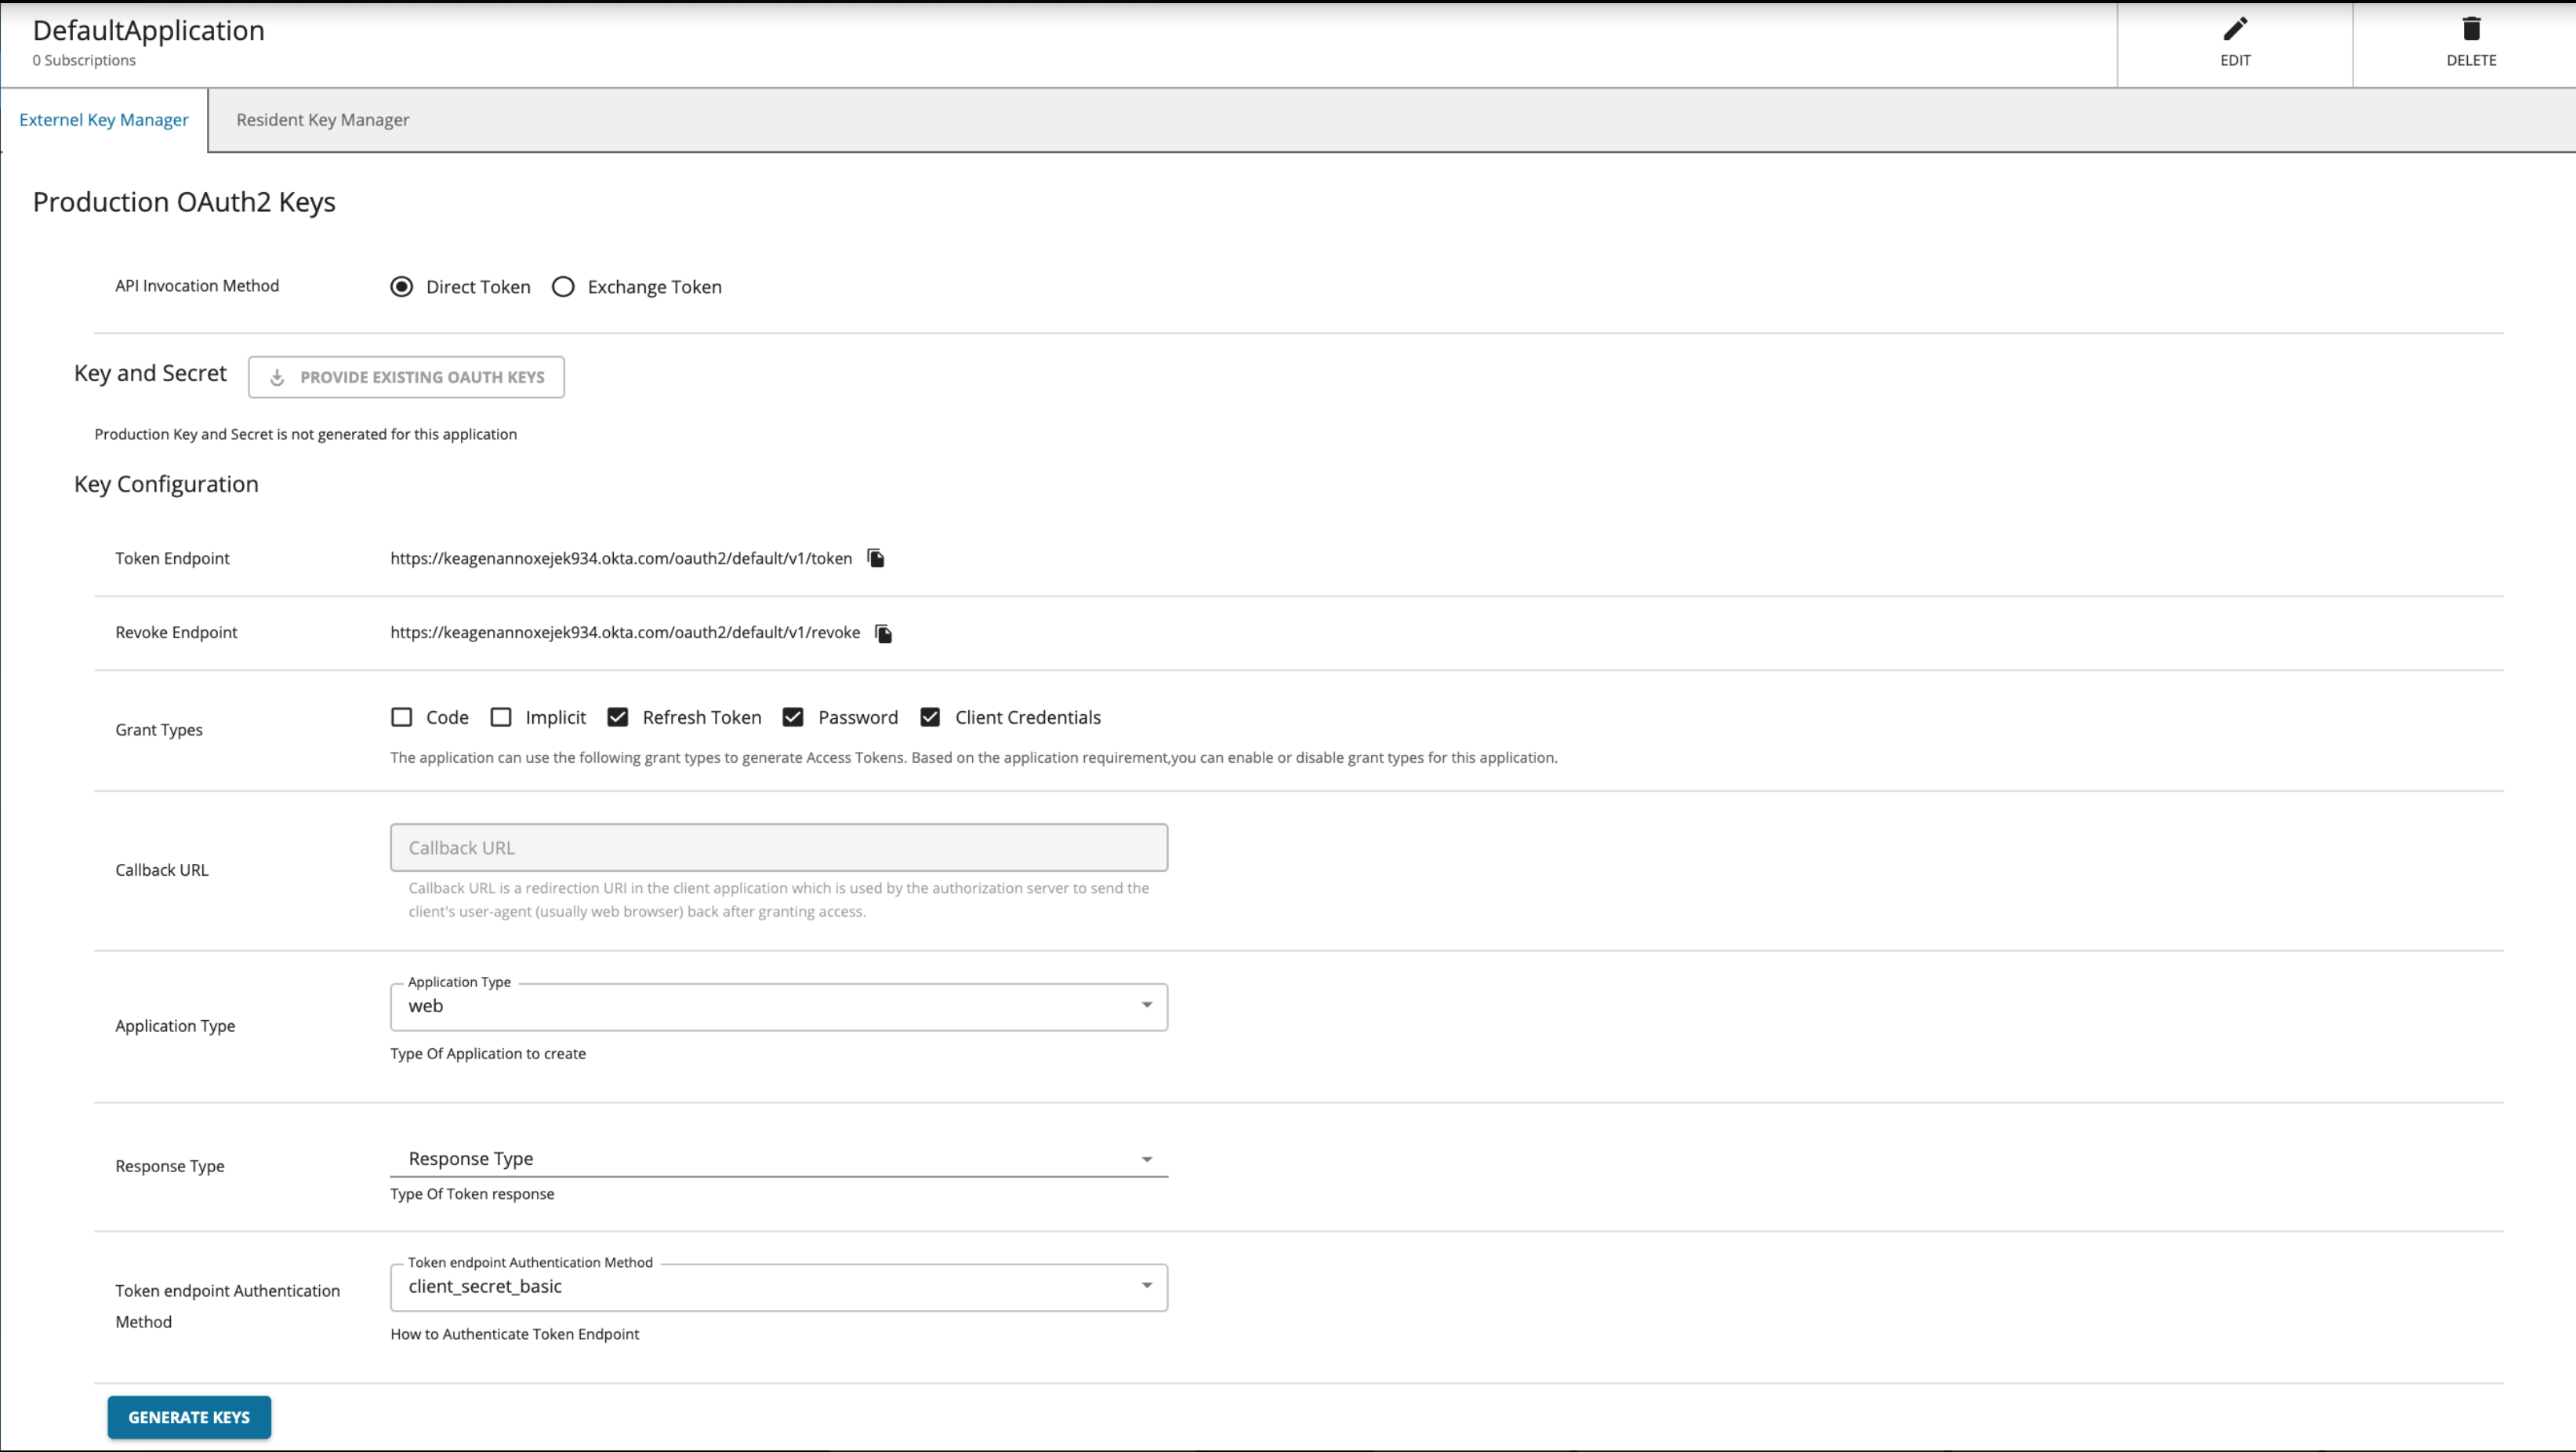
Select the Key Manager.
-
If you select the Direct Token radio button, you see the following screen:
-
If you select the Exchange Token radio button, you see the following screen:

You need to generate and provide the token of the external Key Manager you are using here.
-
-
Click Generate Keys or Generate Access Token.
Tip
If you want to generate the tokens with scopes, make sure that those scopes are defined in the Authorization Server.
-
You can now use the generated token to invoke an API.