Step 2: Create the Siddhi Application
Let's create your first Siddhi application.
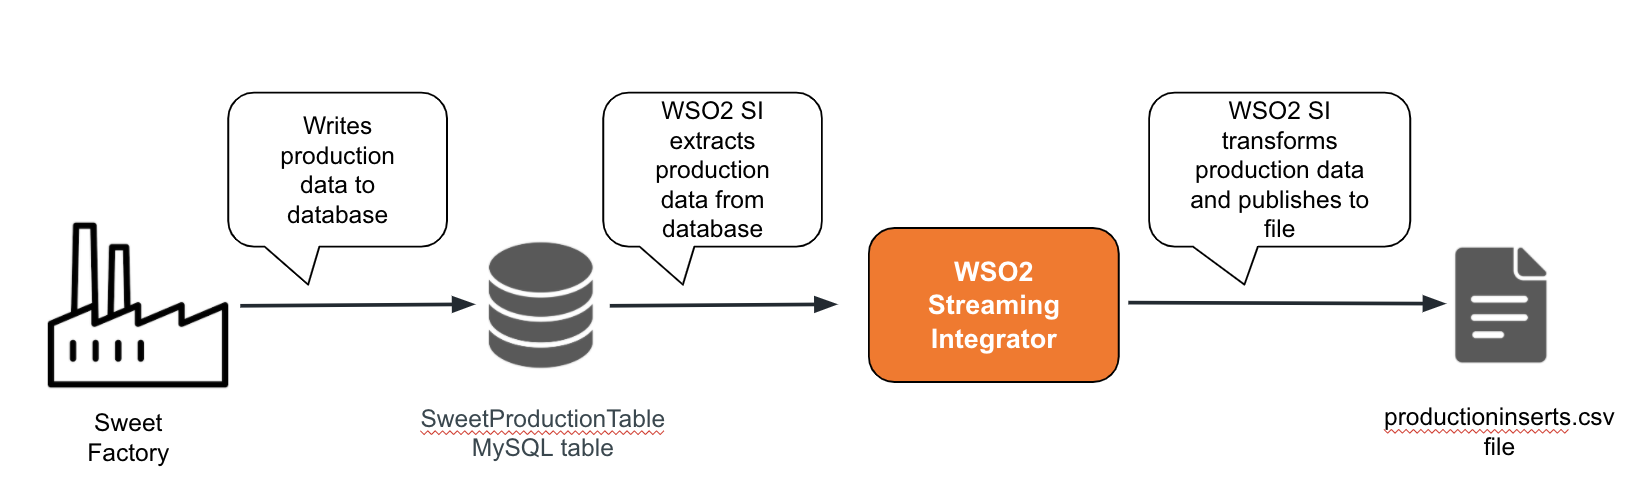
For this purpose, you can consider an example where production information is published in a database table. This information needs to be captured as and when it is published in the database, and published in a file after changing the case of the product name.
The following image depicts the procedure to be followed by the Siddhi application you create.
-
Extract the Streaming Integrator Tooling pack to a preferred location. Hereafter, the extracted location is referred to as
<SI_TOOLING_HOME>. -
Navigate to the
<SI_TOOLING_HOME>/bindirectory and issue the appropriate command depending on your operating system to start the Streaming Integration tooling.-
For Windows:
tooling.bat -
For Linux/MacOS:
./tooling.sh
-
-
Access the Streaming Integration Tooling via the
http://<HOST_NAME>:<TOOLING_PORT>/editorURL.Info
The default URL is
http://<localhost:9390/editor.
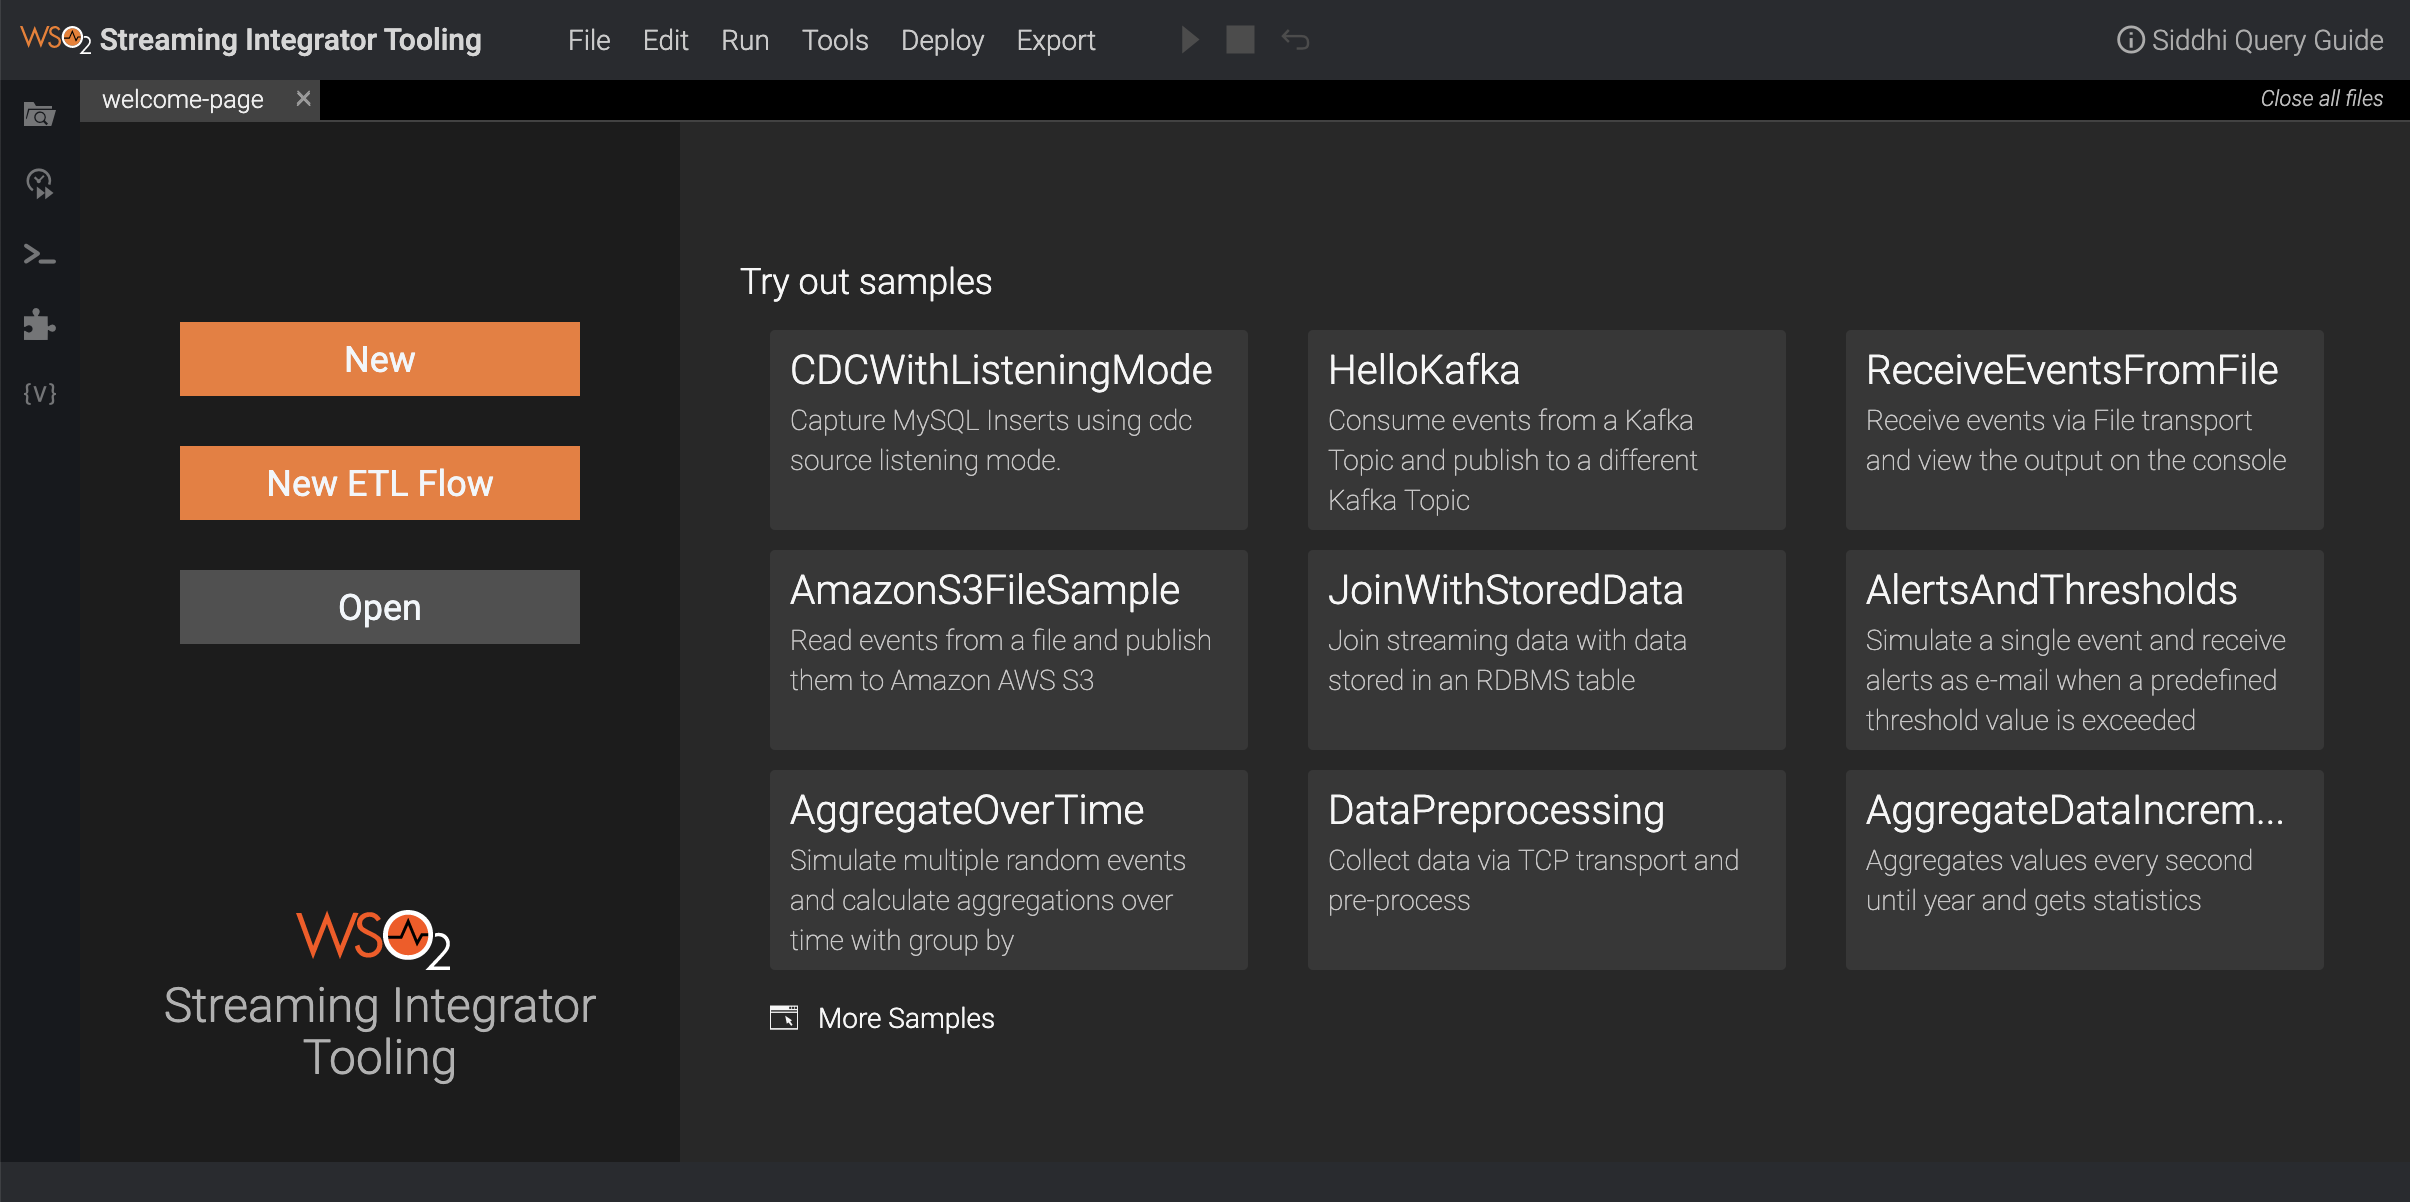
The Streaming Integration Tooling opens as shown below.
-
Open a new Siddhi file by clicking New.
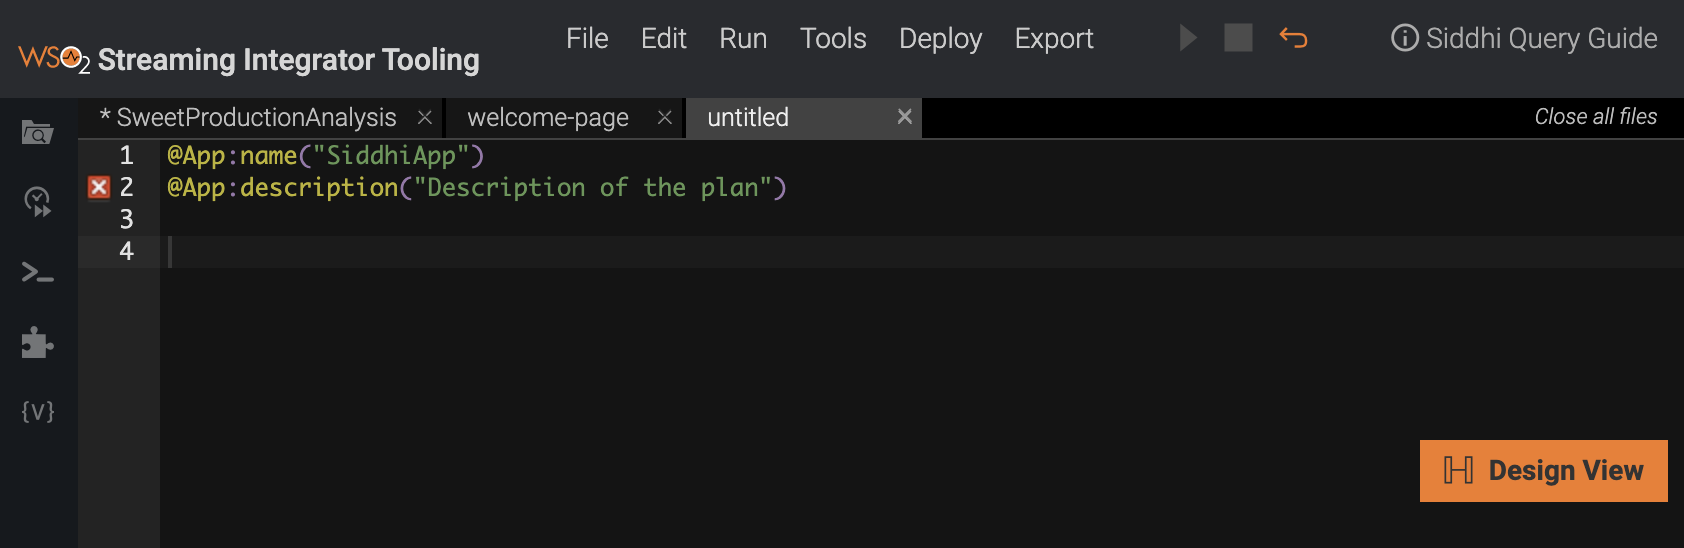
The new file opens as follows.
-
Specify a name for the new Siddhi application via the
@App:nameannotation.@App:name("SweetFactoryApp") -
First, let's define the stream that receives the input data.
define stream InsertSweetProductionStream (name string,amount double); -
To allow the
InsertSweetProductionStreamstream to capture inserts from theproductionsdatabase, connect a source of thecdctype to it as shown below.
8. To publish the captured data into a file, define an output stream as follows.@source(type='cdc',url = "jdbc:mysql://localhost:3306/production",username = "wso2si",password = "wso2",table.name = "SweetProductionTable",operation = "insert", @map(type='keyvalue')) define stream InsertSweetProductionStream (name string,amount double);define stream ProductionUpdatesStream (name string,amount double); -
To publish the output events to a file, connect a file source to the stream as shown below:
@sink(type='file',file.uri = "/Users/foo/productioninserts.csv", @map(type='csv')) define stream ProductionUpdatesStream (name string,amount double);
Here, you are publishing the output in the text format to a file named productioninserts.csv in the /Users/foo directory.
-
To convert the case of the product name from lower case to title case, and then publish the converted events to the file, write a query as follows.
@info(name='query1') from InsertSweetProductionStream select str:upper(name) as name, amount group by name insert into ProductionUpdatesStream;This query gets the information inserted into the
productionsdatabase table from theInsertSweetProductionStreamstream. Thestr:upper()function included in theselectclause converts the product name from lower case to title case. Once this conversion is done, the converted events are directed to theProductionUpdatesStreamstream. These events are written into the/Users/foo/productioninserts.csvfile because it is configured via thefilesource you previously annotated to theProductionUpdatesStreamstream. -
Save the Siddhi application.
The completed Siddhi application looks as follows:
@App:name('SweetFactoryApp')
@source(type='cdc',url = "jdbc:mysql://localhost:3306/production",username = "wso2si",password = "wso2",table.name = "SweetProductionTable",operation = "insert",
    @map(type='keyvalue'))
define stream InsertSweetProductionStream (name string,amount double);
@sink(type='file',file.uri = "/Users/foo/productioninserts.csv",
@map(type='csv'))
define stream ProductionUpdatesStream (name string,amount double);
@info(name='query1')
from InsertSweetProductionStream
select str:upper(name) as name, amount
group by name
insert into ProductionUpdatesStream;Installing the required extensions
The Streaming Integrator is by default shipped with most of the available Siddhi extensions by default. If a Siddhi extension you require is not shipped by default, you can download and install it via the Extension Installer tool. The SweetFactoryApp Siddhi application you created uses a source of the cdc type. The cdc-mysql extension that is required for this source is not shipped with WSO2 Streaming Integrator by default. Therefore, let's install it as follows.
-
In Streaming Integrator Tooling, click Tools, and then click Extension Installer. The Extension Installer dialog box opens.
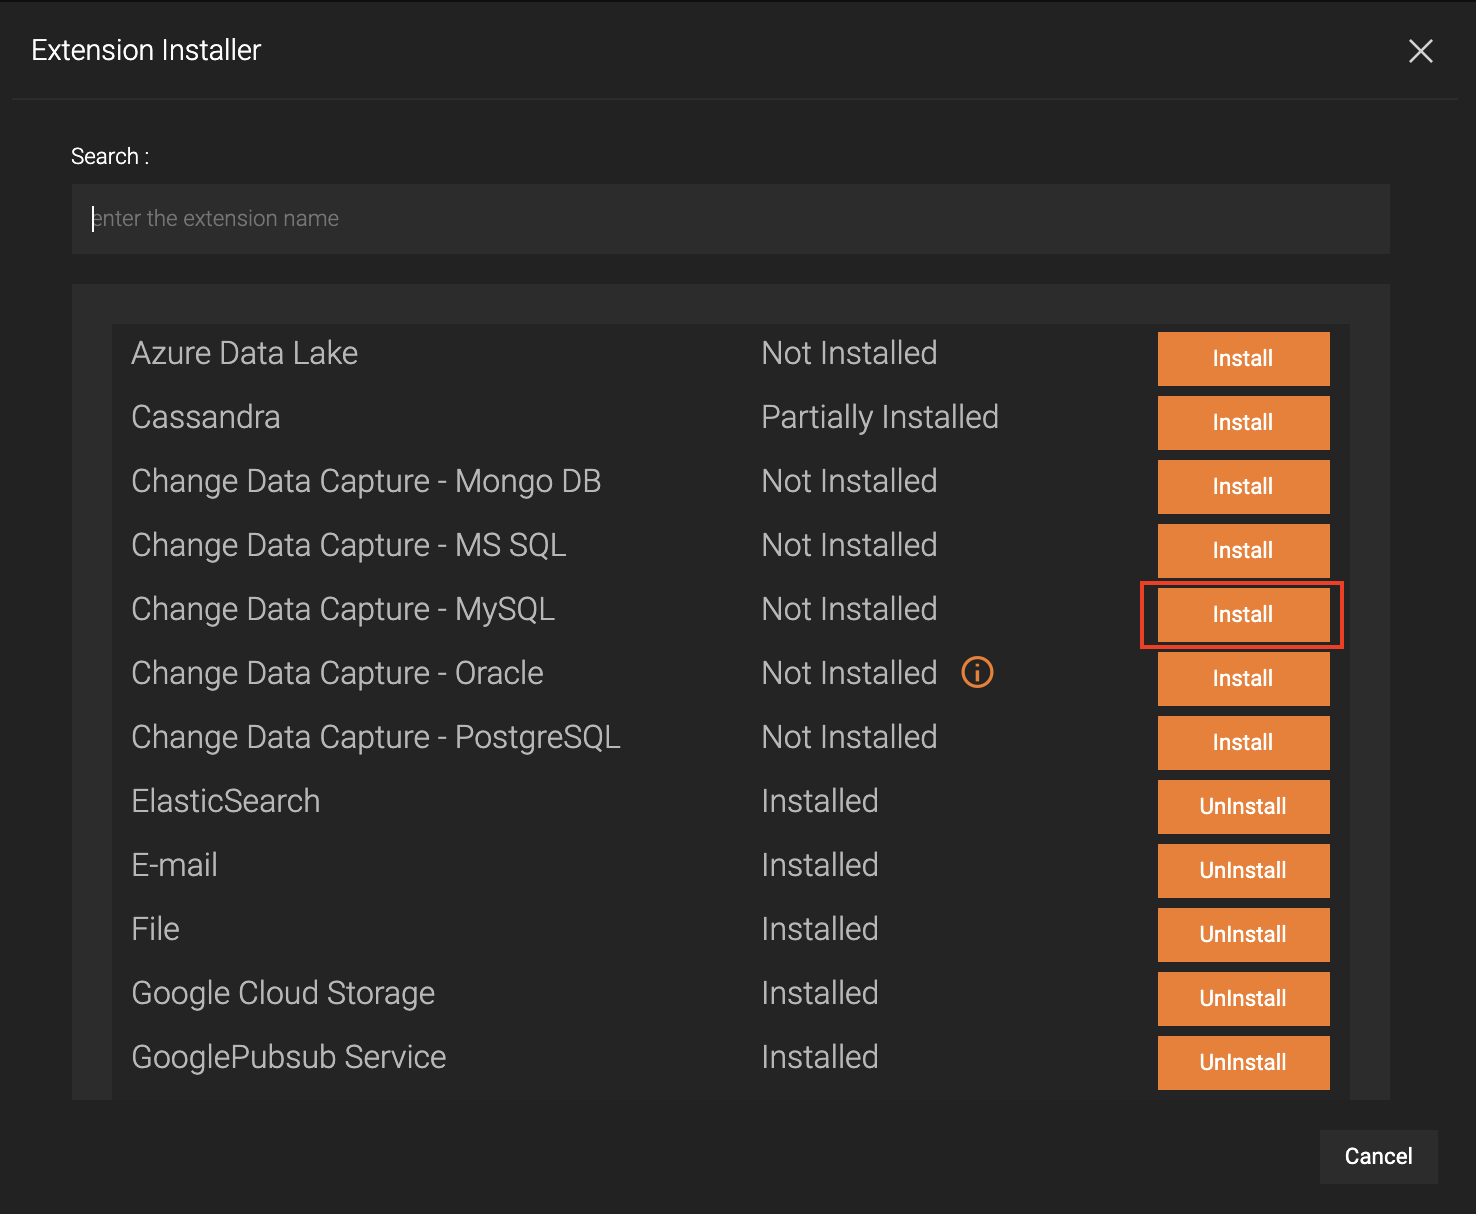
Click Install for Change Data Capture - MySQL.
-
Restart Streaming Integrator Tooling.
Testing the Siddhi application
Before deploying the SweetFactoryApp Siddhi application to the Streaming Integrator Server, you need to test it to check whether the Siddhi queries you wrote work as expected. For this purpose, you can simulate events via the Event Simulator in Streaming Integrator Tooling as follows:
Tip
Although you are using the Event Simulator instead of performing an insert operation in the MySQL database table you created, you need to start the MySQL server before following the steps below.
-
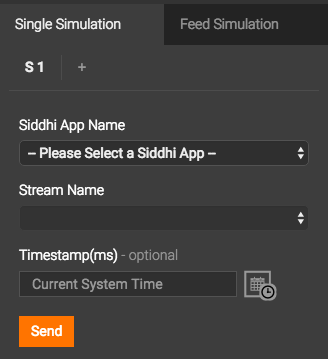
In Streaming Integrator Tooling, click the Event Simulator icon in the left pane of the editor to open the Single Simulation panel.

It opens the left panel for event simulation as follows.
-
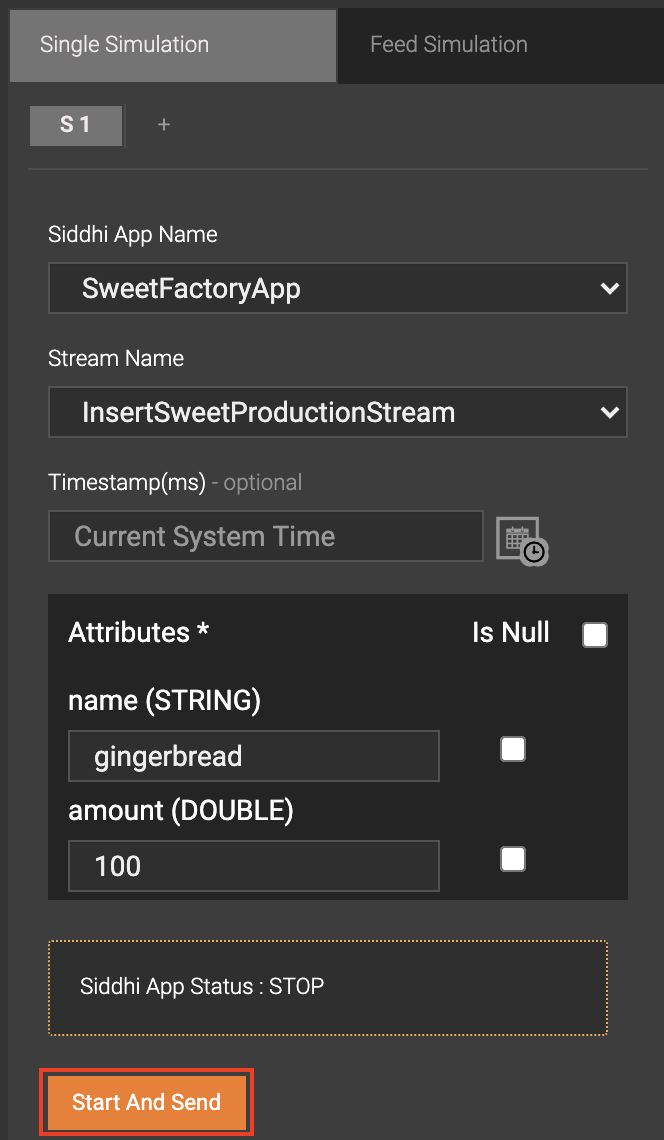
Enter Information in the Single Simulation panel as described below.
-
In the Siddhi App Name field, select SweetFactoryApp.
-
In the Stream Name field, select InsertSweetProductionStream.
-
Under Attributes, enter values as follows:
Attribute Value name (STRING) gingerbreadamount (DOUBLE) 100
-
-
Click Start and Send.
-
Open the
/Users/foo/productioninserts.csv. It should contain the following row.GINGERBREAD,100.0
What's Next?
Now you can deploy the SweetFactoryApp Siddhi application you created. To do this, proceed to Step 3: Deploy the Siddhi Application.