Exporting Siddhi Applications
The Streaming Integrator Tooling allows you to export one or more Siddhi files as a Docker or Kubernetes artifact in order to run those Siddhi applications within a Docker or Kubernetes environment.
To export Siddhi files as Docker or Kubernetes artifacts, follow the steps given below.
Exporting Siddhi applications as a Docker Image
To export one or more Siddhi applications as a Docker image, follow the procedure below:
-
Start the Streaming Integrator Tooling by issuing one of the following commands from the
<SI_HOME>/bindirectory.-
For Windows:
tooling.bat -
For Linux:
./tooling.sh
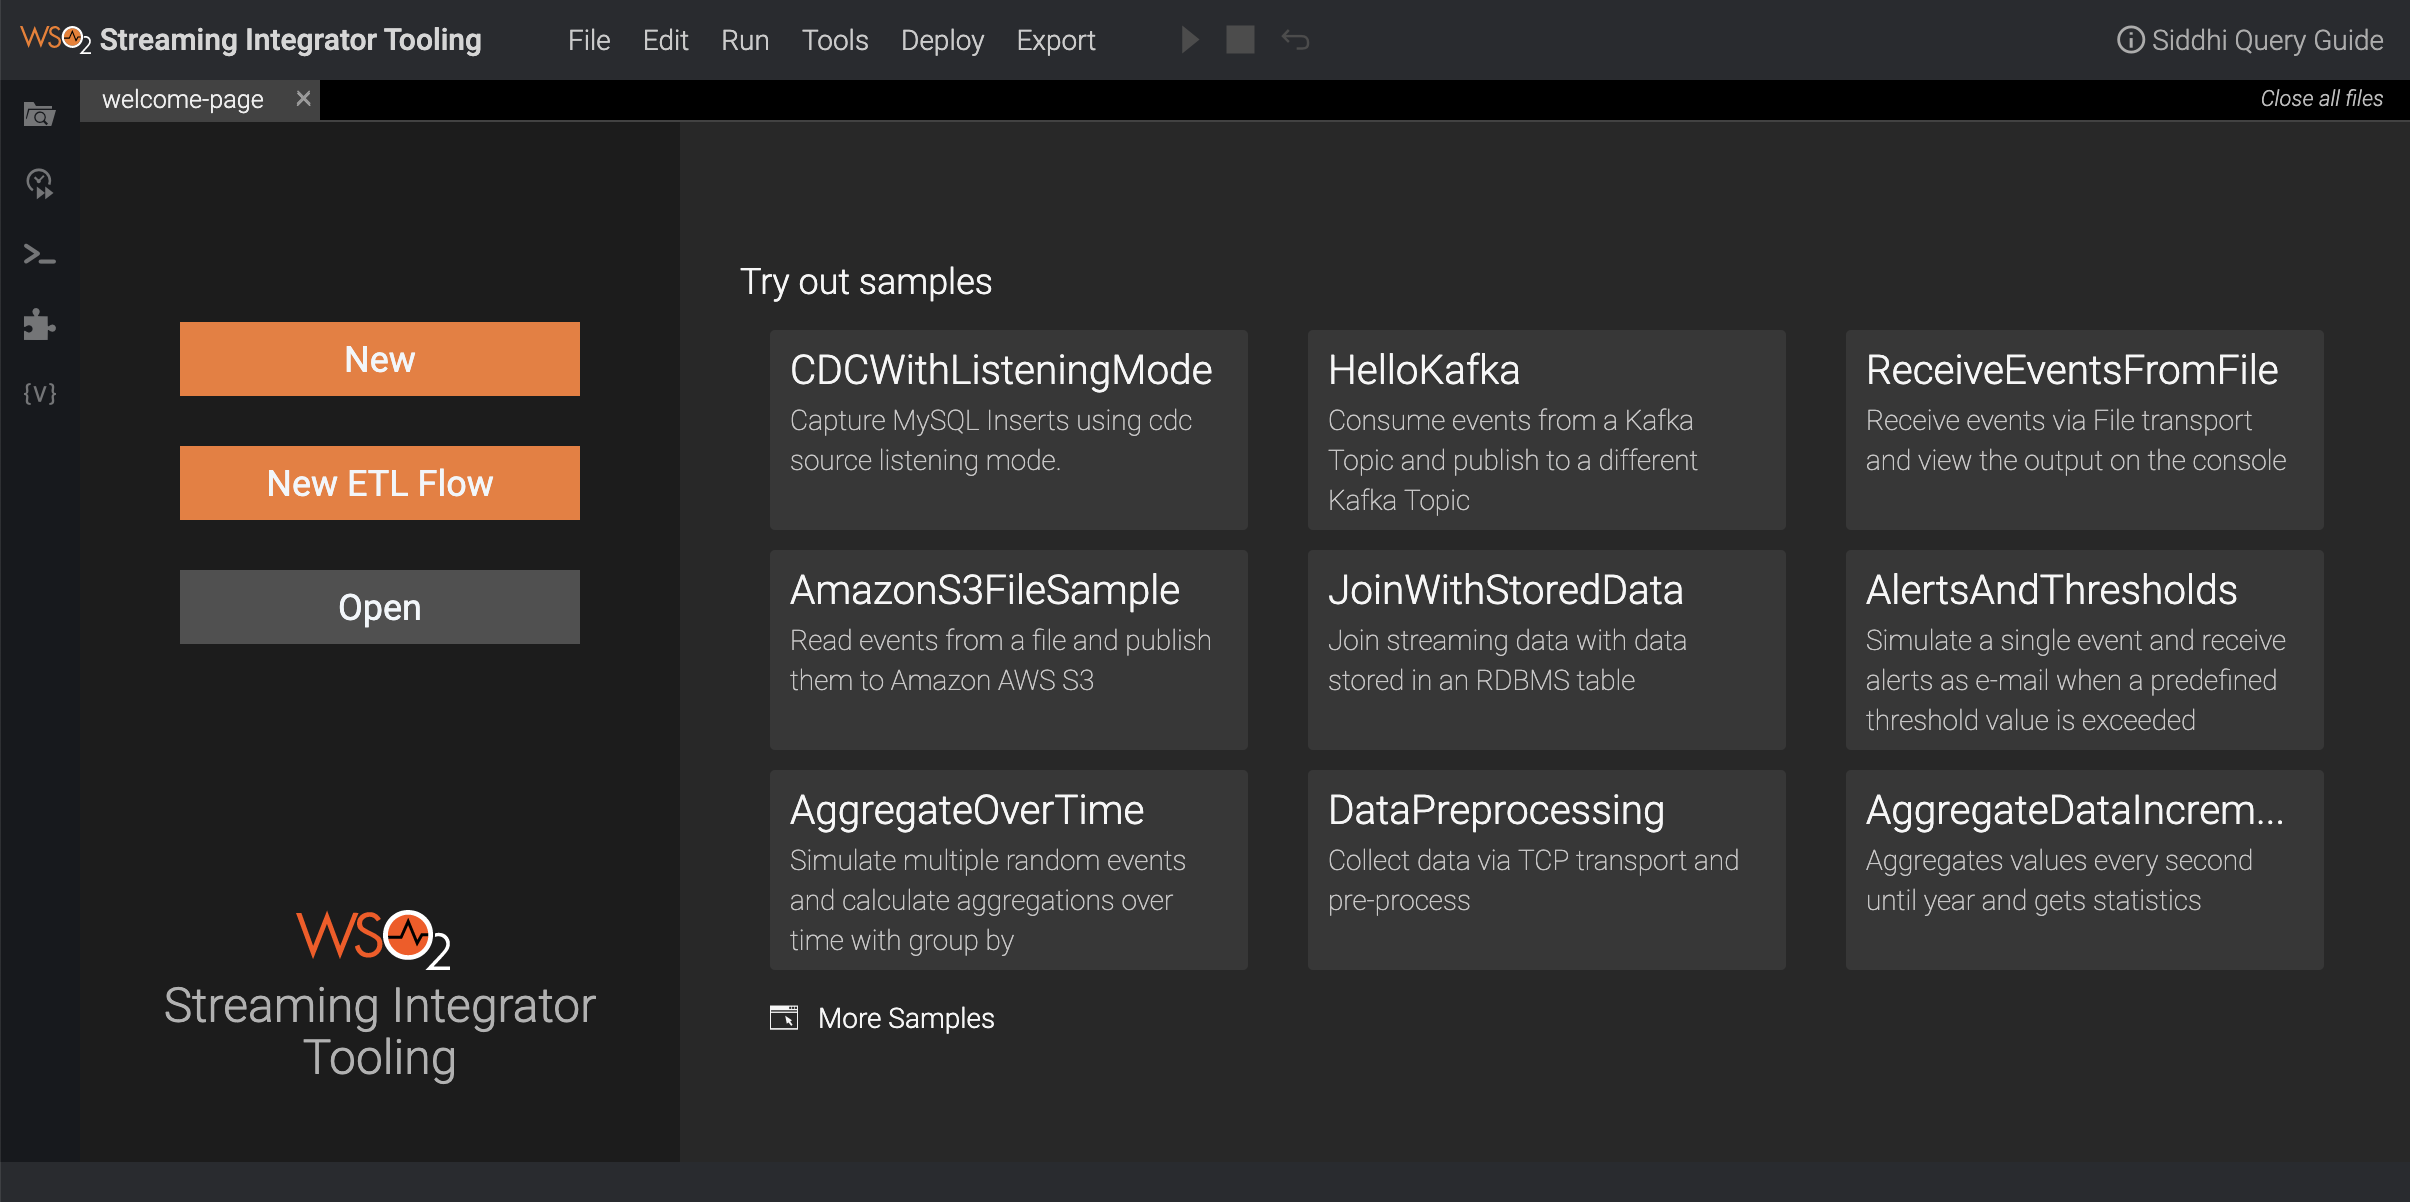
The Streaming Integrator Tooling opens as shown below.
-
-
Create the required Siddhi files. The rest of the documentation assumes that you have one or more Siddhi applications to be exported as a Docker image. For more information, see Creating a Siddhi Application.
-
Click Export menu option and then click For Docker.
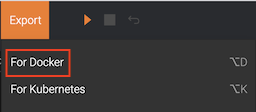
As a result, the following wizard opens.

-
In Step 1: Select Siddhi Apps, select one or more Siddhi applications to be included in the Docker image.
-
Click Next.
-
In Step 2: Template Siddhi Apps, template the Siddhi application if required. You can define a template within the Siddhi application via the
${...}pattern. In the following example,${http.port}) is added as a template within the source configuration.@source(type='http', receiver.url='http://localhost:${http.port}/${http.context}', @map(type = 'json')) define stream StockQuoteStream(symbol string, price double, volume int); -
Once the templates are defined, click Next.
-
In Step 3: Update Siddhi Runner configurations, update the
deployment.yamlfile of the Streaming Integrator to enter configurations specific for the Docker image. Similar to the previous step, you can template the configurations as well. Use the similar notation (i.e.,${...}) to specify a template within the configuration file. -
Once the configuration is complete, click Next.
-
In Step 4: Populate arguments template, define values for the template fields defined in Step 2 and Step 3. This step lists down all the template fields. Therefore you can set the relevant value for each field.
-
Once the template values are set, click Next.
-
In Step 5: Configure Custom Docker Image, select any additional OSGi bundles or JARs )(i.e., the ones that are not shipped with WSO2 Streaming Integrator Tooling by default) to be shipped with your docker image by selecting the relevant checkboxes. Only the additional OSGi bundles and JARs that you have already added to the libraries of your Streaming Integrator Tooling pack are displayed in this wizard.
-
Once the required OSGi bundles and JARs are selected, click Next.
-
In Step 6: Export Custom Docker Image, select the export mode. If you do not have an account in Docker Hub, you can select Download Artifacts and enter a name for the file you are exporting. If you have an account, select Push to docker registry and enter your credentials.
-
Once the everything is complete, click Export to export a ZIP file with the following directory structure.
.
├── Dockerfile
├── configurations.yaml
└── siddhi-files
    ├── <SIDDHI_FILE>.siddhi
    ├── ...
    └── <SIDDHI_FILE>.siddhi
For more information on Siddhi Docker artifacts, see Siddhi 5.1 as a Docker Microservice.
Info
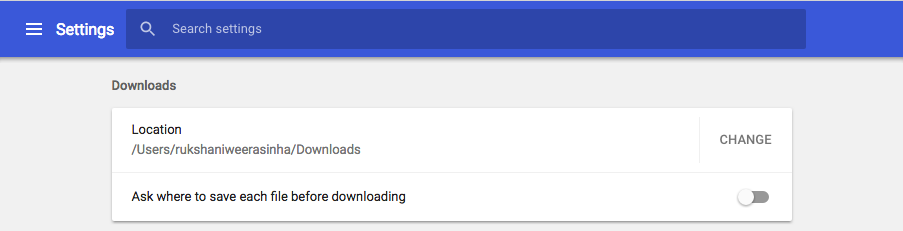
This functionality differs based on the web browser you are using and its settings. e.g., if you have set a default download location and disabled the Ask where to save each file before downloading feature as shown below, the file is downloaded to the default location without prompting you for any further input.
Exporting Siddhi Applications for Kubernetes
To export one or more Siddhi applications for Kubernetes, follow the procedure below:
-
Start the Streaming Integrator Tooling by issuing one of the following commands from the
<SI_HOME>/bindirectory.-
For Windows:
tooling.bat -
For Linux:
./tooling.sh
The Streaming Integrator Tooling opens as shown below.
-
-
Create the required Siddhi files. The rest of the documentation assumes that you have one or more Siddhi applications to be exported as a Kubernetes artifact. For more information, see Creating a Siddhi Application.
-
Click Export menu option and then click For Kubernetes.
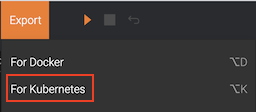
As a result, the following wizard opens.

-
In Step 1: Select Siddhi Apps, select one or more Siddhi applications to be included in the Kubernetes artifact.
-
Click Next.
-
In Step 2: Template Siddhi Apps, template the Siddhi application if required. You can define a template within the Siddhi application via the
${...}pattern. In the following example,${http.port}) is added as a template within the source configuration.@source(type='http', receiver.url='http://localhost:${http.port}/${http.context}', @map(type = 'json')) define stream StockQuoteStream(symbol string, price double, volume int); -
Once the templates are defined, click Next.
-
In Step 3: Update Siddhi Runner configurations, update the
deployment.yamlfile of the Streaming Integrator to enter configurations specific for the Kubernetes artifact. Similar to the previous step, you can template the configurations as well. Use the similar notation (i.e.,${...}) to specify a template within the configuration file. -
Once the configuration is complete, click Next.
-
In Step 4: Populate arguments template, define values for the template fields defined in Step 2 and Step 3. This step lists down all the template fields. Therefore you can set the relevant value for each field.
-
Once the template values are set, click Next.
-
In Step 5: Select Docker Image select the relevant option to specify whether you want to create a new Docker image with extensions and artifacts, or whether to use an existing Docker image. If you selected Use an existing Docker image, enter the path to the Docker image in the data field that appears.
-
Once the method to create the Docker image is selected, click Next.
-
If you selected Use an existing Docker image, in Step 5: Select Docker Image, you are directed to Step 8: Add Deployment Configurations. To proceed to that step, see step 18 of this procedure.
If you selected Build custom docker image with extensions and artifacts in Step 5: Select Docker Image, you are directed to Step 6: Configure Docker Image. Here, select any additional OSGi bundles or JARs )(i.e., the ones that are not shipped with WSO2 Streaming Integrator Tooling by default) to be shipped with your docker image by selecting the relevant checkboxes. Only the additional OSGi bundles and JARs that you have already added to the libraries of your Streaming Integrator Tooling pack are displayed in this wizard.
-
Once the required OSGi bundles and JARs are selected, click Next.
-
In Step 7: Export Custom Docker Image, enter the credentials to access your Docker Hub account so that the Docker image can be pushed to the Docker registry.
-
Click Next.
-
In Step 8: Add Deployment Configurations, select an option to indicate the preferred deployment mode. Then select a value for the Persistence field to specify how persistence should be carried out.
-
Once deployment configurations are entered, click Export. This downloads the ZIP file with the following directory structure.
├── Dockerfile ├── configurations.yaml ├── siddhi-files │ ├── <SIDDHI_FILE>.siddhi │ ├── ... │ └── <SIDDHI_FILE>.siddhi └── siddhi-process.yaml -
Once the ZIP is downloaded, you can extract and open the
<ZIP_HOME>/siddhi-process.yamlvia a text editor to modify the SiddhiProcess configuration.For more information on SiddhiProcess Kubernetes configuration, see Siddhi 5.1 as a Kubernetes Microservice documentation.
Info
This functionality differs based on the web browser you are using and its settings. e.g., if you have set a default download location and disabled the Ask where to save each file before downloading feature as shown below, the file is downloaded to the default location without prompting you for any further input.