Deploy and Test Prototype APIs
You would need to create an API prototype for the purpose of early promotion and testing. You can deploy a new API or a new version of an existing API as a prototype. It gives subscribers an early implementation of the API that they can try out without a subscription or monetization, and in-turn the subscribers can provide feedback to improve the API. After a period of time, the publishers can make changes that the users request and publish the API.
Step 1 - Deploy a created API as a Prototype
Note
The example described in the following steps uses the PizzaShackAPI 2.0.0 API. For more information on creating this API, see
Create a New API Version.
-
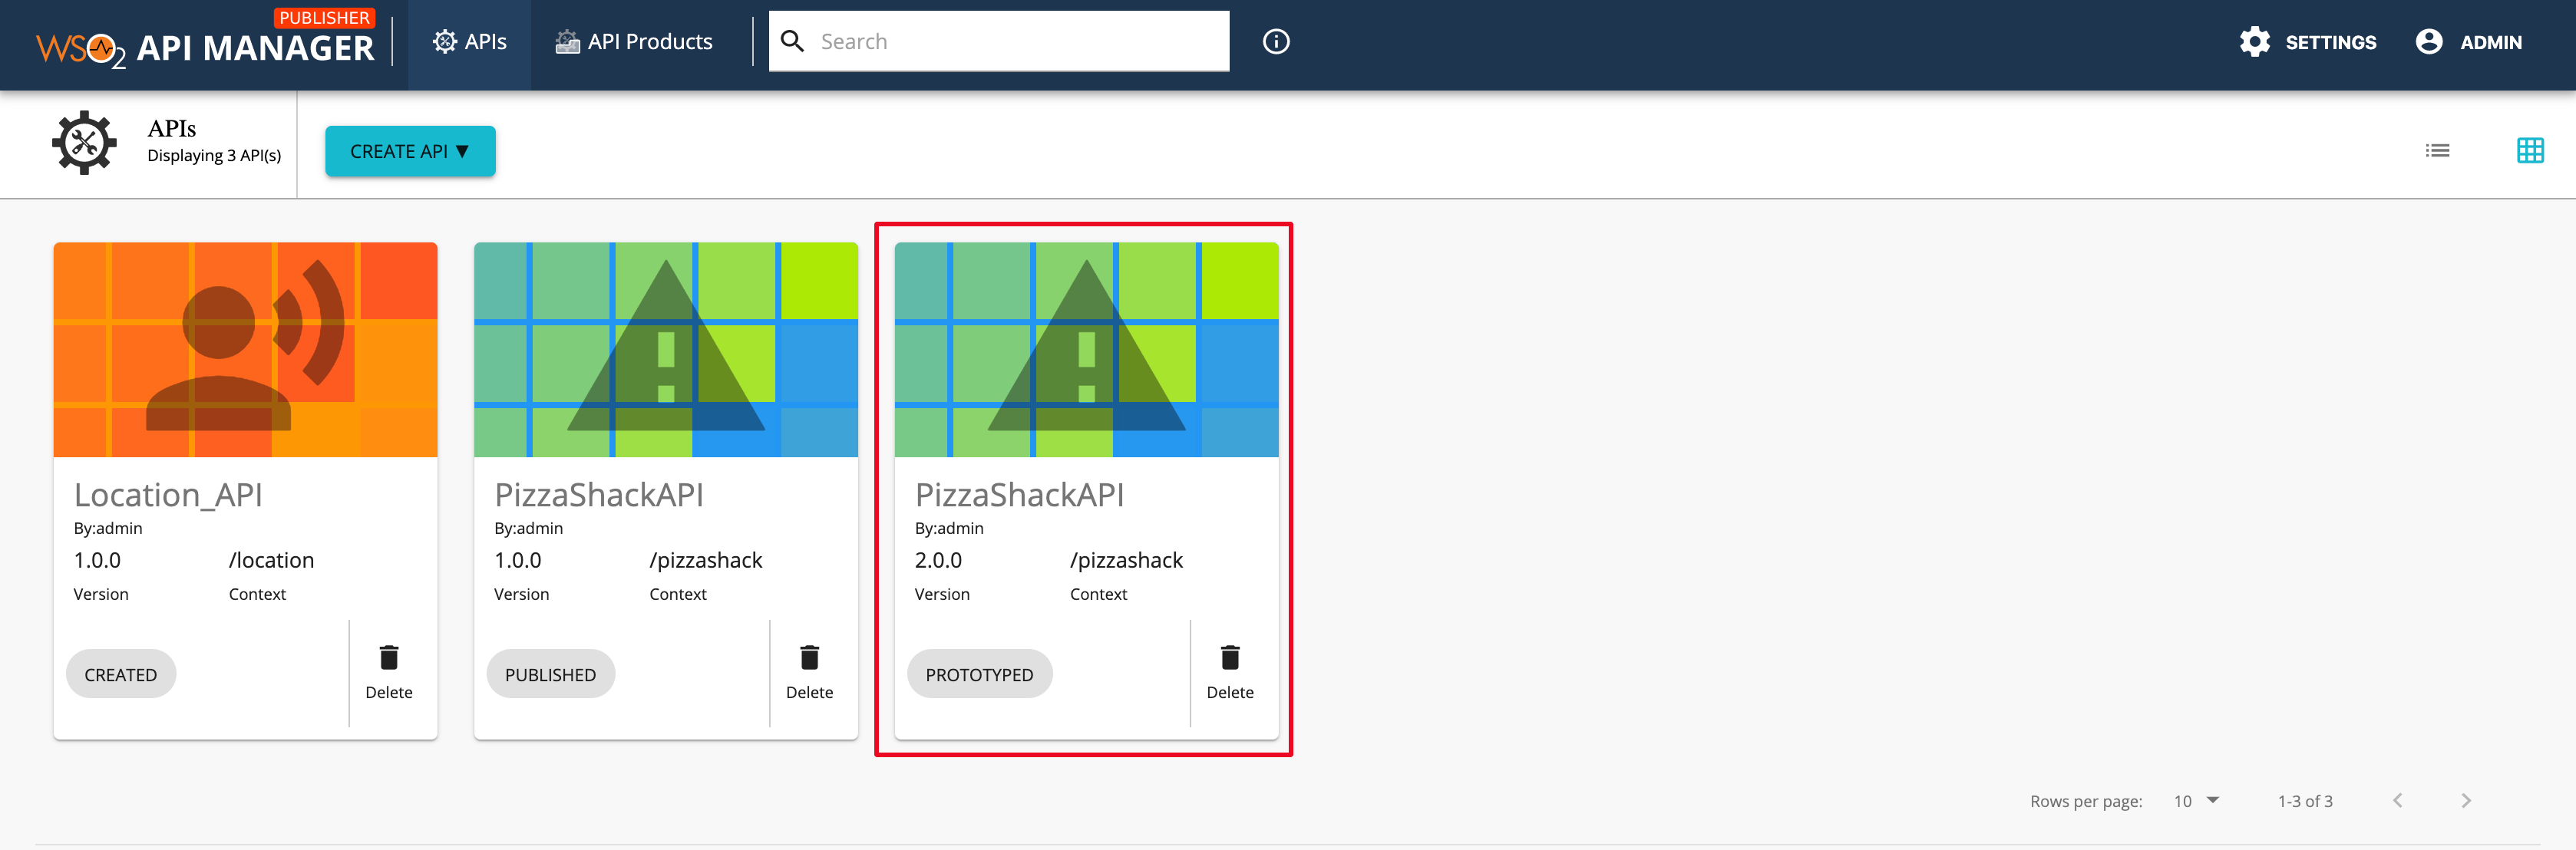
Sign in to the WSO2 API Publisher
https://<hostname>:9443/publisherand click on the API (e.g.,PizzaShackAPI 2.0.0) that you want to prototype.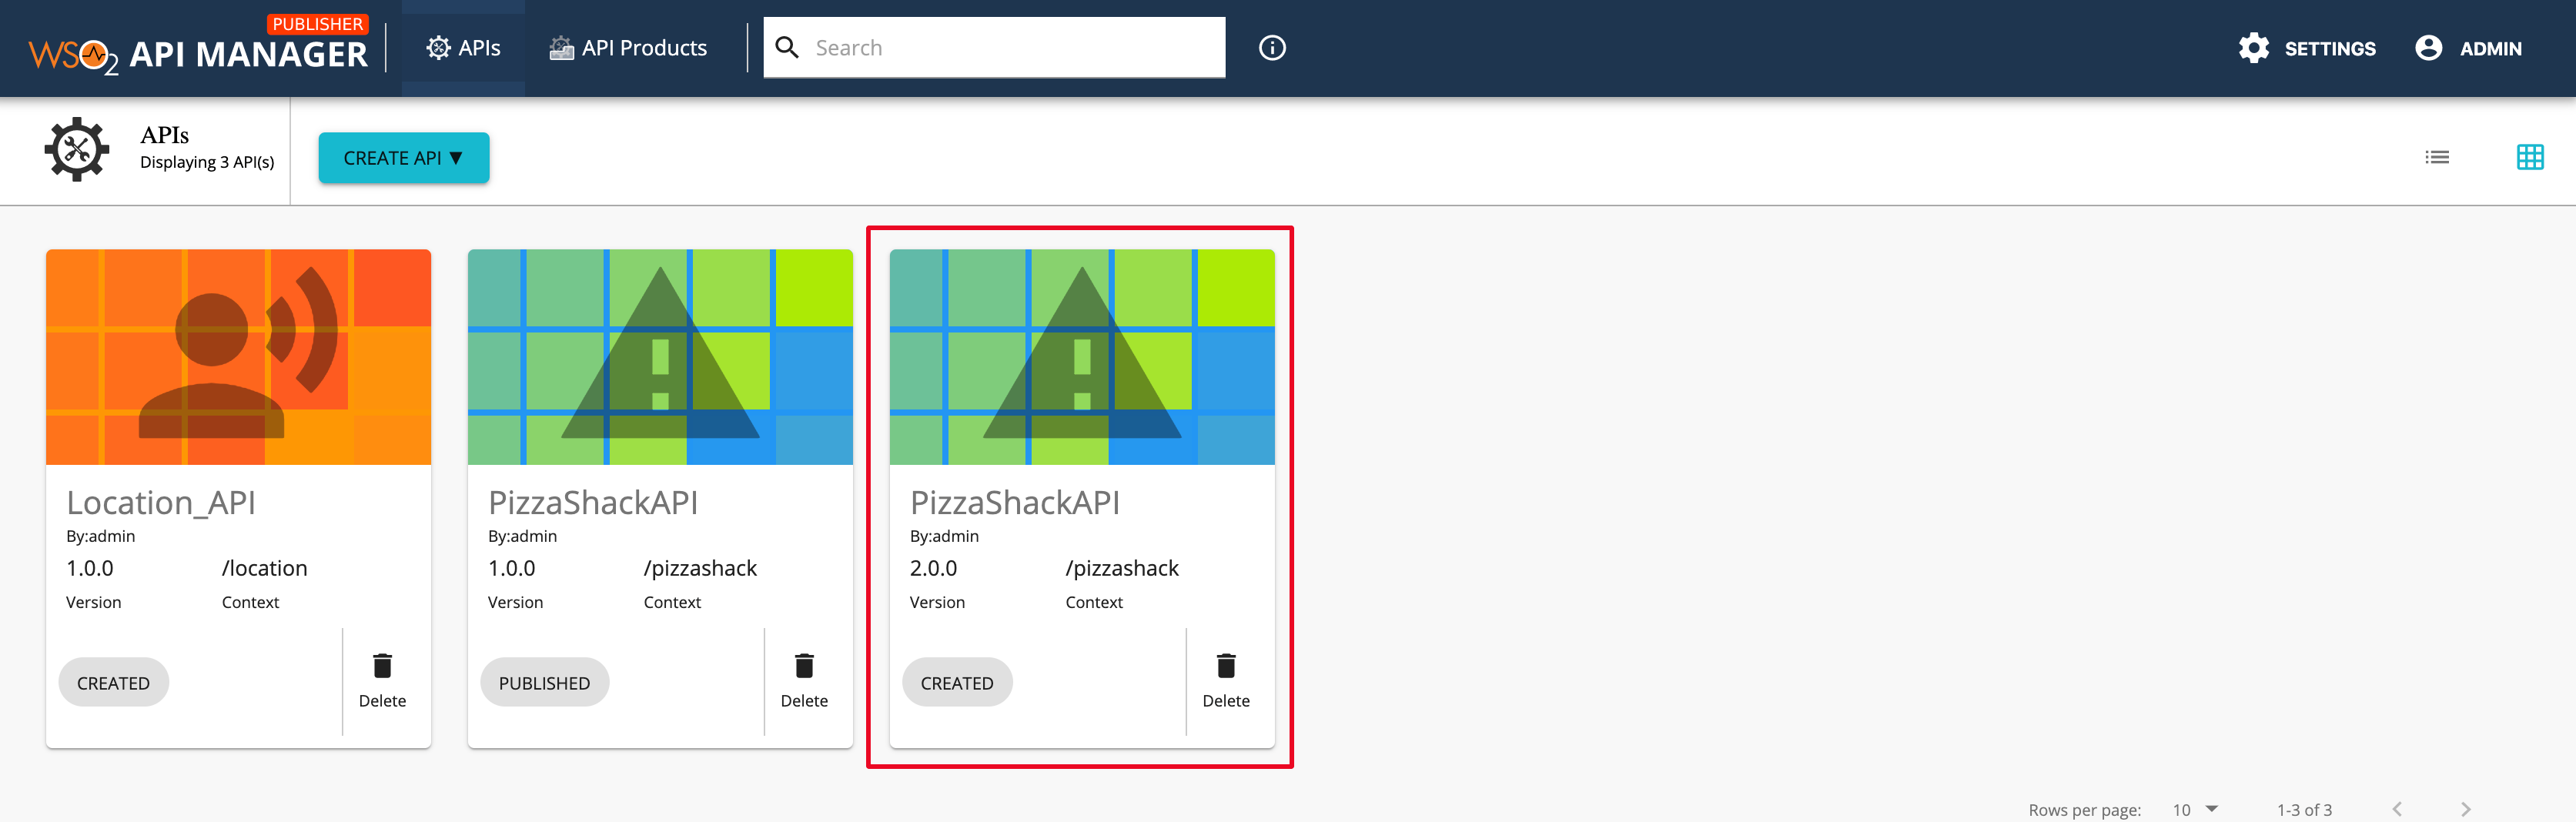
-
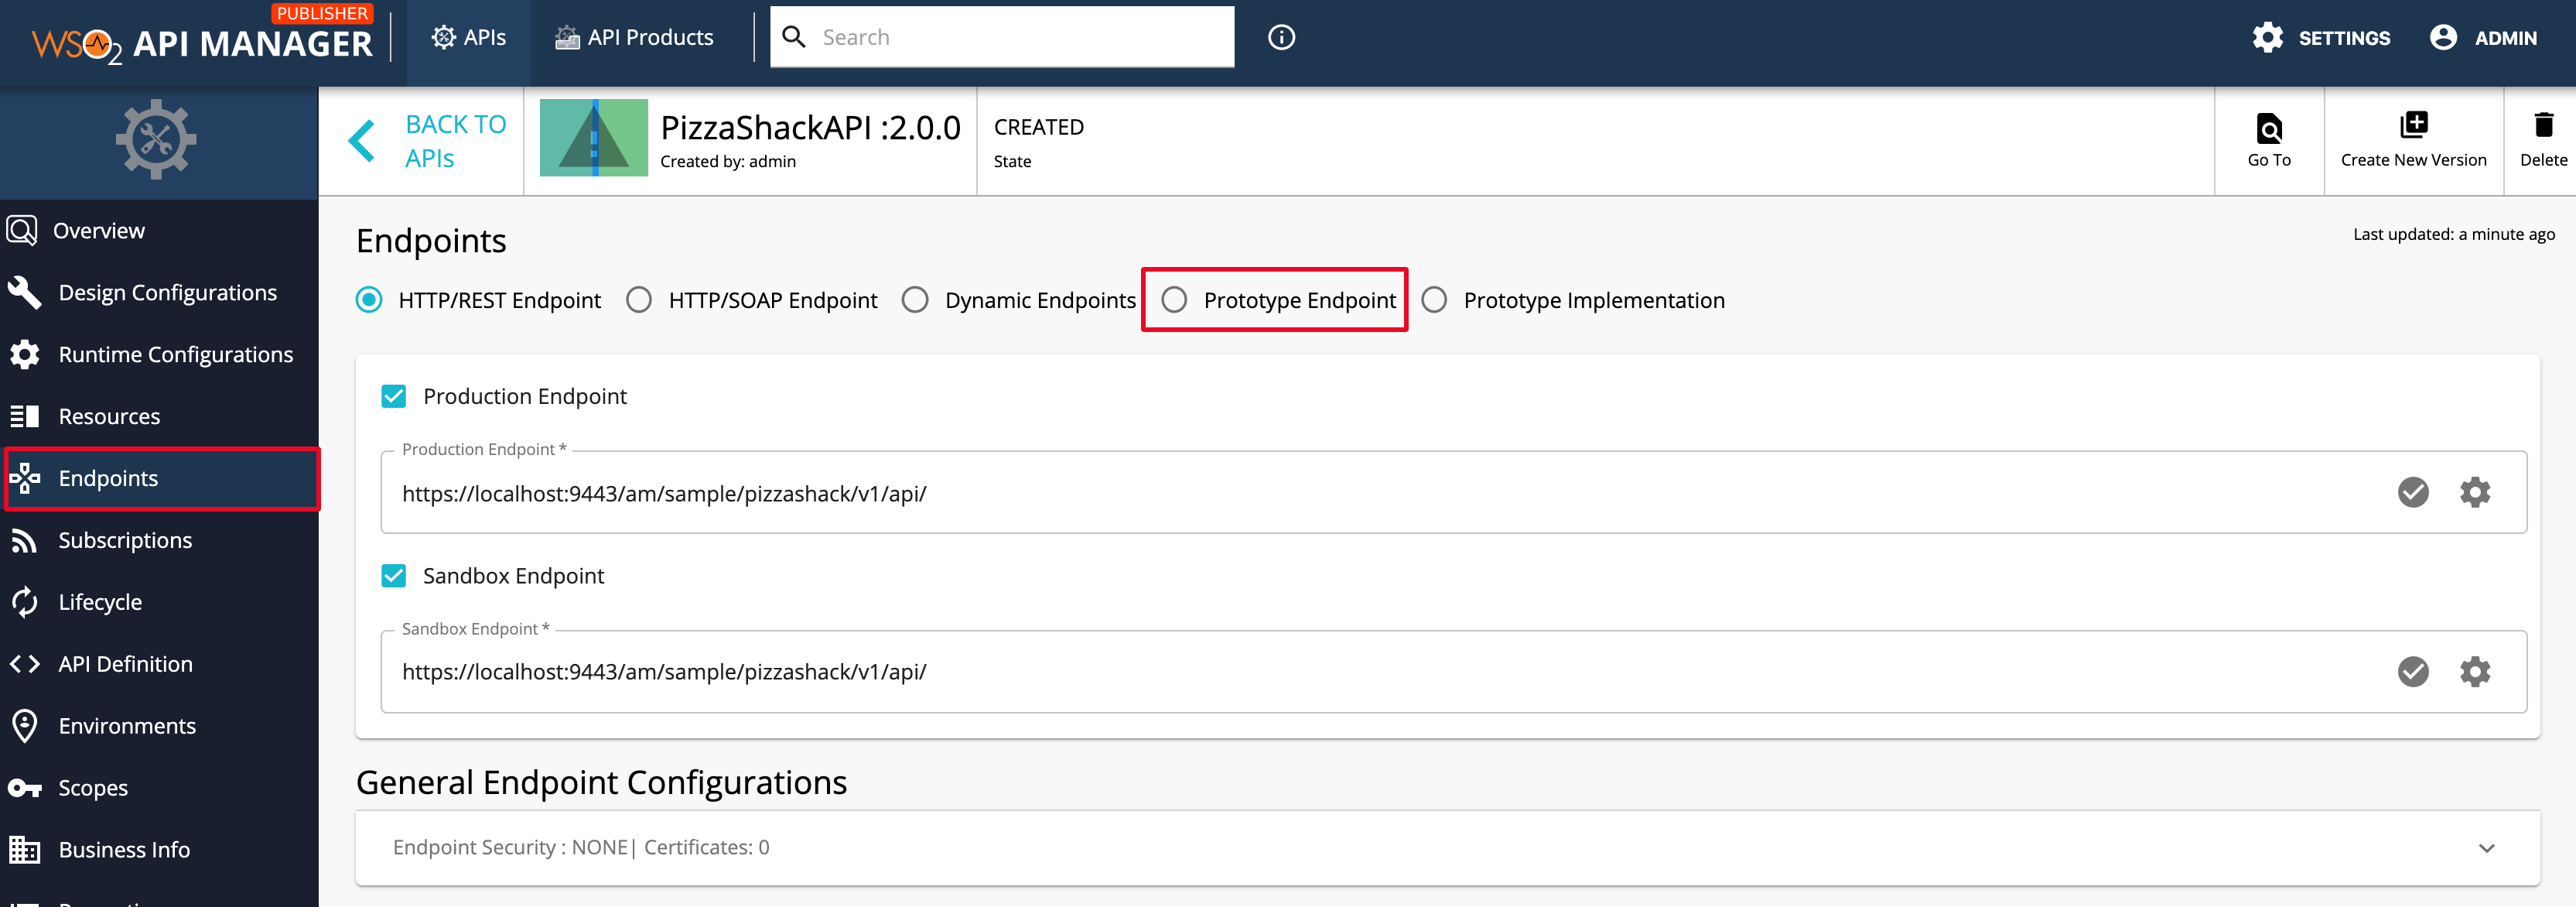
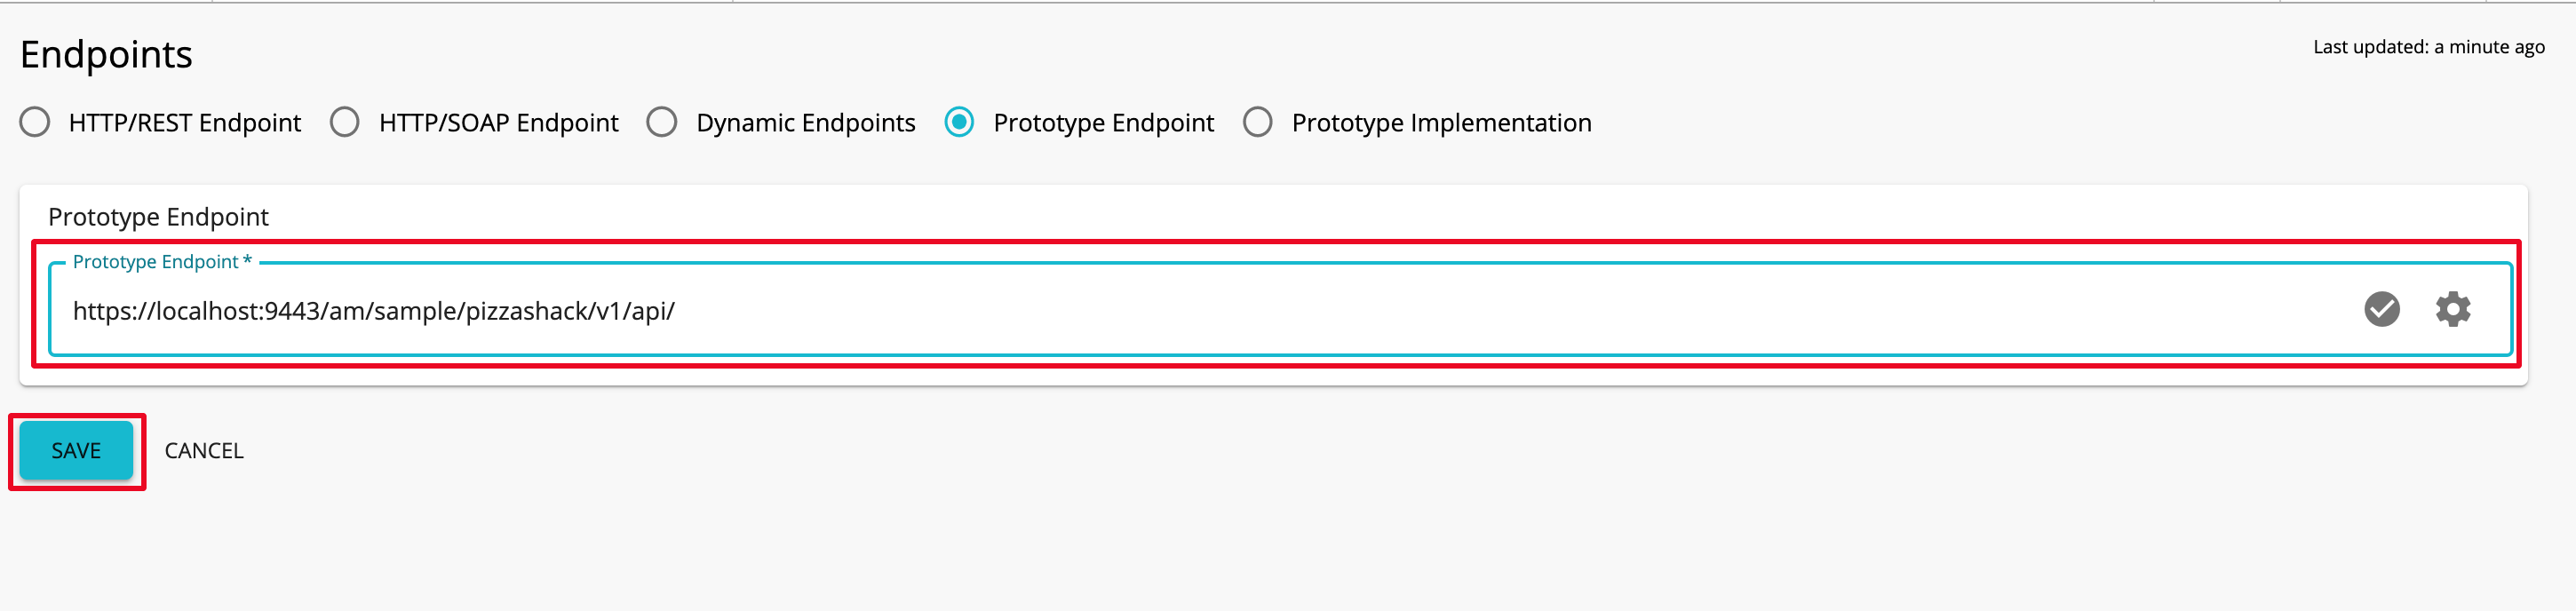
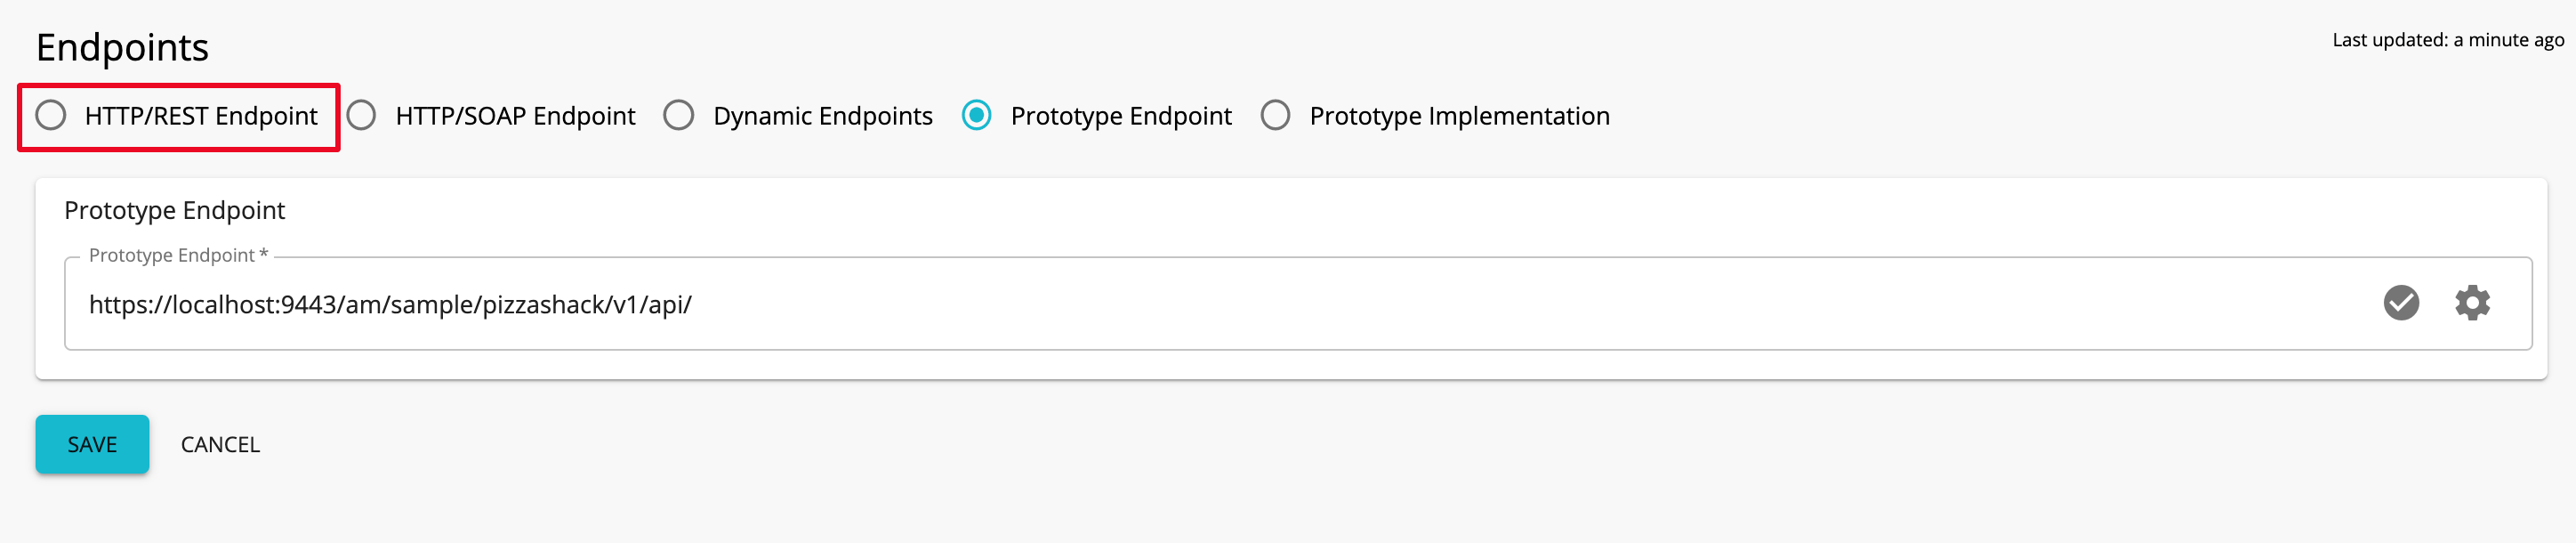
Click Endpoints and select Prototype Endpoint to select the prototype endpoint type.
-
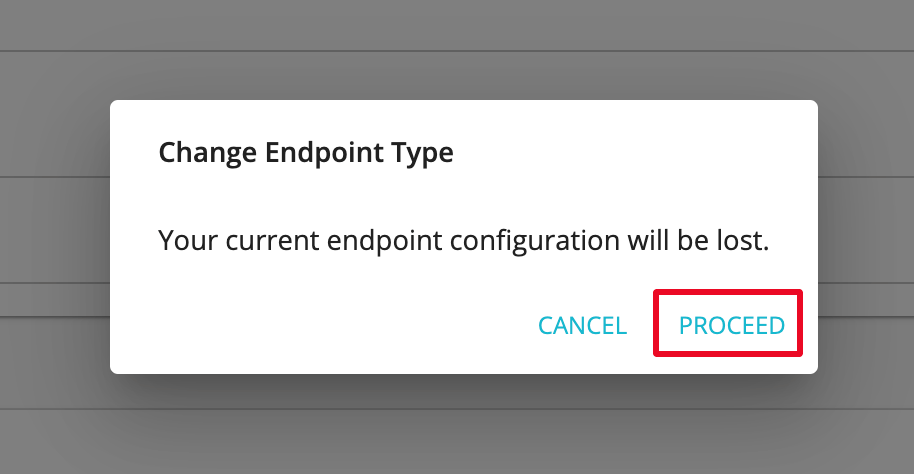
Click PROCEED.
-
Enter the prototype endpoint for the API.
Let's use the same endpoint in this example.
-
Click SAVE, after the endpoint is added, to save the API.
-
Click Lifecycle and click Deploy as Prototype.
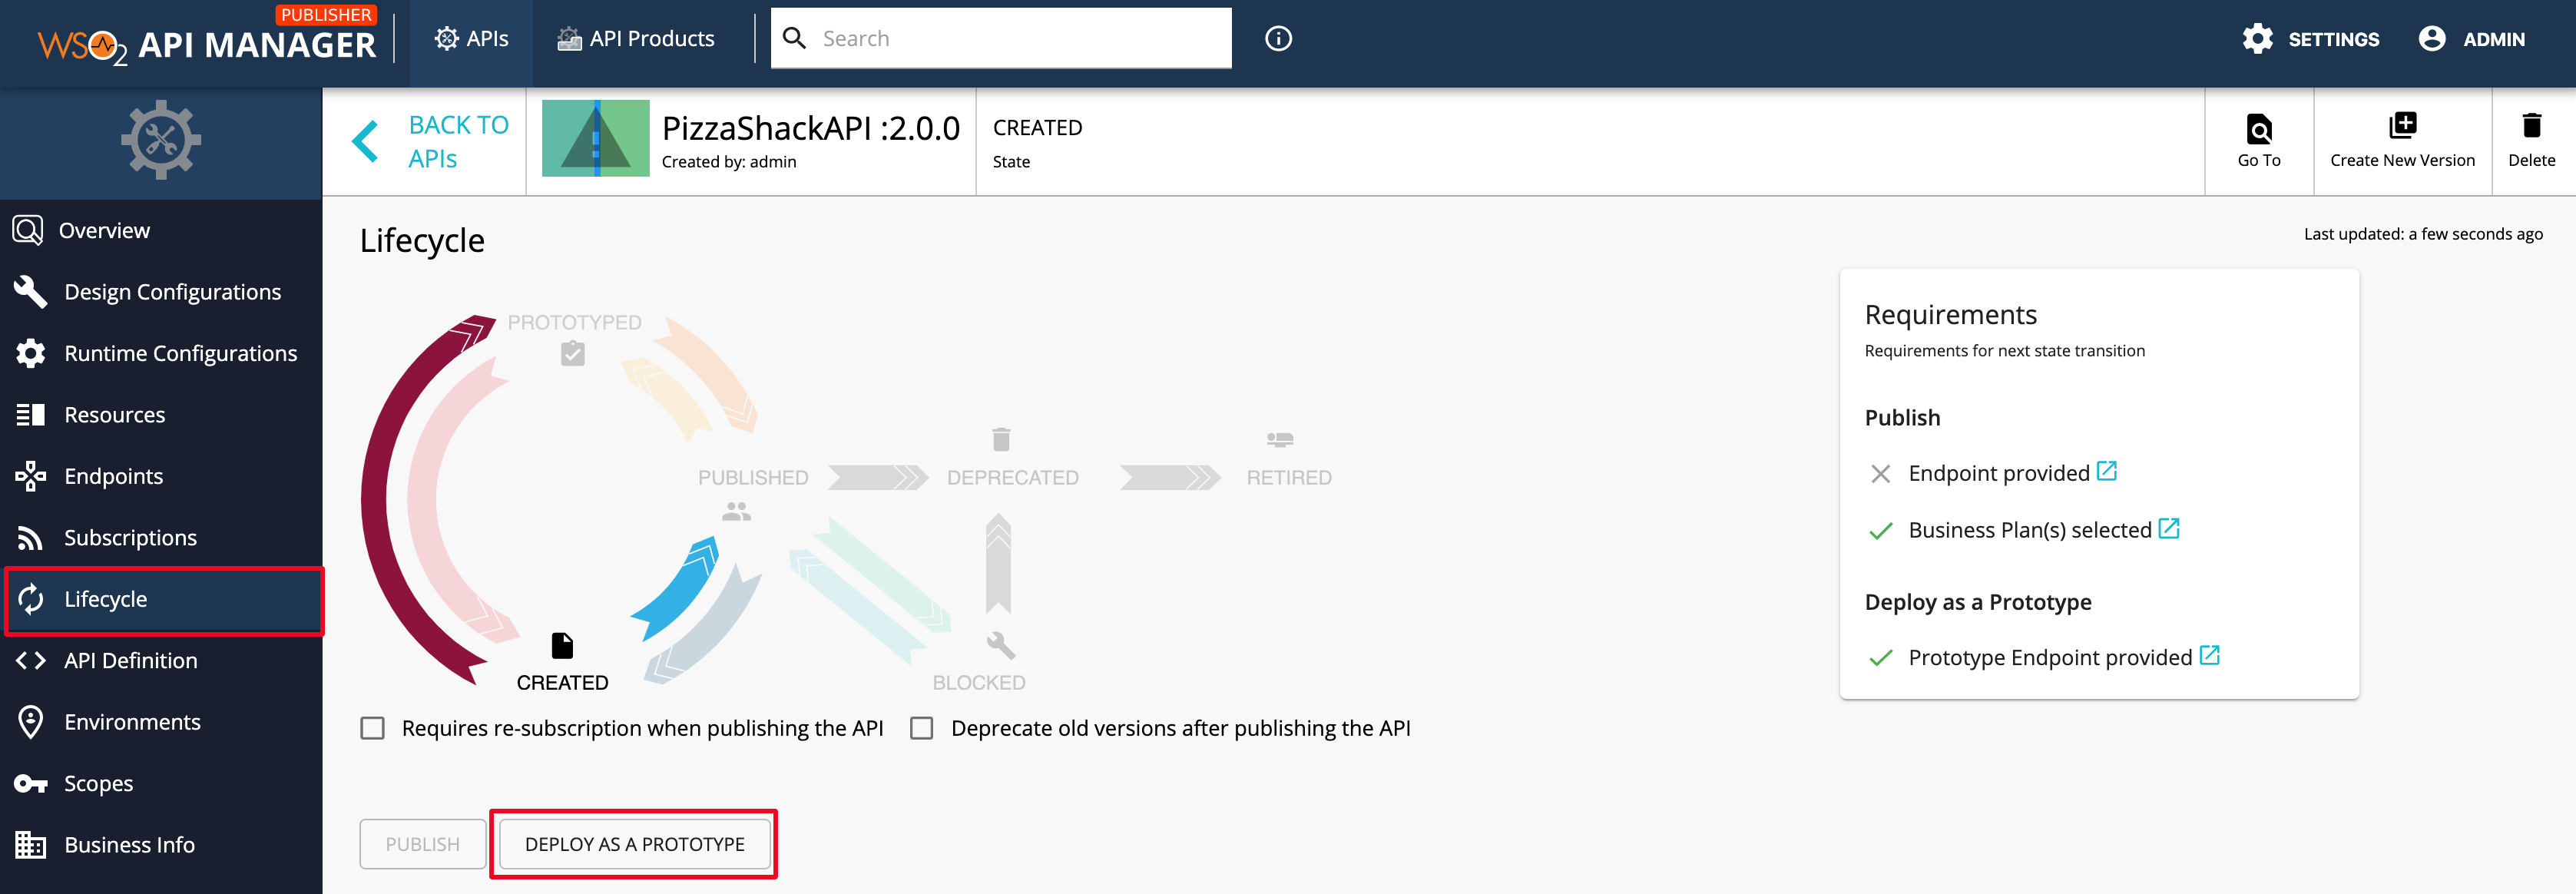
Note
After creating a new version, you typically deploy it as a prototype for the purpose of testing and early promotion.
Tip
- Leave the Requires Re-Subscription check box cleared if you want all users who are subscribed to the older version of the API to be automatically subscribed to the new version. If not, they need to subscribe to the new version again.
- You can choose to deprecate old versions of this API at this stage by selecting the Deprecate Old Versions check box.
-
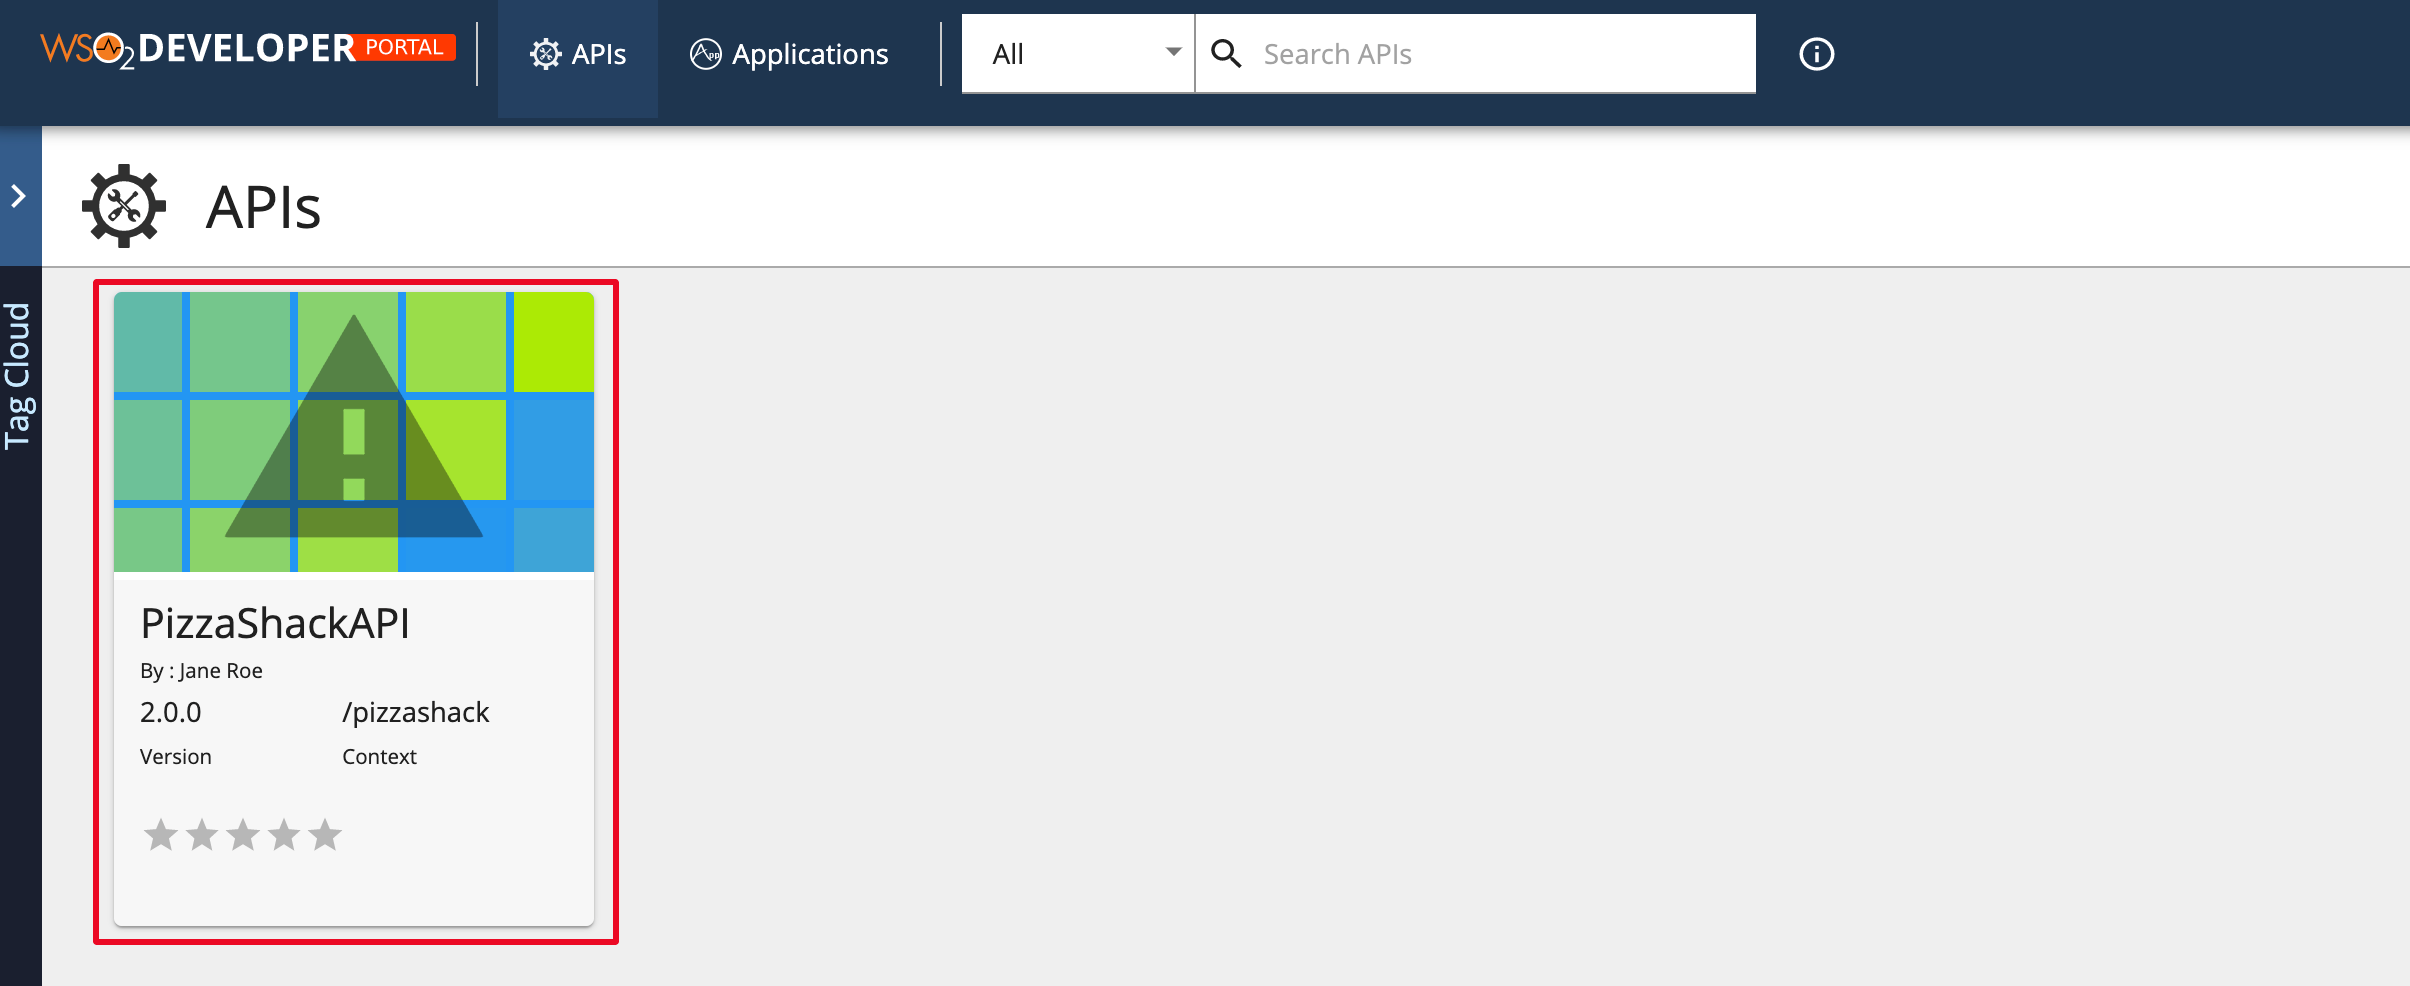
Click View in Dev Portal in the API Publisher to navigate to the Developer Portal.

Note
It is not necessary to sign in to the Developer Portal to invoke prototyped APIs.
The Overview page of the API appears. Note that the Subscriptions are not allowed for this API.
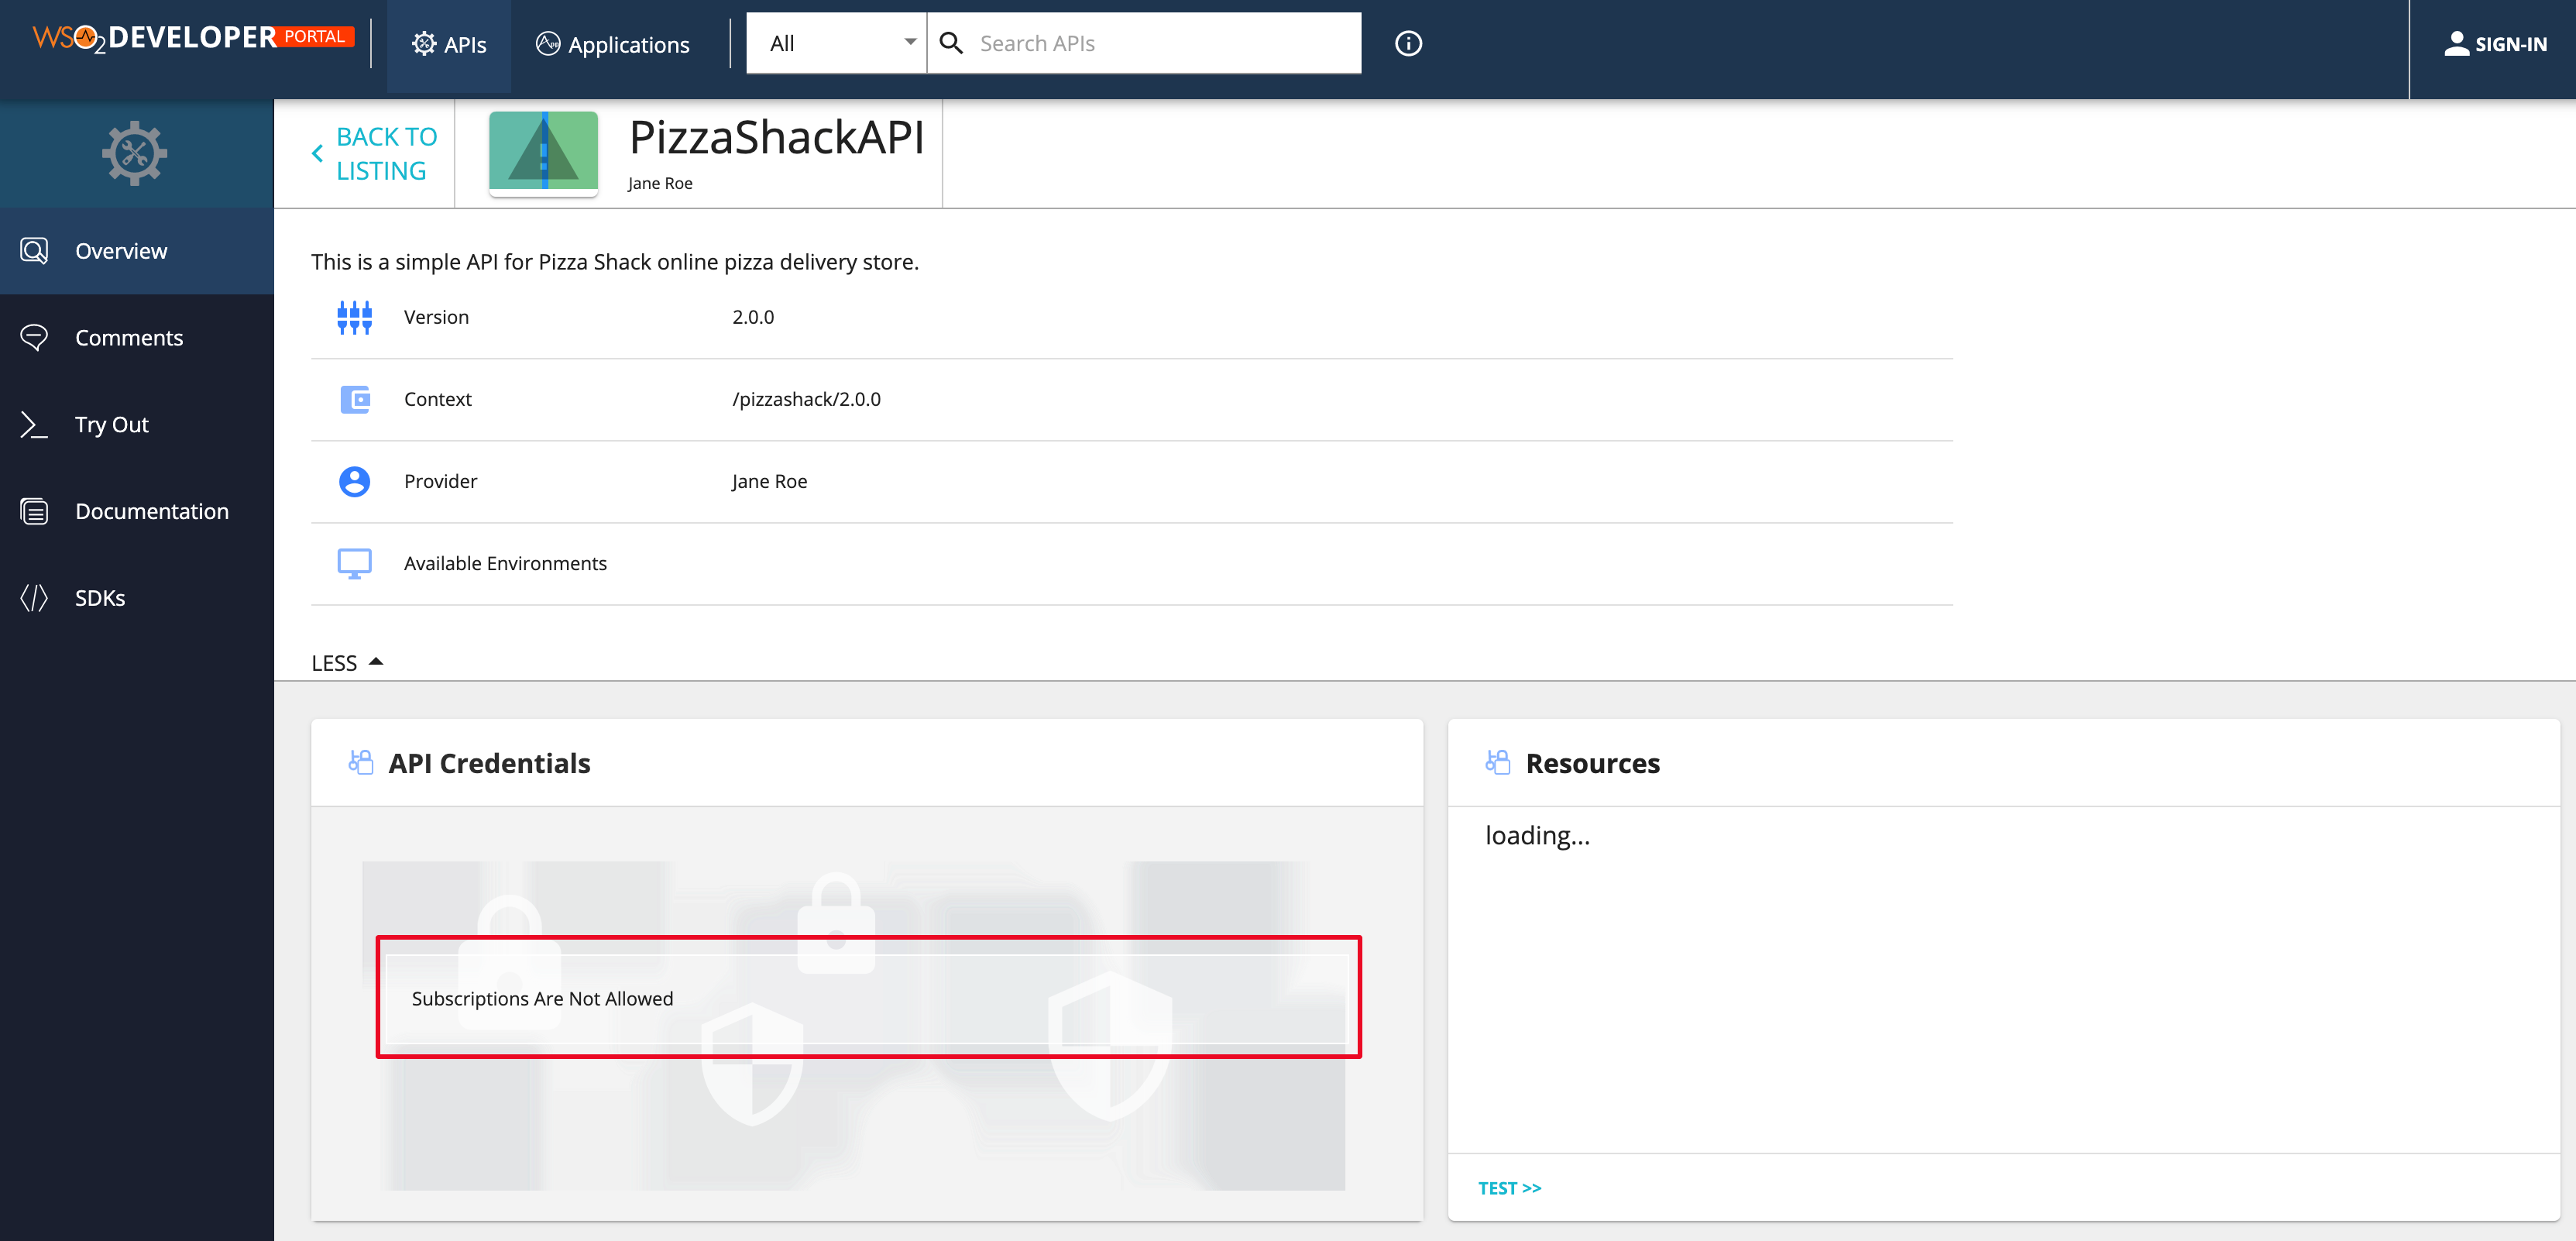
-
Click Try Out to invoke the Prototyped API.
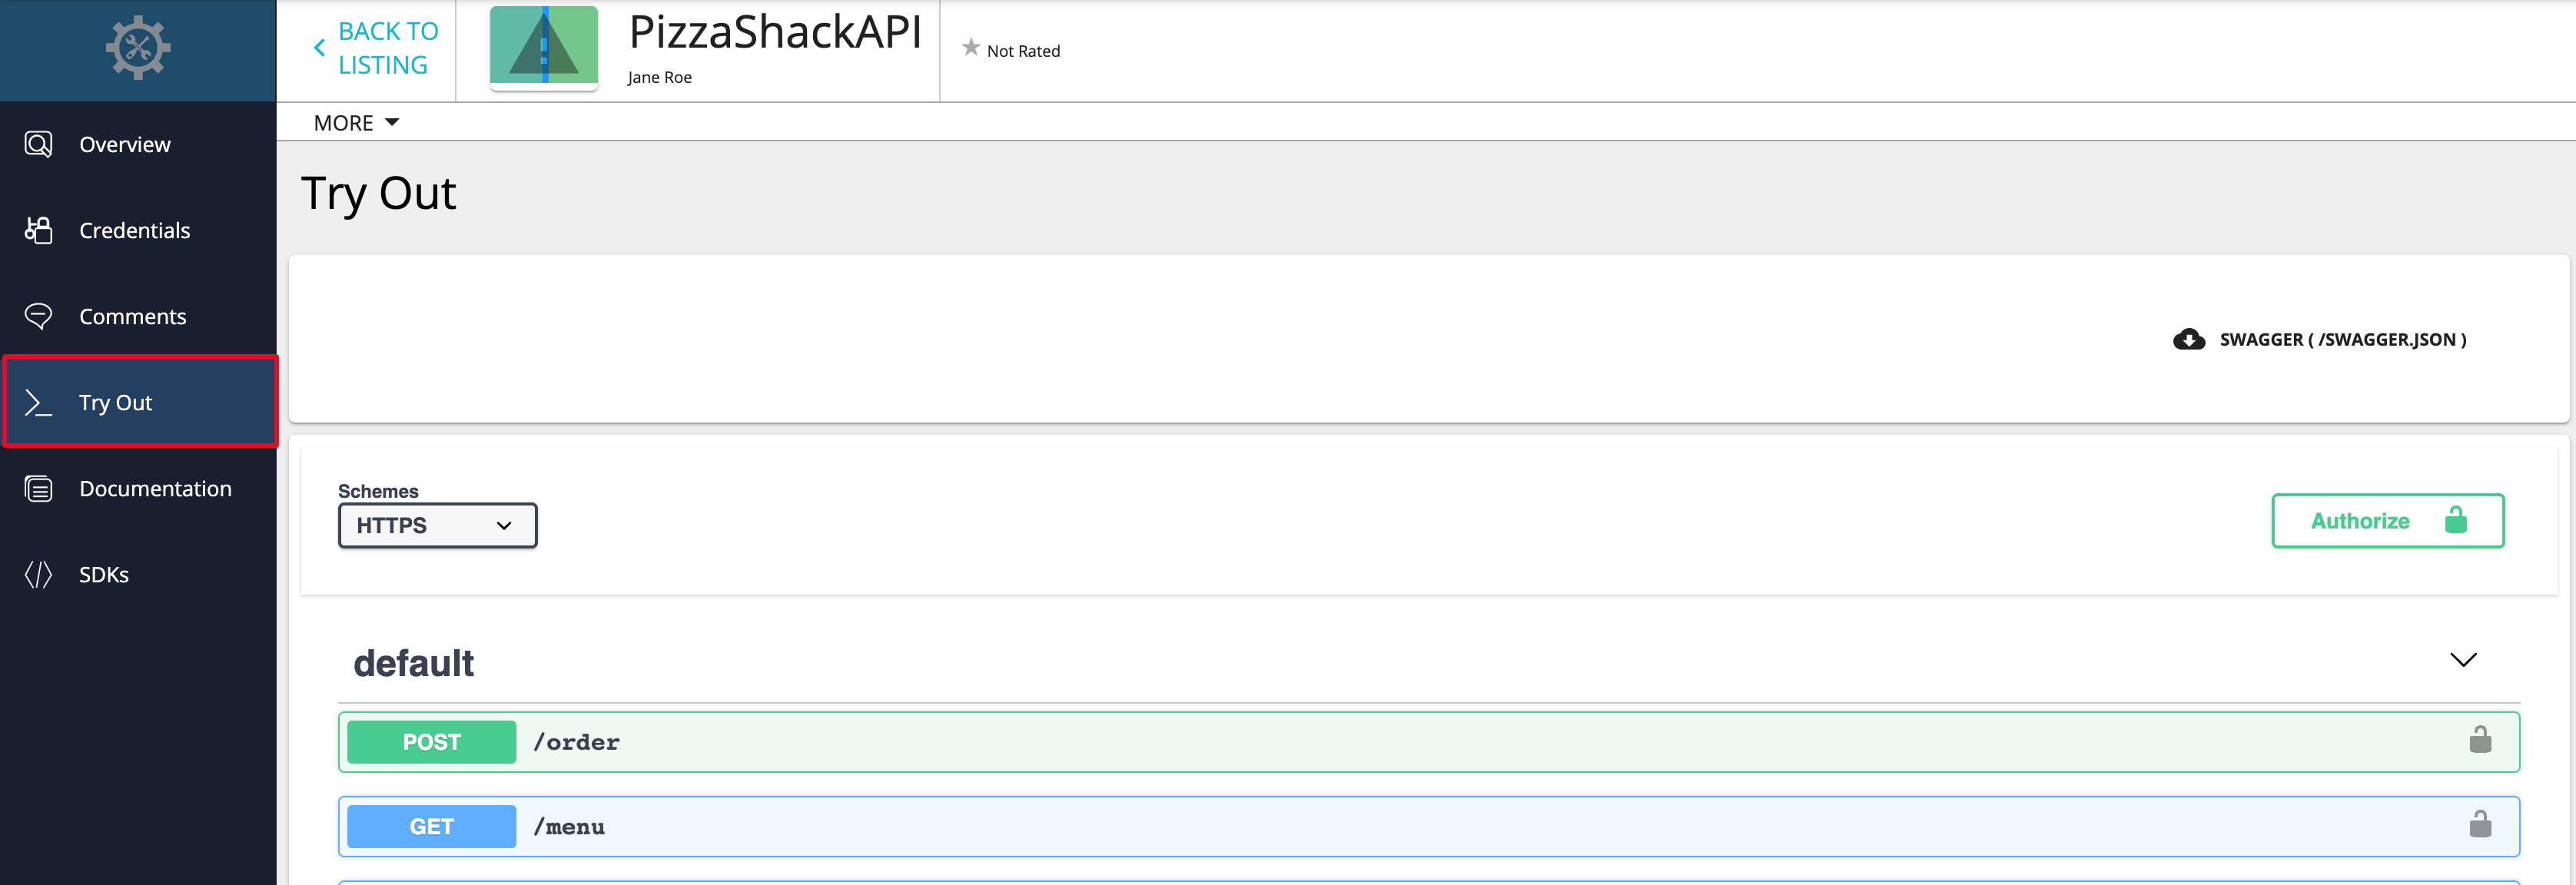
-
Expand the
GET /menumethod and click Try it out in the API Console of the prototyped API.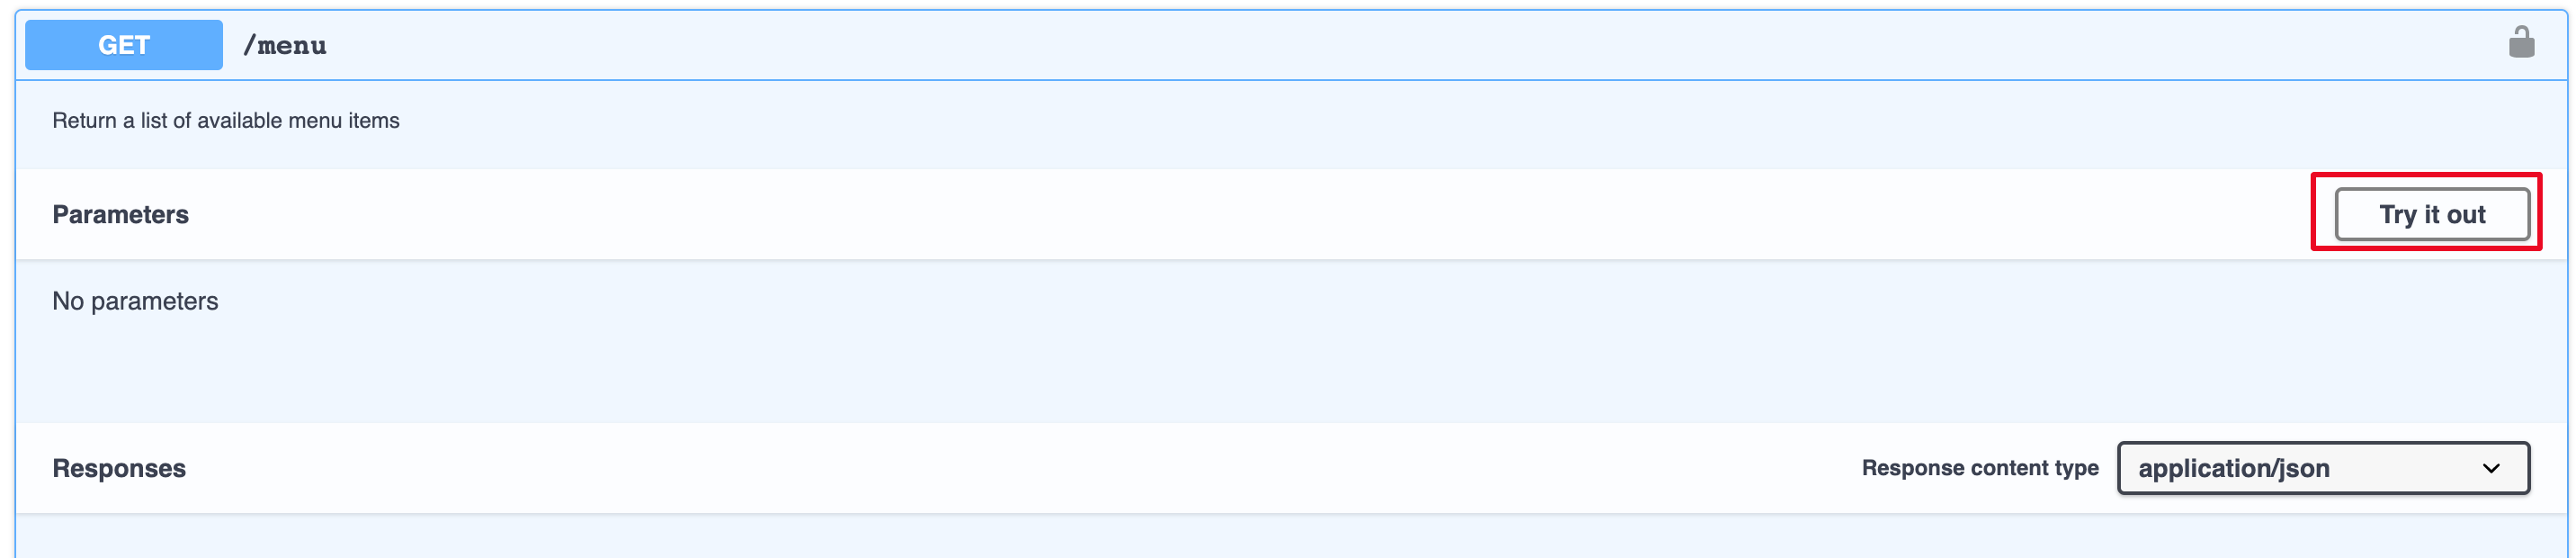
-
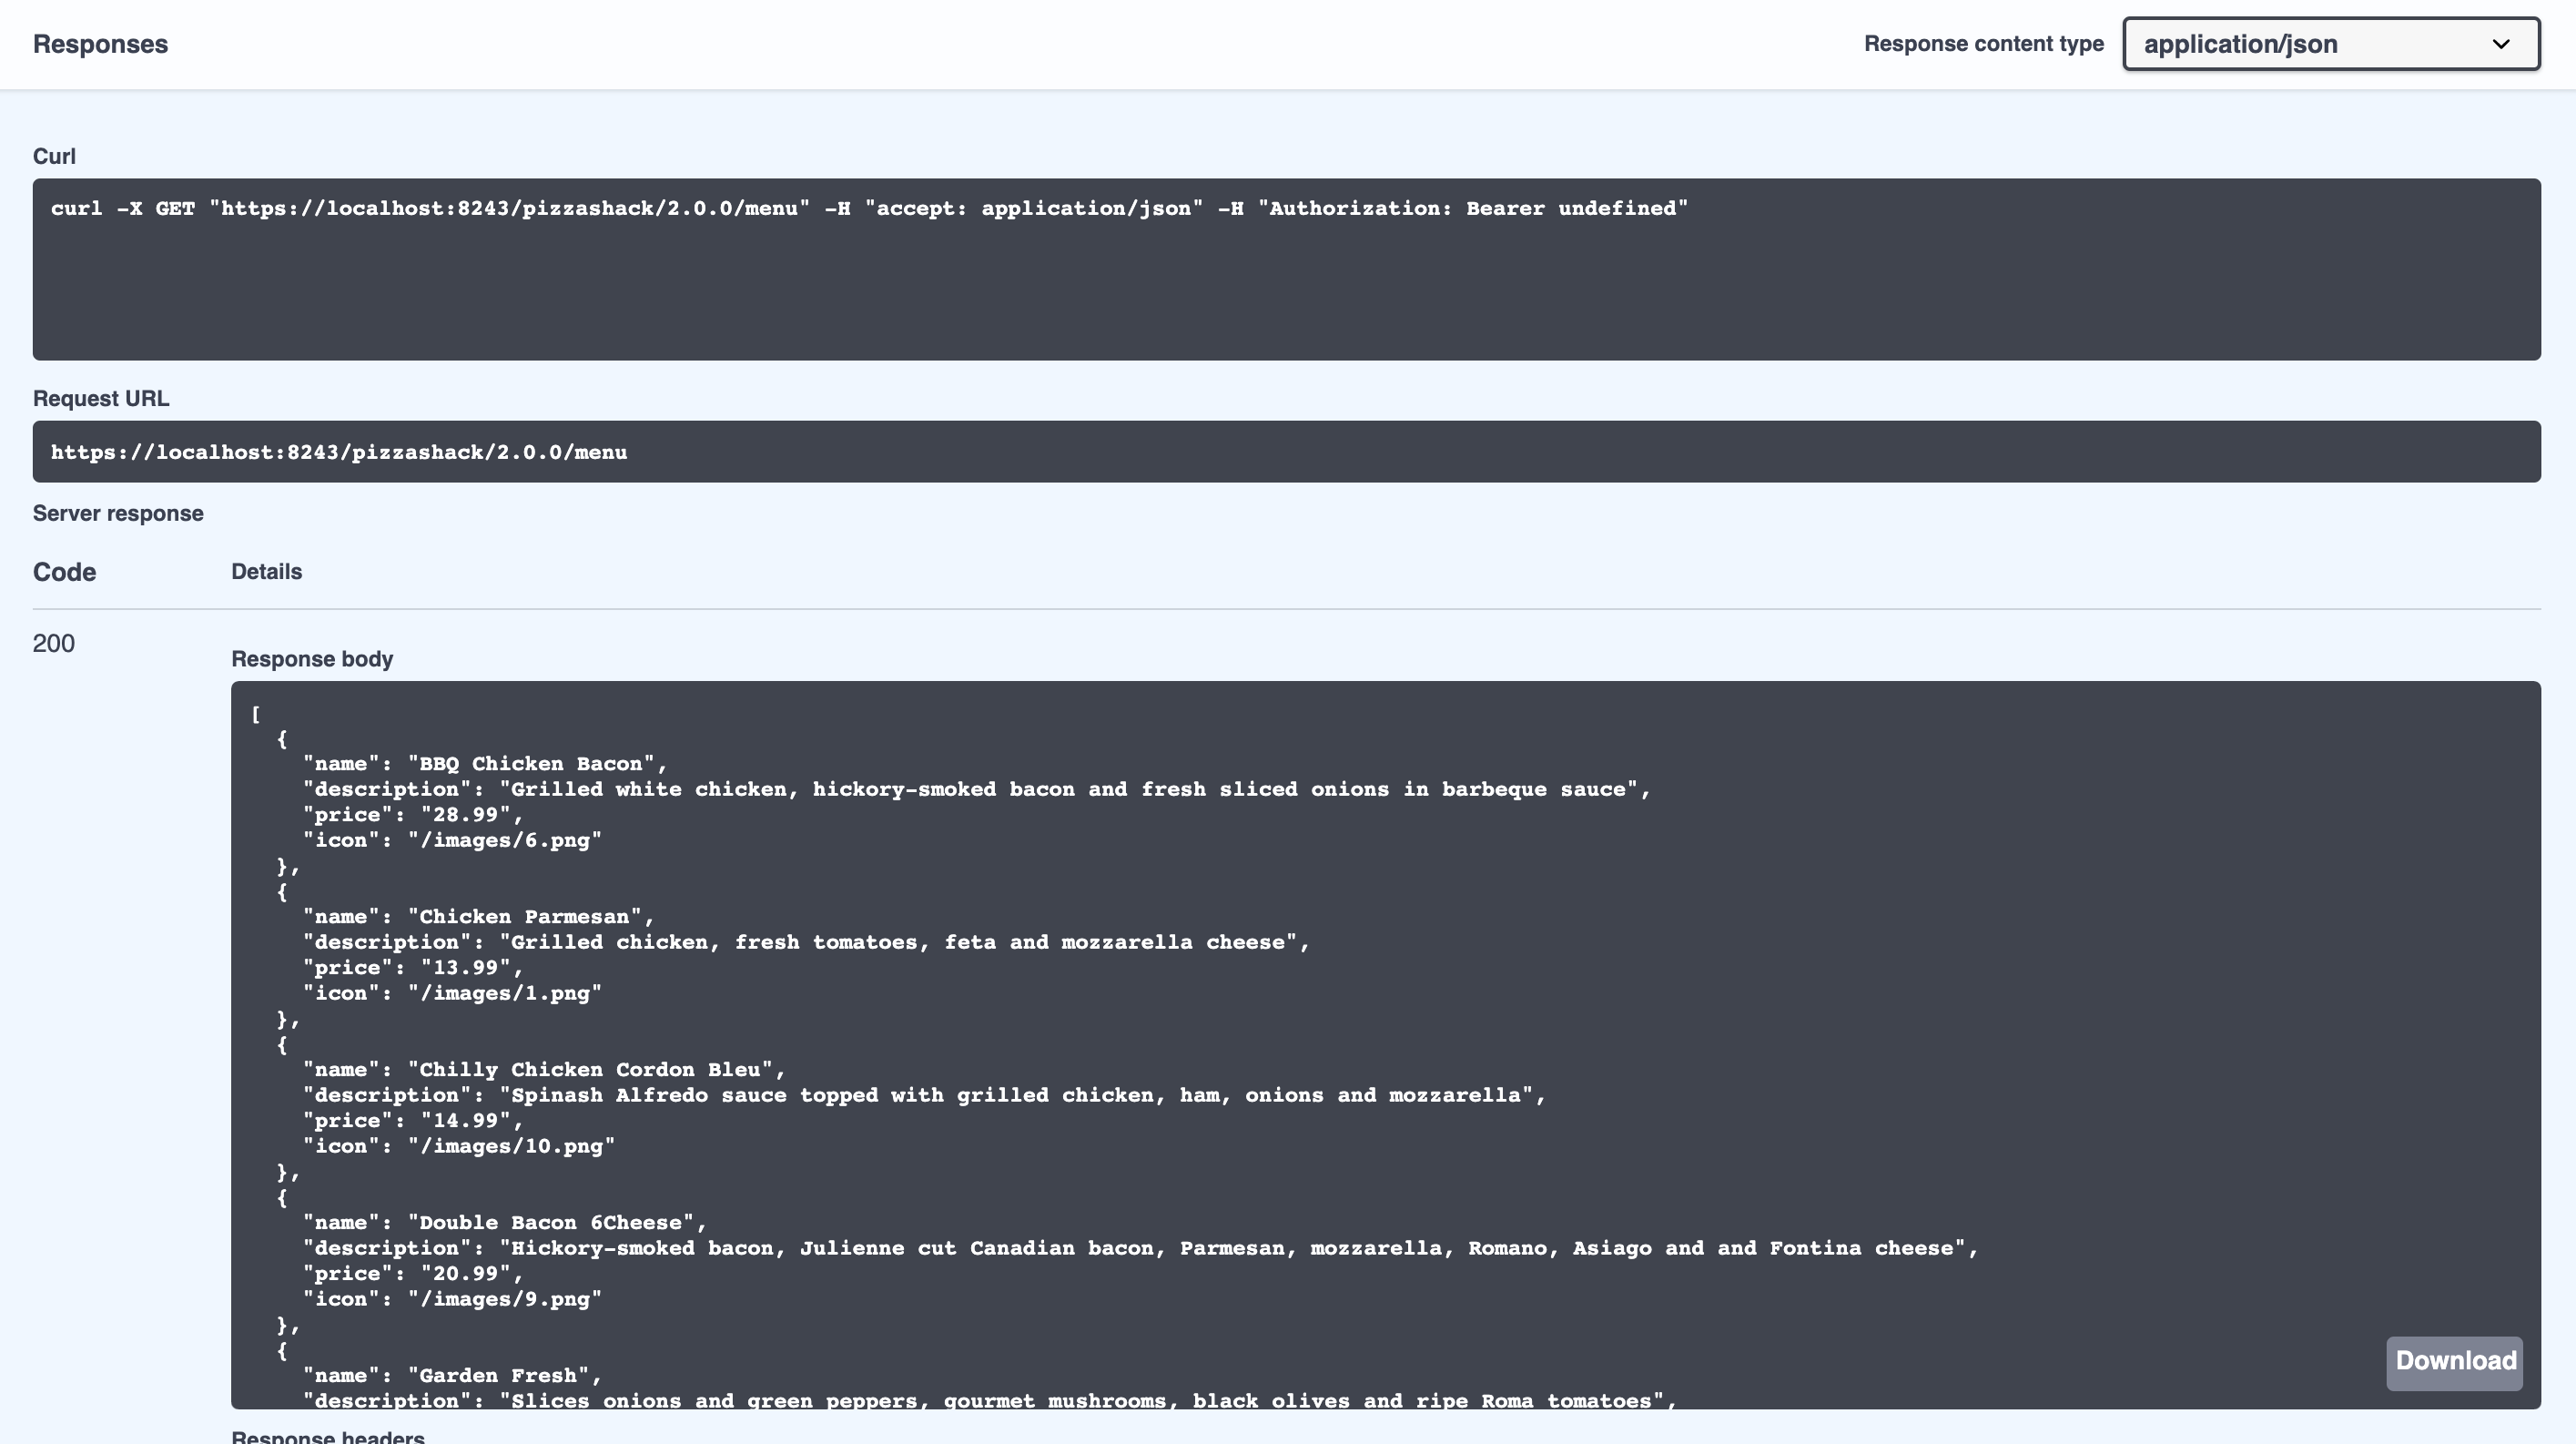
Click Execute to invoke the API.
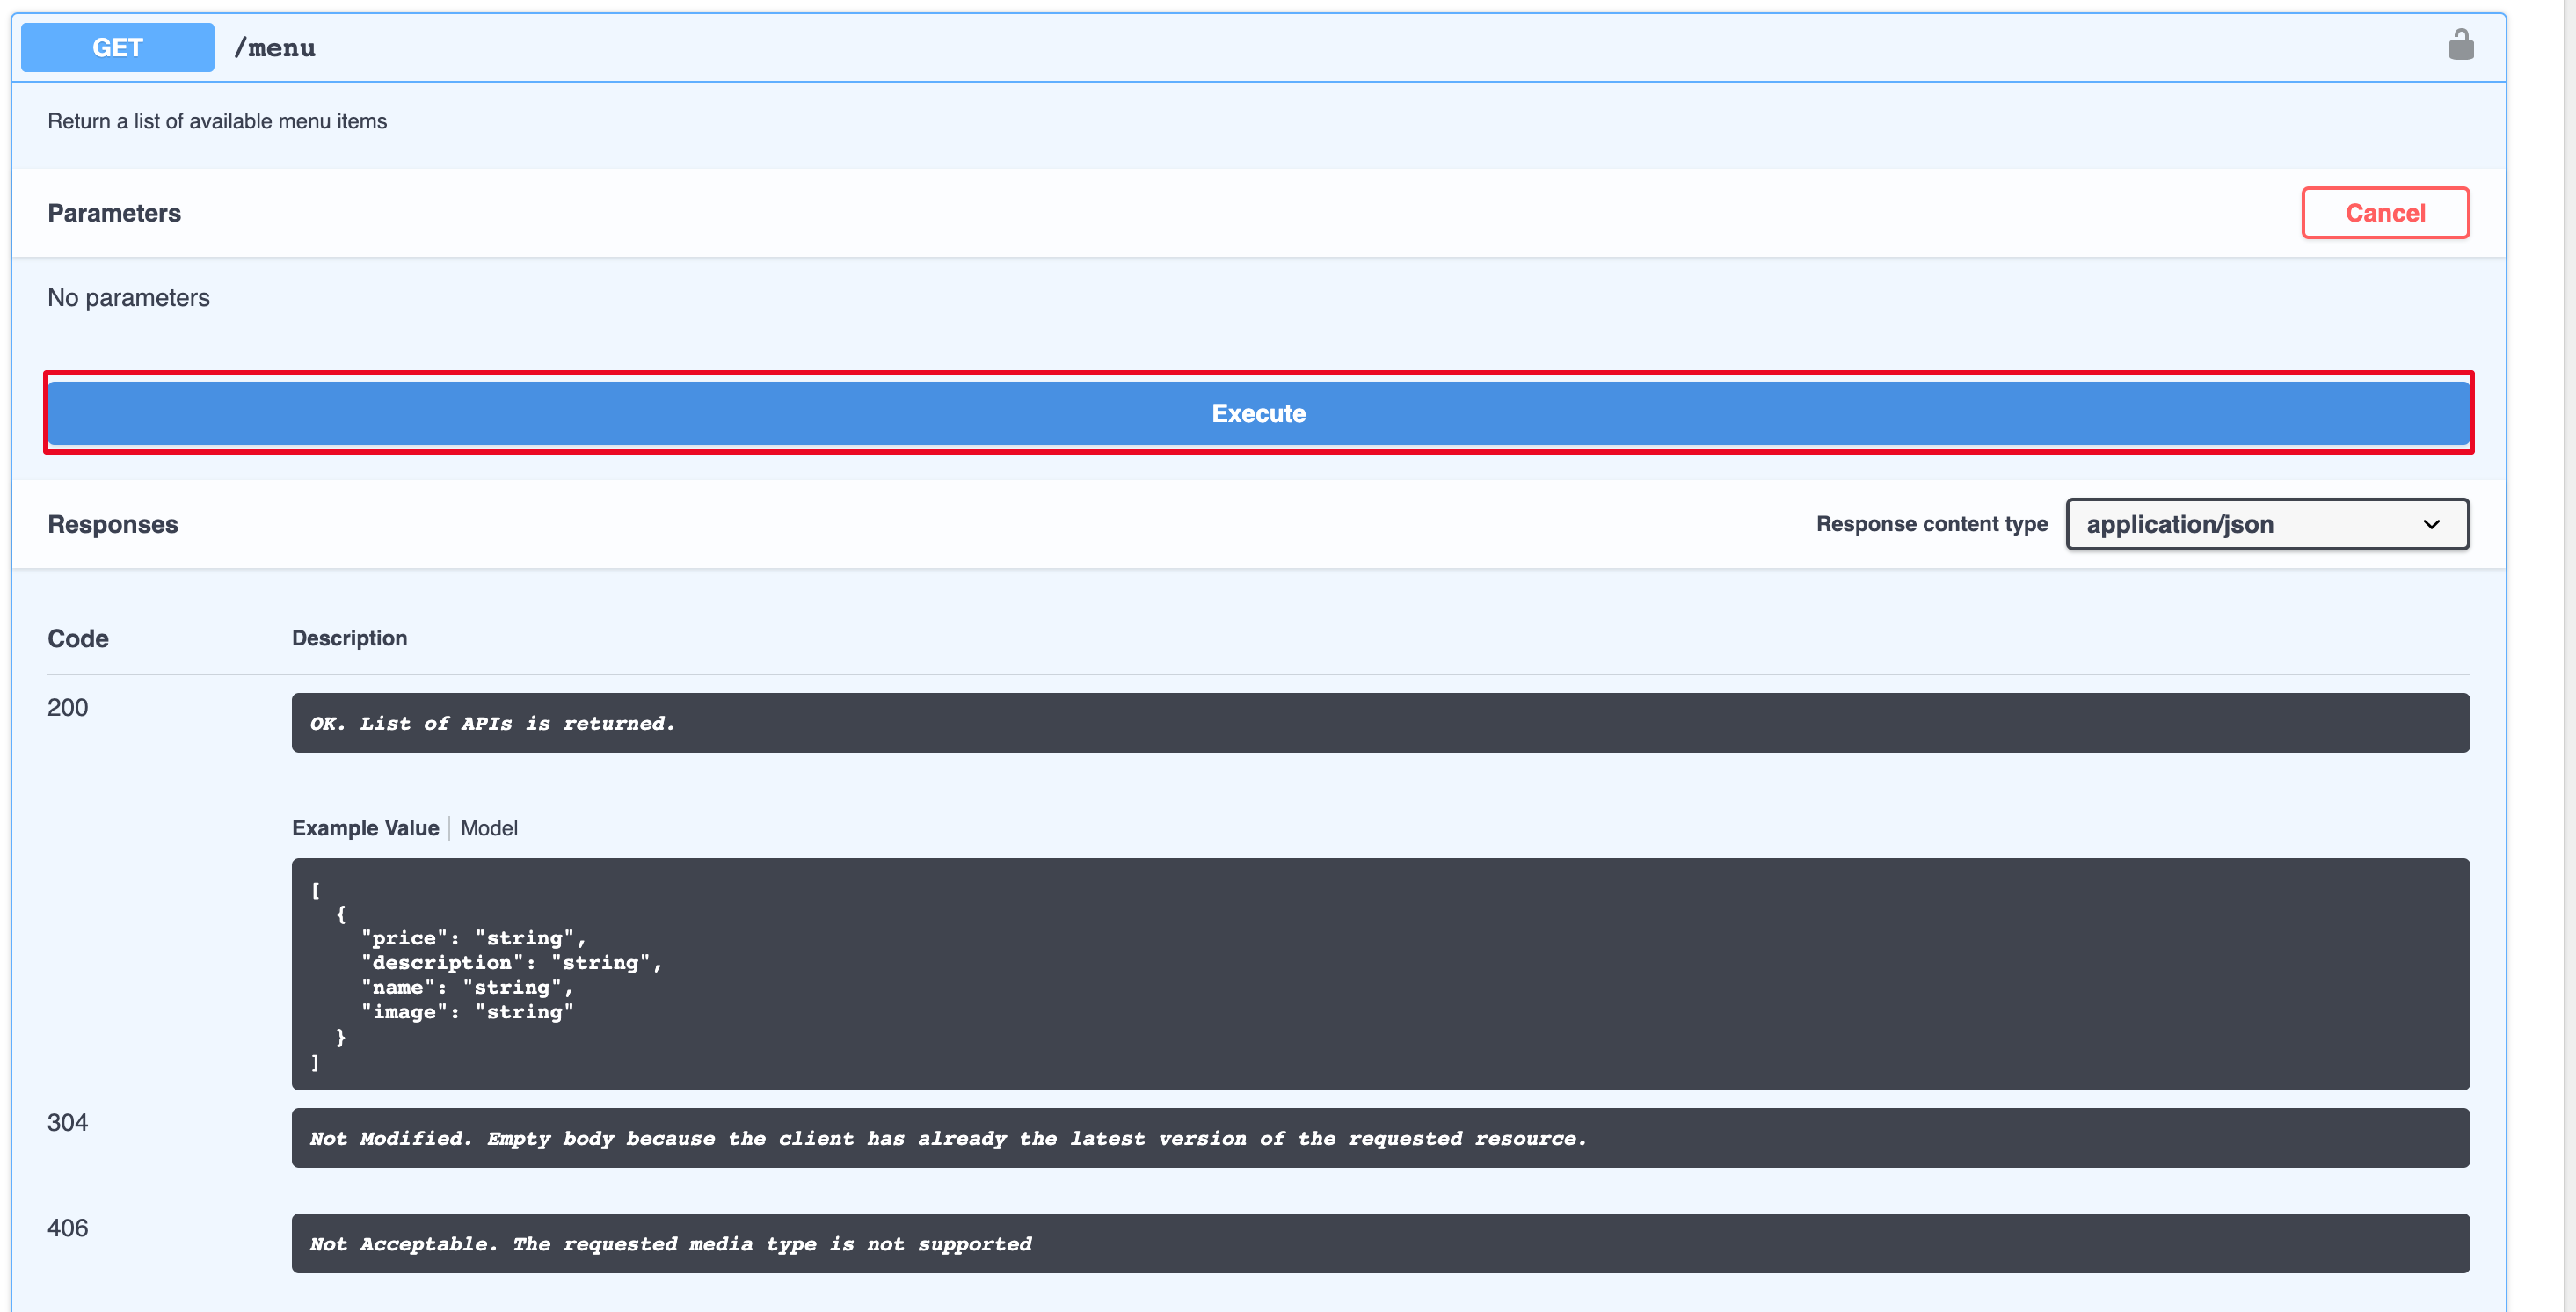
Note the response that appears in the console. You do not have to subscribe to the API or pass an authorization key to invoke a prototyped API.
Step 2 - Publish a Prototyped API
After the API is published, the users need to subscribe and generate an access token to invoke the API.
Follow the instructions below to publish a prototyped API with proper production/sandbox endpoints (after testing and promotions):
-
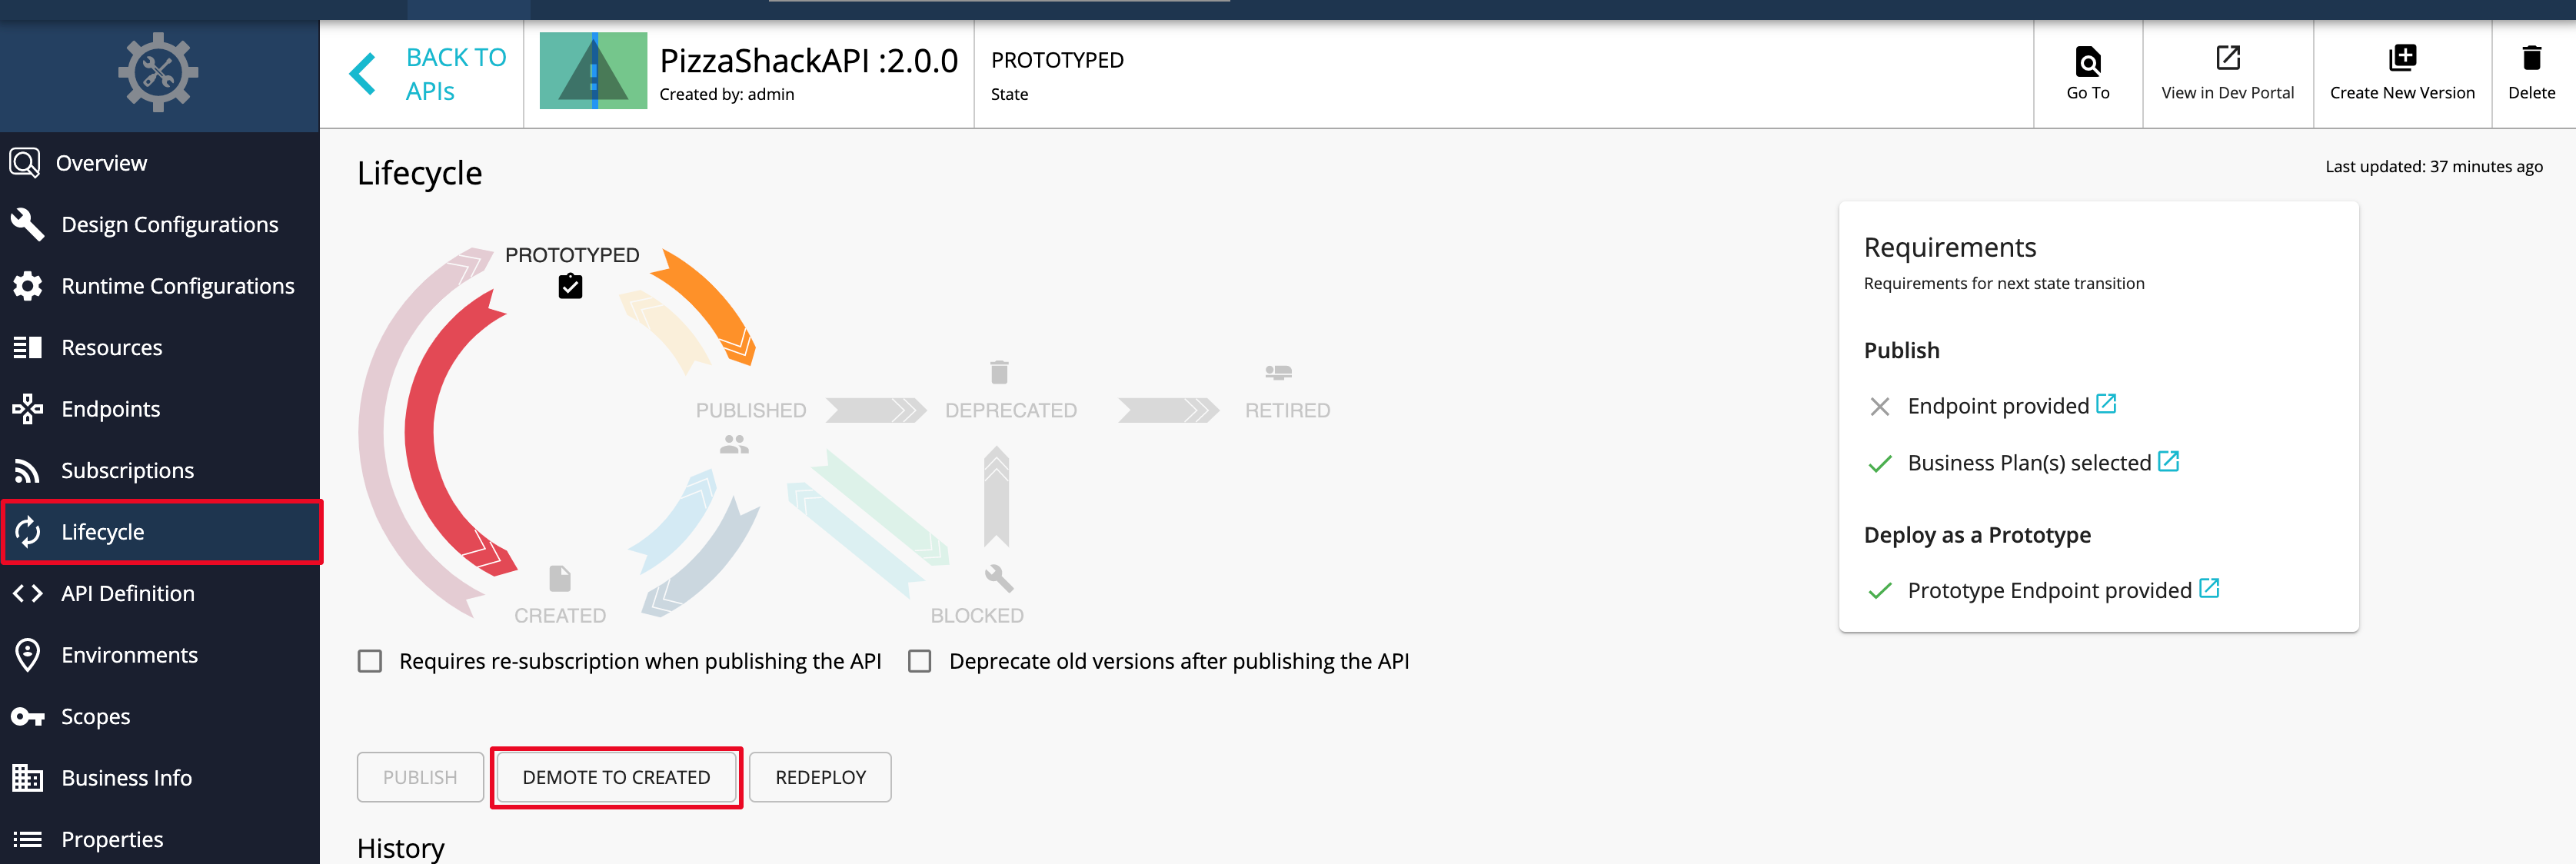
Navigate to the API Publisher and click on the Prototyped API that you need to Publish.
-
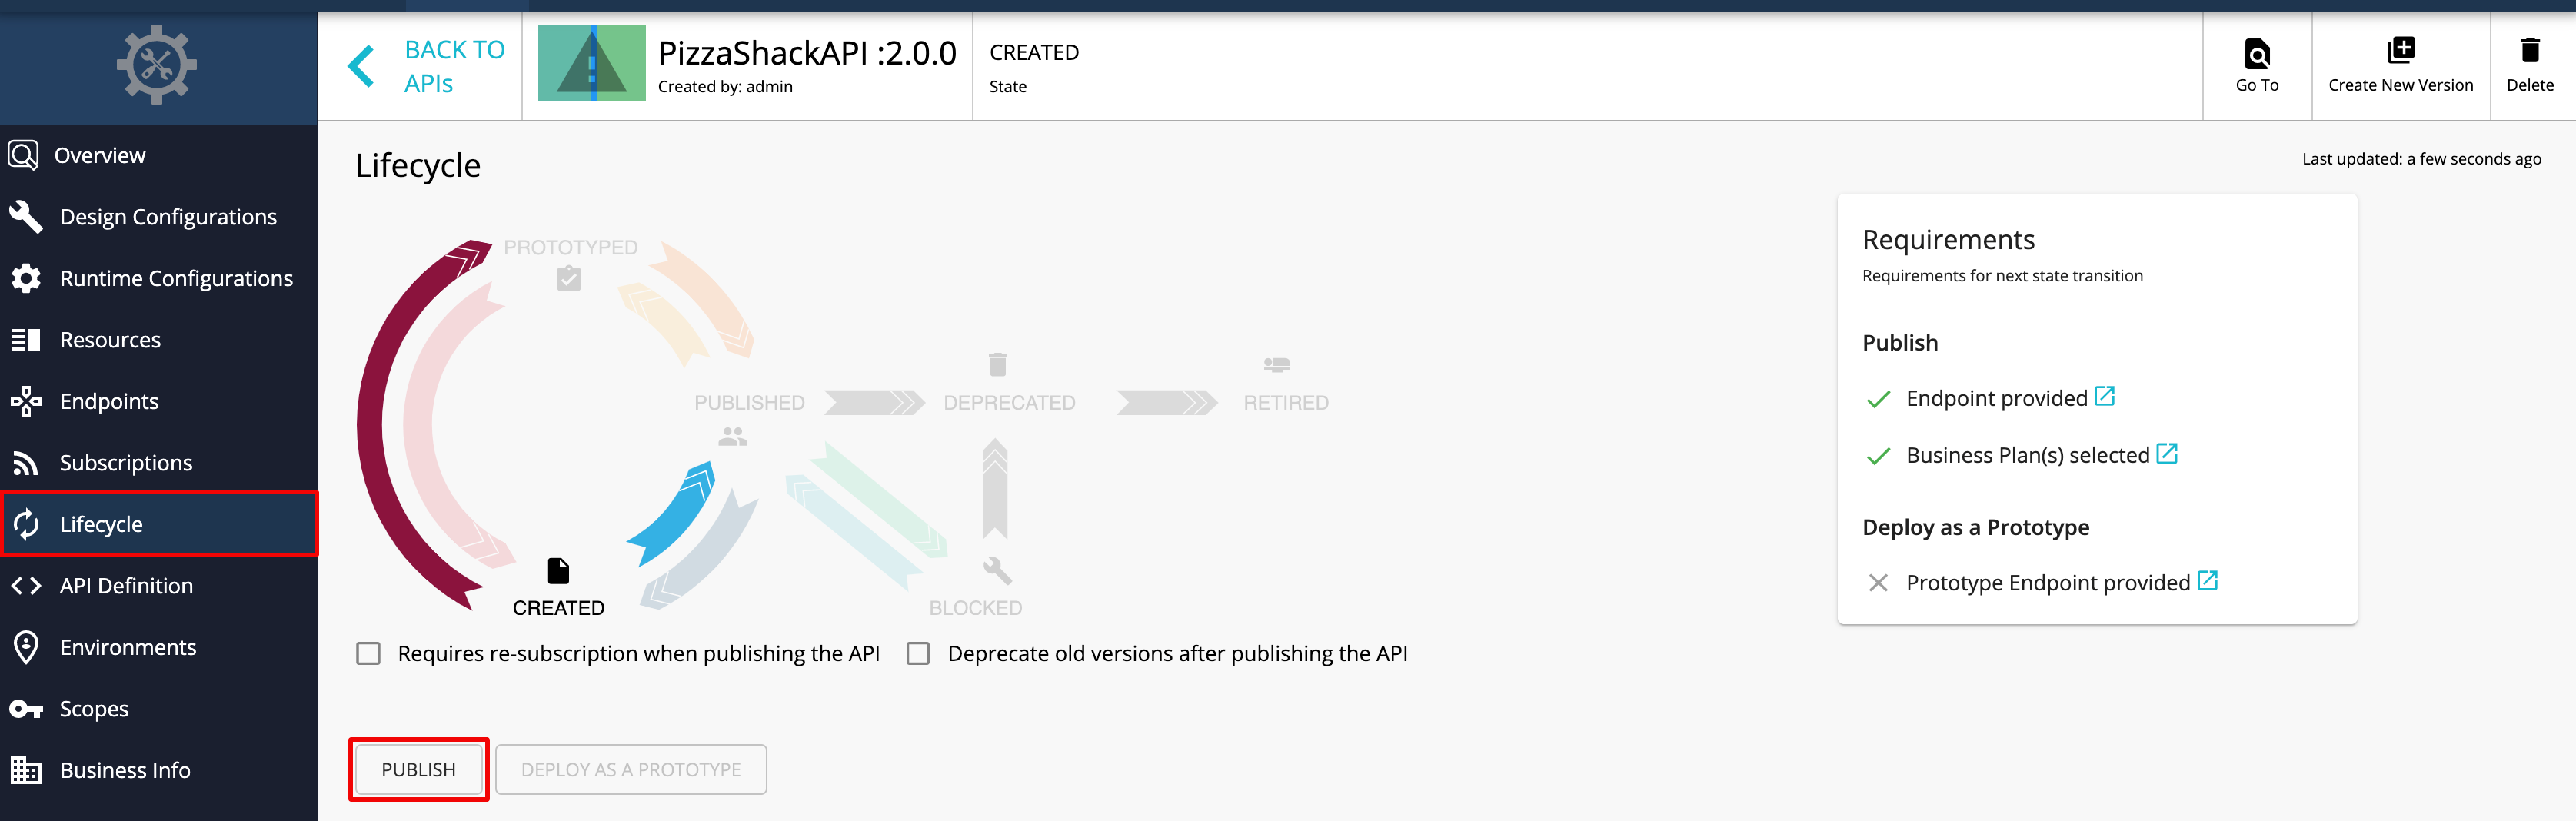
Click Lifecycle and click DEMOTE TO CREATED.
-
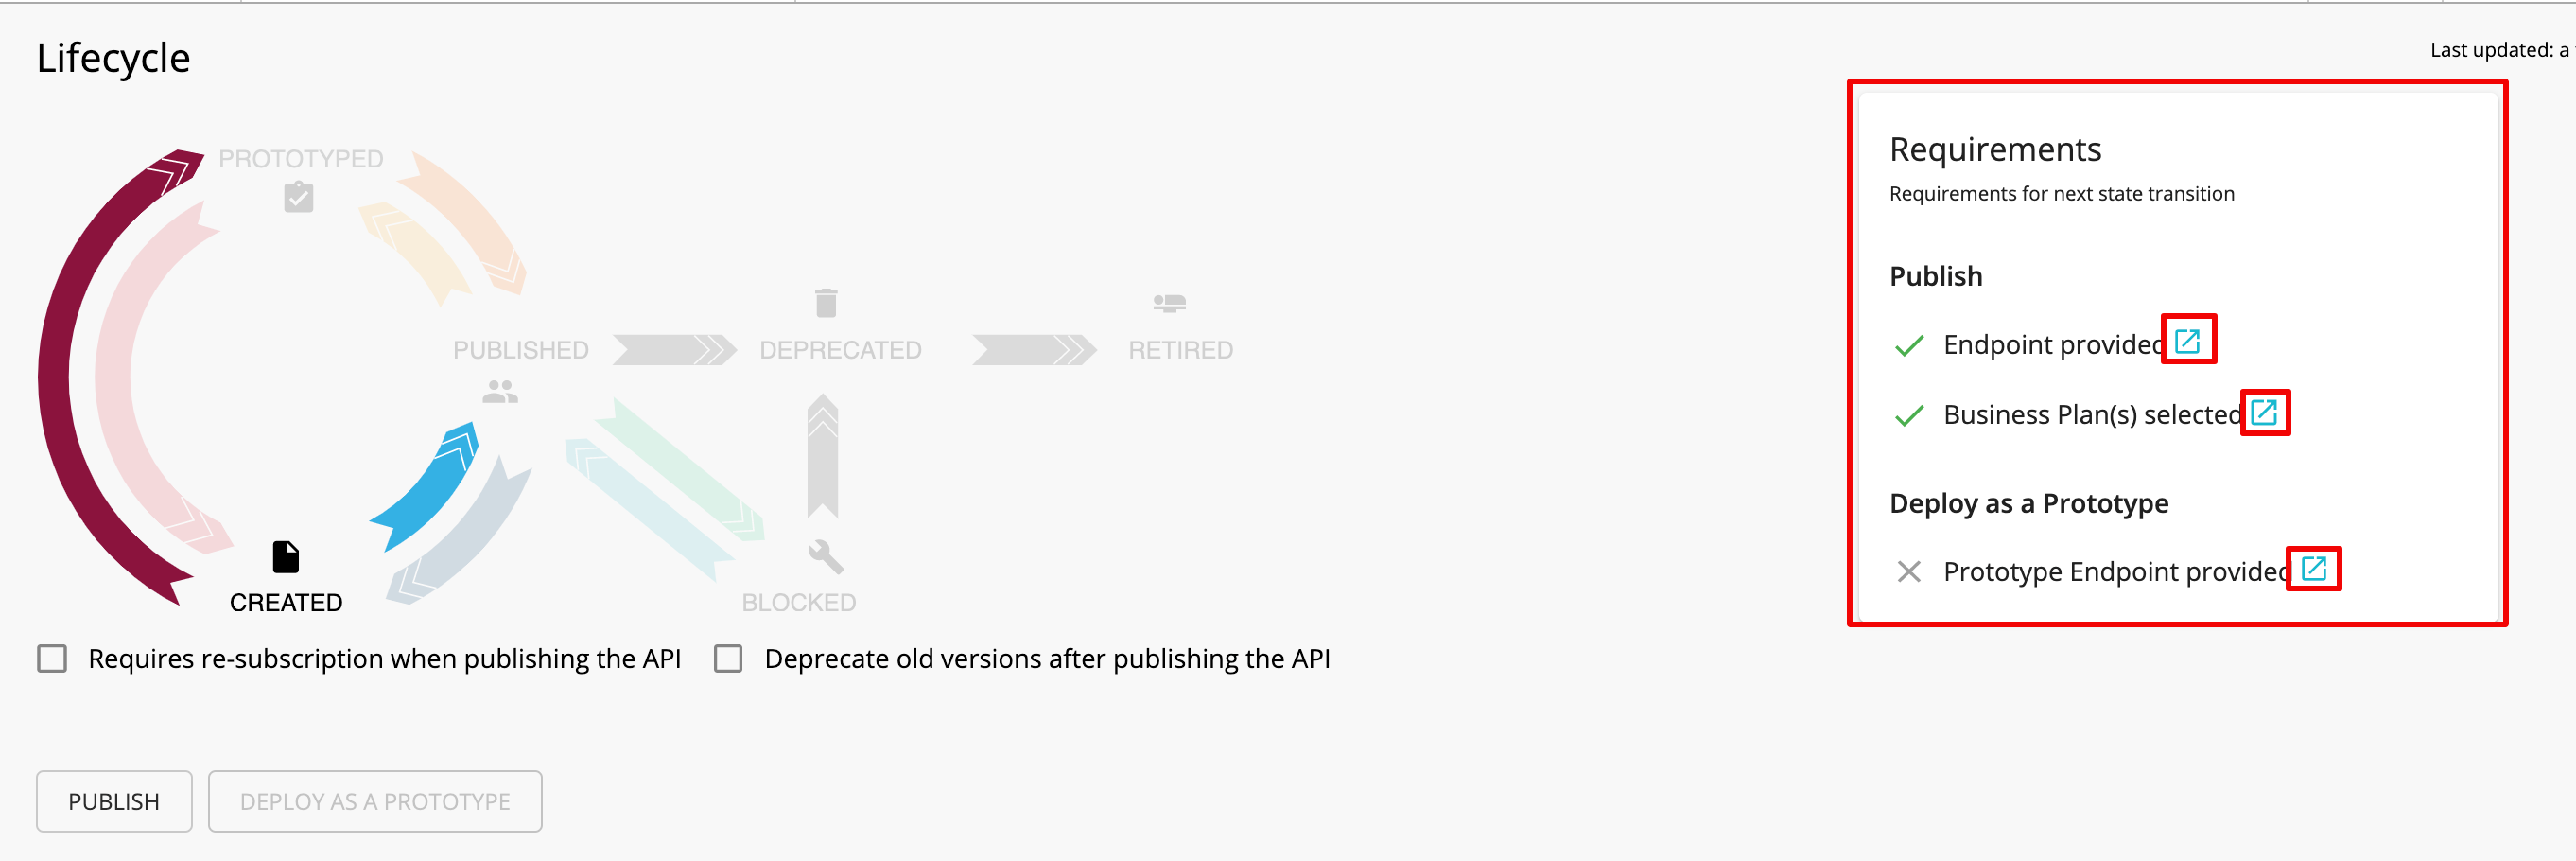
Check on the Requirements section, which lists out the requirements that need to be completed in order to Publish an API.
Tip
The requirements for the next lifecycle state change are listed in the Requirements section. If there are any requirements that you have not fulfilled, you can click on the link next to each item in the Requirement section to navigate to the corresponding page where you will be able to add the required details.
Note
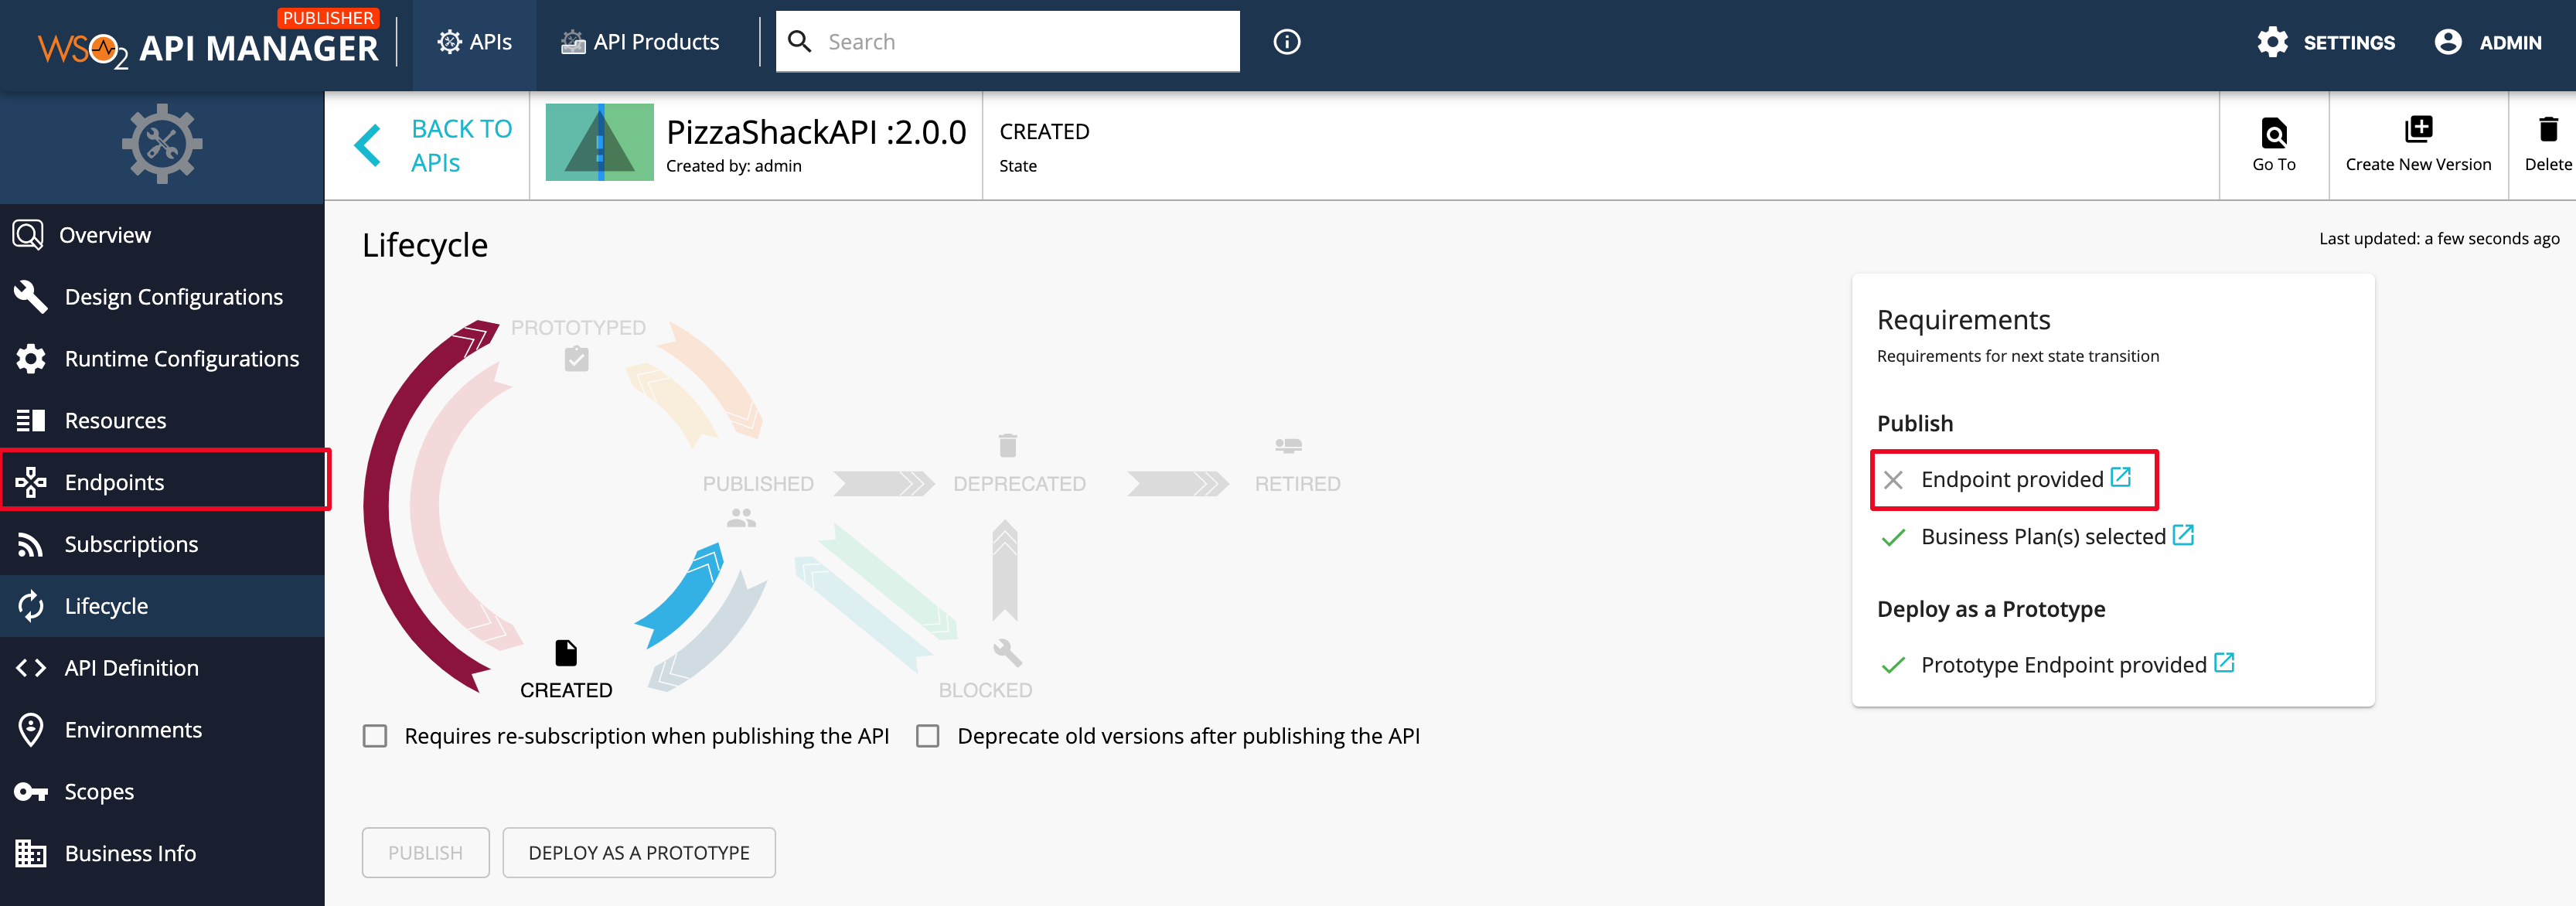
In this scenario, the current endpoint is set as a prototype endpoint. Enter the Production/Sandbox endpoints to publish the API.
-
Click Endpoints.
-
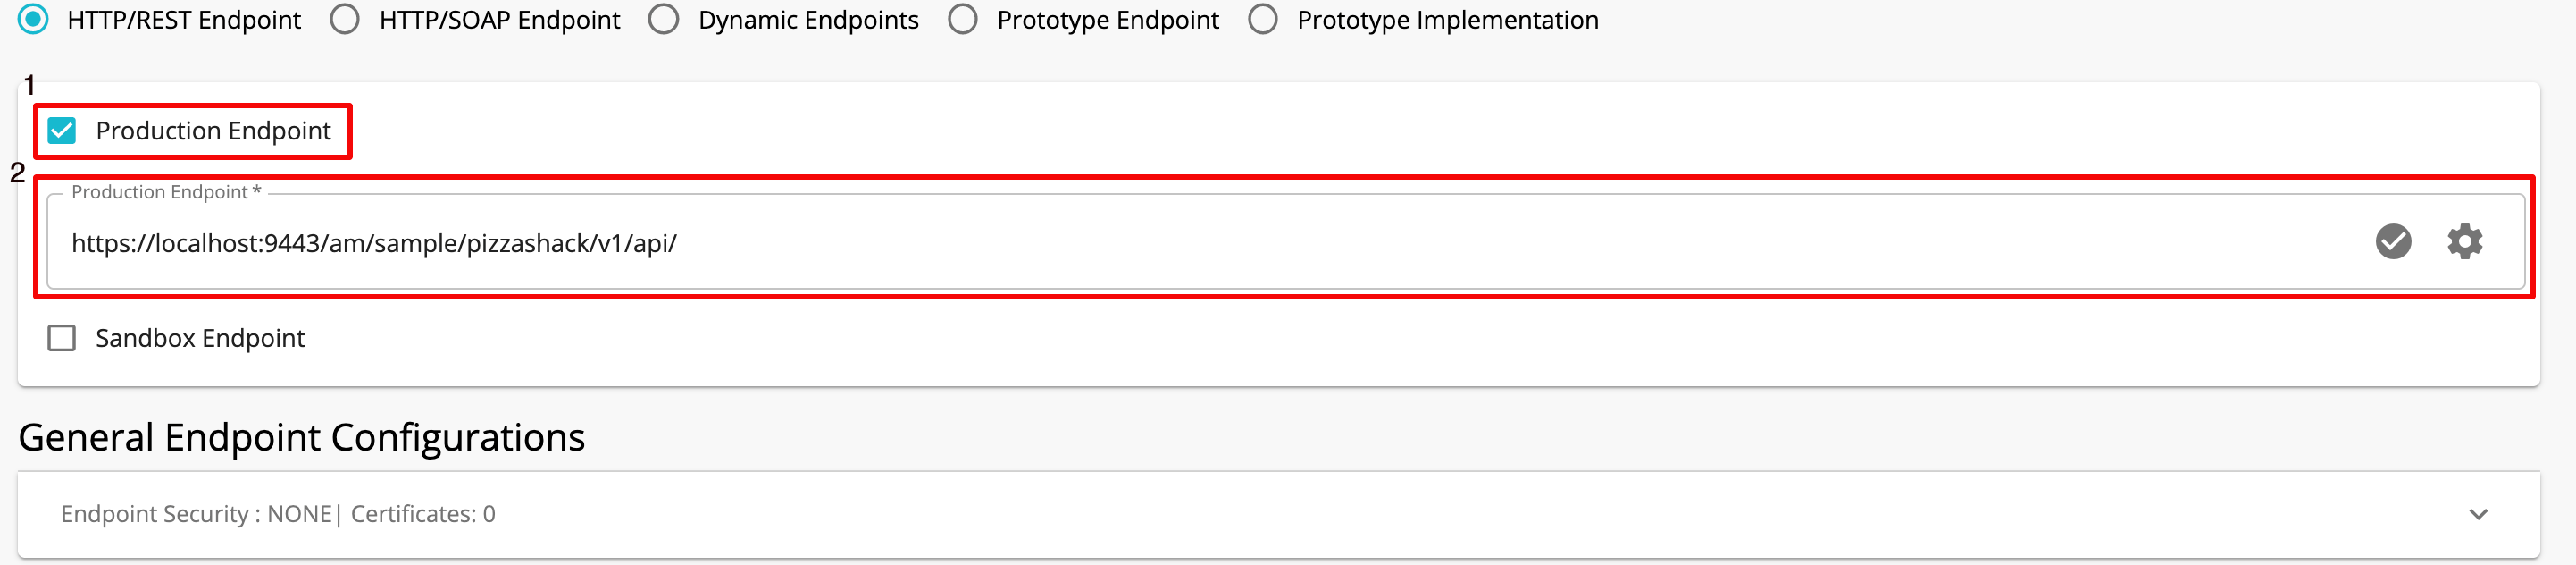
Select the Endpoint type.
-
Check the Production/Sandbox check boxes, add the corresponding endpoint, and click SAVE to save the API.
-
Click Lifecycle and click PUBLISH to Publish the API.