Managing User Roles
Roles contain permissions for users to manage the server. They can be reused and they eliminate the overhead of granting permissions to users individually.
Throughout this documentation, we use the following roles that are typically used in many enterprises. You can also define different user roles depending on your requirements.
- admin: The API management provider who hosts and manages the API Gateway and is responsible for creating users in the system, assigning them roles, managing databases, security, etc. The Admin role is also used to access the WSO2 Admin Portal (
https://<APIM_Host>:<APIM_Port>/admin), where you can define workflow tasks, throttling policies, analytics configurations, etc. The Admin role is available by default with the credentials admin/admin. By default, this role contains all the permissions (including super admin permissions) in the permission tree. - creator: A creator is typically a person in a technical role who understands the technical aspects of the API (interfaces, documentation, versions etc.) and uses the API publisher to provision APIs into the Developer Portal. The creator uses the Developer Portal to consult ratings and feedback provided by API users. Creator can add APIs to the Developer Portal but cannot manage their lifecycle. Governance permission gives a creator permission to govern, manage and configure the API artifacts.
- publisher: A person in a managerial role and overlooks a set of APIs across the enterprise and controls the API lifecycle, subscriptions and monetization aspects. The publisher is also interested in usage patterns for APIs and has access to all API statistics.
- subscriber: A user or an application developer who searches the Developer Portal to discover APIs and use them. S/he reads the documentation and forums, ratings/comments on the APIs, subscribes to APIs, obtains access tokens and invokes the APIs.
Follow the instructions below to create the creator , publisher and subscriber roles in the API Manager for example.
Info
By default, all WSO2 products have the following roles configured:
- admin - Provides full access to all features and controls. By default, the admin user is assigned to both the admin and the Internal/everyone roles.
- Internal/everyone - This is a pre defined role that is used to group all the users (across the user stores) together. When you create a new user, automatically the user belongs to the
Internal/everyonerole. It does not include any permissions. This role can be used to identify all logged in users. - Internal/system - This is another pre defined role which does not include any permissions. Unlike the
Internal/everyonerole, this role is not assigned to a user by default. - Internal/analytics - This role can be assigned to users who do not have the publisher or subscriber roles assigned but need permission to view the analytics dashboards.
In addition to the above, the following roles exist by default.
Create user roles
- Log in to the management console (
https://<APIM_Host>:<APIM_Port>/carbon) as admin (default credentials are admin/admin). -
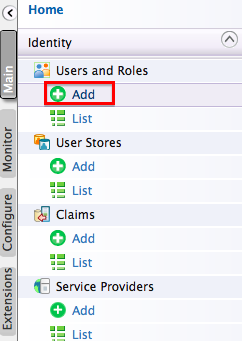
In the Main menu, click Add under Users and Roles.
-
Click Add New Role.

-
Enter the name of the user role (e.g.,
creator).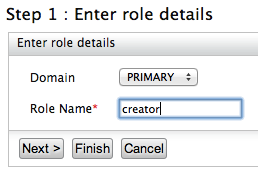
In the Domain list, specify the user store where you want to create this role. This list includes the primary user store and any other secondary user stores that are configured for your product. For information on how user stores (which are repositories storing information about users and roles) are set up and configured, see Configuring User Stores. Enter a unique name for this role (
creator) and click Next.Tip
The Domain drop-down list contains all user stores configured in the system. By default, only the PRIMARY user store is configured. To configure secondary user stores, see Configuring Secondary User Stores.
-
The permissions page opens.
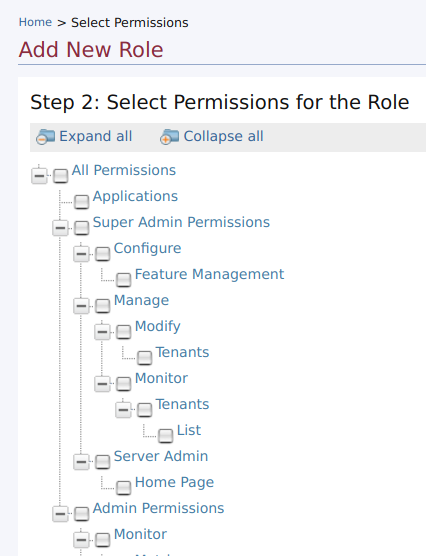
Select the permissions according to the role that you create. The table below lists the permissions of the
creator,publisherandsubscriberroles which are available by default.Since we have created the
creatorrole here, assign the permissions listed under the creator role as given in the table below.Roles Permissions UI creator - Configure > Governance and all underlying permissions.
- Login
- Manage > API > Create
- Manage > Resources > Govern and all underlying permissions

publisher - Login
- Manage > API > Publish

subscriber
- Login
- Manage > API > Subscribe

-
Click Finish once you are done adding permissions.
Warning
In WSO2 API Manager 3.0.0, Developer Portal and Publisher Web Application UIs are populated by API-M REST APIs and all the authentication and authorization to access the different components in the UI solely depend on the scope role mapping defined in
/_system/config/apimgt/applicationdata/tenant-conf.jsonthat can be accessed through the Management Console from Resources > Browse.By default, the scope-role mapping contains Internal/creator, Internal/publisher, Internal/subscriber as the default roles. If there are custom roles defined with API creator, API publisher, admin and API subscriber permissions, those roles have to be configured in
tenant-conf.jsonunder relevant scopes. -
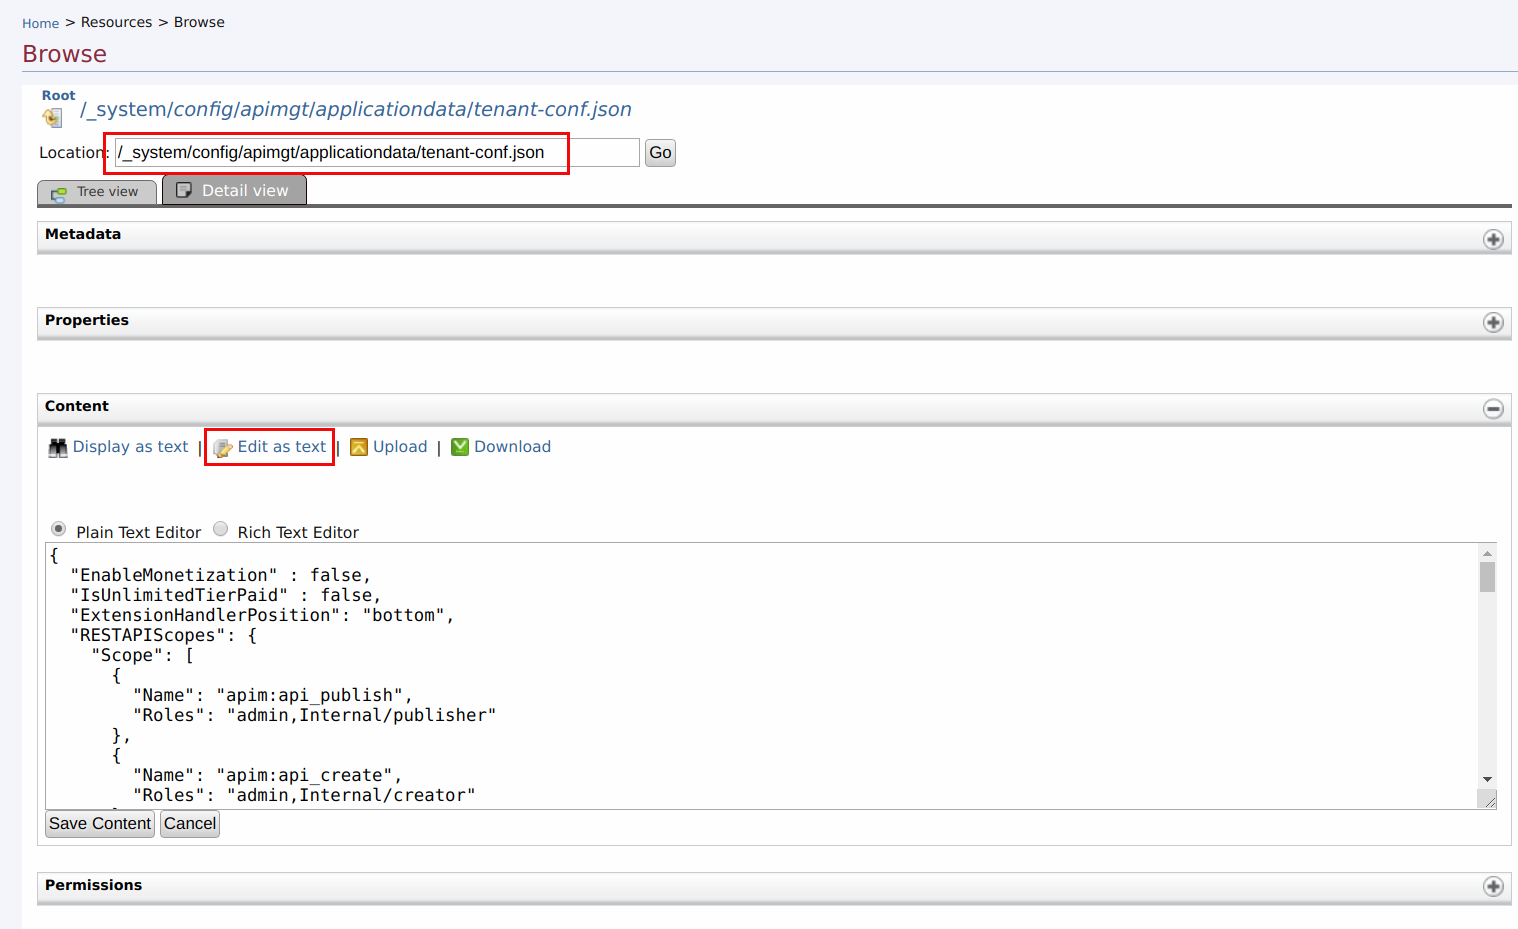
Navigate to Resources > Browse in the main menu and access the file
/_system/config/apimgt/applicationdata/tenant-conf.json. -
Click on Edit as text.
-
Add the new role created above(
creator) under Roles of all scopes that it should be assigned to as follows.For example, if the new role has the API Creator permission, add it under every scope that has
Internal/creatorrole specified.If you create a custom role that has different permissions, add that role under the required scopes based on the functionality or permissions you need to give to a user carrying this role. For example, if you need to allow the user to create apis, add the new role under
apim:api_createscope.
    "RESTAPIScopes": {
    "Scope": [
    {
        "Name": "apim:api_publish",
        "Roles": "admin,Internal/publisher"
    },
    {
        "Name": "apim:api_create",
        "Roles": "admin,Internal/creator,creator"
    },
    {
        "Name": "apim:api_view",
        "Roles": "admin,Internal/publisher,Internal/creator,creator"
    },
    ...
    ]
}
Info
Application Roles
When a user creates an application and generates application keys, a role is created automatically in the following format.
"Application/<username>_<applicationName>_PRODUCTION"This is a special case of internal role that is created for a particular service provider application. Only users who are assigned the application role permission can manage the corresponding service provider application.
These roles do not have any permissions assigned to it, but it is used to manage the visibility of the corresponding service provider that is created in the format of '<username>_<applicationName>_PRODUCTION' within the Key Manager. The created service provider is only visible to users with the latter mentioned role that has been generated automatically. Only if a user with admin privileges assigns the latter mentioned role to a user, will that user be able to view the details of the service provider that is created per application.
Editing or deleting a role
-
Log in to the management console (
https://<APIM_Host>:<APIM_Port>/carbon) if you have not done already. -
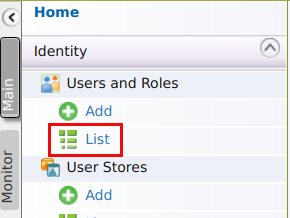
In the Main menu, click List under Users and Roles.
-
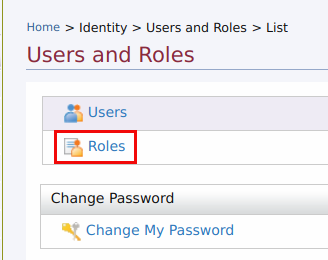
Click Roles.
-
If you need to do modifications to a role, select the domain (user store) under Search Roles > Select Domain where the role resides.
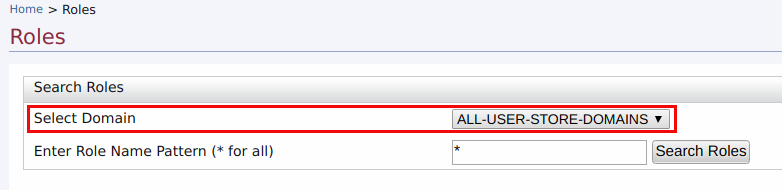
Then use the relevant links in the Actions column in the role listing to perform the following:

- Rename the role
- Change the default permissions associated with this role
- Assign this role to users
- View the users who are assigned this role
- Delete the role if you no longer need it
Info
If the role is in an external user store to which you are connected in read-only mode, you will be able to view the existing roles but not edit or delete them. However, you can still create new editable roles.
Update before the first startup (recommended)
The default role name of the Administrator, (admin) can be changed before starting WSO2 API Manager by editing <API-M_HOME>/repository/conf/deployment.toml file. For more information on configuring the system administrator, see Configuring the System Administrator.
Configure the property admin_role with your custom role (administrator) in the deployment.toml file as follows and start the server.
[super_admin]
admin_role = "administrator"
username = "admin"
password = "admin"
create_admin_account = true
Update after the product is used for some time (advanced configuration)
If you have already updated the role names before the first startup of the product, these steps are not necessary. The following steps guide you through updating the role names after you have used the product for some time.
-
Make the configuration changes indicated in the above section.
-
Do the following user store level changes for existing users:
If you are connected to the
JDBCUserStoreManager, update theUM_ROLEtable with the new role name that you defined in place of theadminrole.Info
The schema can be located by referring to the data source
[database.shared_db]defined in thedeployment.tomlfile. The data source definition can also be found in the same file.- If you are connected to the
ReadWriteLdapUserStoreManager, populate the members of the previousadminrole to the new role under Groups. For more information, see Configuring User Stores .
- If you are connected to the
-
After the changes, restart the server.