Grouping APIs with Microgateway Labels
If required, you can create a WSO2 API Microgateway distribution for a group of APIs. Therefore, if you need to group APIs in order to import it later into the WSO2 Microgateway, you need to create a Microgateway label and add the label to the respective APIs that belong to the group.
Note
For more information on WSO2 API Microgateway, see API Microgateway Documentation.
Step 1 - Create a Microgateway label
-
Sign in to the Admin Portal.
https://<hostname>:9443/adminExample:
https://localhost:9443/adminLet's use
adminas your username and password to sign in. -
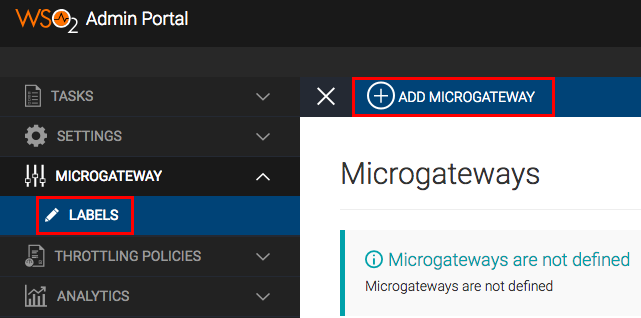
Add a new Microgateway label.
Click LABELS under MICROGATEWAY, and then click ADD MICROGATEWAY.
-
Create a new label, add a host, and click Save.
Label MARKETING_STORE Host https://localhost:9095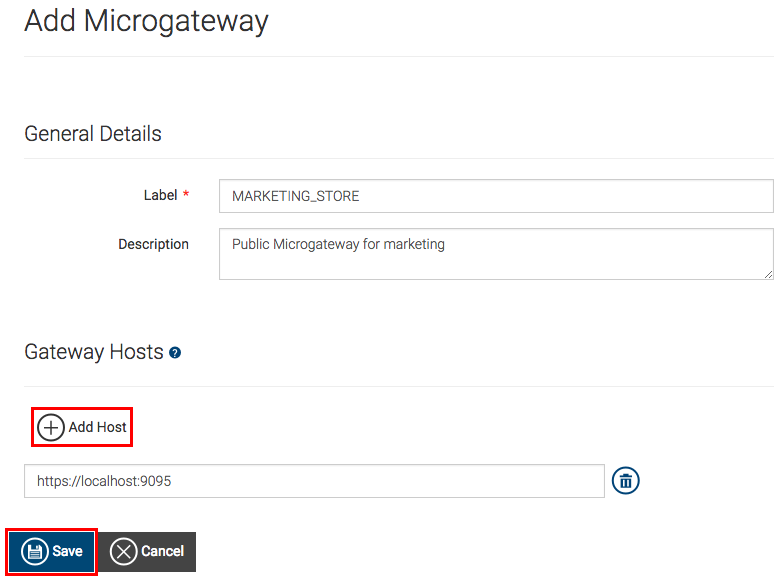
Step 2 - Assign the Microgateway label to an API
Note
Repeat this step if you wish to add multiple APIs to the API group.
-
Sign in to the API Publisher using
adminas the username and password.https://<hostname>:9443/publisherExample:
https://localhost:9443/publisher -
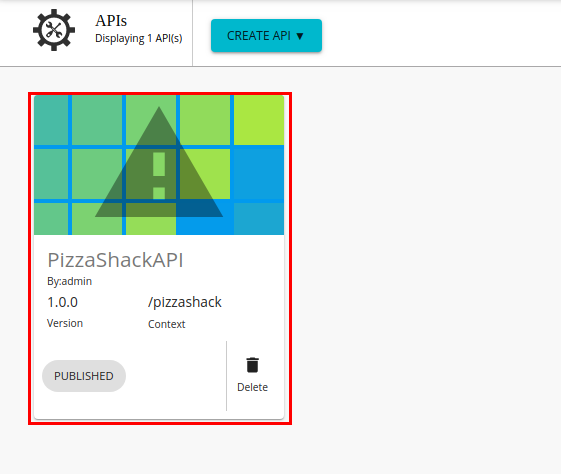
Create a new API or skip this step if you wish to use an existing API. Let's deploy the sample Pizzashack API by clicking Deploy Sample API (If you have not done so already).
-
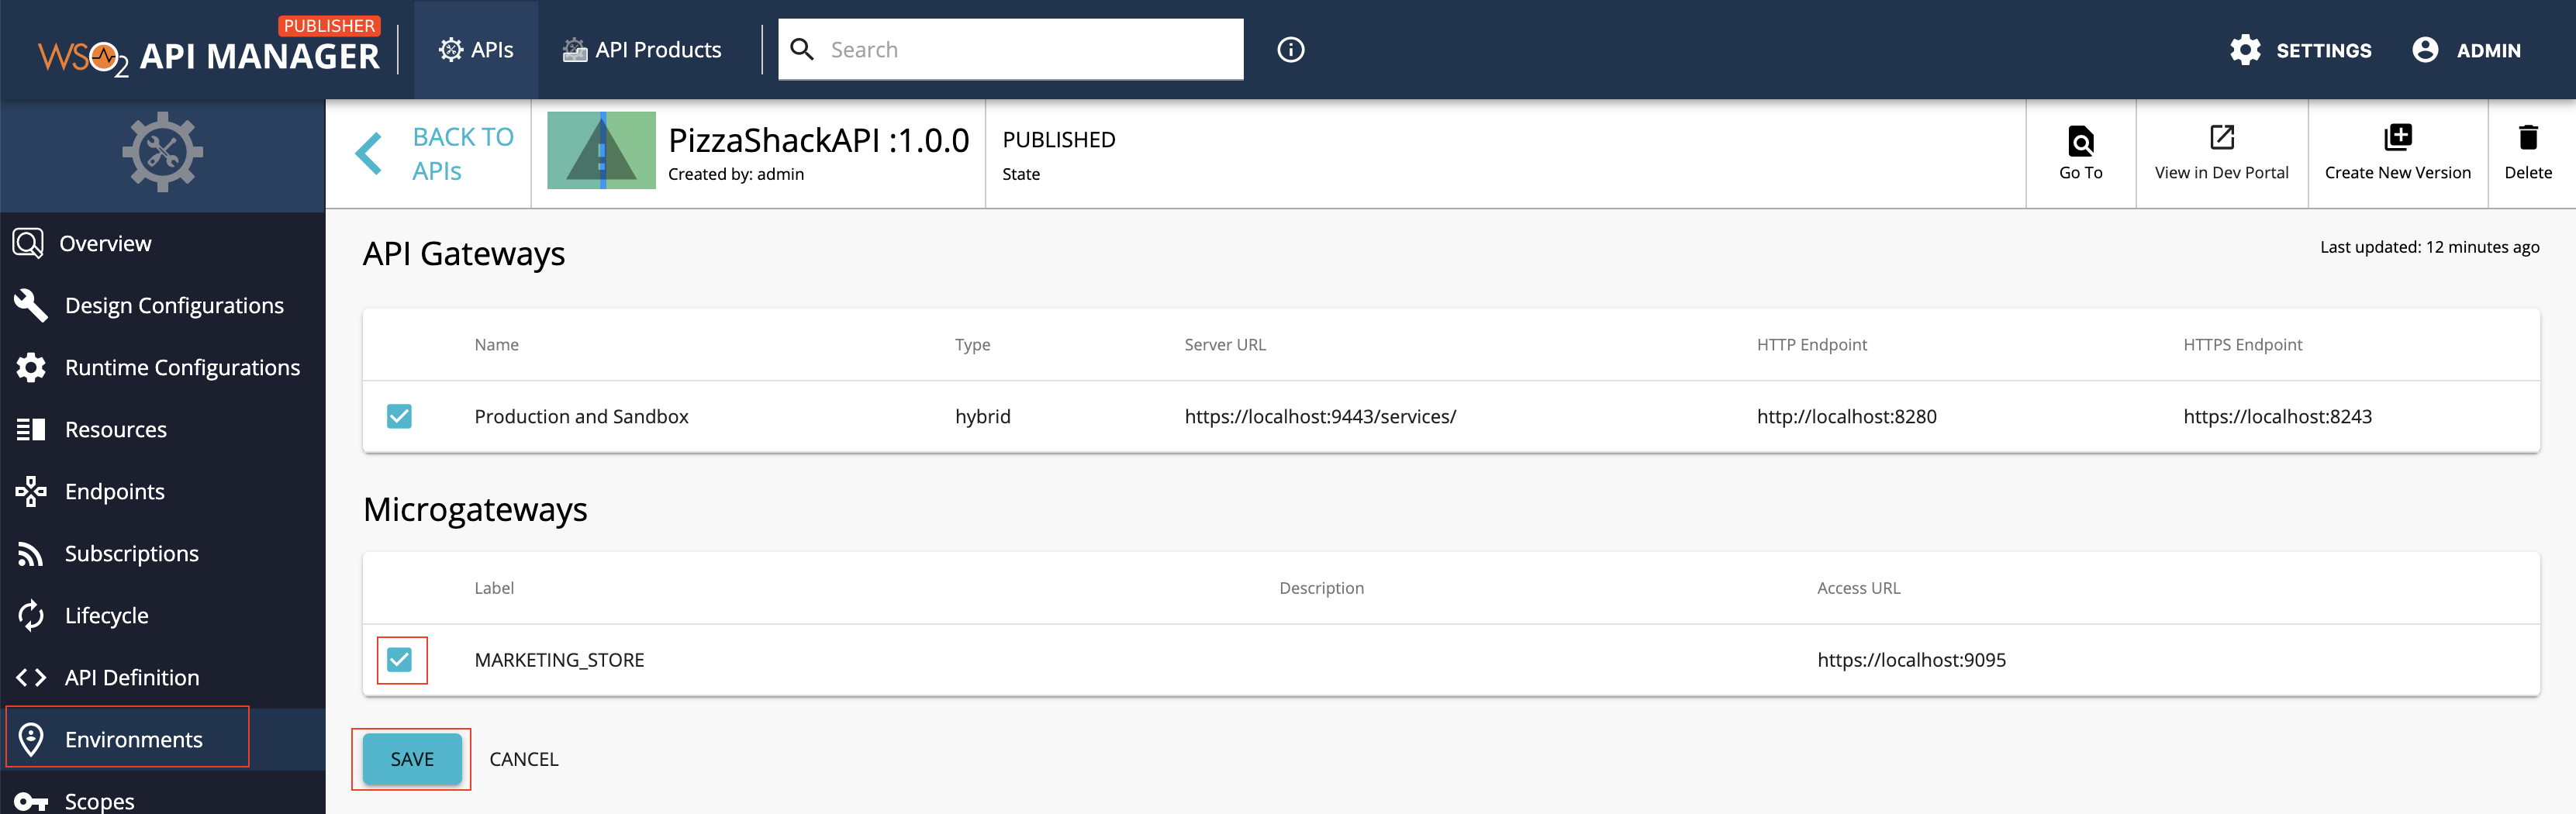
Click on the API to edit its configurations.
-
Click Environments.
-
Select the newly created Microgateway label.
-
Click Save to attach it to the Pizzashack API.
-
Similarly, you can assign the
MARKETING_STOREMicrogateway label for other APIs as well.
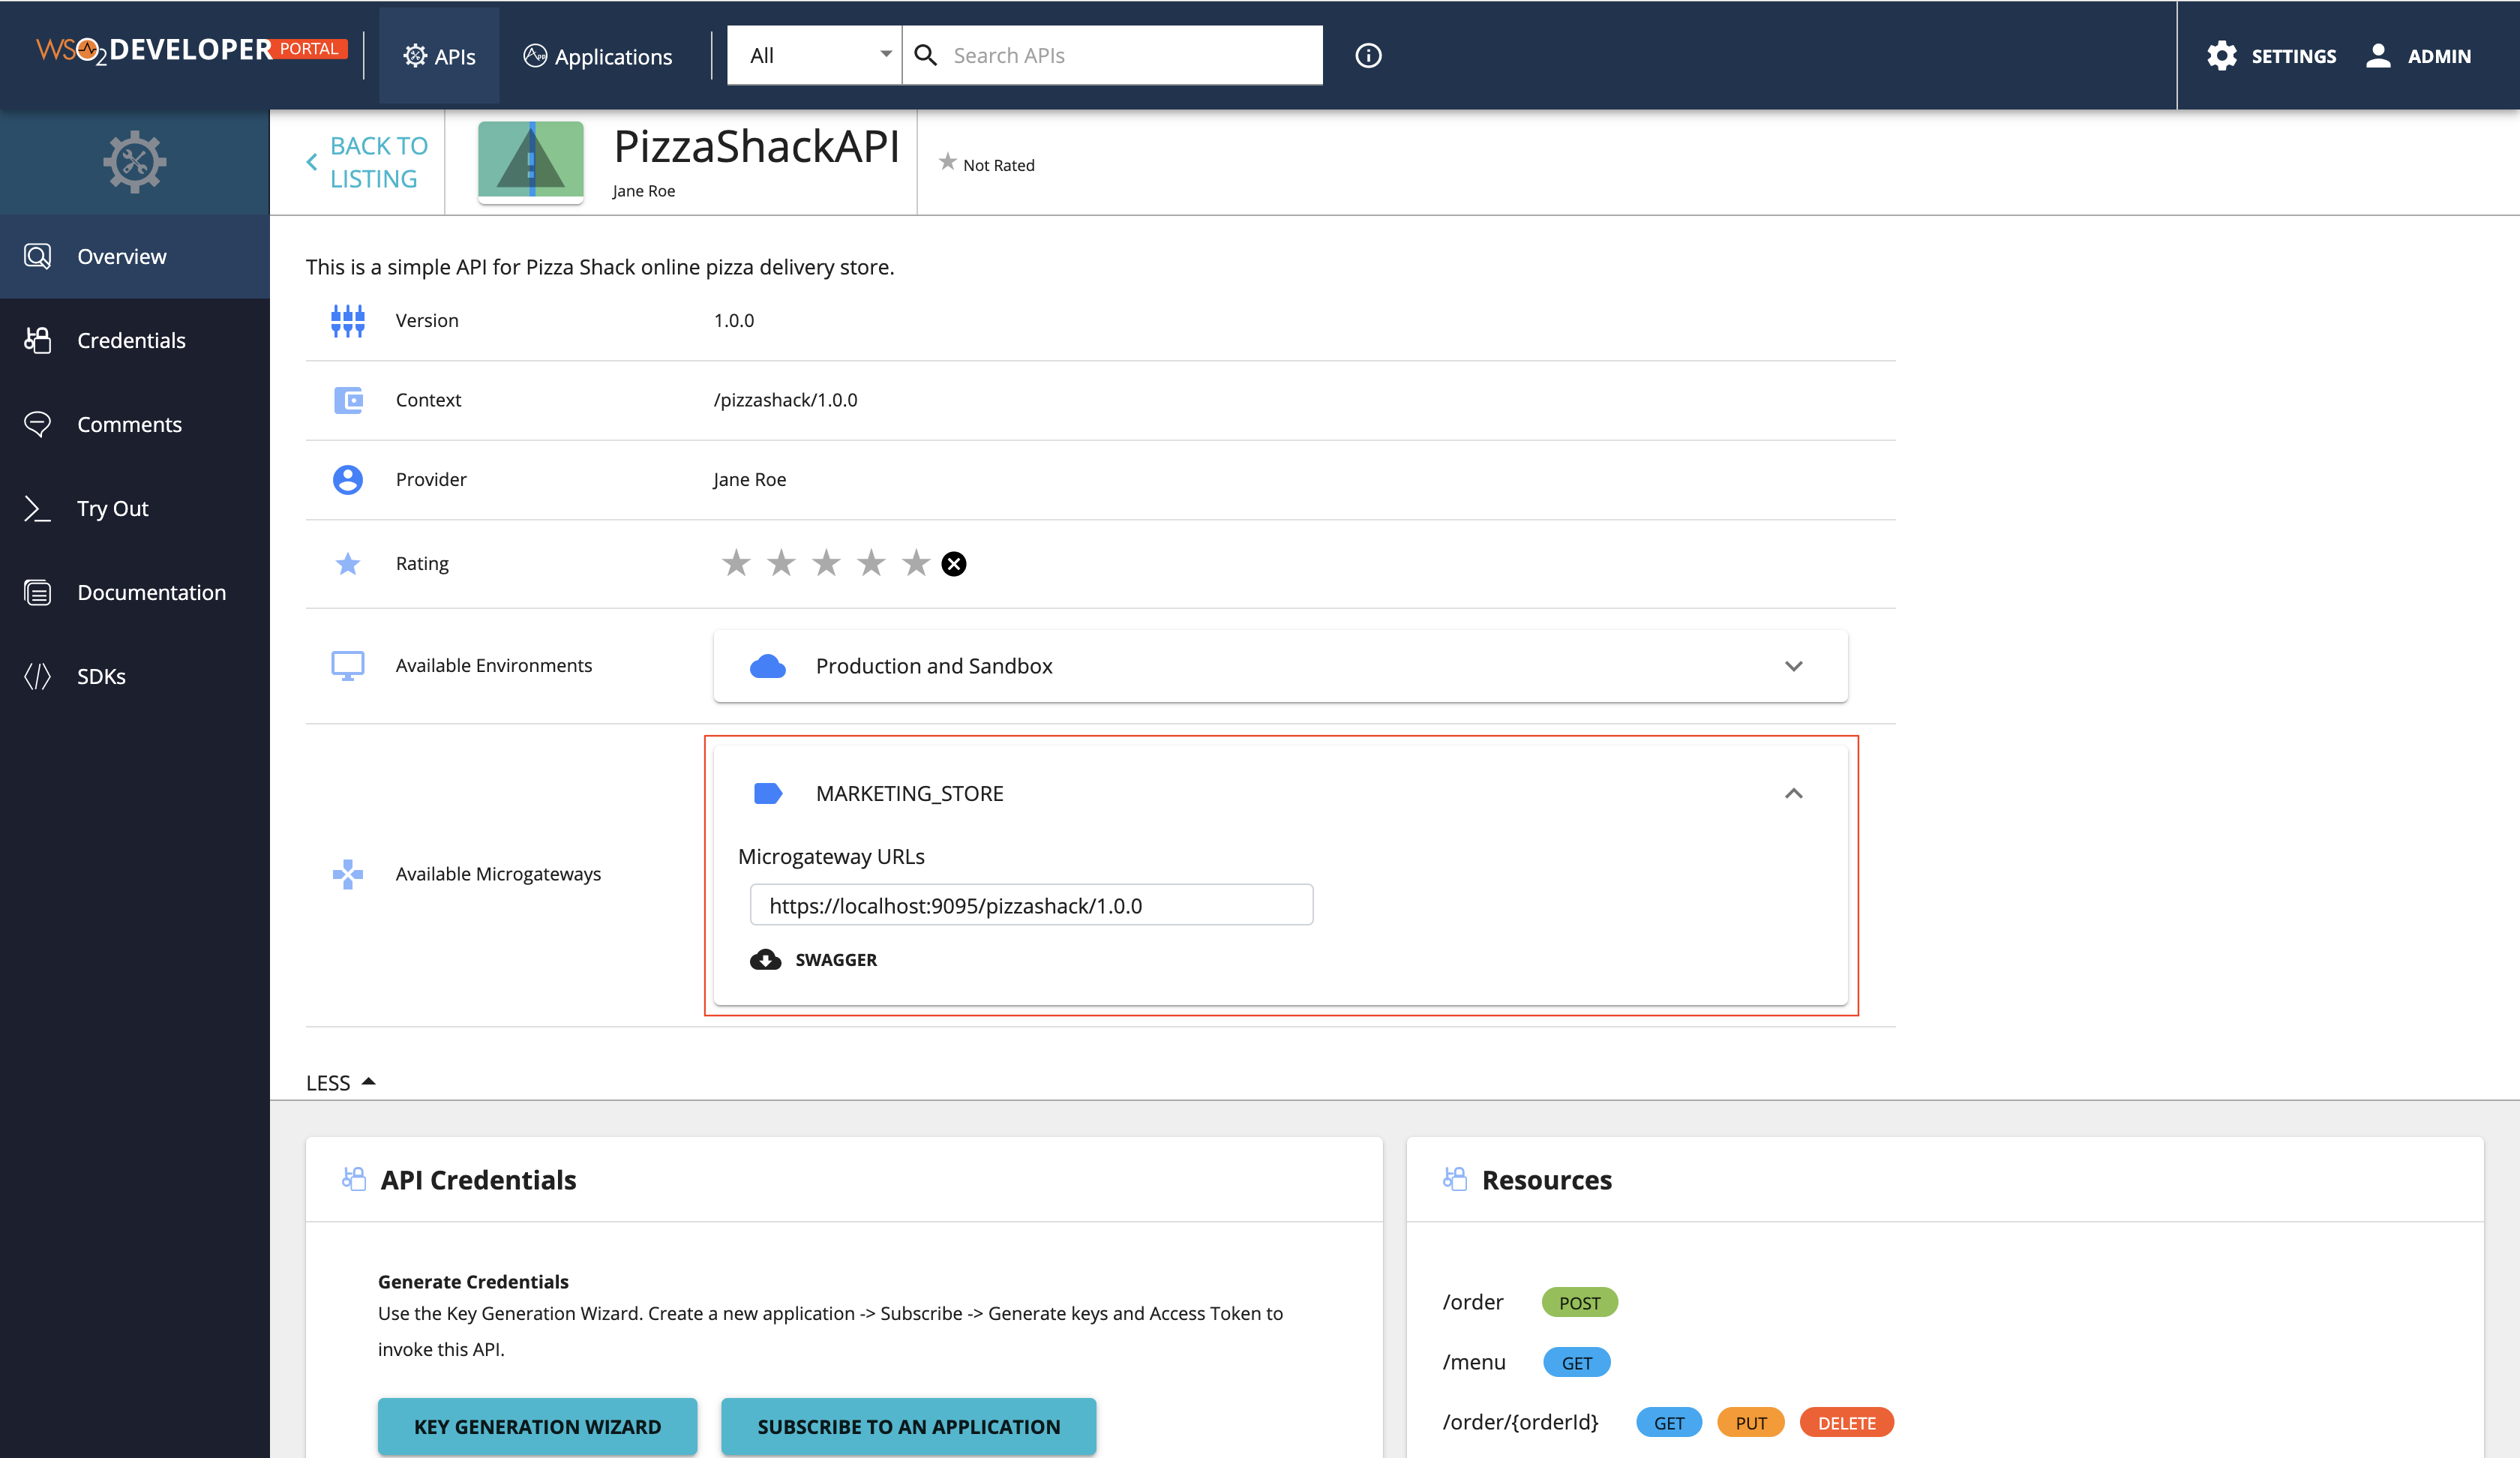
Step 3 - View the Microgateway labels
Sign in to the Developer Portal using admin as the username and password.
https://<hostname>:9443/devportal
Example: https://localhost:9443/devportal
The attached Microgateways appear in the Overview tab of the API.